Build a workflow of fixed stages
Agents
In a pipeline you fix the order in advance: each stage does its part and passes its output to the next. On Katonic it is a workflow, an agent built as steps that run in a fixed order. This tutorial builds a tender response: extract the requirements, find past answers, draft, check, and have a person approve before the response is released. It is the seventh form in Which builder for which agent.
Who can use it: the Builder role or higher, in a tenant licensed for agents and knowledge.
Prerequisites
- A knowledge source that holds past bids; see Add a knowledge source.
- A team you belong to, for the Owner team. Before you build a form of agent says who provides it.
Build the workflow
- Start a blank workflow
In Studio, open My Agents and select New agent. Select Automate a process, pick the Blank card and select Continue to build.
- Name the flow and pick the owner
On Identity, type the Workflow name
Tender Responseand a Description, and pick the Owner team. - Keep the trigger manual
Open Trigger and leave the Manual card selected, so that a person starts a run with the tender's text.
- Add a step for each stage
Open Steps. A blank flow starts with one LLM step, a step that sends text to a model. Open it and fill in the first block below. Then, under Add a step, select Knowledge, LLM and LLM in turn, filling in each as you add it. Steps run in the order listed, and a new step is added after the last one.
Step name: Extract the requirementsInstruction: List every requirement in the tender below, one per line, numbered. Copy each requirement in the tender's own words. Do not answer them.Step name: Find past answersKnowledge base: the source that holds past bidsStep name: Draft the answersInstruction: For each numbered requirement, write an answer from the past answers you are given. Where no past answer covers a requirement, write NO PAST ANSWER and nothing else.Step name: Check the draftInstruction: Compare the draft with the numbered requirements. List each requirement that has no answer, or an answer that does not address it. Change nothing in the draft.You should now see four named steps.
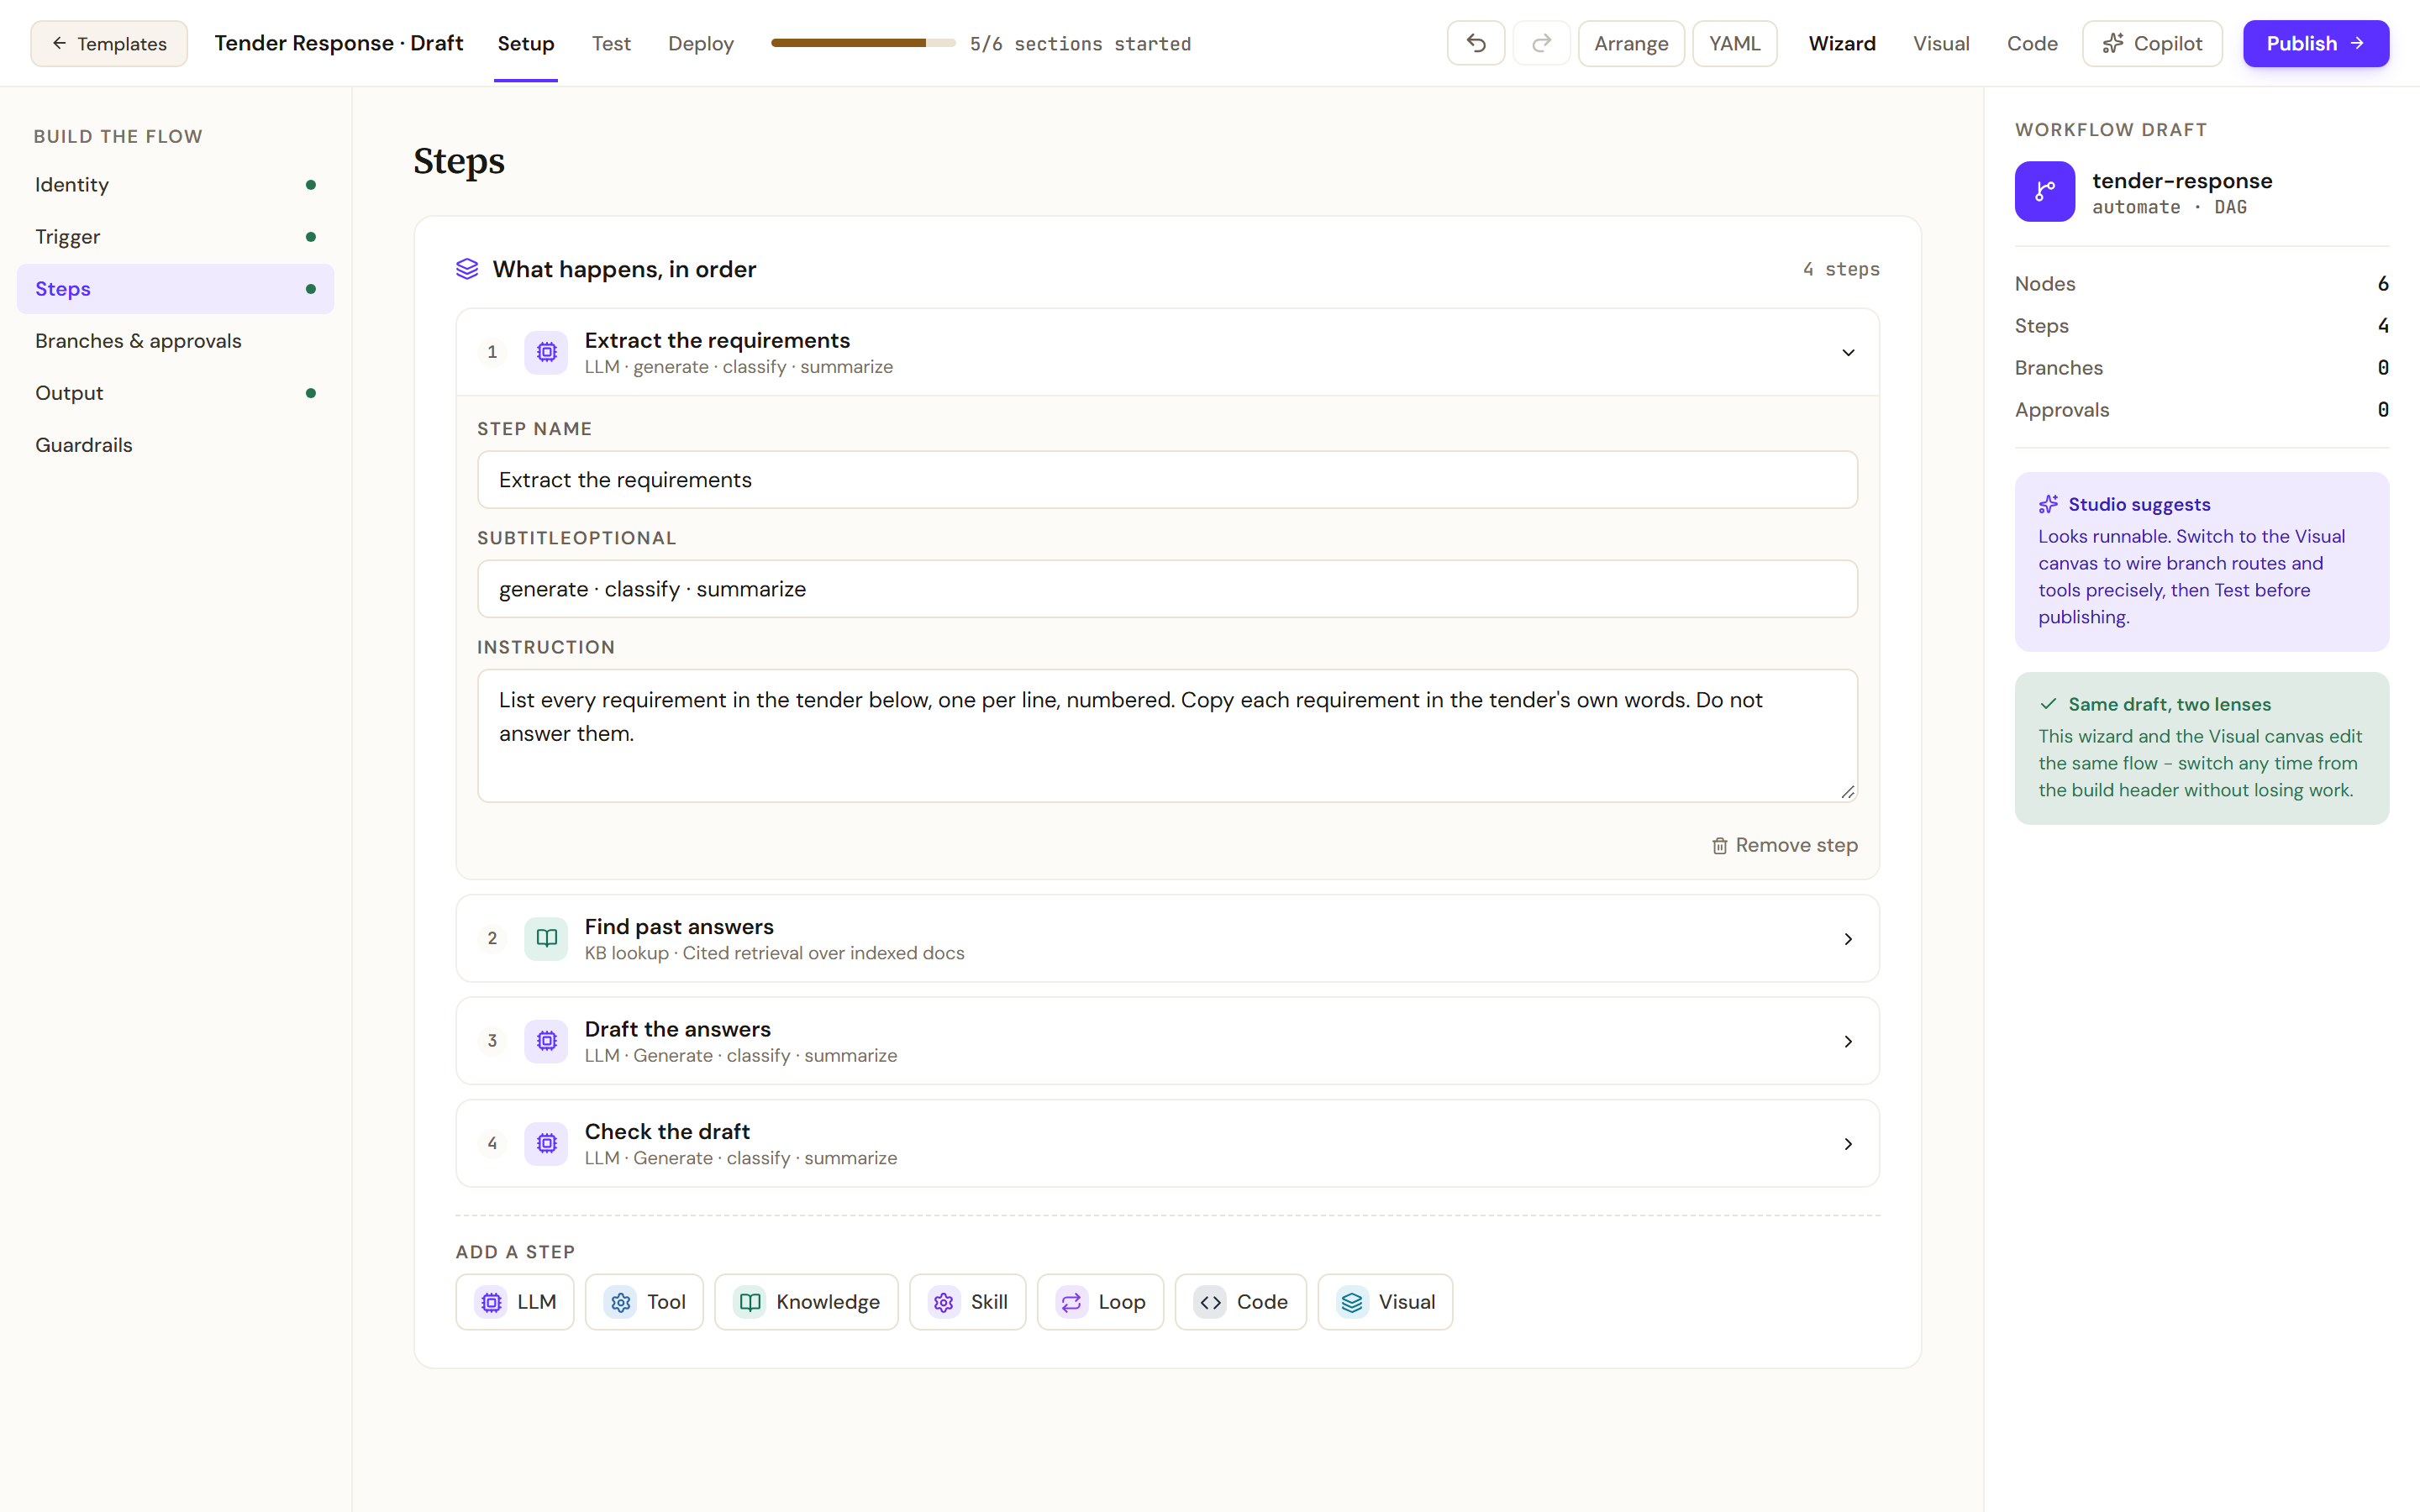
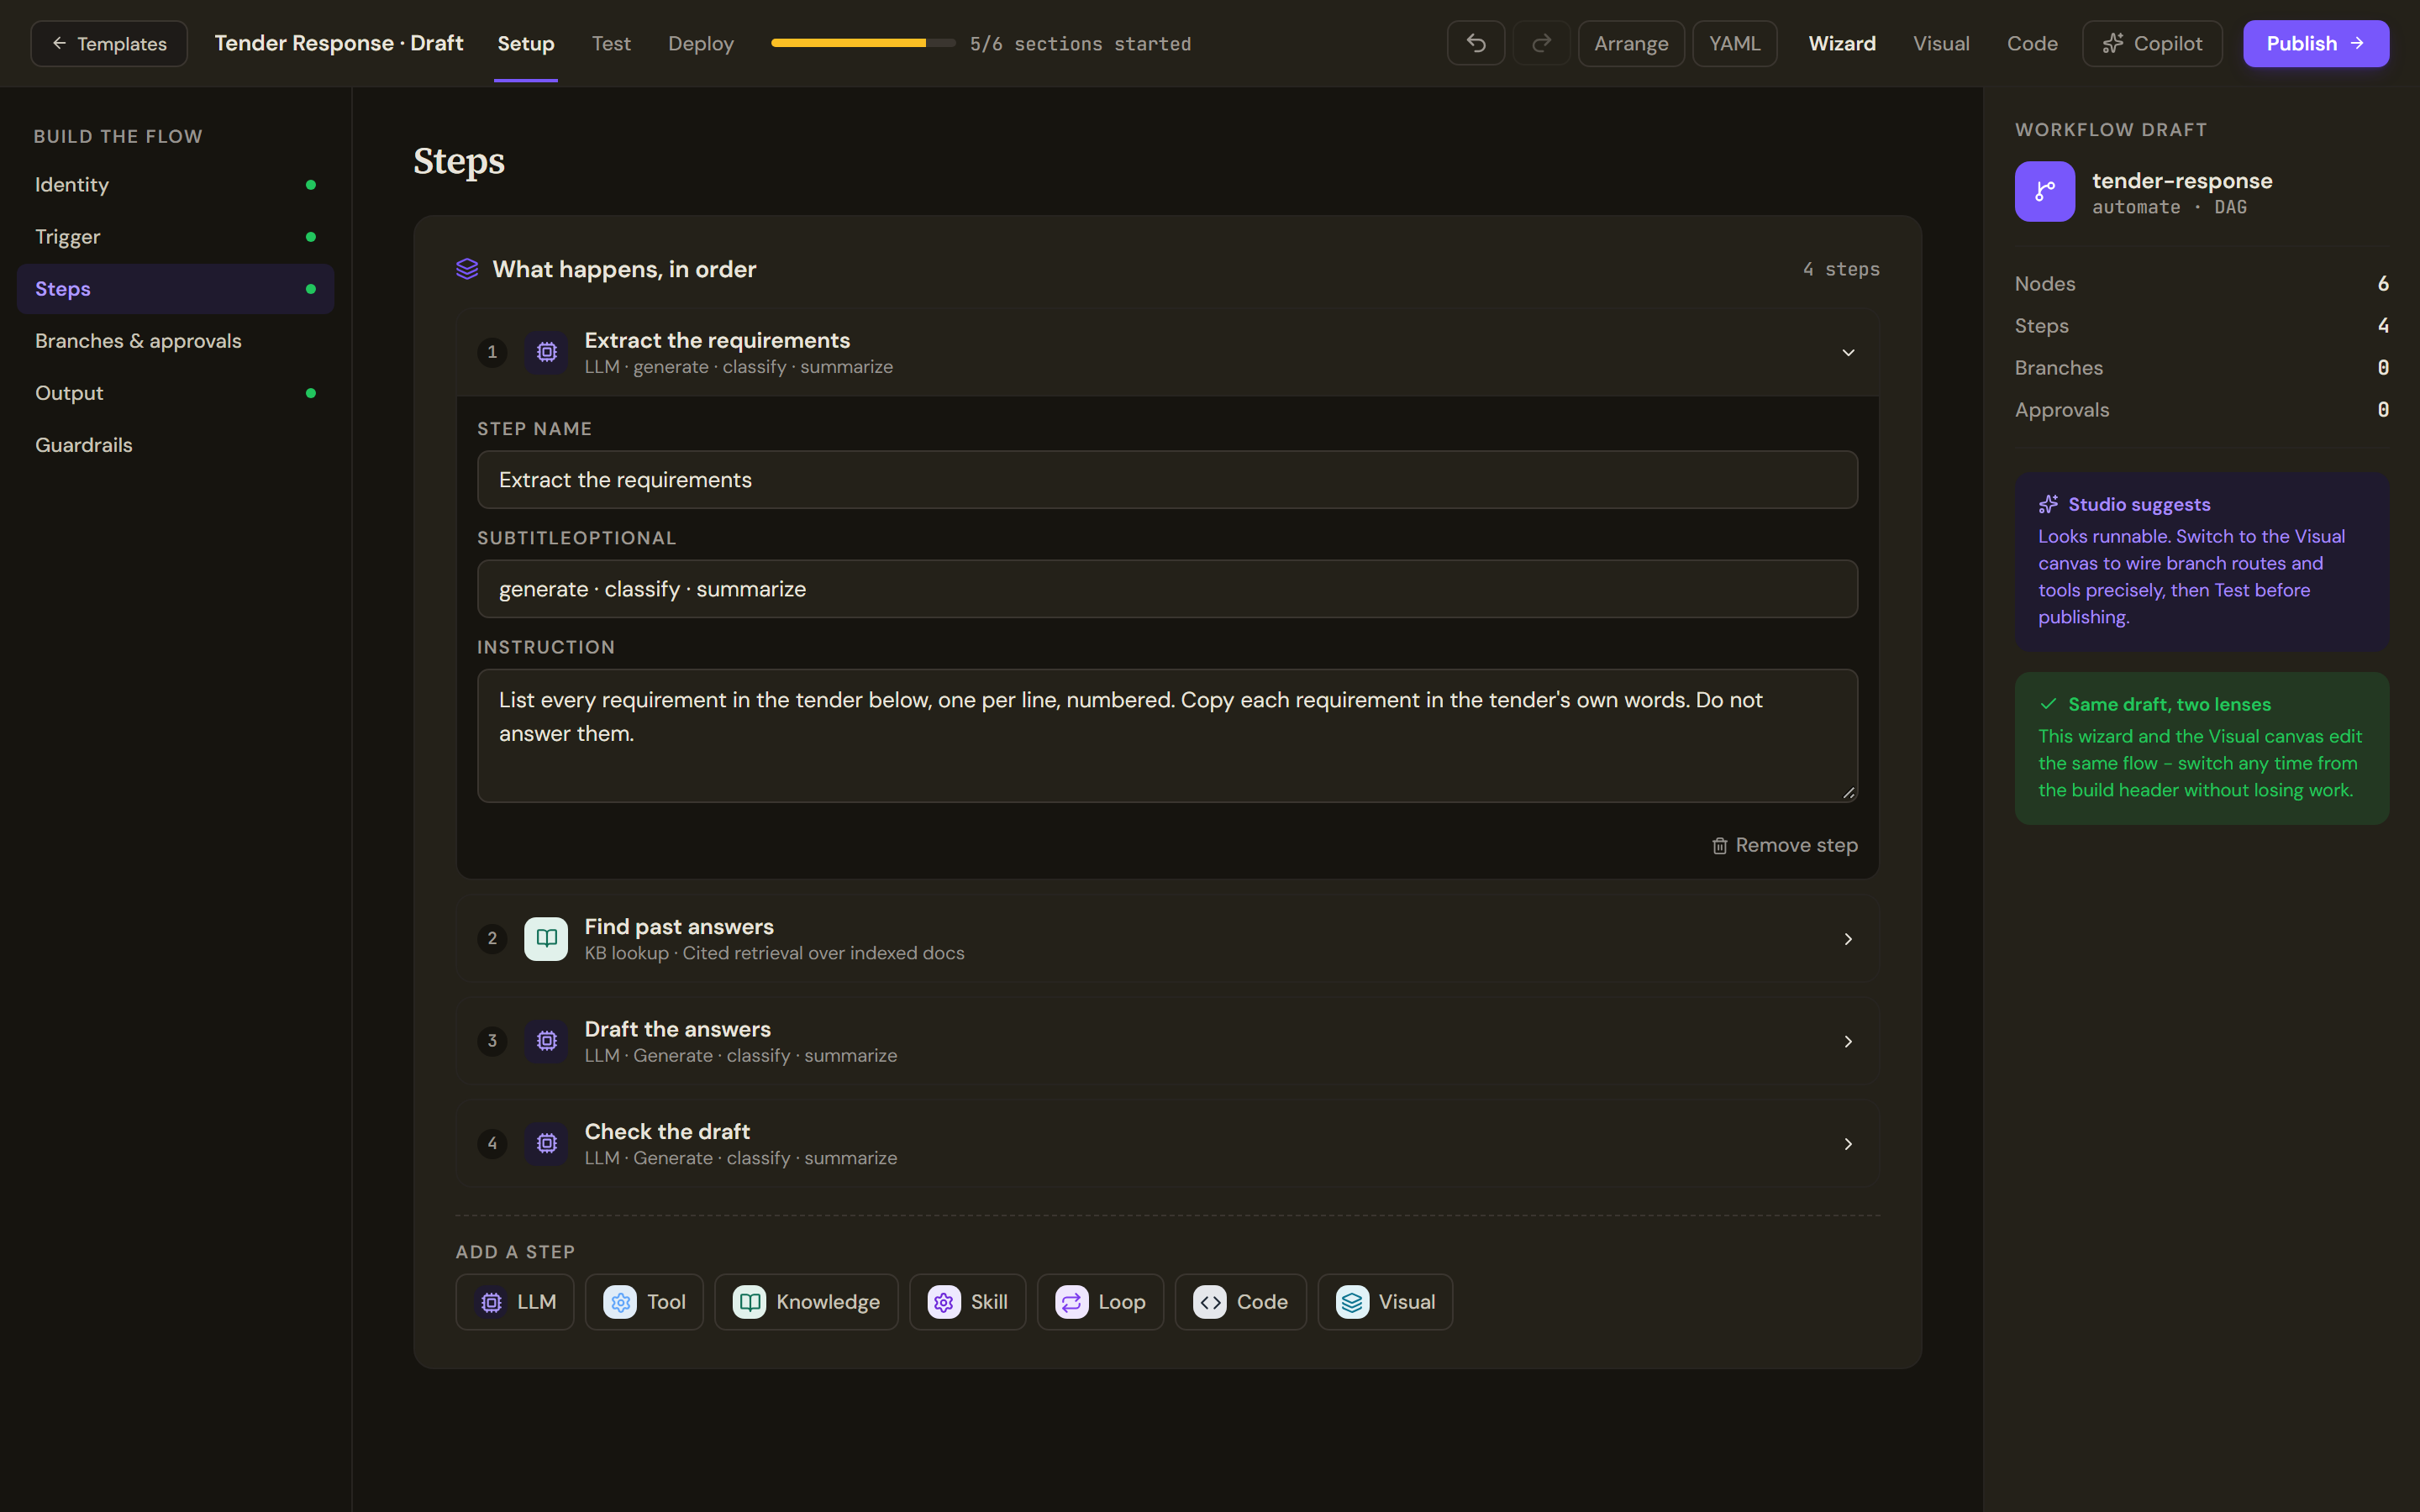
Steps holds the work in the order it runs. Name each step for the stage it does and give each LLM step its instruction. - Add the approval
Open Branches & approvals and select Add approval. In Approval label, type
Bid manager sign-off. In Reviewers / channel, type the channel to notify, here#bids. The run pauses there until a reviewer decides. - Check the flow on the canvas
Select Visual in the build header. The canvas shows the same draft as nodes, one box for the trigger, each step, the approval and the output, joined in the order they run. Select a node to open its configuration. On an LLM node, System prompt holds the instruction you typed, Insert variable lists the upstream values it can refer to, such as the trigger's message, and Pass the previous step's output in hands the step what the one before it produced.
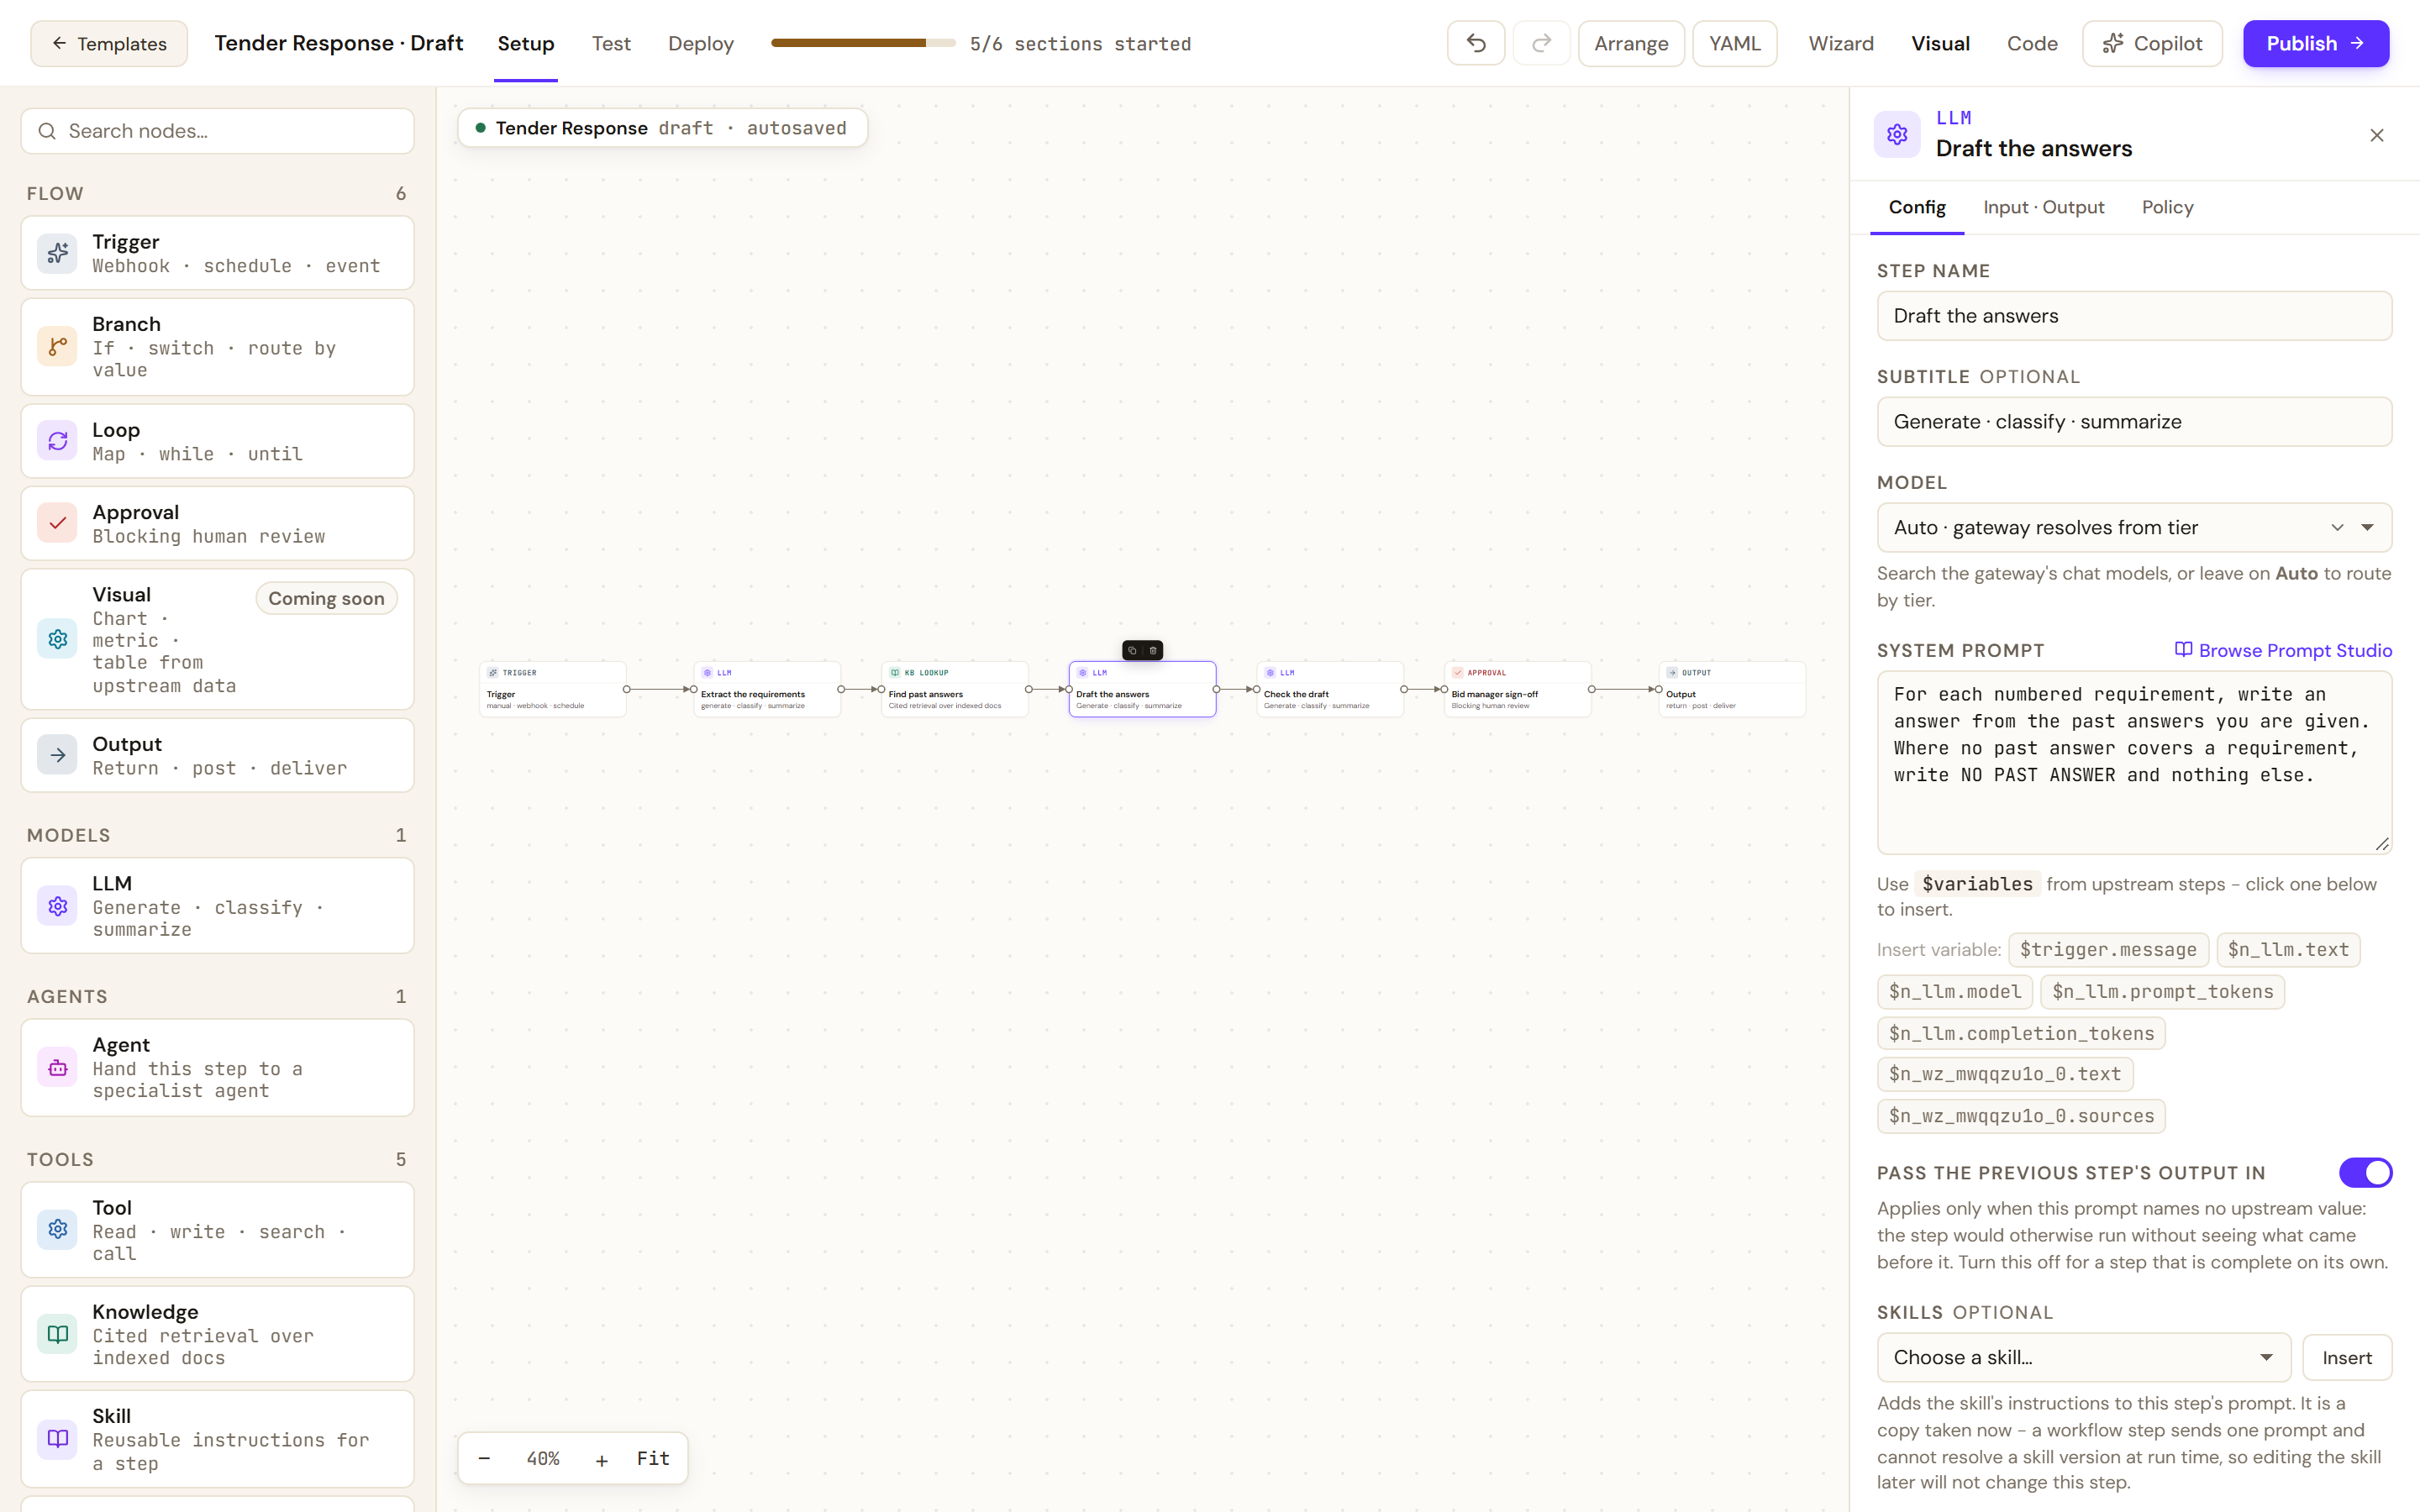
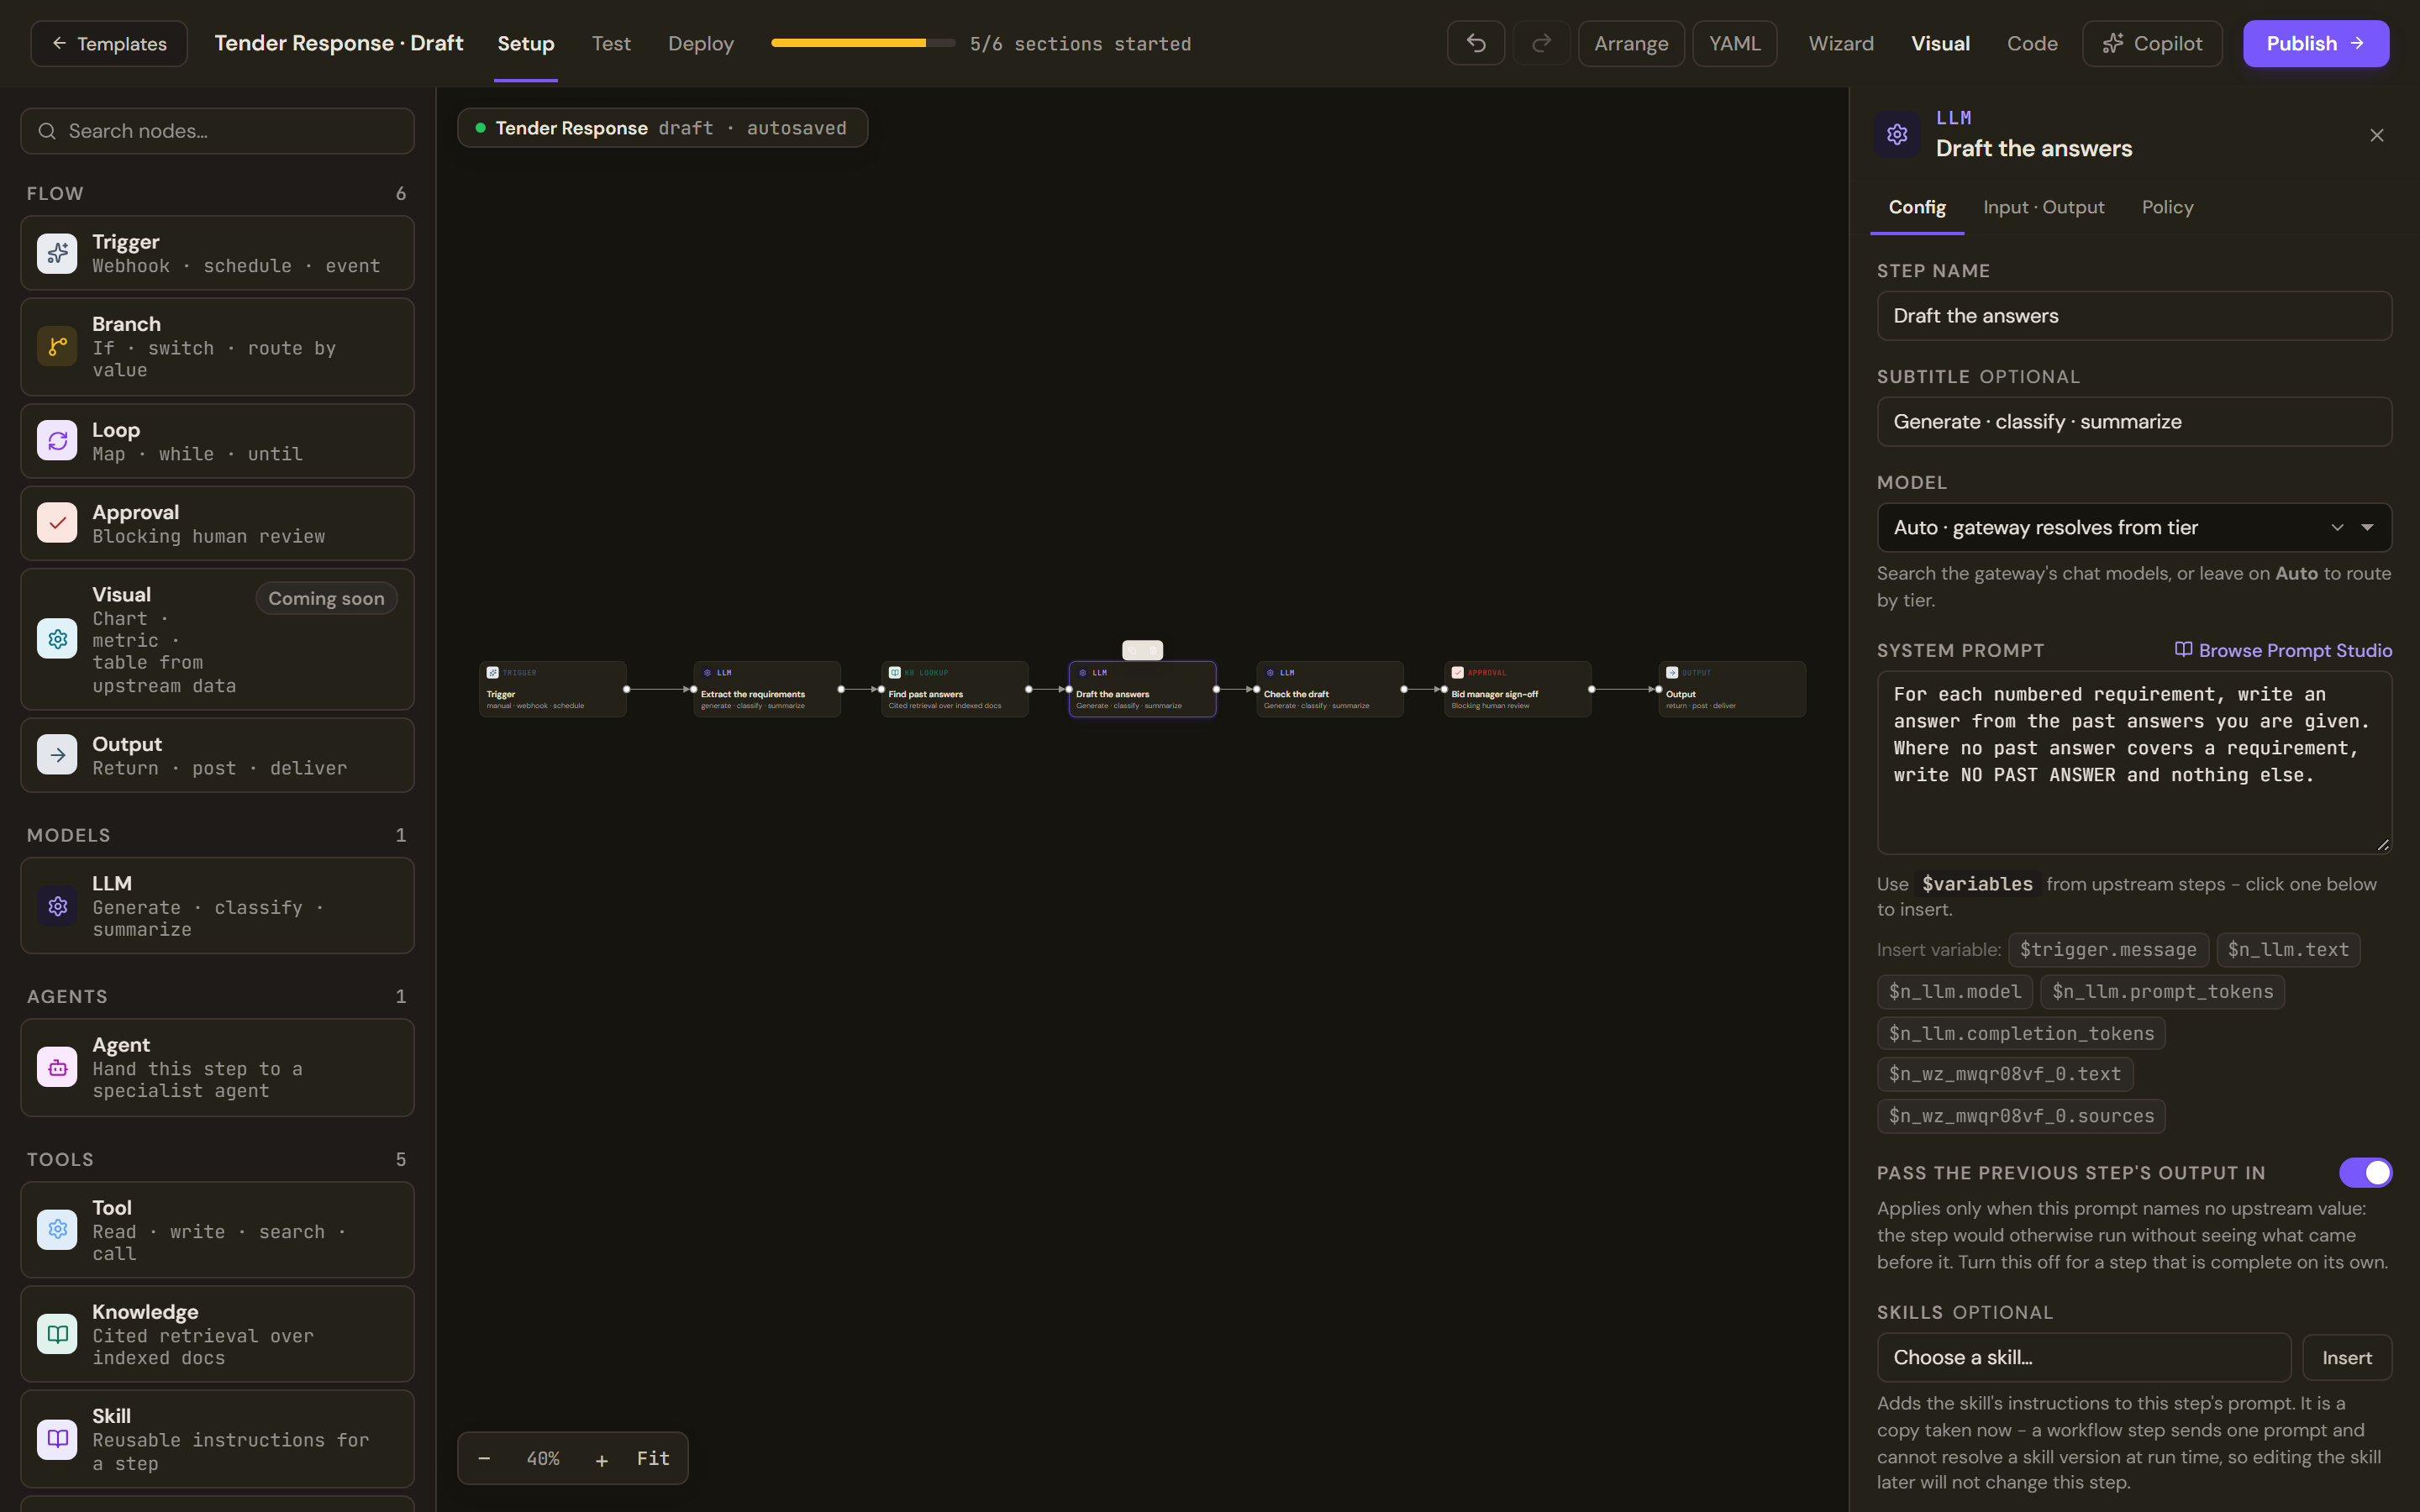
The Visual canvas shows the same flow as nodes joined in the order they run. Select a node to open its configuration. - Name the output and set the guardrails
Select Wizard. Open Output; in Output label, type
Tender response, and in Destination,return to caller. Open Guardrails and switch on Cost ceiling per run.
Test and publish
- Run the draft
Open Test, paste three or four requirements from a tender as the message and select Run. Every step reports in the Run trace with its status, timing and output. The sandbox continues the approval automatically.
- Publish
Select Publish and fix any blocker. The screen that follows says whether the version is live, in a lane or not live yet; see Before you build a form of agent.
- Run it for real
Open the workflow from My Agents, select Run, paste the same requirements into Input and select Run now. Members start a run the same way from the Work Room; see Start an automation.
Verify
Use a tender with three requirements, one of which no past bid covers.
- In the Test tab, the trace lists the four steps in the order you set. The first step's output is three numbered requirements. The third step's output has an answer for two of them and NO PAST ANSWER for the third. The fourth lists the third requirement as unanswered.
- On the Run tab after publishing, the run stops at Bid manager sign-off and reads as awaiting approval. The person who started the run cannot approve it; a reviewer does, from Automations in the Work Room.
- After the approval the run completes, and its output is saved to Artifacts.
Troubleshooting
- A step produced nothing and the run still completed. A later step can only work from what it was given. Open the run, find the first step whose output is empty or wrong, and fix that step's instruction or its source.
- A stage does not see the earlier output. On the canvas, select the node and check that Pass the previous step's output in is on, or use Insert variable in its System prompt to refer to the upstream value.
- The run stays at the approval. Nobody has decided. See Automations and approvals.
- The flow cannot be published. A Visual node on the canvas, the chart node marked coming soon, blocks publishing until you take it off. So does a step that writes with no approval step before it.
- A step is in the wrong place. A new step always goes after the last one. Remove the steps after the right place with Remove step and add them again in order.
- A coordinator cannot route to this workflow. A published workflow cannot take a delegated turn. Run it directly.