Connect Notion
Knowledge
The Notion connector indexes pages and databases from a Notion workspace you sign in to, so agents can answer from them. This page covers what is specific to Notion; the steps every connector shares are in Add a knowledge source.
Who can use it: the Builder role, or a Member holding the Knowledge Admin grant, in a tenant licensed for knowledge. One-click sign-in also needs an administrator to have stored a Notion OAuth app on the Credentials tab of Knowledge Management.
What it brings in
In the wizard, Notion sits in the Recommended row and under the Knowledge Base chip, described as Pages & databases. The Catalog's Connectors section lists it with the same description and says how it signs in. The connector can read only what the Notion account you sign in with can open. Who may use the source inside Katonic is a separate choice, made on the Schedule & Access step.
Prerequisites
- An embedding model configured on the Settings tab of Knowledge Management. Until then Connect Source is disabled.
- A Notion account with access to the pages you want indexed.
- Either a Notion OAuth app stored by your administrator, which gives one-click sign-in (see Set up connector credentials), or your own OAuth app's Client ID and Client Secret.
- Pop-ups allowed for the Katonic site: the sign-in opens in a pop-up window.
Connect the source
- Pick Notion
In the Control Room, open Knowledge and select Connect Source. On Select Source, choose Notion in the Recommended row, or filter by Knowledge Base and select its card; the wizard moves to Configure. From the Catalog's Connectors section, Connect on the Notion card opens Connect Source with Notion already chosen.
- Name the source and pick its resources
Enter a Knowledge Name. Under Resources, keep the preselected option or pick another: each one says what kind of documents it is meant for.
- Sign in to Notion
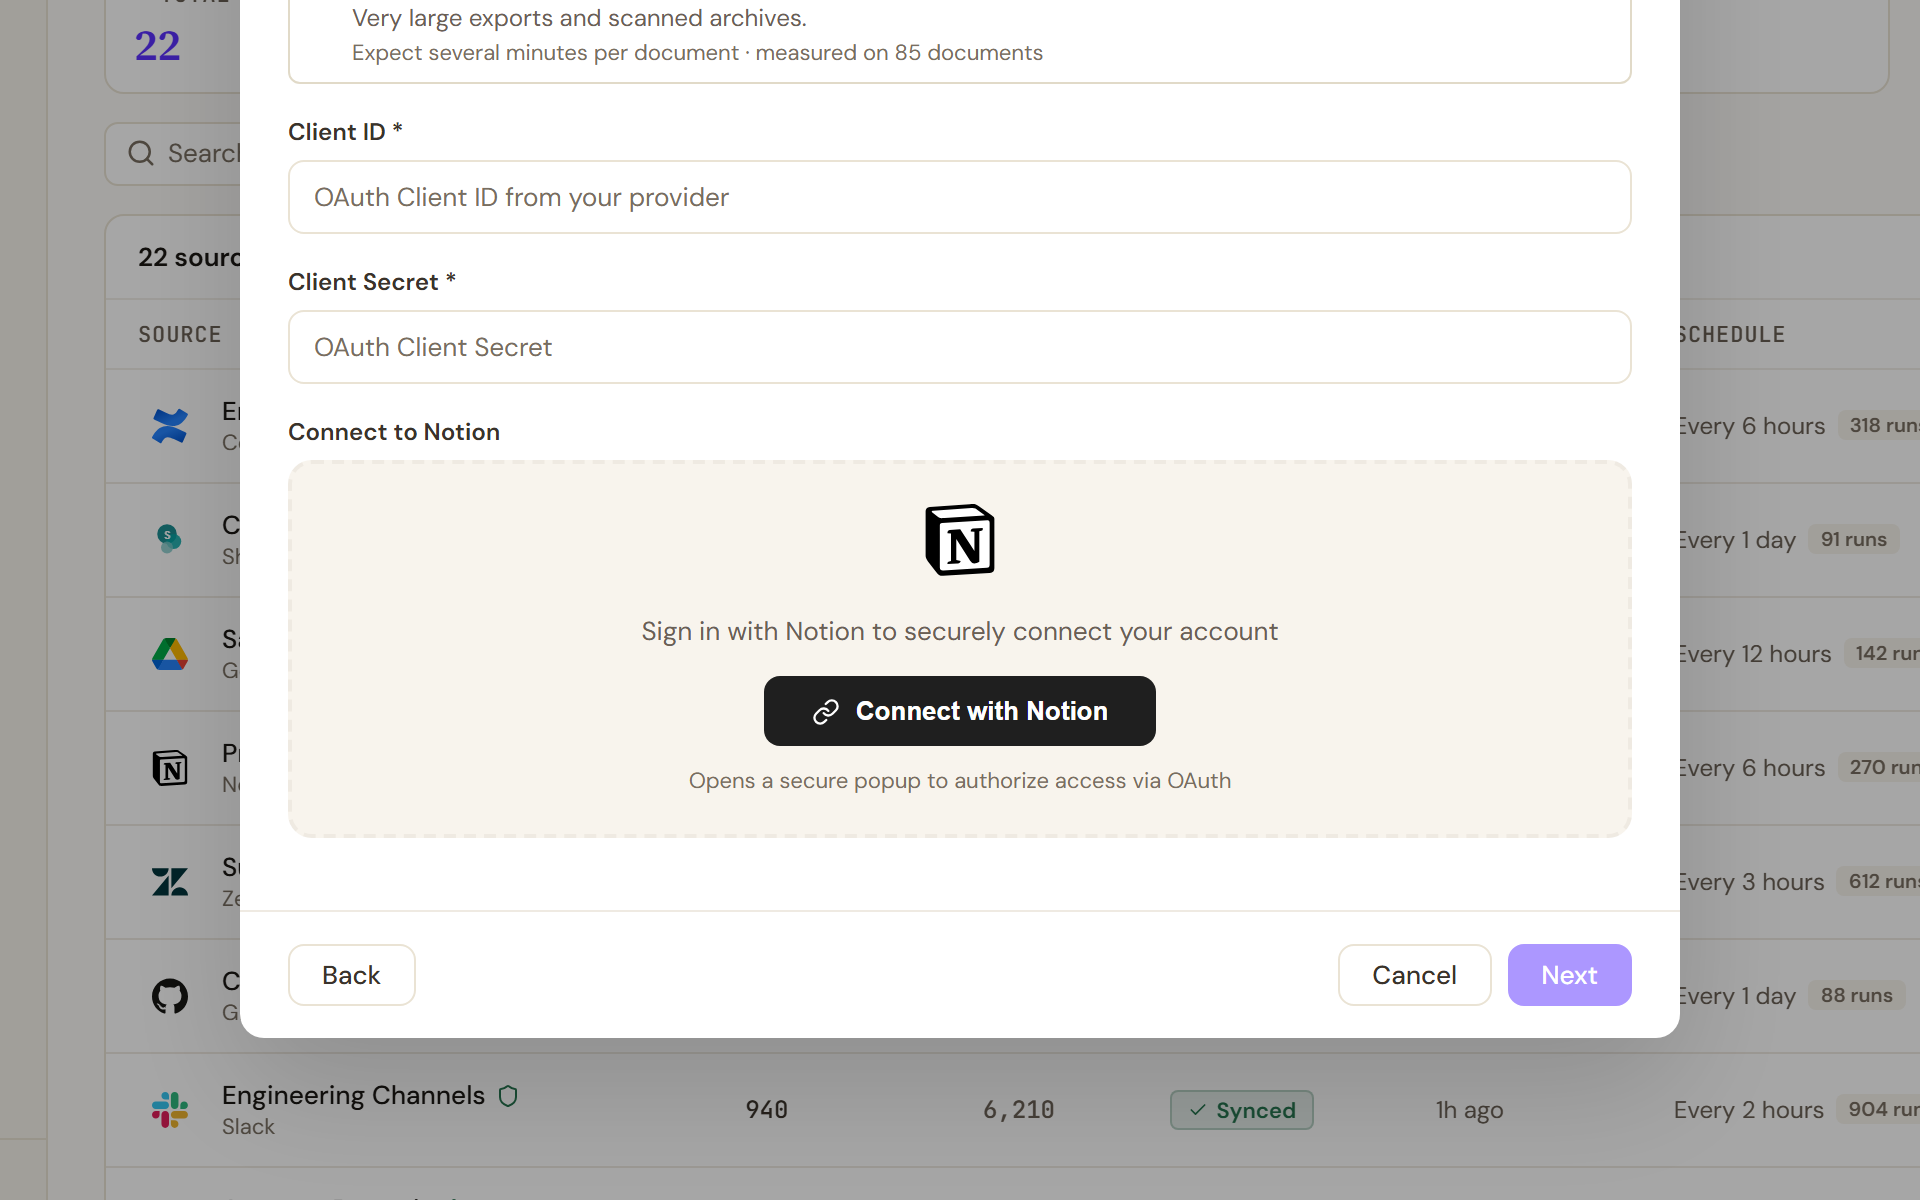
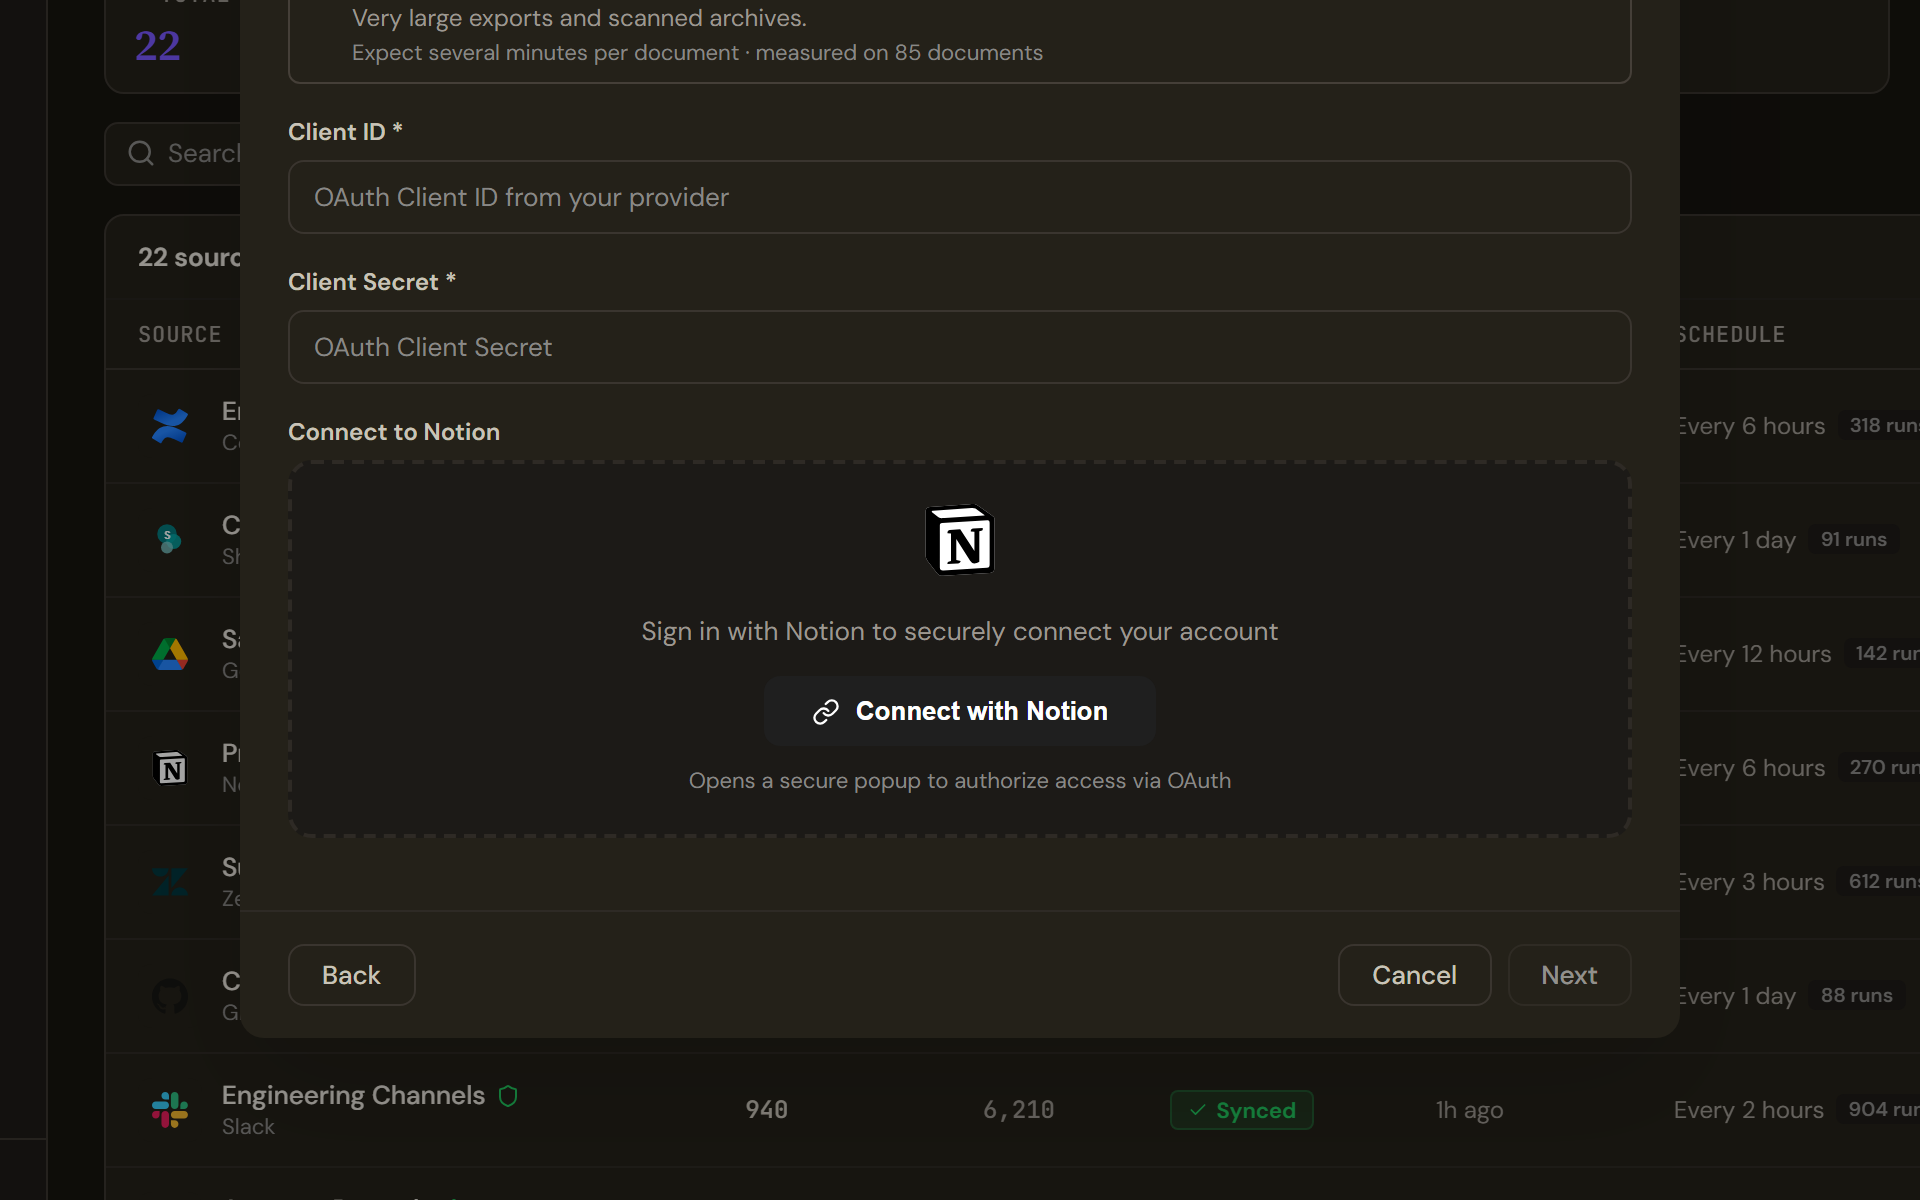
Configure for Notion when no OAuth app is stored for the tenant: the step asks for your own Client ID and Client Secret, then Connect with Notion opens the sign-in pop-up. Next stays disabled until the connection succeeds. If your administrator has stored a Notion OAuth app, the Connect to Notion box reads Click below to sign in with Notion - credentials are pre-configured by your admin and you go straight to the button. Otherwise the step asks for a Client ID and a Client Secret first, and the box reads Sign in with Notion to securely connect your account. Connect with Notion opens a secure pop-up where you sign in to Notion and grant access; the button reads Connecting… while the wizard waits. On success the box changes to Connected to Notion with OAuth authorization successful, a toast confirms it, and Disconnect lets you start again. Next stays disabled until the source is named and connected.
- Choose which pages to index
After the connection, Page IDs (optional, one per line) appears. Its placeholder reads Leave empty to sync all accessible pages: leave it empty to index every page the account can open, or enter the IDs of the pages you want. A connector may also add settings of its own to this step.
- Schedule, access and review
Select Next. Schedule & Access is the same for every connector: Sync Schedule, Knowledge plane and Access. Notion has no permission sync; the Access choice decides who inside Katonic can open the source and does not change what the connector reads. Select Review. The summary lists Source, Name, Authentication as OAuth (connected), Schedule, Graph Extraction, Access and ACL Sync as None (open access). Select Connect Source: it reads Creating... while the source is created, and the first sync starts straight away.
Verify
The new row appears on the Sources tab as Syncing, then Synced with a document count when the first sync finishes. Open the Search & Test tab and ask a question that one of the pages answers: results from the new source should come back, each showing its origin. See Search and test your knowledge.
Troubleshooting
- Client ID and Client Secret are required. You selected Connect with Notion without filling both fields. Fill them, or ask your administrator to store the app on the Credentials tab so the fields disappear.
- Popup blocked. Please allow popups for this site. Allow pop-ups for the Katonic site in your browser, then select Connect with Notion again.
- OAuth didn't complete - the popup may have been closed. Try again. The wizard waits about two minutes for the sign-in to finish. Keep the pop-up open until it closes by itself, then retry.
- OAuth connection failed. Please try again., or a reason from the provider: the sign-in could not start, or Notion rejected it. Check the Client ID and Client Secret, or ask your administrator to run Test on the stored credential.
- Next stays disabled. The source needs a Knowledge Name and a completed connection.
- Source created, but the first sync couldn't start - open it and click Reindex. The source exists but nothing is indexed yet. Open it and select Reindex.
- Fewer pages than expected. The connector reads only what the connected account can open. Check that account's access to the pages in Notion, and any page IDs you entered, then reindex.