Host a tool server as an app
ToolsModel serving
The second way to put your own code in front of agents: run the container as an app, then import the spec it publishes. You get a service with an address of its own, which agents call as tools and you can call from anywhere else that can reach it. Use it when your code already speaks REST, when you need more than one replica or storage attached, or when something other than an agent has to call it too.
Who can use it: a Builder deploys the app, in a tenant licensed for model serving. An Admin imports the spec on Tools, in a tenant licensed for tools.
Build the image
Your service needs three things beyond its own logic.
- One port, declared. The wizard asks for the container port and assumes 8080 when you leave it blank. Serve everything there.
- A published spec. OpenAPI 3.x or Swagger 2.x, JSON or YAML, at a stable address. Most frameworks publish one for you. Give every operation a clear summary and description, because those become the tool name and the text the model reads when deciding whether to call it.
- Knowledge of its own path prefix. The app is served under a path, not a subdomain. A framework that does not know it sits behind a prefix publishes a spec naming paths that do not exist at that address. Set whatever your framework calls its root path, and open the spec in a browser once to confirm.
A health endpoint is worth adding here too. An image deployed this way has no default health check, so without a path to probe the platform only checks that something is listening.
Deploy it as an app
- Start the wizard
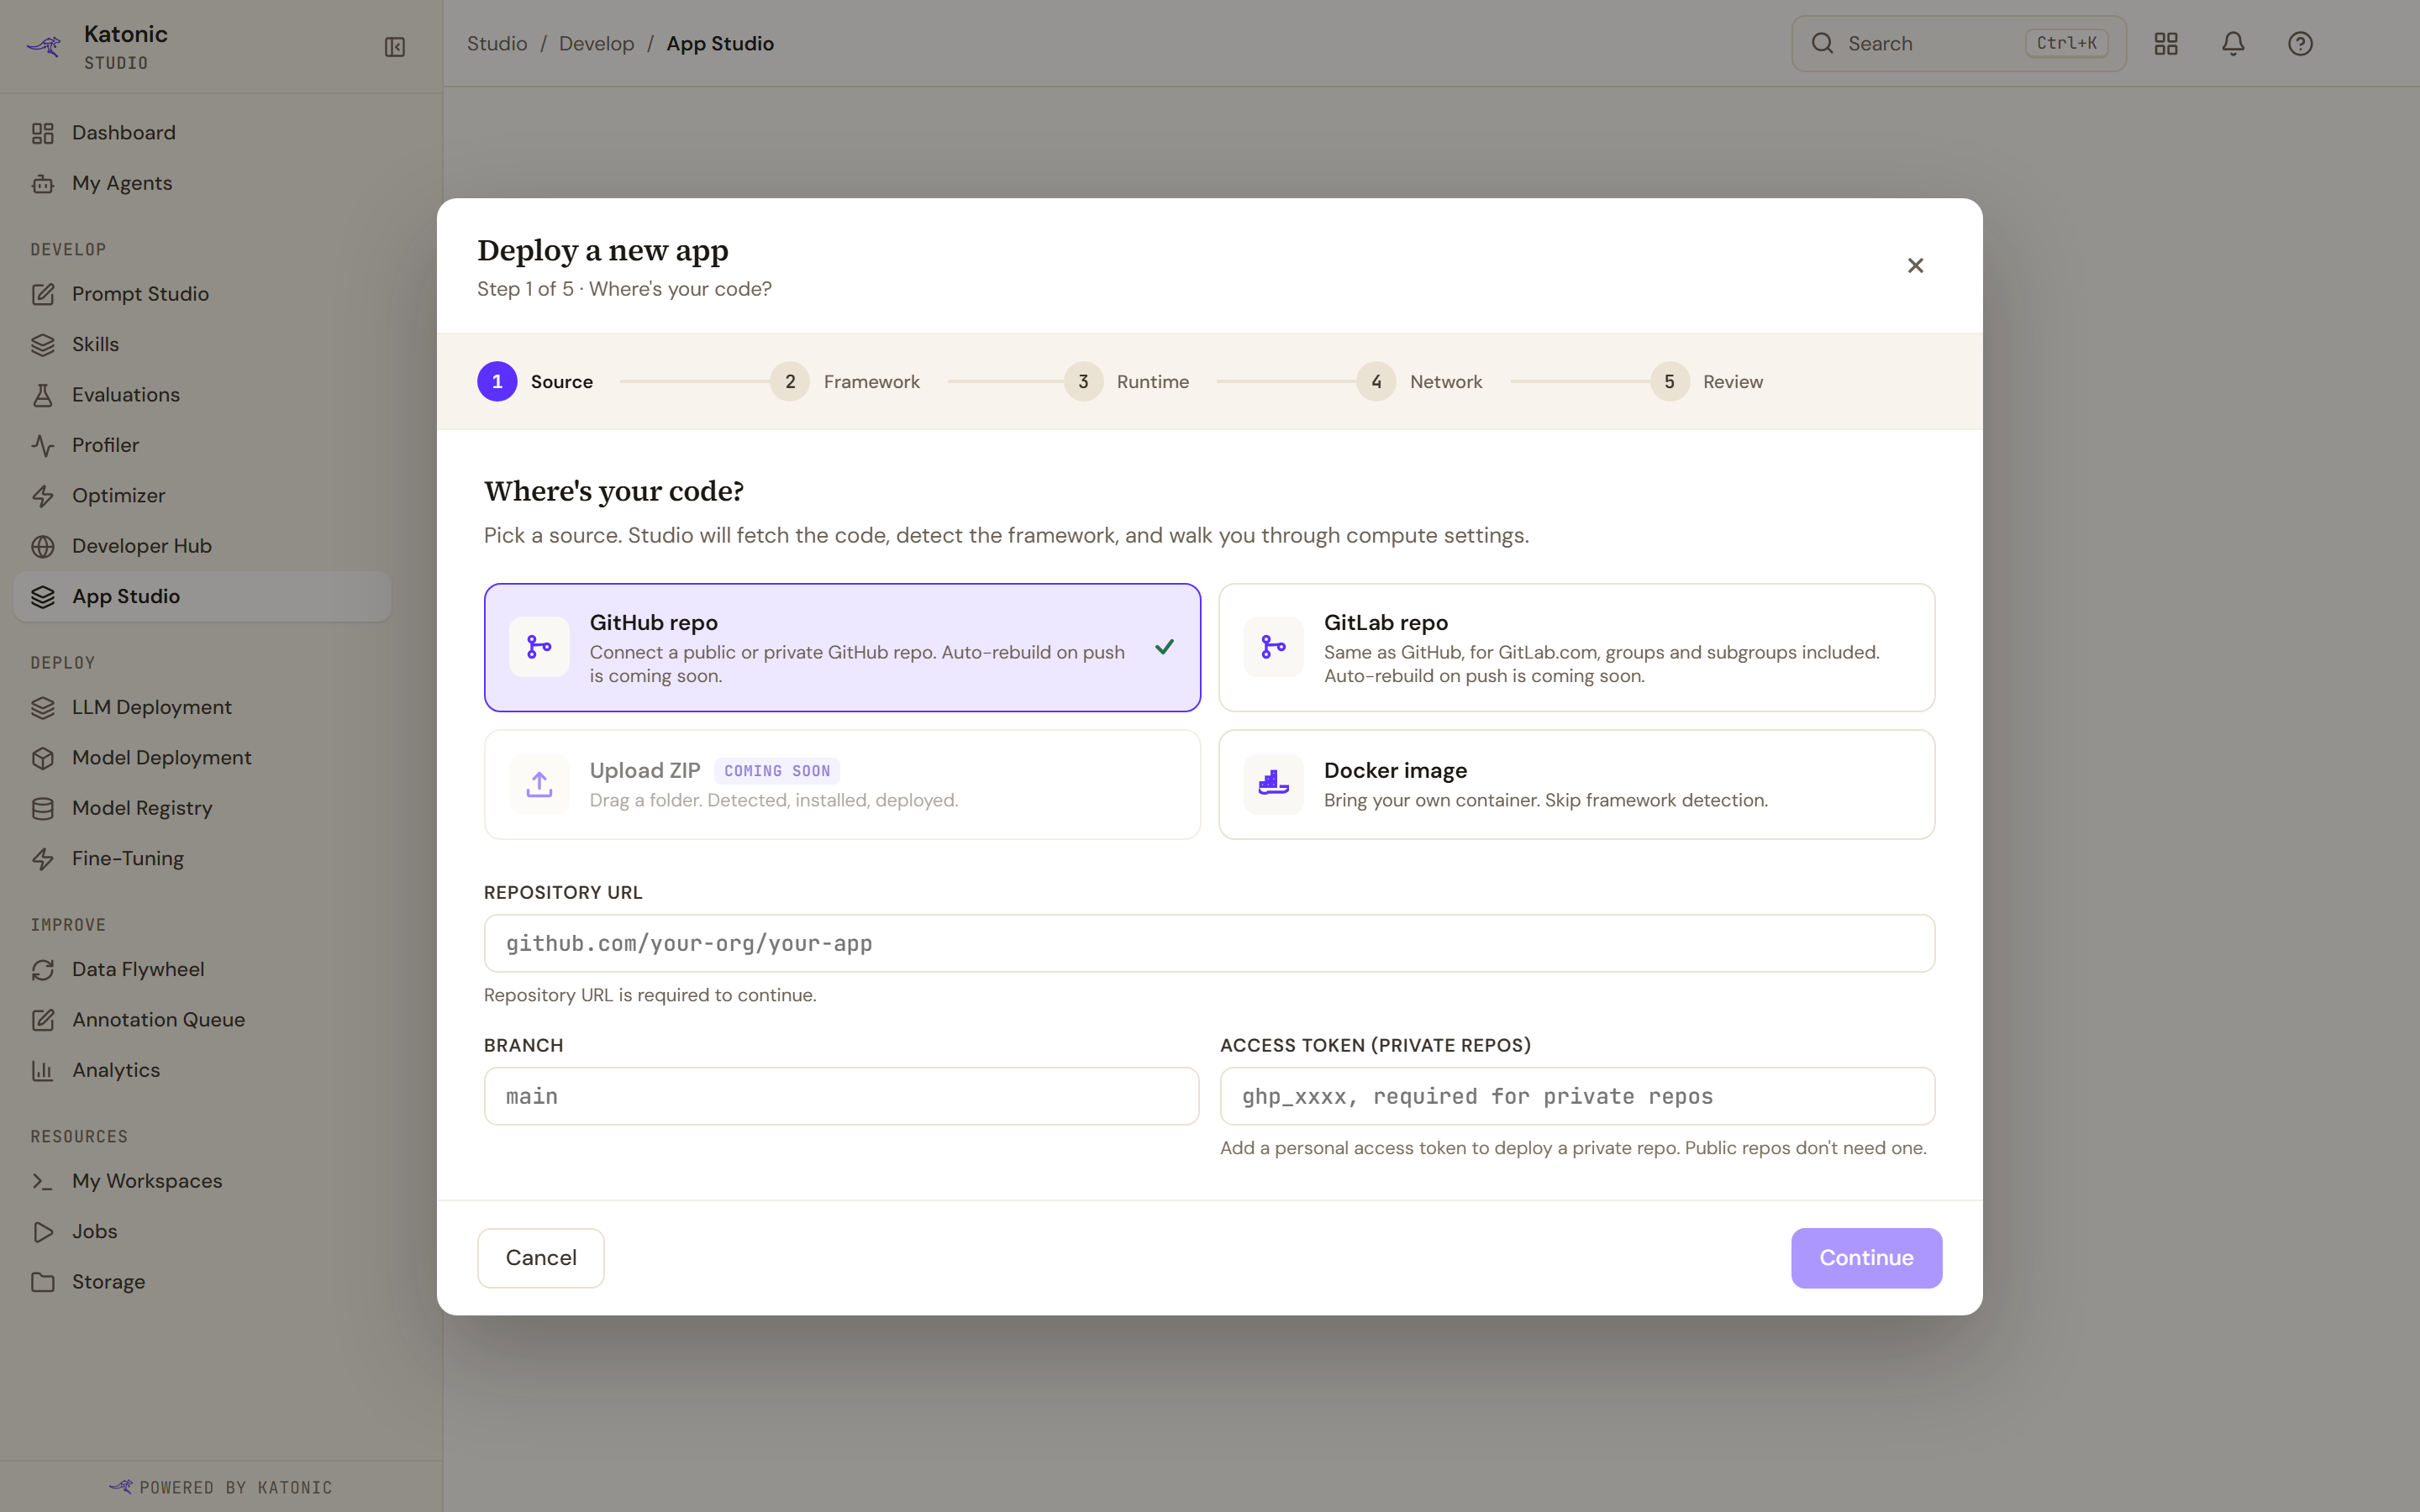
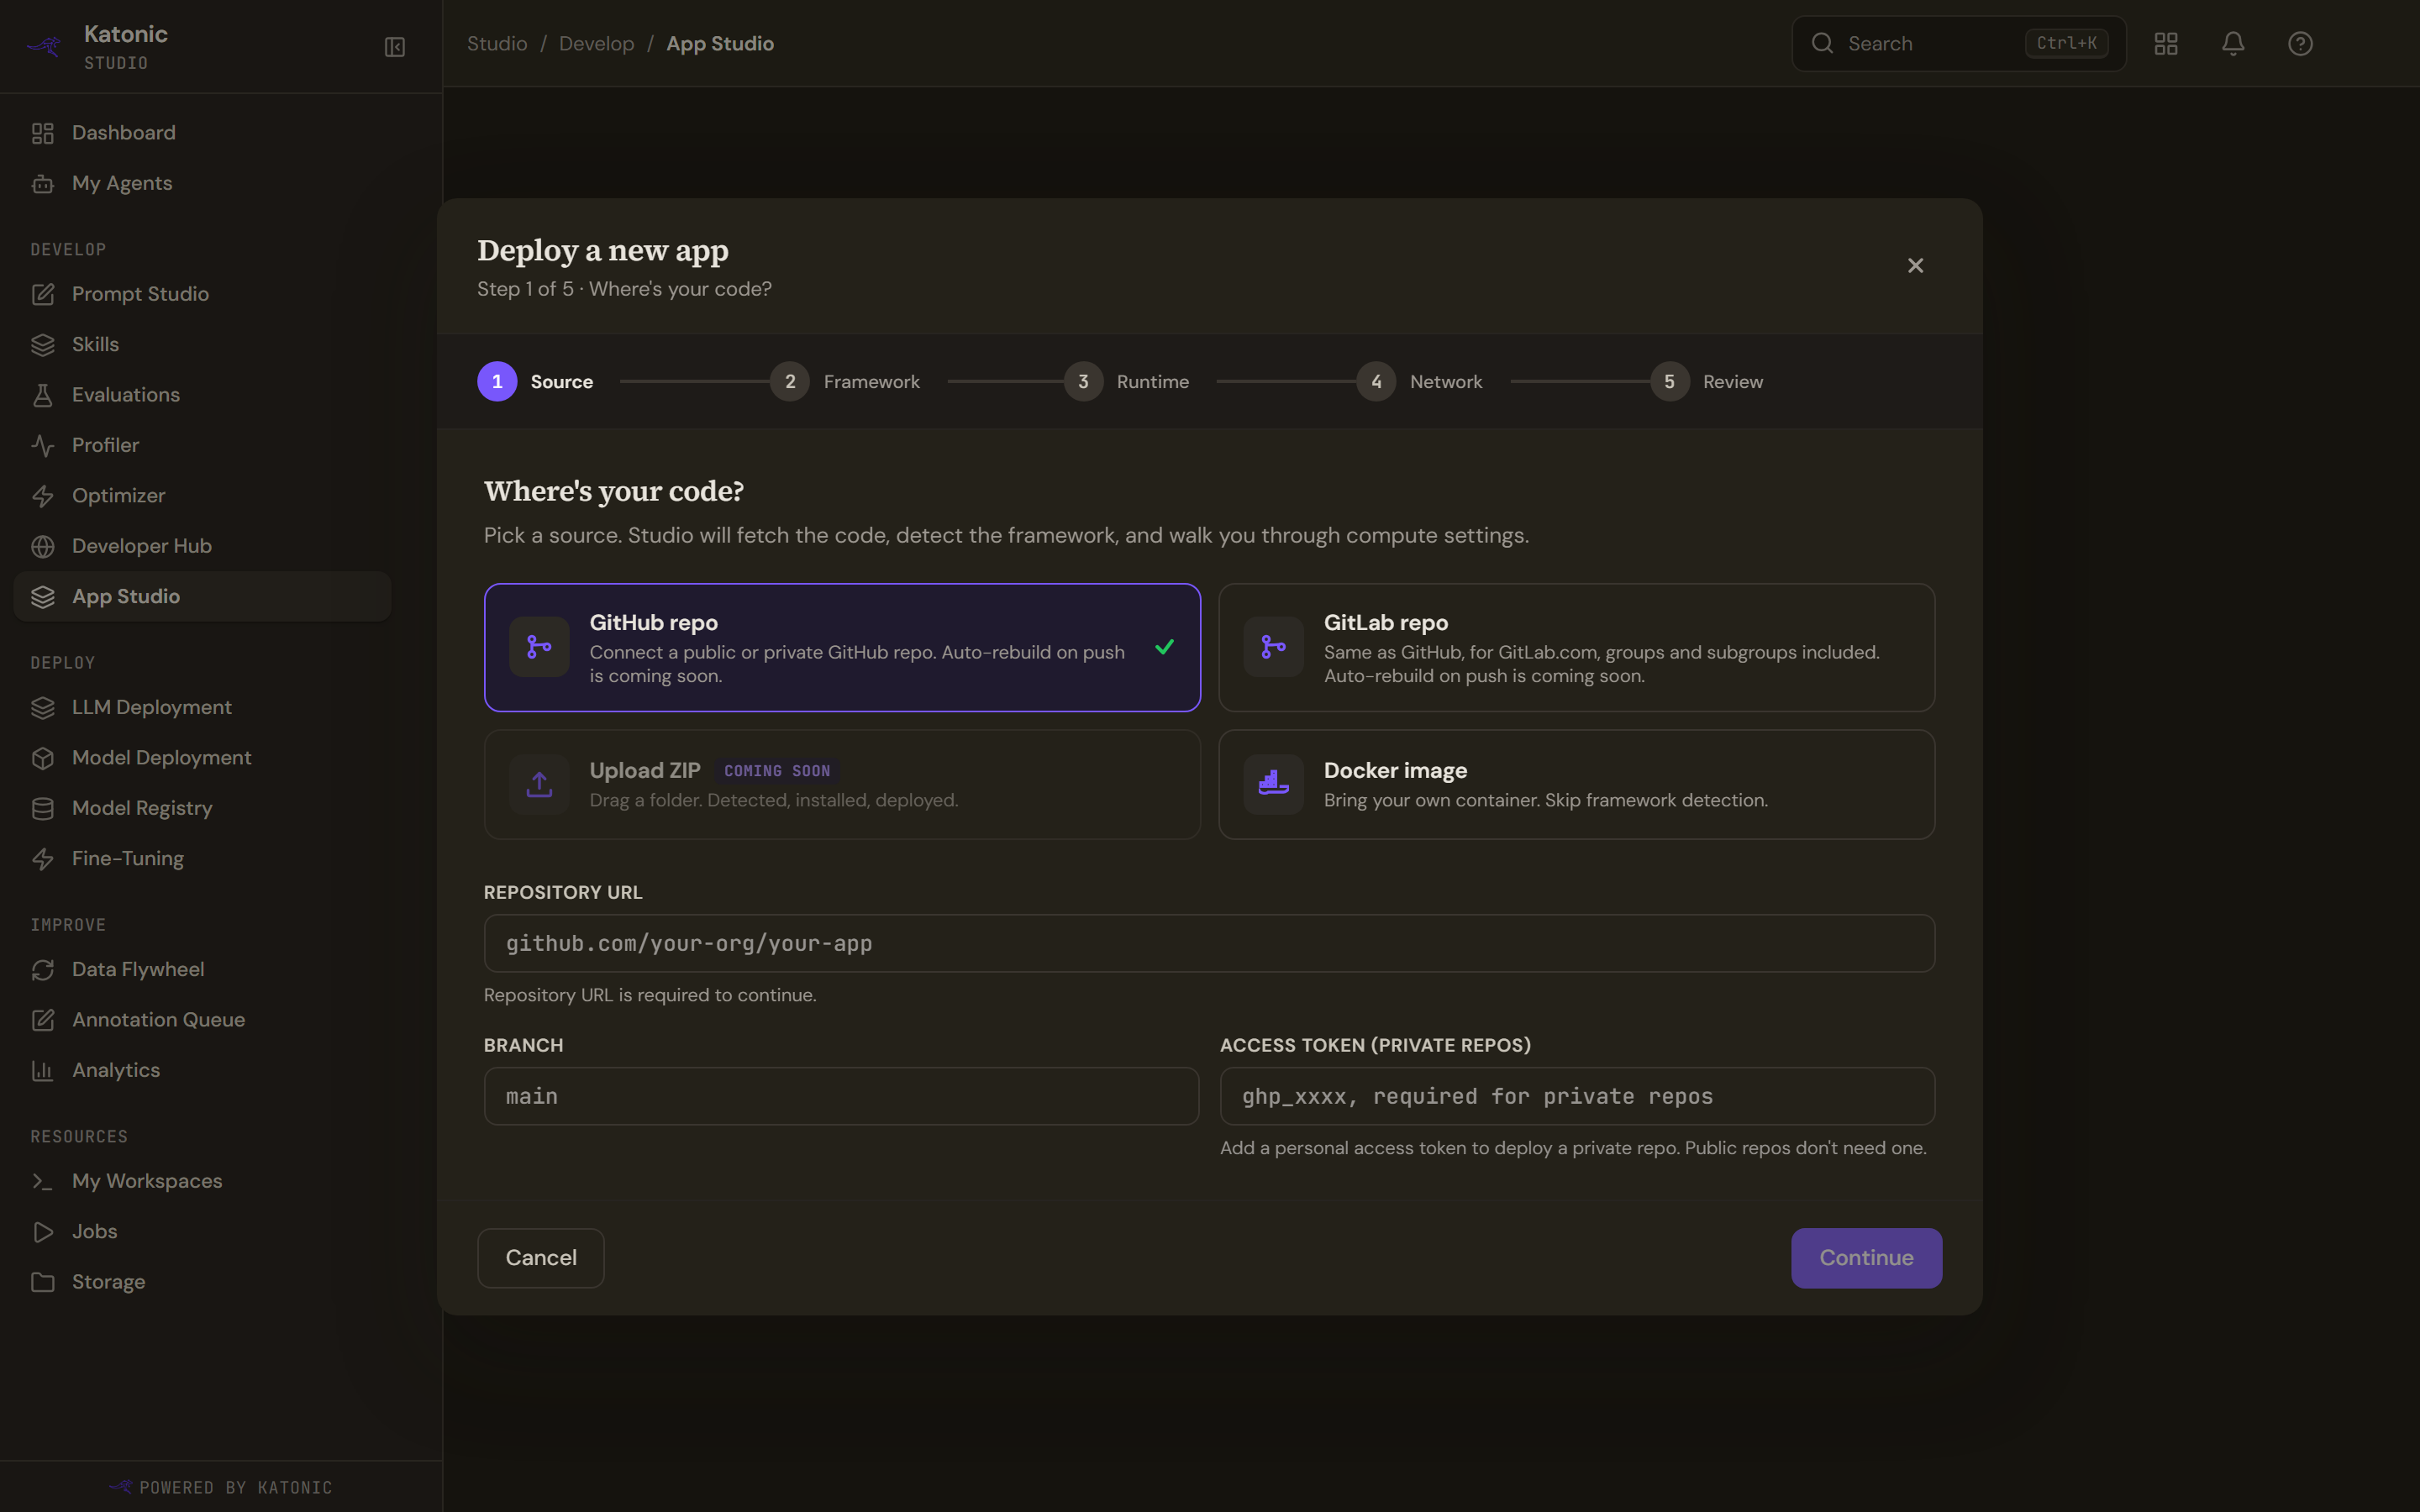
The wizard starts from where the code lives: a GitHub or GitLab repository, or a Docker image that skips framework detection. In Studio, open App Studio and select New app. For the source choose Docker image, enter the image with its tag and the Container port. The framework step is skipped.
- Size the runtime
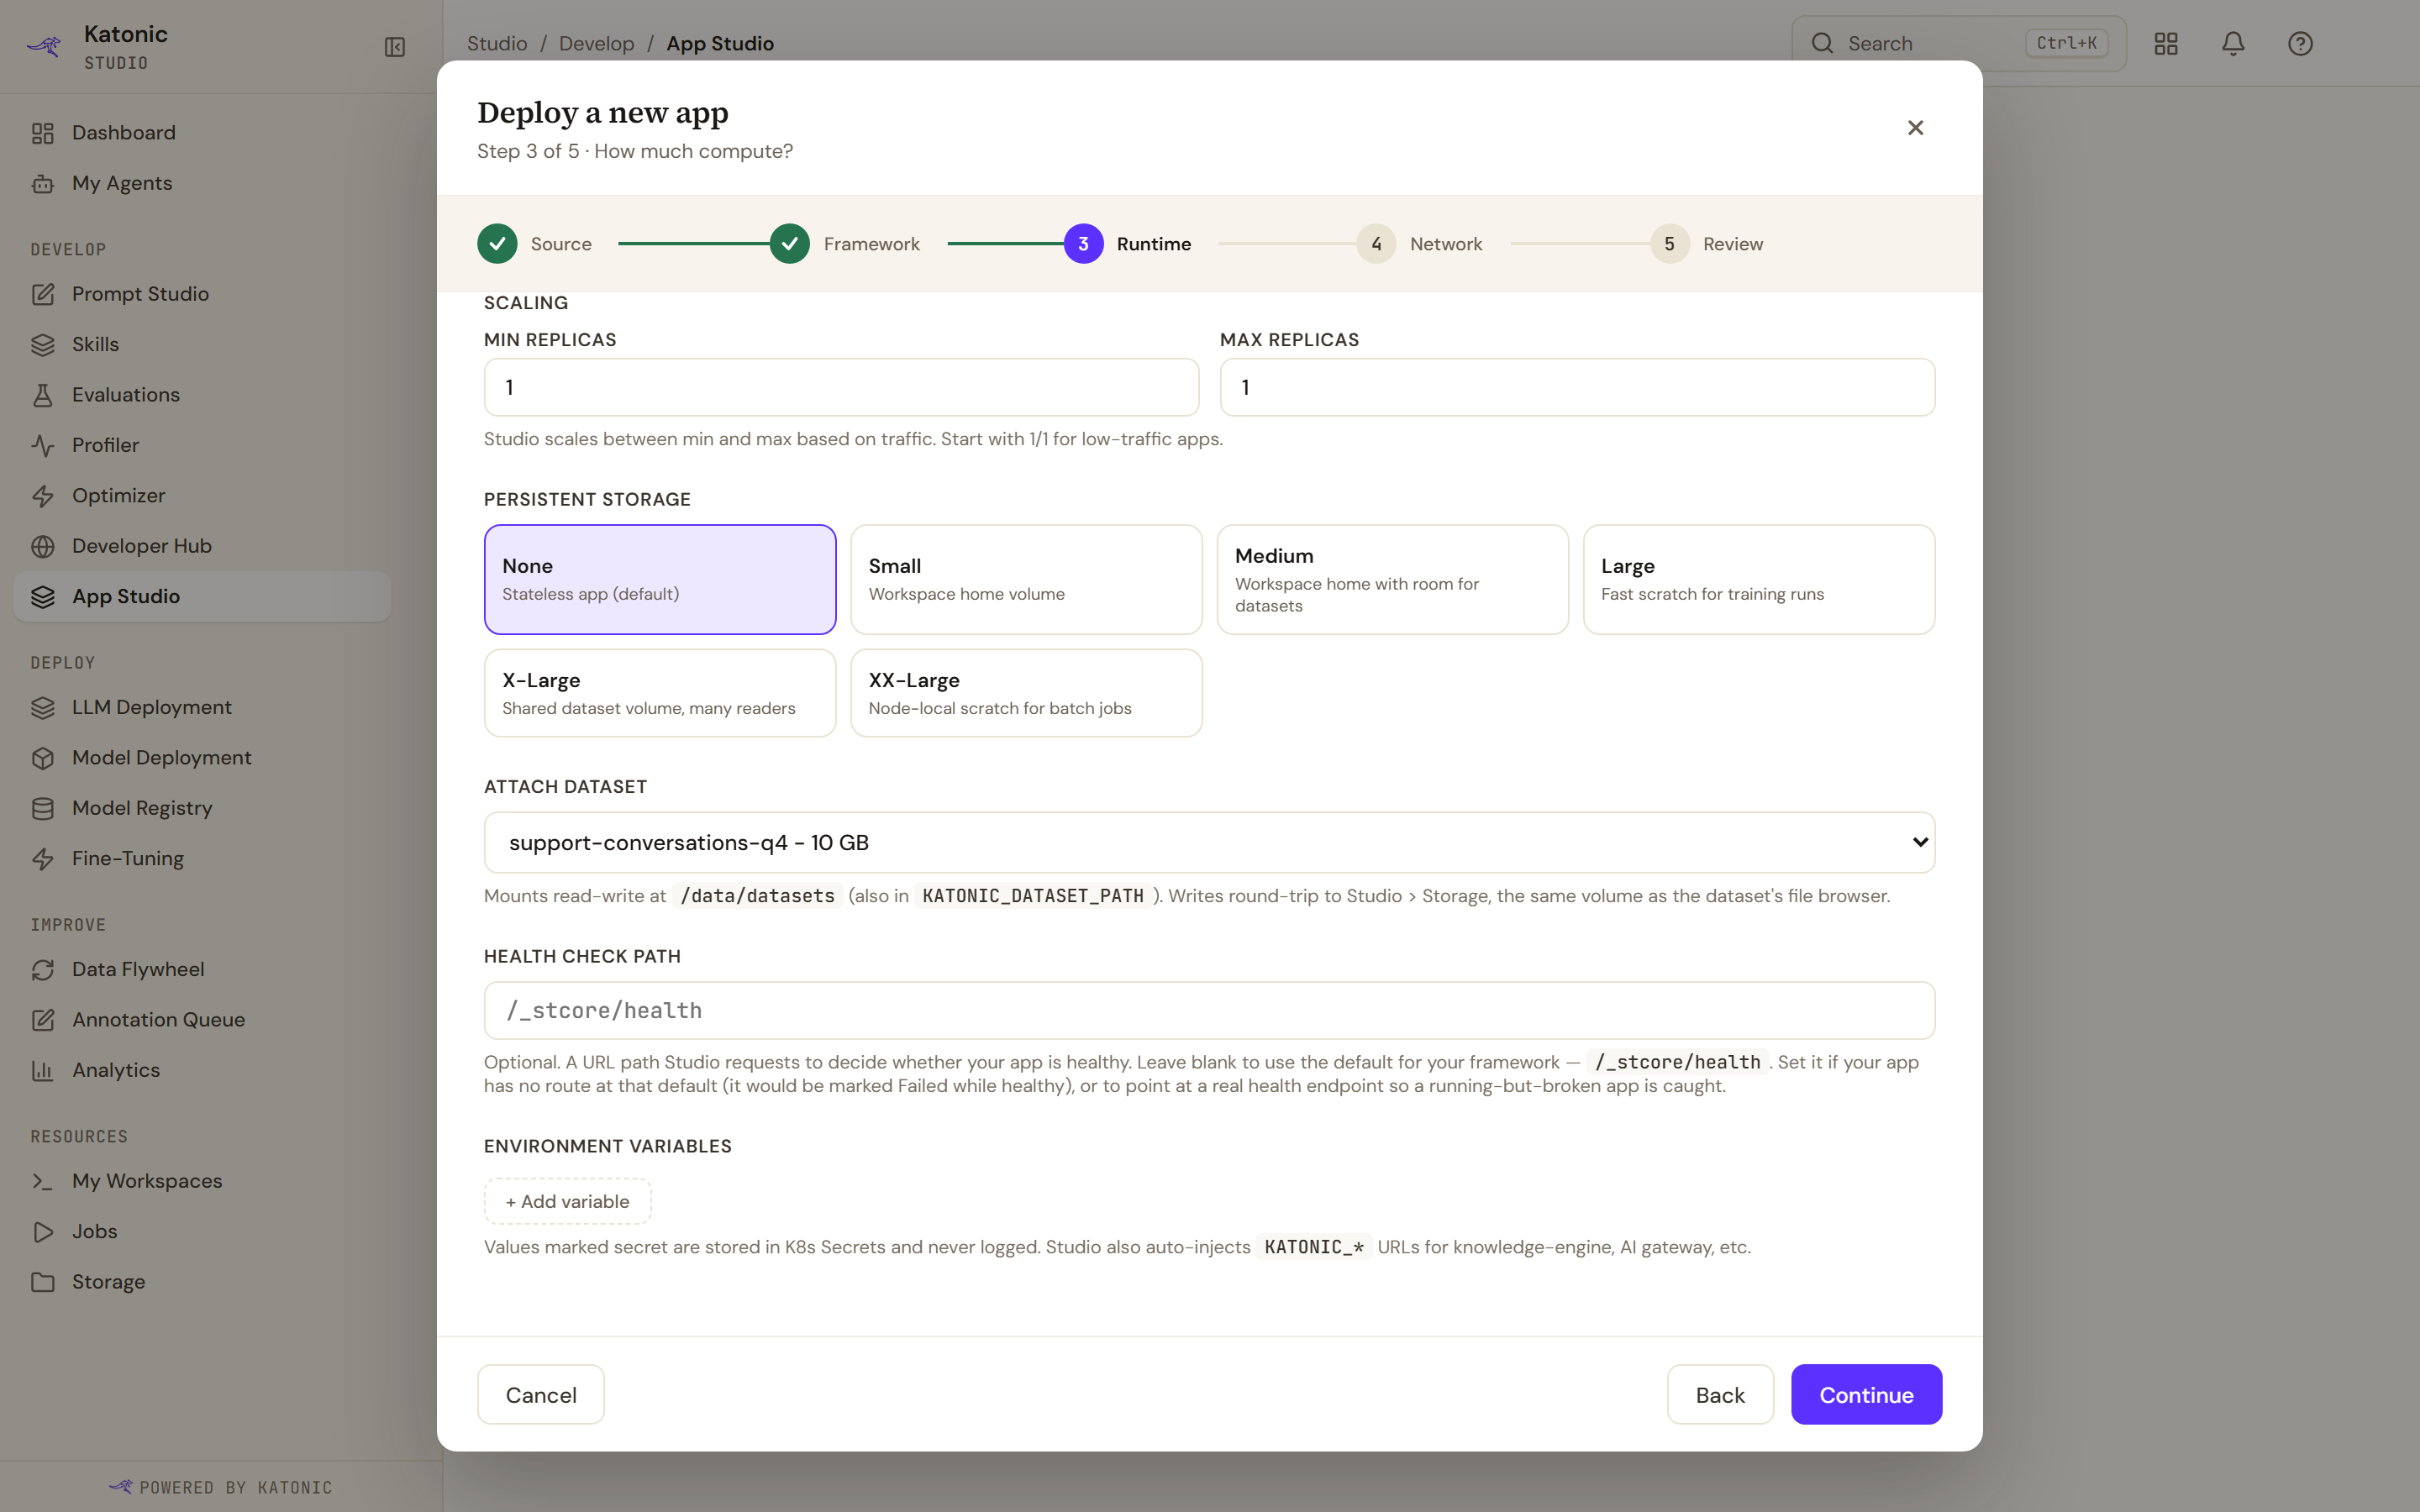
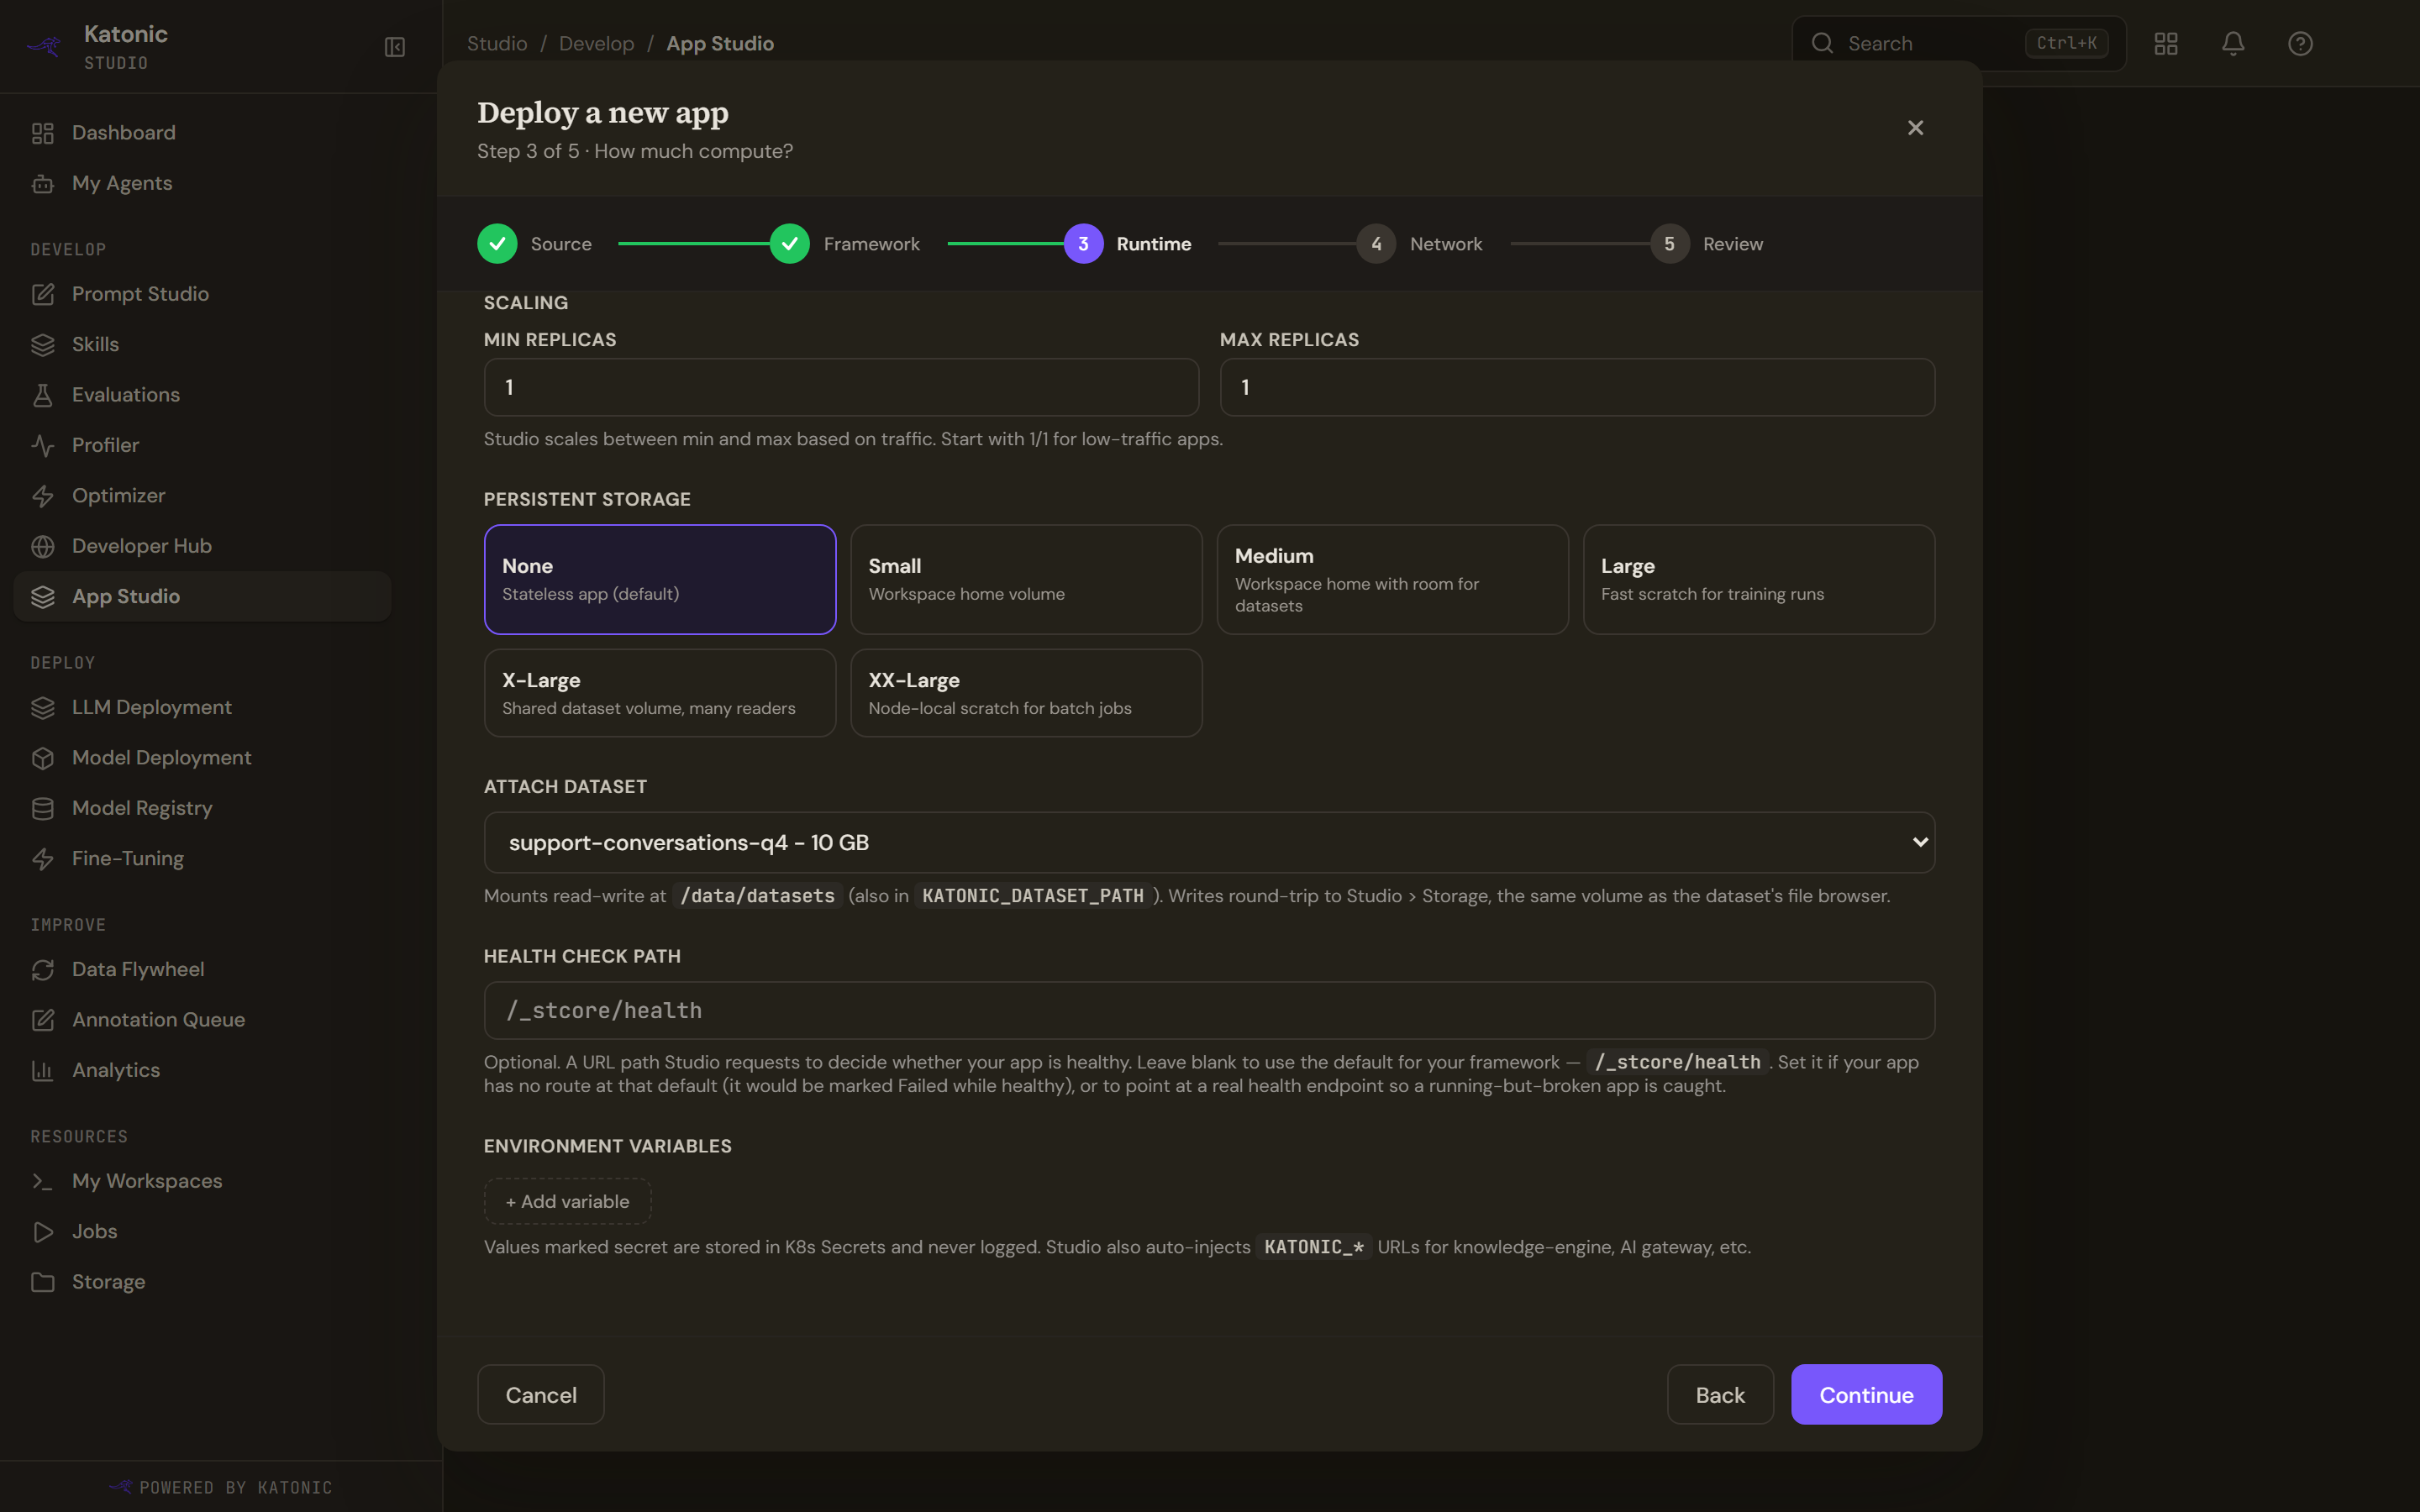
Further down the same step: storage, a dataset mounted read-write into the app, the health path the platform will probe, and environment variables. Name the app, pick a compute tier and a replica range, and attach storage if your service reads data from it. Set the Health check path to your health endpoint. Leaving it blank gives you a port check, which reports a service that is listening but has not loaded its data as healthy. Environment variables are set here.
- Set access and ship
Choose Private, Shared or Public on the network step, review, and select Ship app. The first boot is slower than later restarts.
- Take the address
When the app reads Running, Open gives you its address: the platform's own host, under a path built from the app name plus a short unique suffix. Everything that follows uses it. See Deploy an app.
Import the spec as tools
- Open the importer
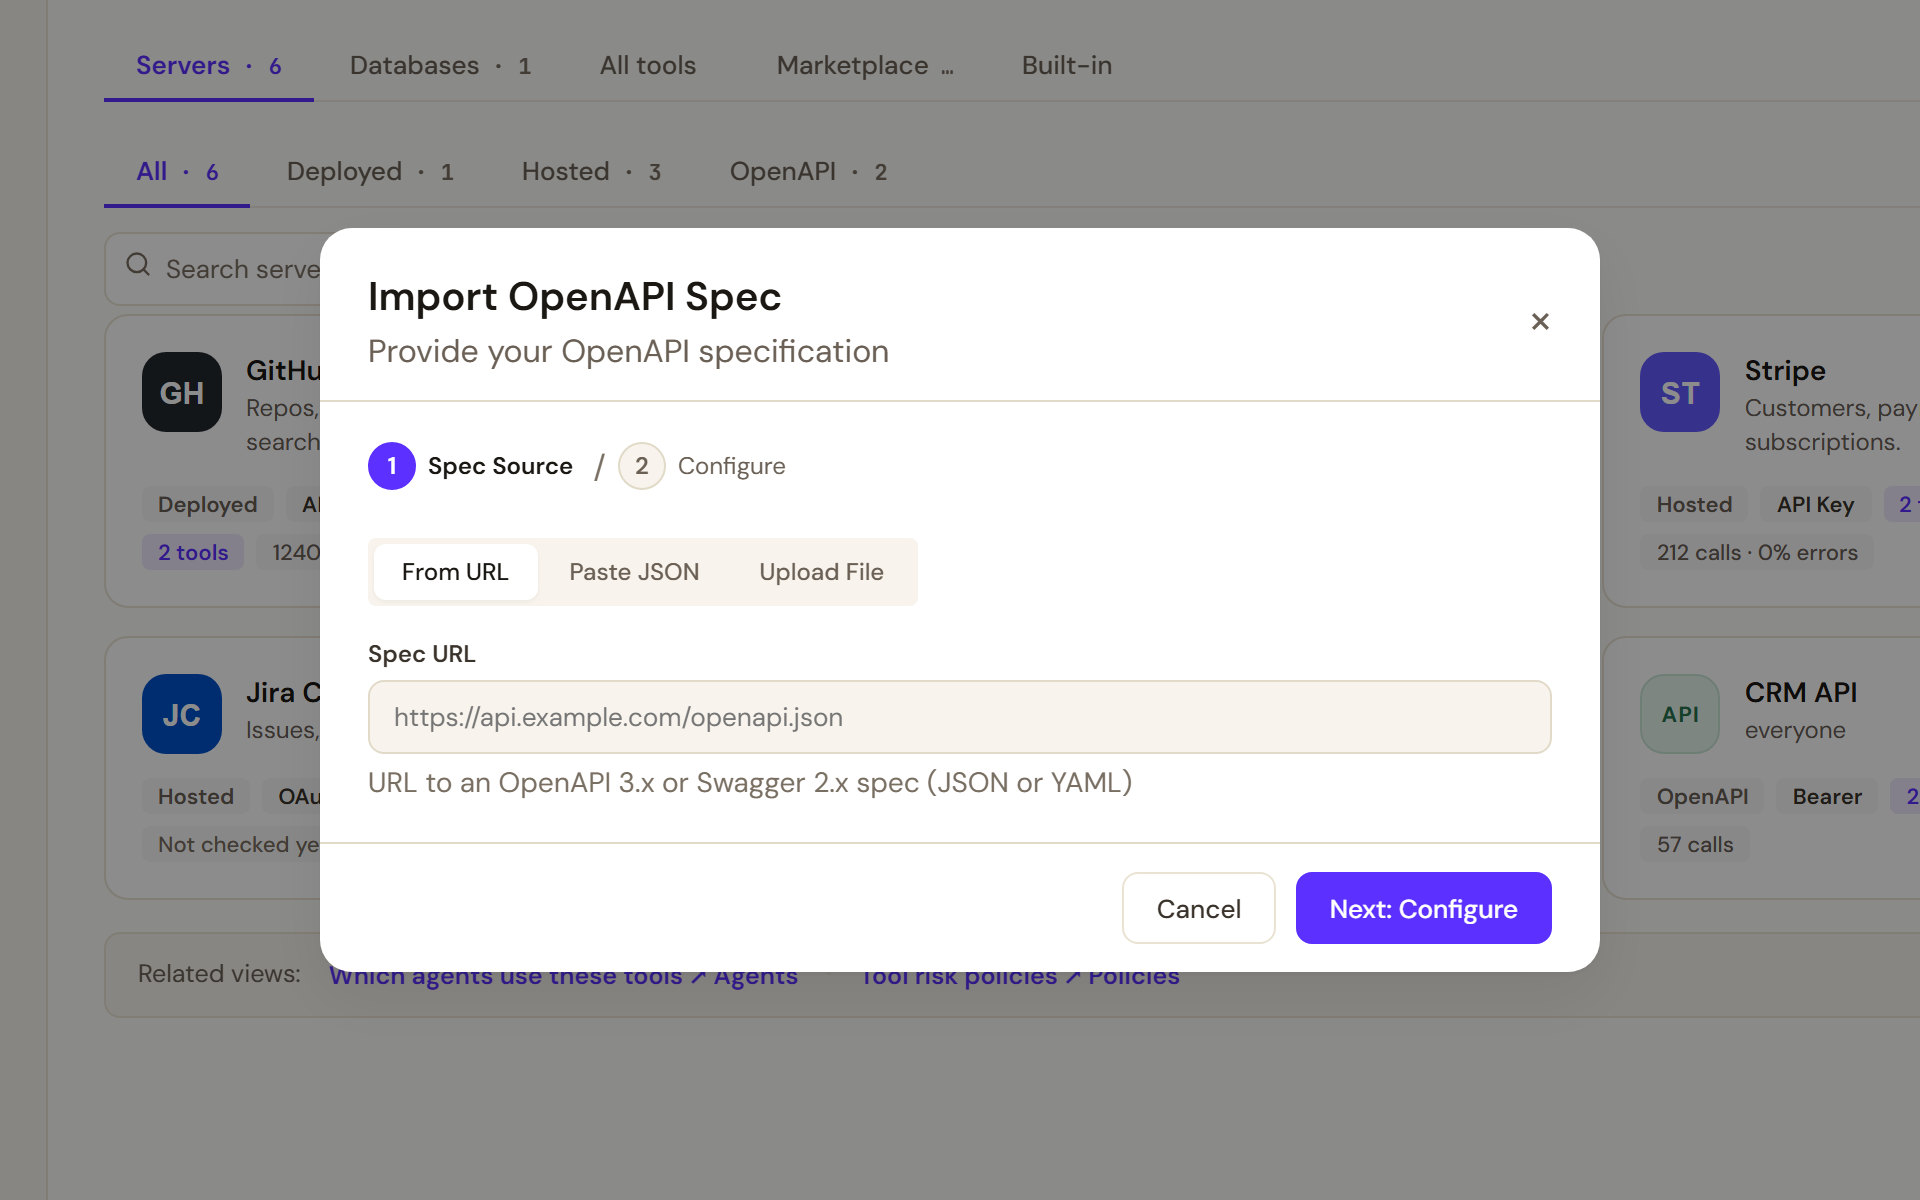
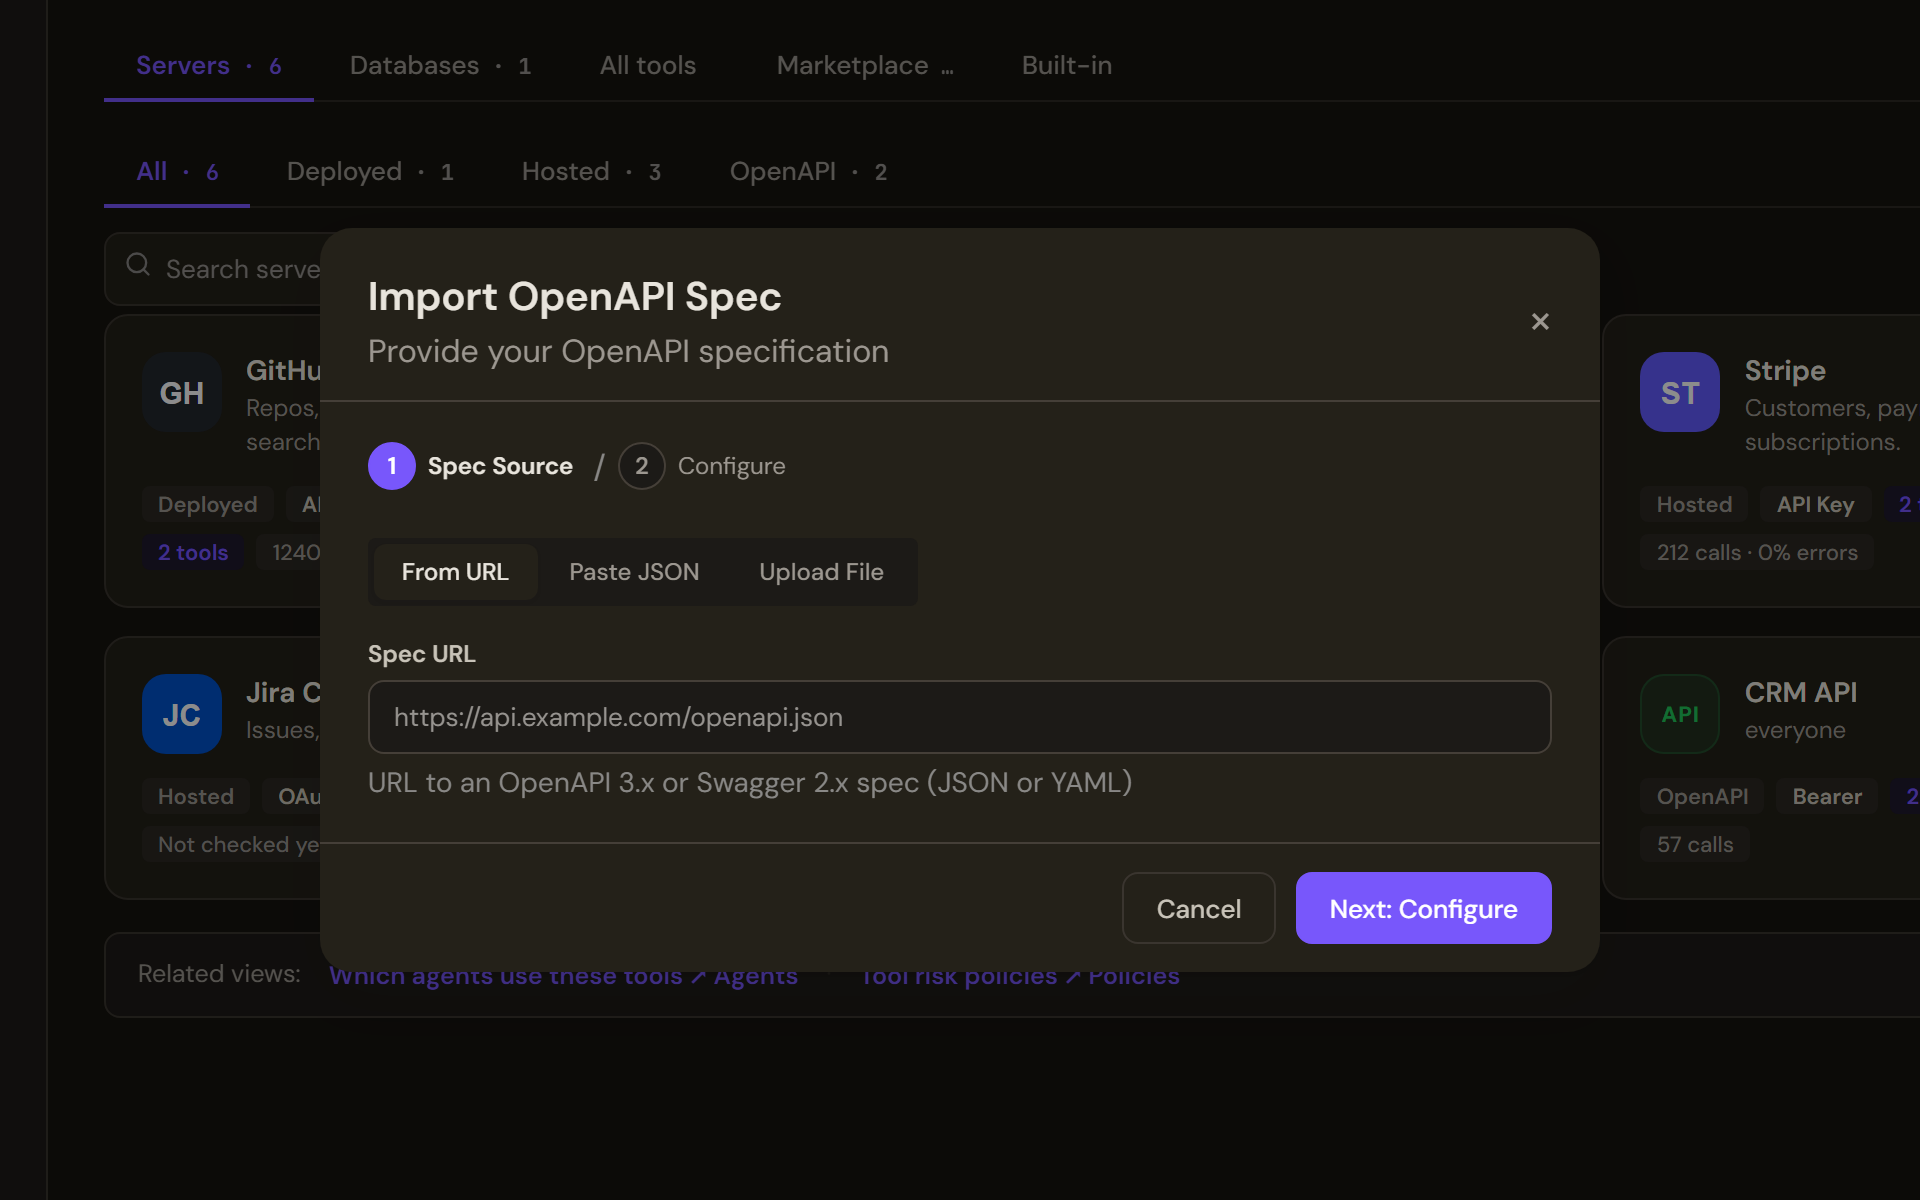
Step 1, Spec Source: give the spec by URL, paste it as JSON or upload a .json or .yaml file, then select Next: Configure. In the Control Room, open Tools and select Import OpenAPI. On Spec Source choose From URL and enter the app's address followed by the path your spec is published at. Select Next: Configure.
- Read the validation
The dialog validates the spec and reports success, warnings or errors. Warnings mean some features will be skipped and the import still works; errors stop it until the spec is fixed. If the spec cannot be fetched from the address, go back and use Paste spec or Upload File instead.
- Configure the source
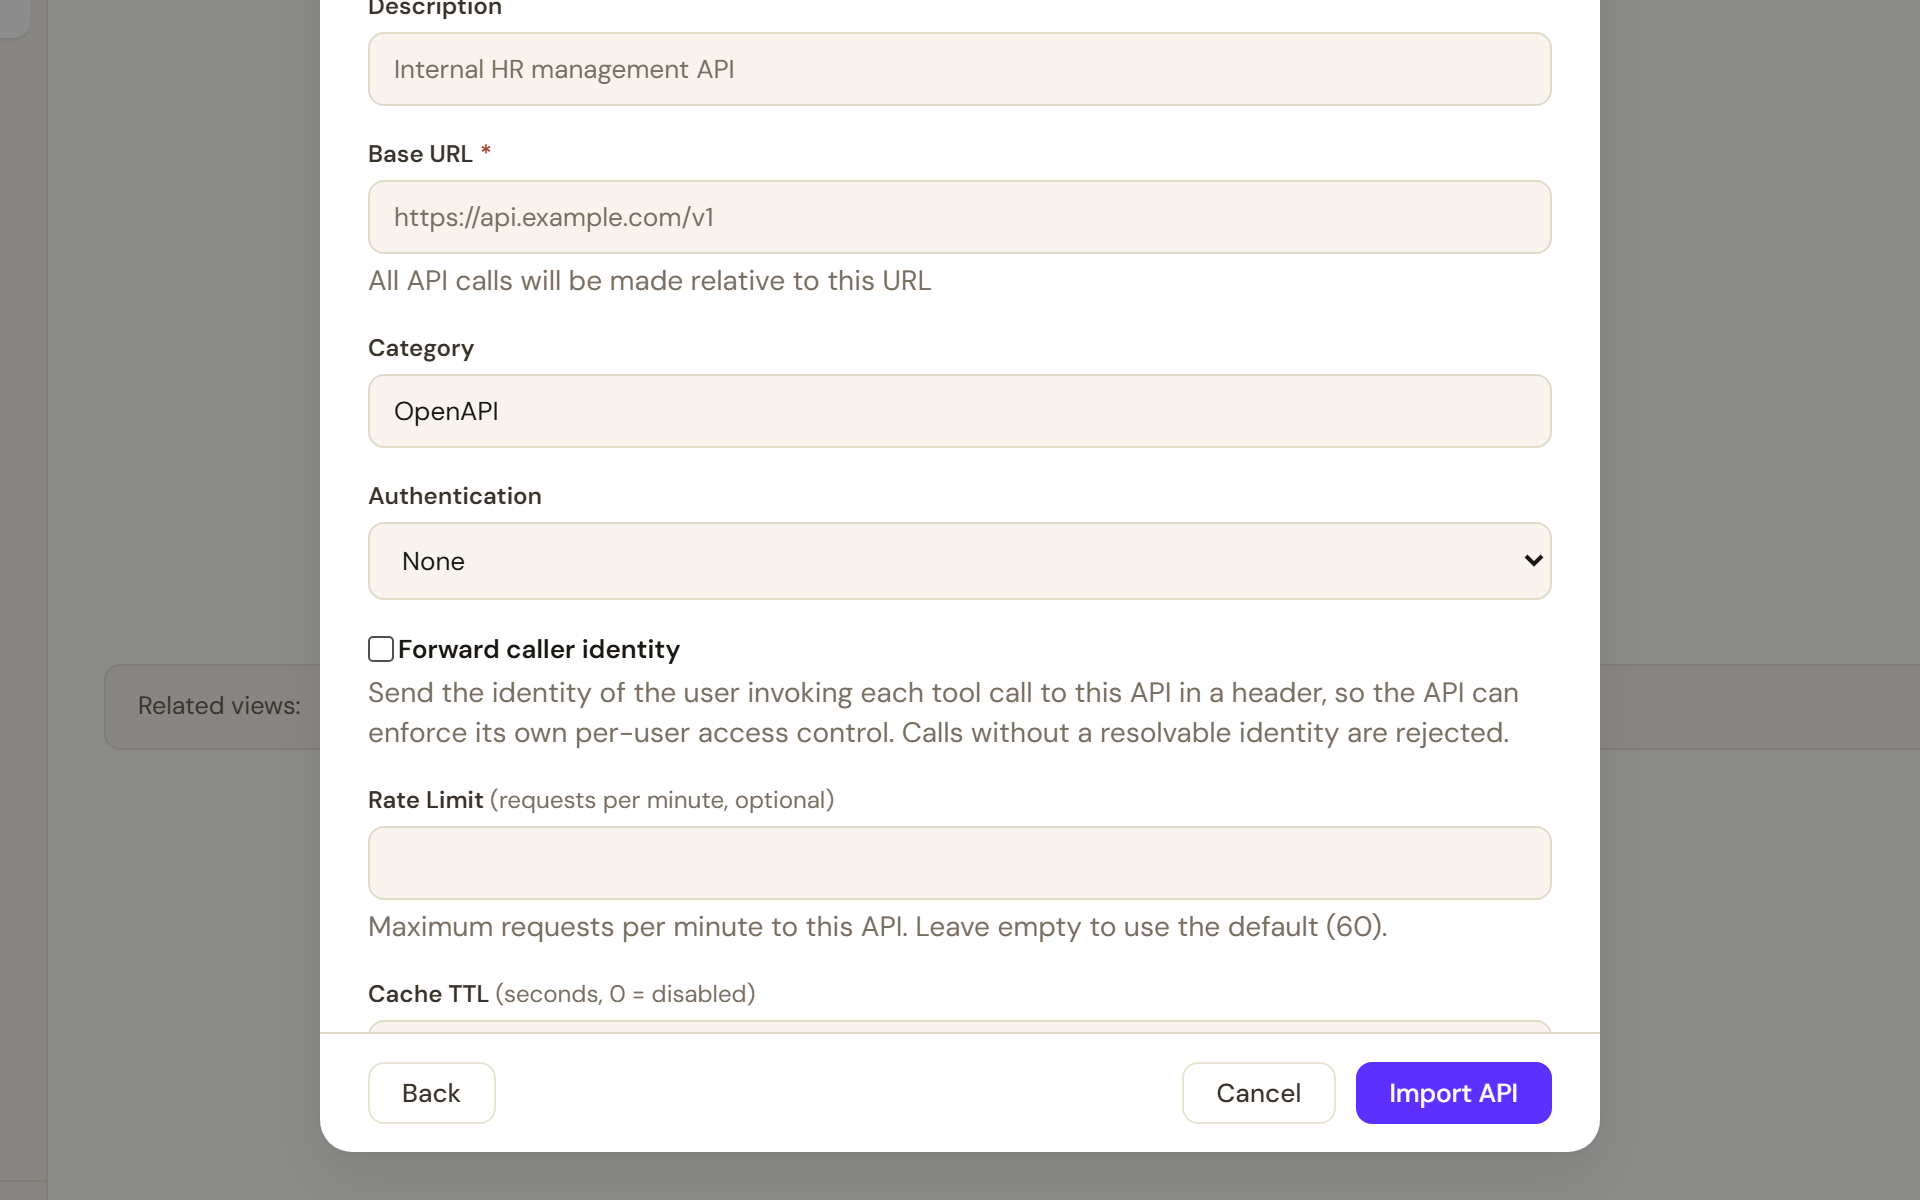
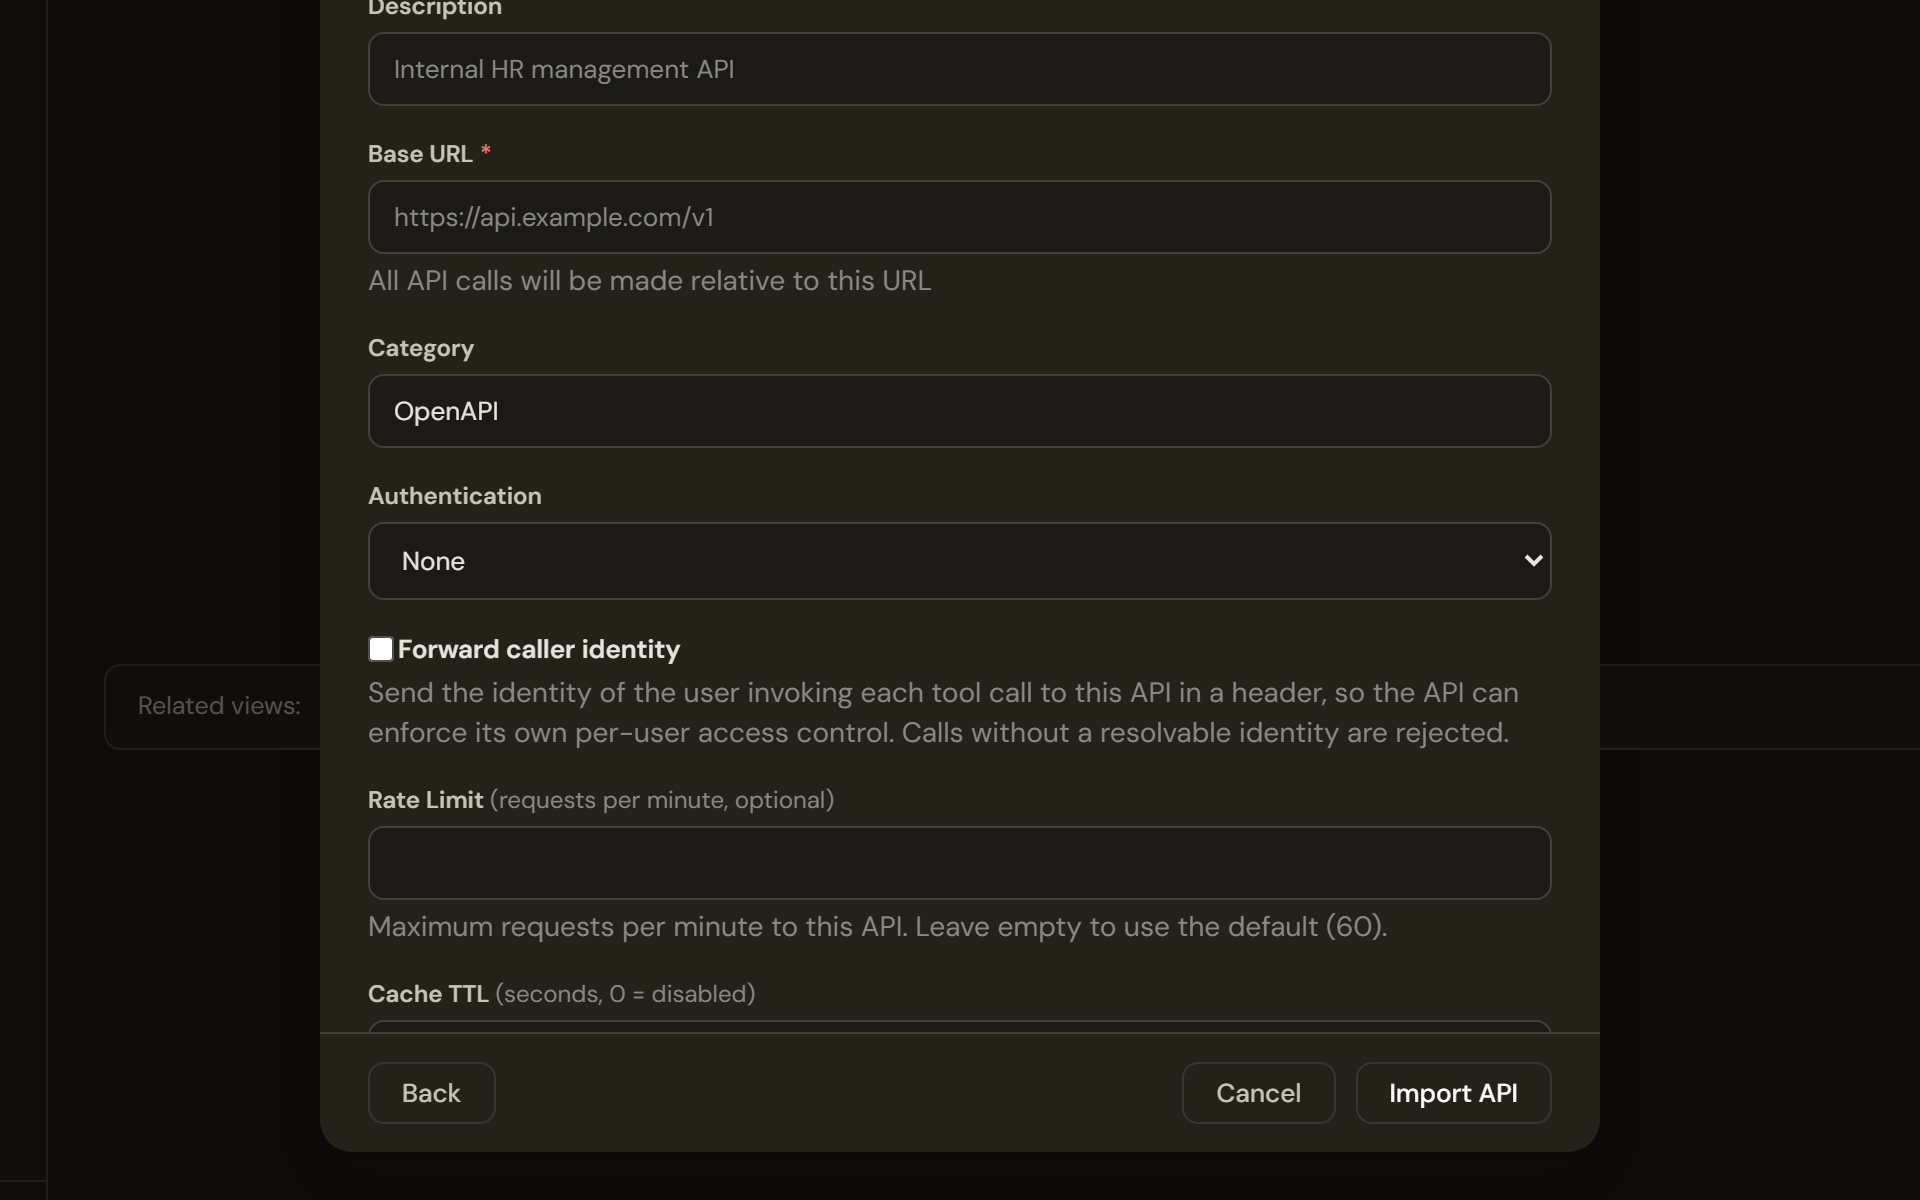
Step 2, Configure: set the Base URL, choose the authentication, decide whether to forward the caller's identity, cap requests per minute and cache responses, then select Import API. Name it, describe it, pick a category, and set the Base URL to the app's address. Every call is made relative to it, so this is the field that decides whether your tools reach the app at all. Choose the authentication your service expects, and switch on Forward caller identity if it applies its own per-user rules.
- Set limits and groups
A Rate Limit caps calls per minute and defaults to sixty. Cache TTL caches identical requests for that many seconds; leave it at zero for anything that reads live records. Choose the Access Groups that may use the tools and select Import API.
Verify
On Servers, the source appears as an OpenAPI card reading ENABLED with the number of operations you expect. Open it and run Health Check: it calls the app with the configured authentication and reports a health issue if it cannot. On All tools, filter by OpenAPI and check that each operation carries the risk you expect, read from its HTTP method.
Then call one from the agent test panel in Studio before attaching the source to a published agent.
Keep them in step
Changing the service does not change the tools. When you ship a new image whose spec has changed, open the source and select Refresh Spec, which re-reads it and updates the operations. This is the cost of this route, and the reason to version the image and the spec together.
Troubleshooting
- The spec will not fetch from the URL. The app may not be reachable from where the importer runs, or the path is wrong. Open it in a browser first, then paste or upload the spec.
- Validation errors. The document is not valid OpenAPI 3.x or Swagger 2.x. Fix it at the source rather than editing an exported copy, which will be overwritten on the next refresh.
- A health issue on the detail. The Base URL is wrong, the app is stopped, or the credential is not the one it expects. Check the address first; a prefix left off is the usual cause.
- The app reads Failed but answers fine. The health check path has no route behind it, so the pod never goes ready. See Size and configure an app.
- Tools call the wrong paths. The service does not know about its path prefix, so the spec names paths that do not exist at the app's address. Set the root path and refresh the spec.