Deploy an app
New app opens a five-step wizard. Your progress is kept in the browser if you close it, for a day, and the access token is never part of what is kept.
Who can use it: the Builder role or higher.
Recorded on .
Deploy an app in four steps
The video above walks the wizard end to end; the sections below say what each step decides.
- Choose the source
New app opens the wizard. Pick a GitHub repository, a GitLab repository on gitlab.com, or a Docker image, which skips framework detection. Give the repository root; the branch is optional, and an access token is needed only for a private repository.
- Confirm the framework
Studio reads the repository and guesses, and says so when it cannot tell. Pick a tile, each with the port it serves on; your pick is marked as your choice, with the main file and the start command filled in.
- Size the runtime
Name the app, choose a compute tier, the runtime image and the replica range, then storage, a dataset, the health check path and environment variables. Leave the health check path blank to use the framework default.
- Set access, review and ship
Choose Private, Shared or Public; the step warns where the cluster does not enforce it, and Routing and CORS are Preview only. Review repeats every choice with the app's address and what the build will do. Ship app deploys it.
Source
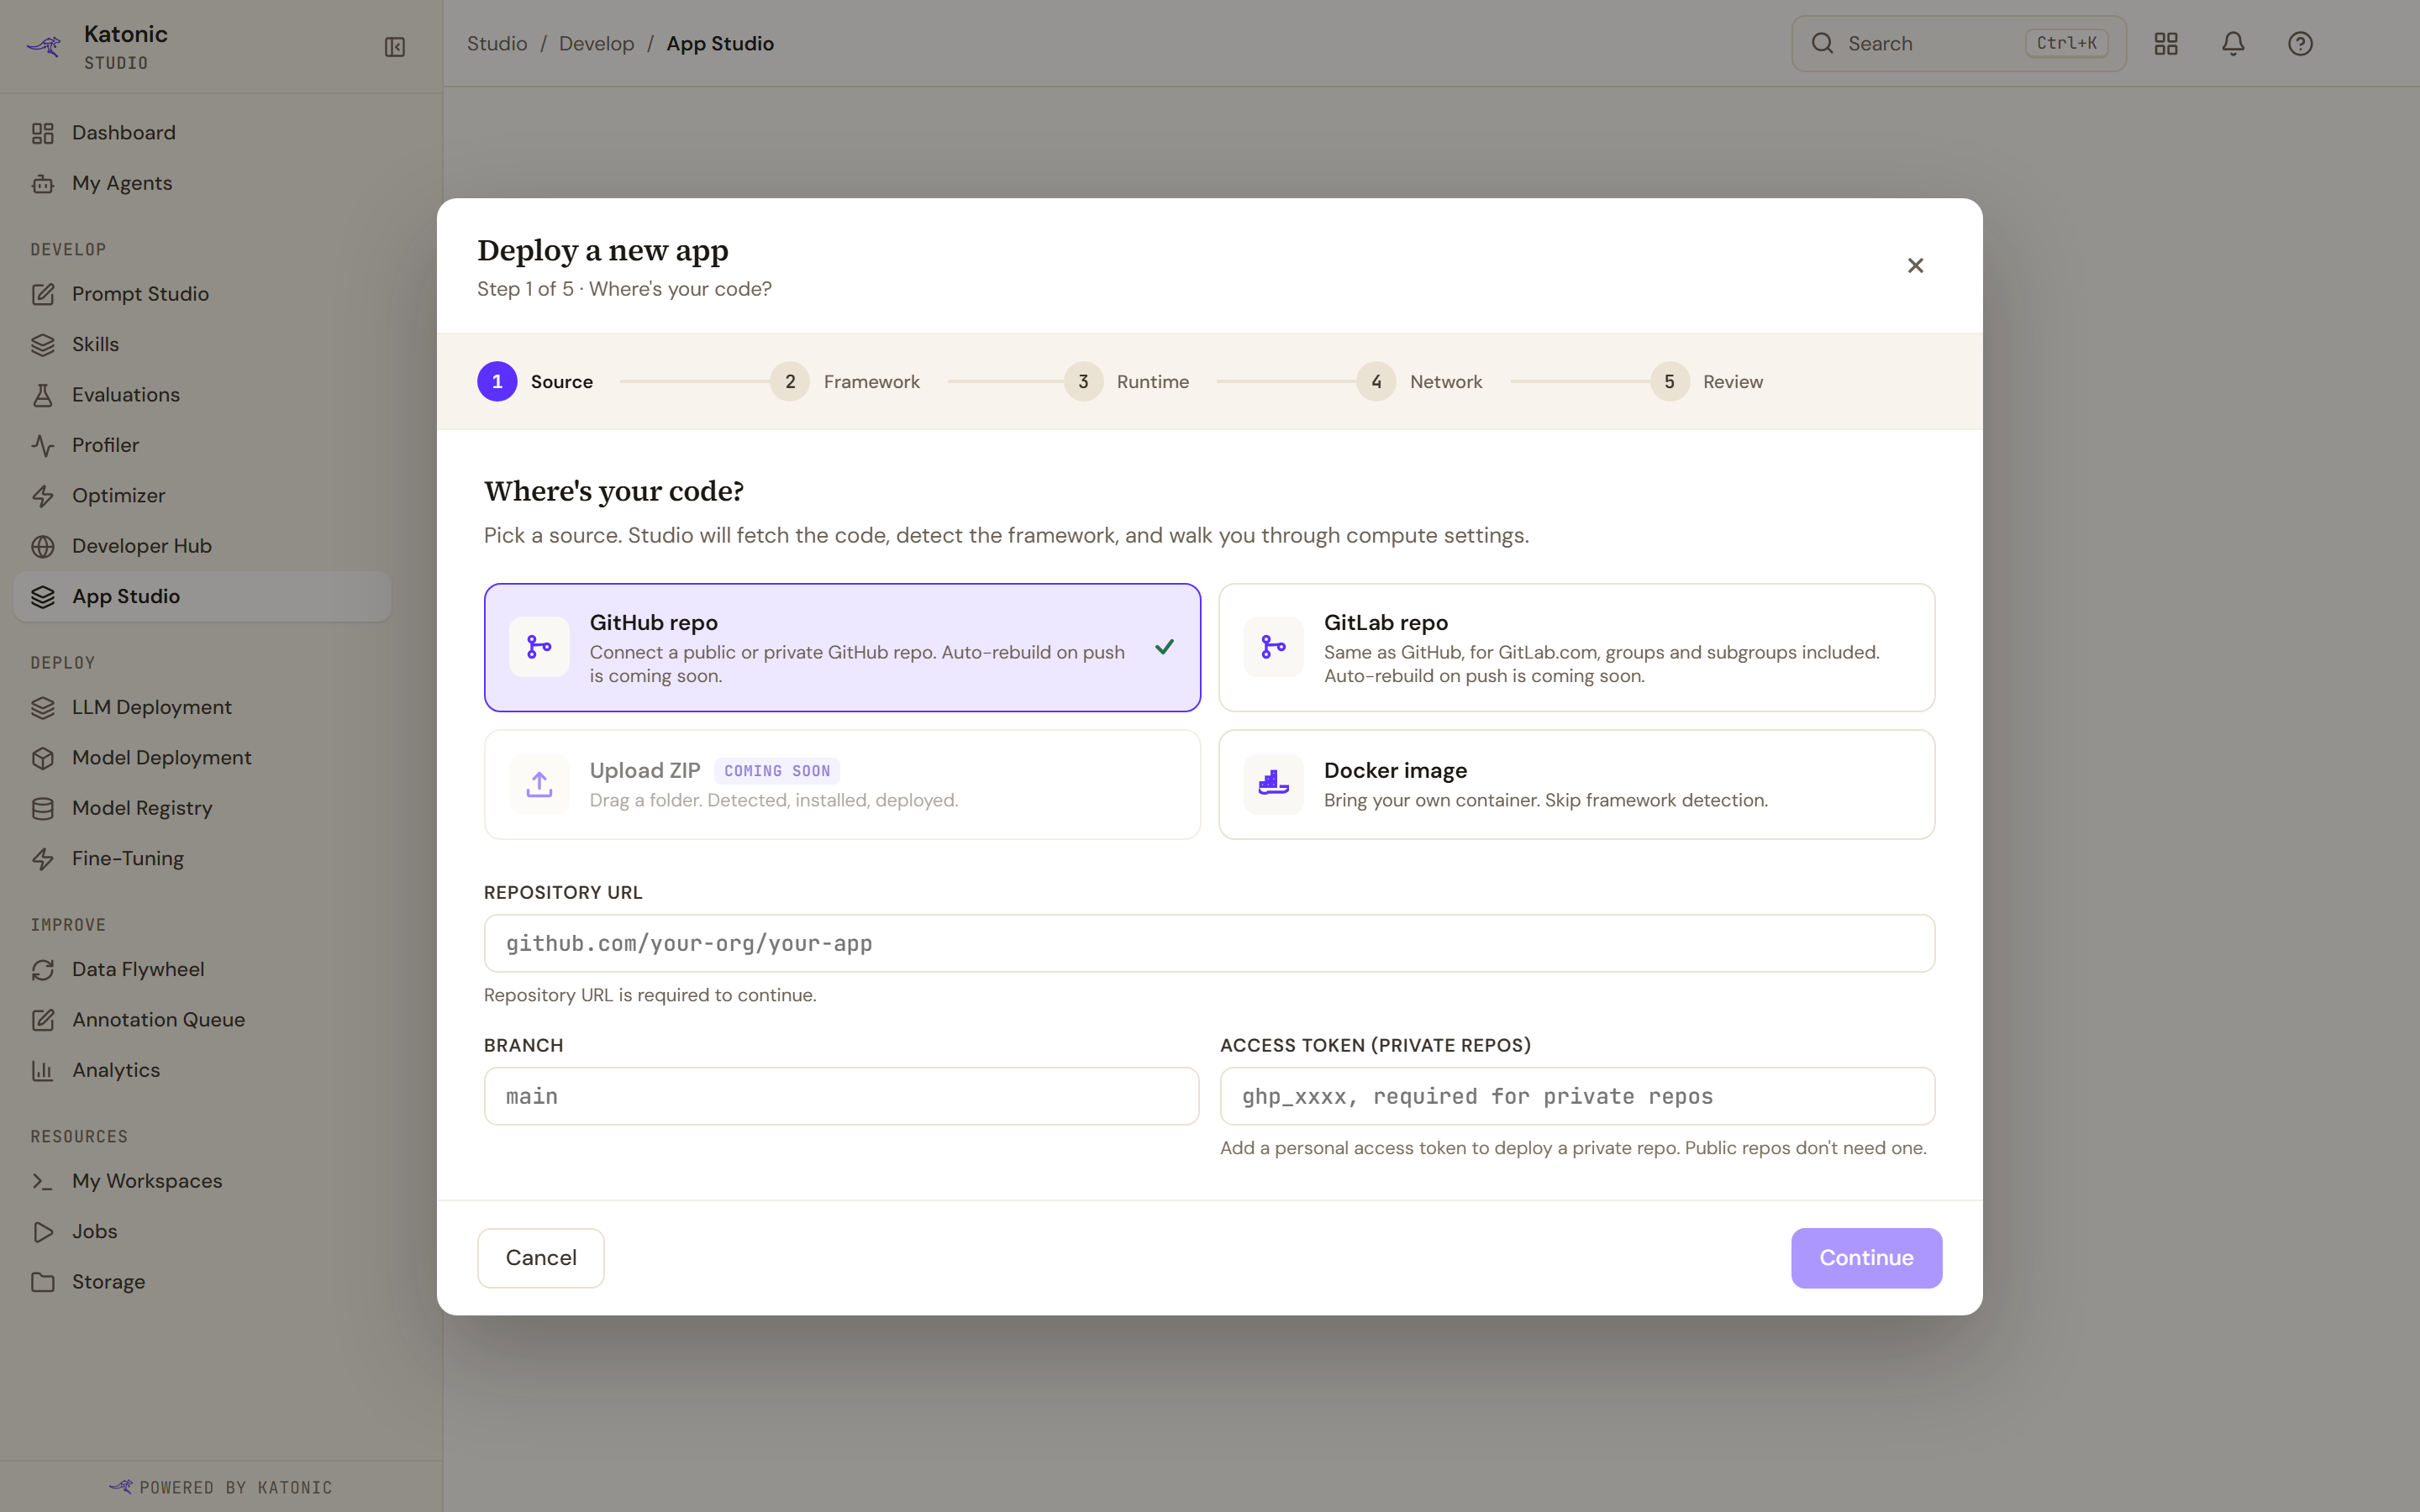
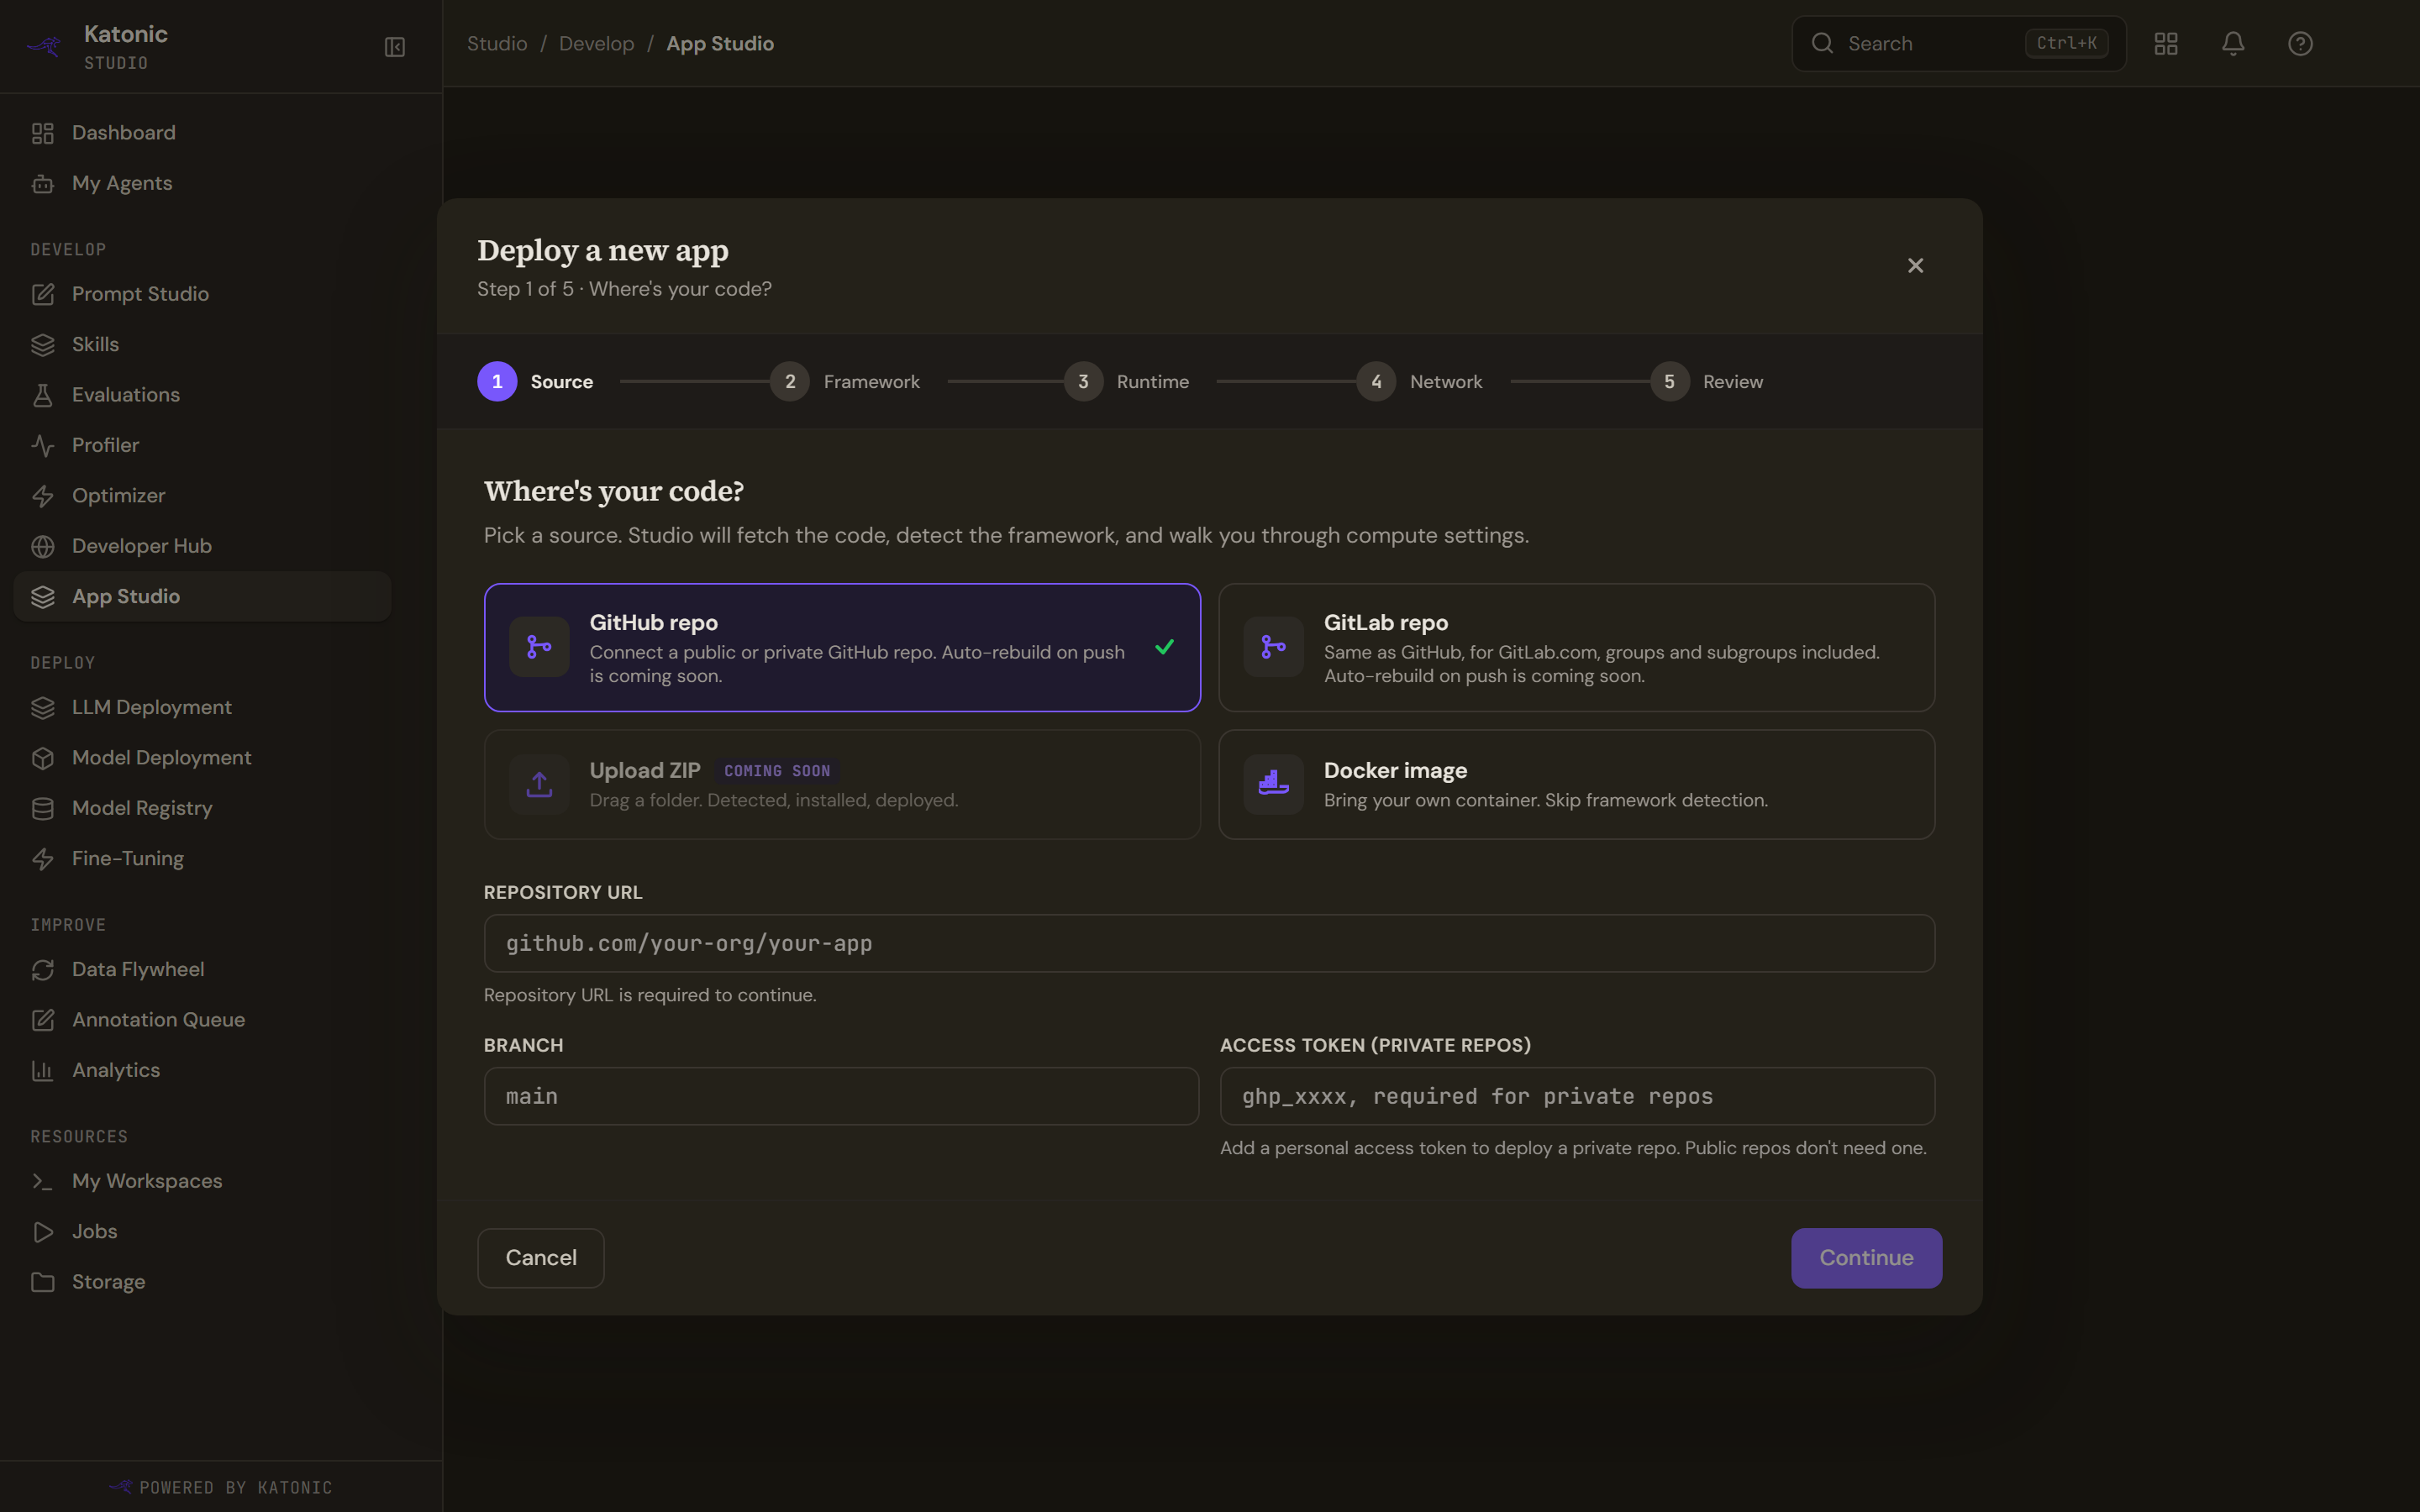
GitHub repo and GitLab repo take a repository with a Branch and, for a private one, an Access token. GitHub means github.com and GitLab means gitlab.com, where a project inside a group or subgroup ships as that project. Docker image brings your own container and skips the framework step entirely. Upload ZIP is not built; selecting it shows a note saying so.
Give the repository root. A URL that points into a subdirectory or carries a branch in its path is refused, because Studio clones the root. The branch is optional here; empty means the default branch. A URL from the other host or a self-hosted GitLab is refused with a message naming the host, and Continue stays disabled: pick the matching source, mirror the repository, or deploy a built image.
Framework
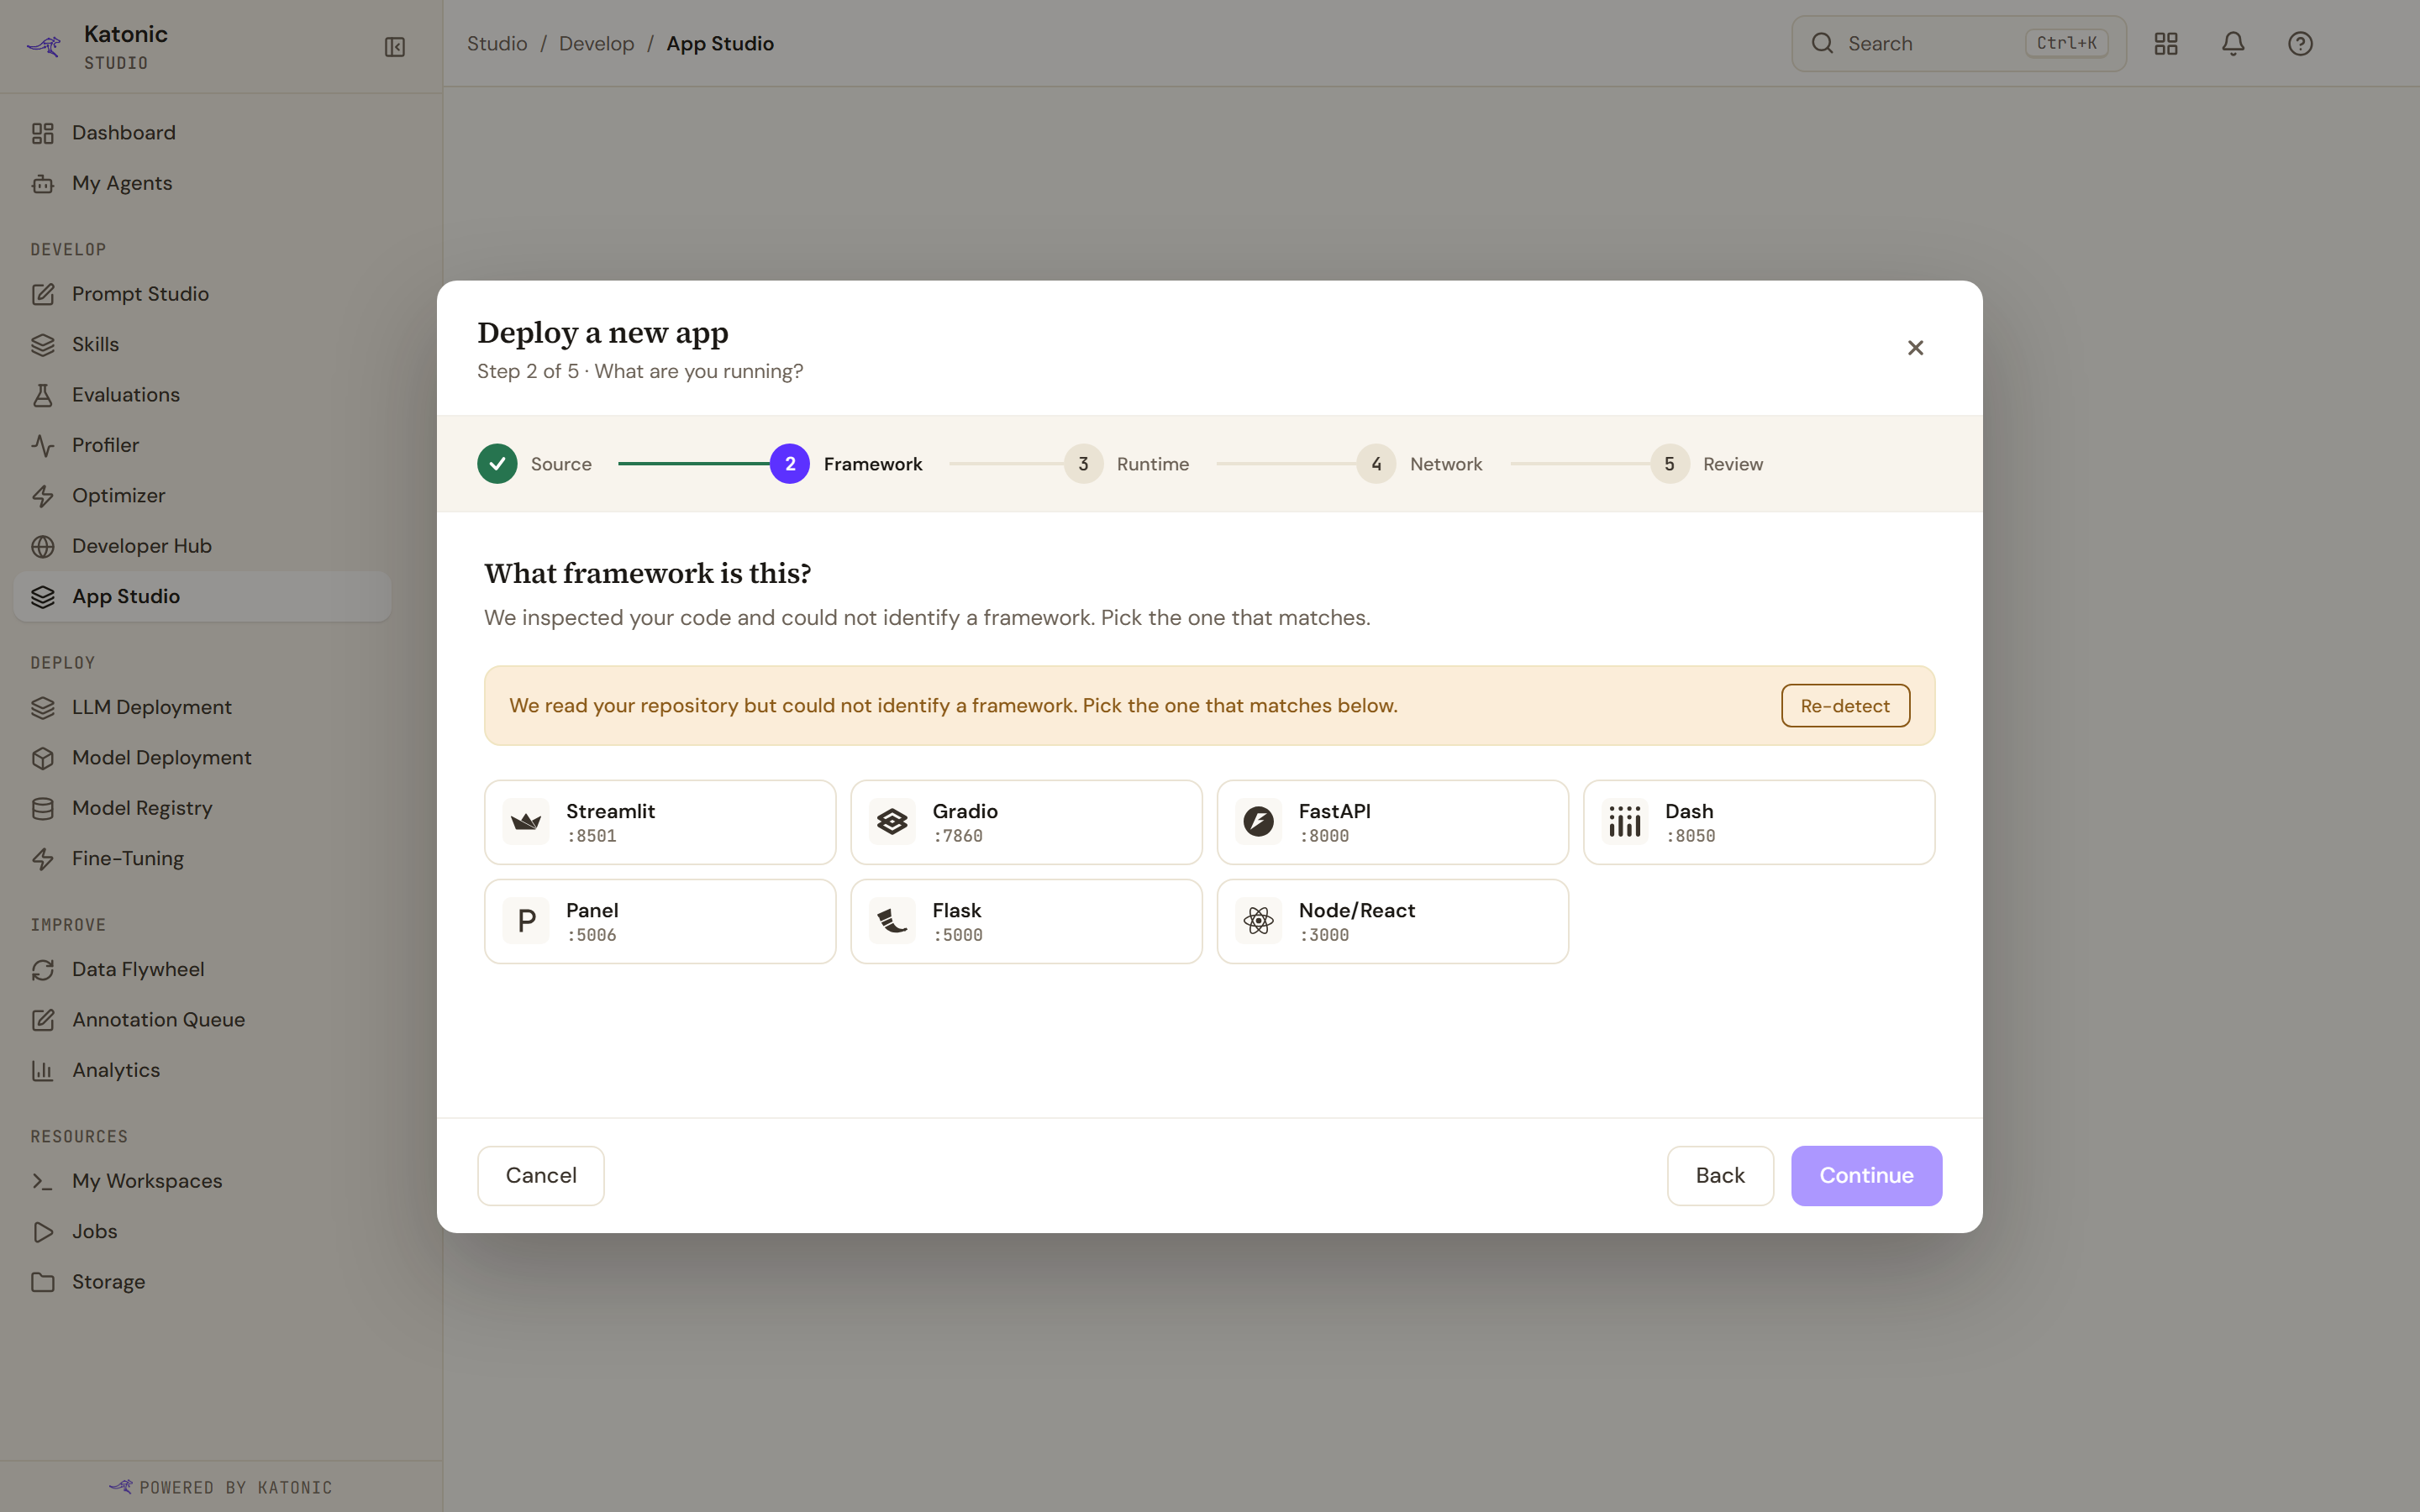
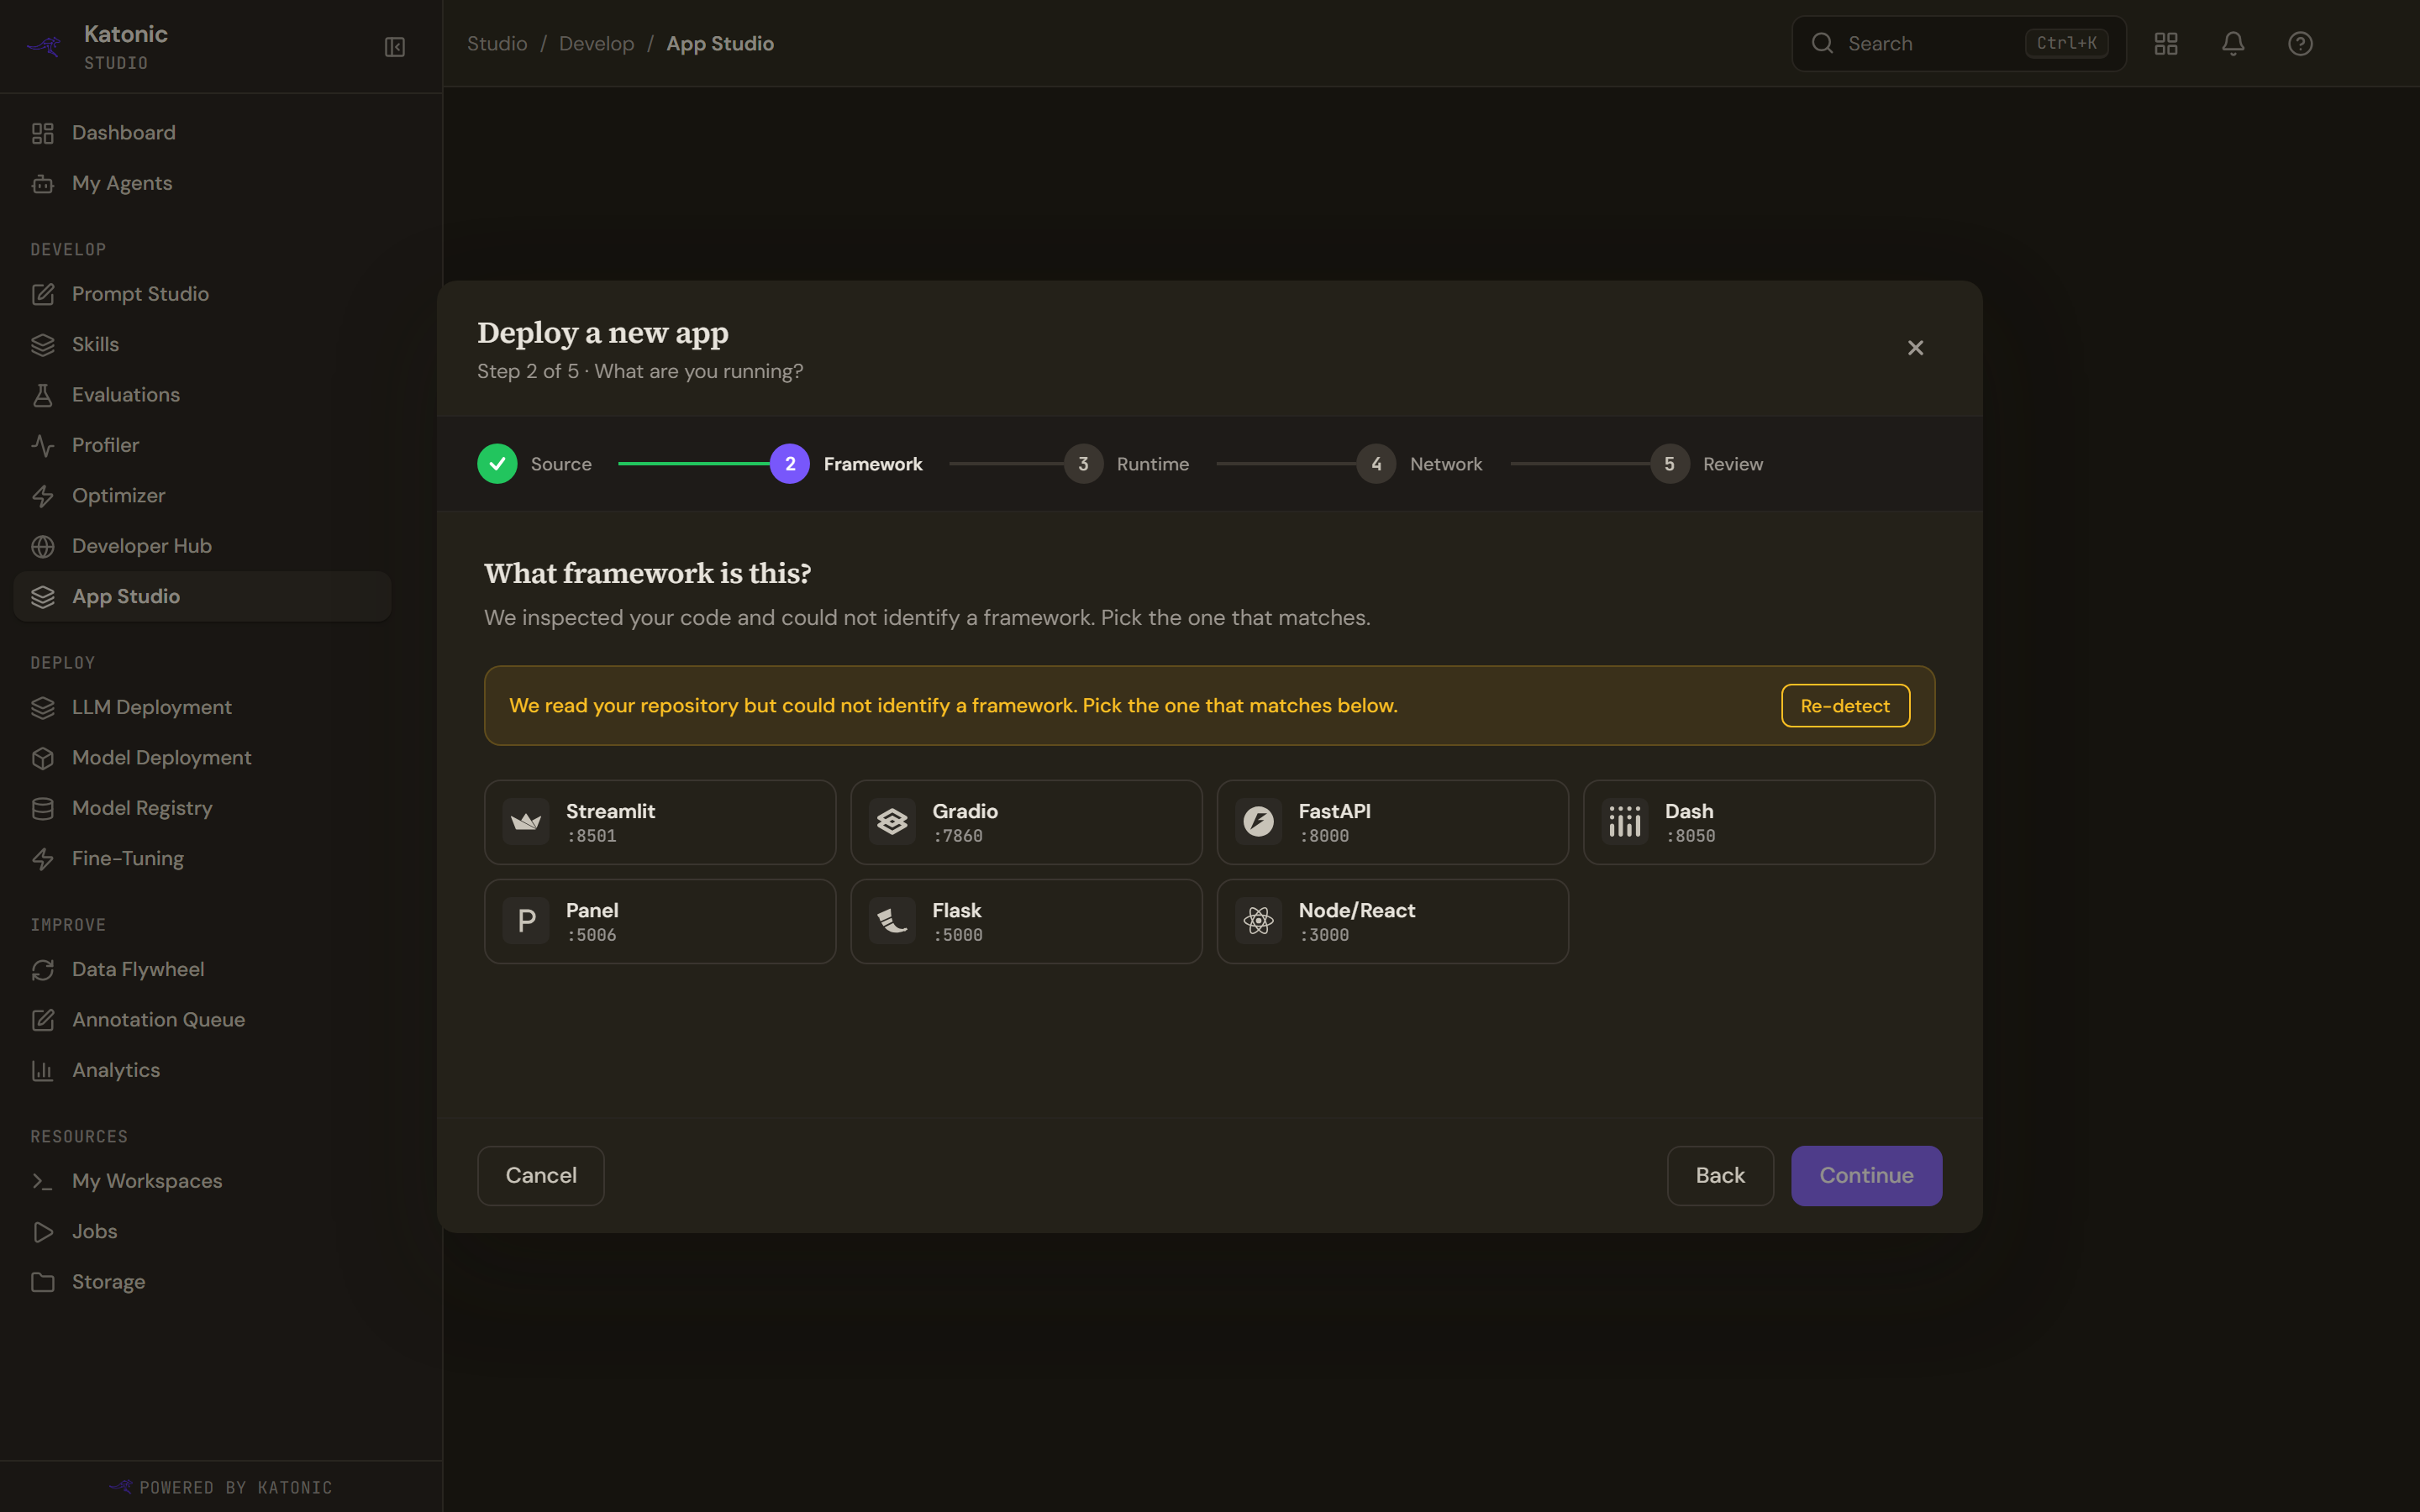
Studio reads the repository and guesses, and tells you how confident it is. Seven tiles cover Streamlit, Gradio, FastAPI, Dash, Panel, Flask and Node/React, each with the port it serves on. Docker is not a tile here: the Docker image source skips this step. Choosing one yourself is marked as your choice rather than a guess.
A Dockerfile is noted, never detected as Docker: App Studio does not build Dockerfiles, so your code runs on the platform image for its framework. To run the container itself, push the image and use the Docker image source.
Leave Build / start command empty for Node/React and Flask; Studio starts them with its own command. Other frameworks show theirs as the placeholder. Whatever you type runs exactly as written; see Size and configure an app. If the branch you typed does not exist, the wizard says which branch it used instead.
Runtime
App name, the compute tier, a GPU, the replica range, the health check path, storage and a dataset. The health check path most often makes a healthy app read as failed, so this step has a page of its own: Size and configure an app.
Network
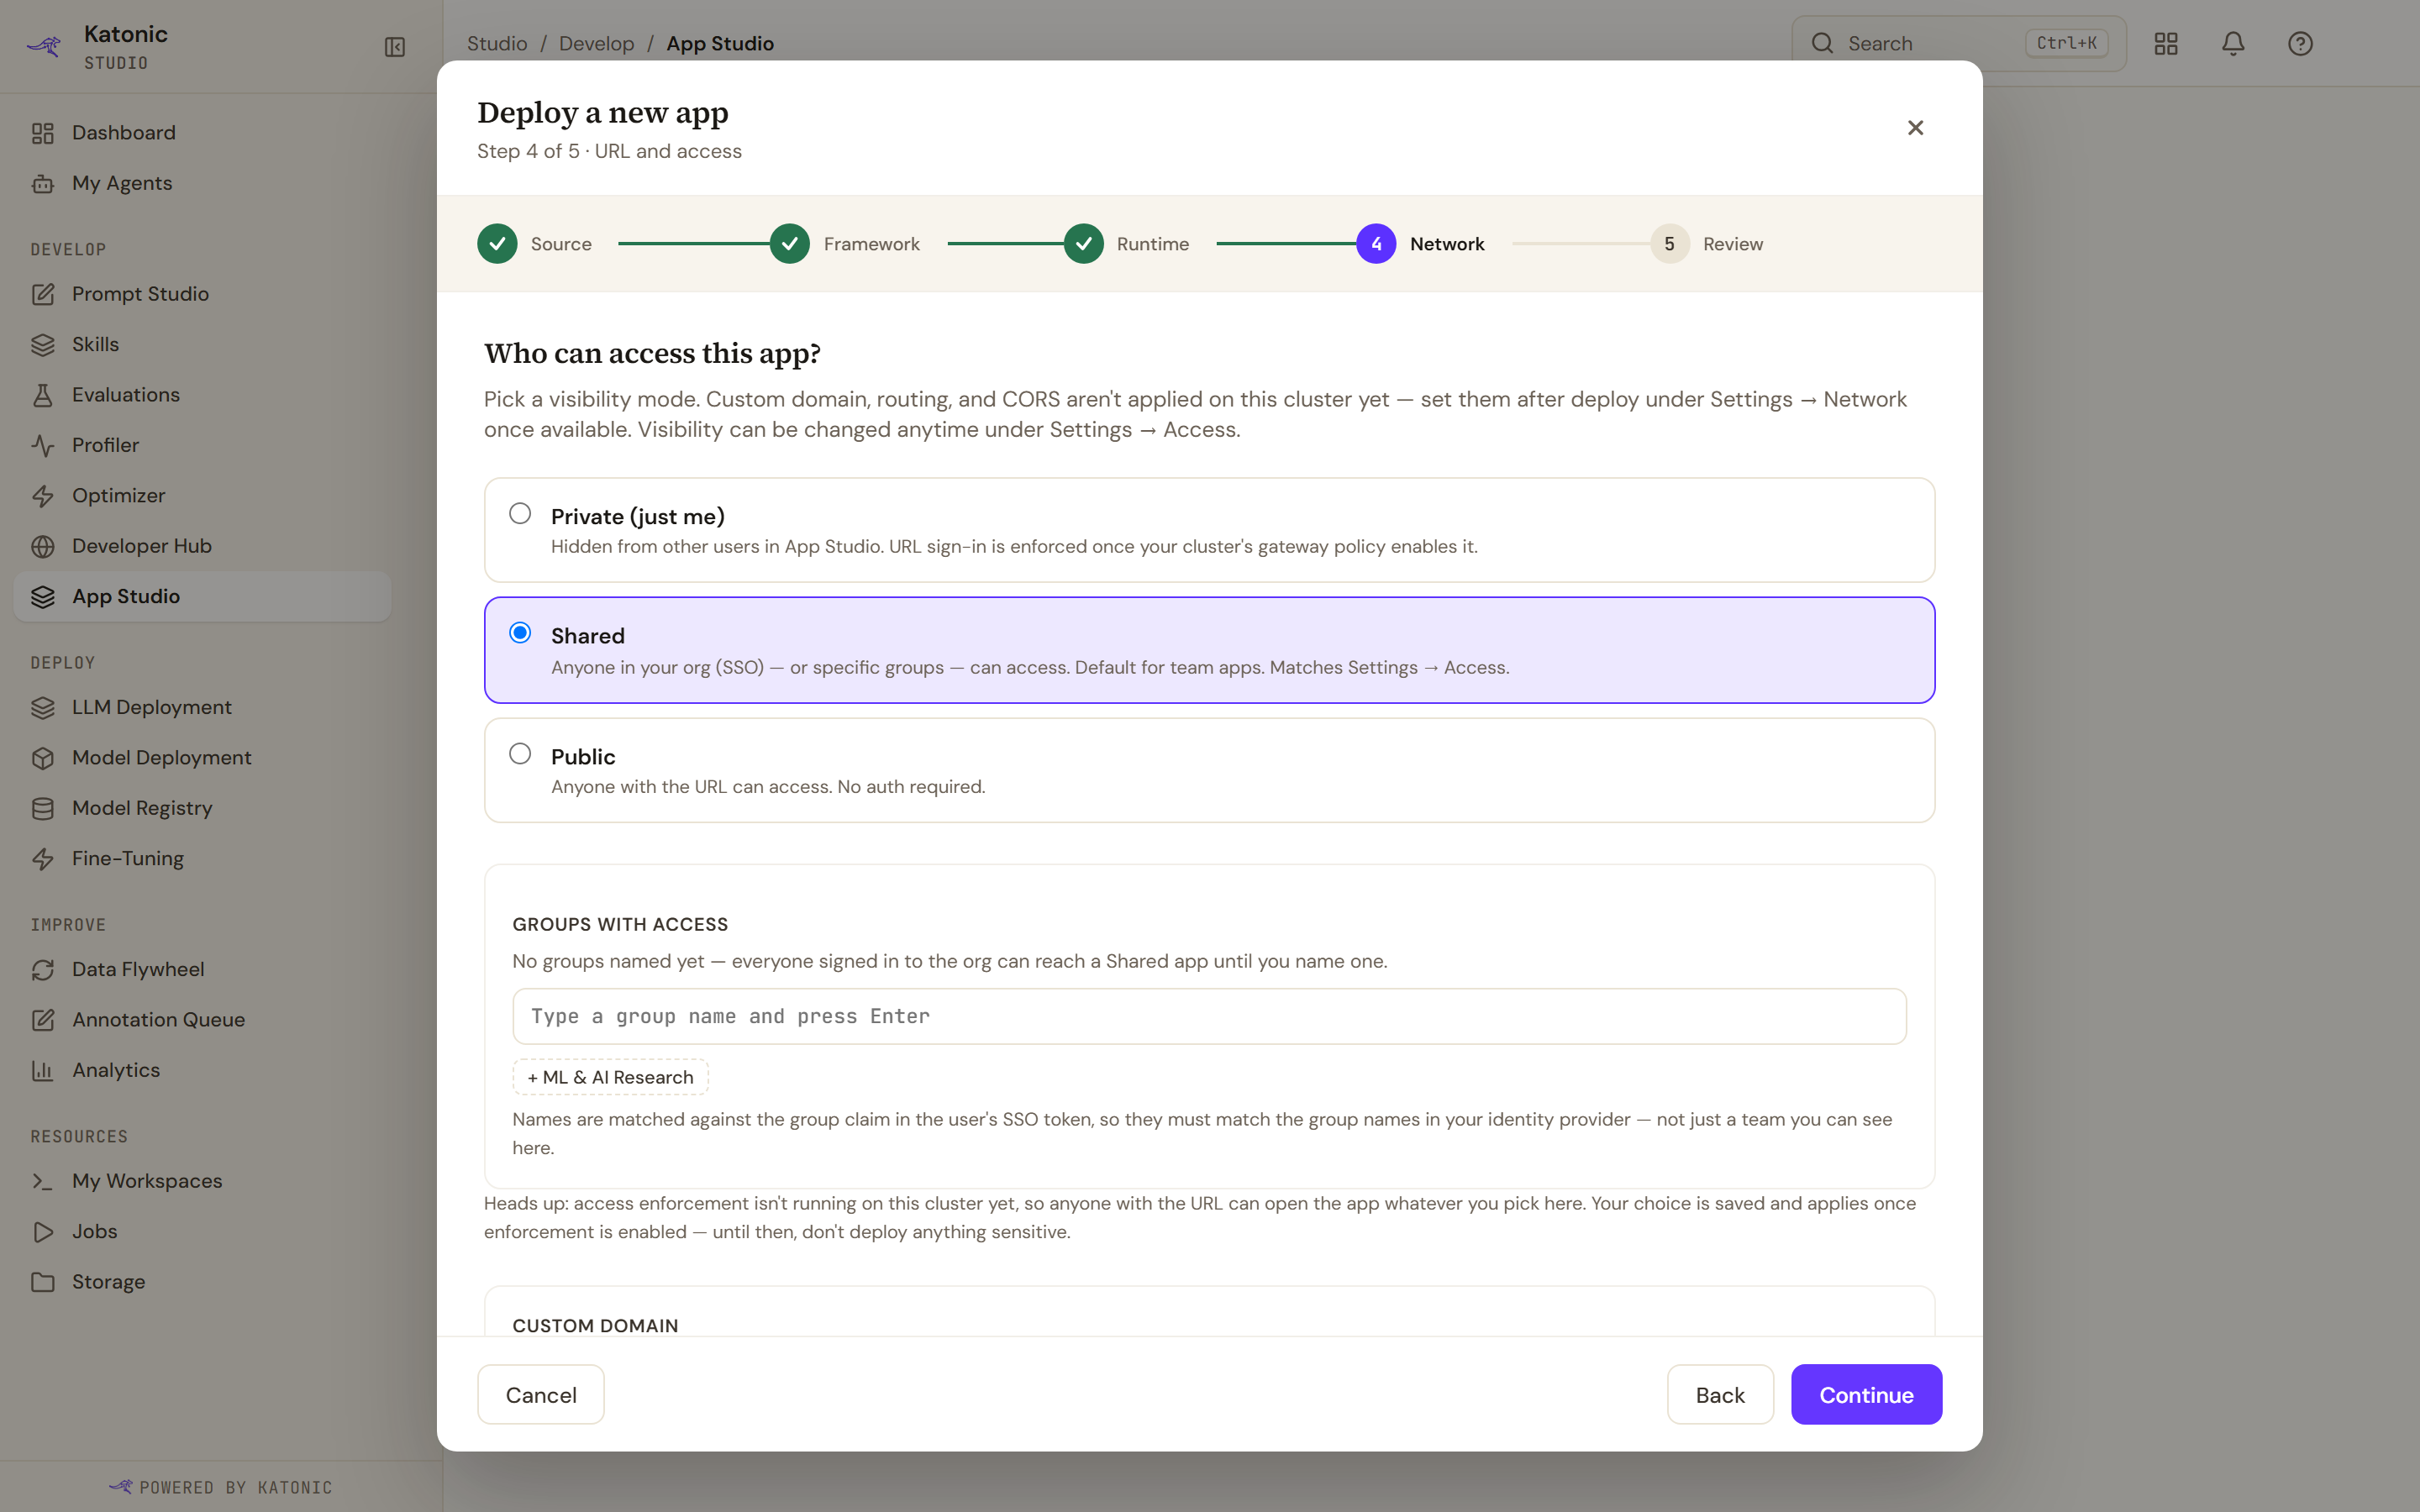
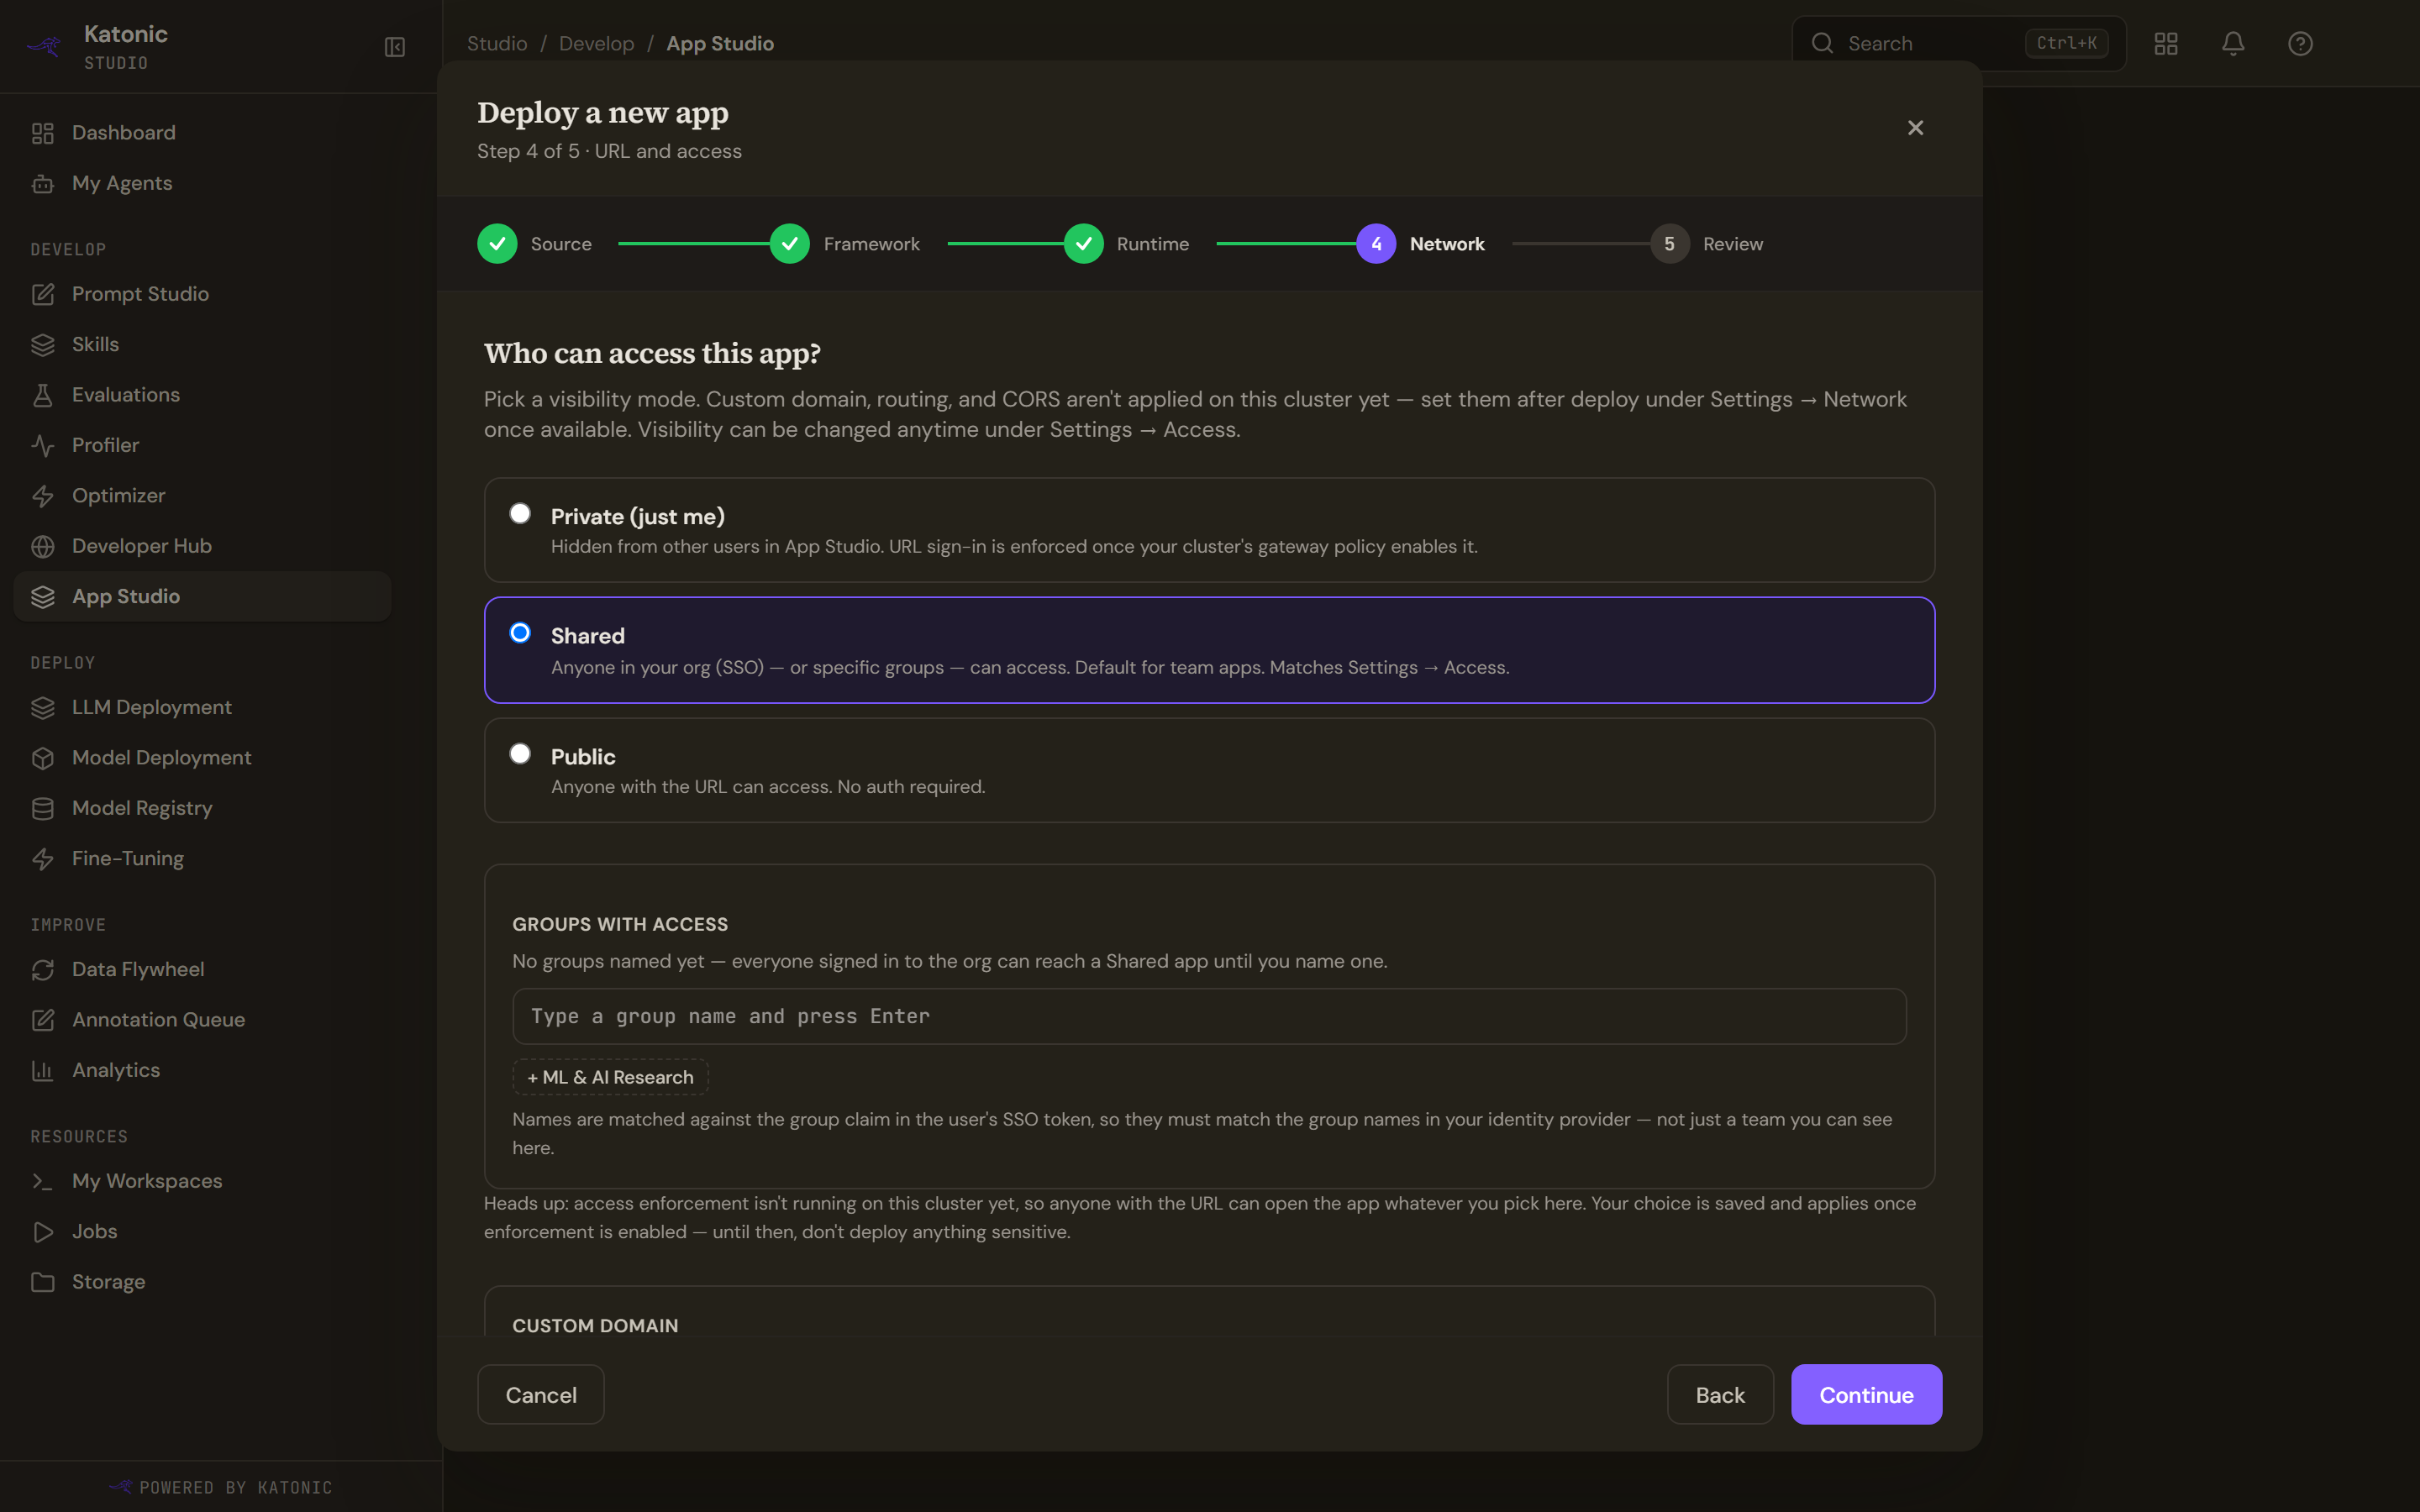
Private, Shared and Public record who should reach the app. Whether the platform enforces that is a cluster setting, and where it is off the step warns you that anyone with the address can open the app. See Who can reach an app.
Groups are matched against the group claim in the signed-in user's identity provider token. A team you can see in Studio is not automatically a group your provider knows about.
Routing and CORS & headers are badged Preview. They are not saved anywhere and nothing applies them. The custom domain field is available only where the cluster's domain controller is deployed.
Both notification checkboxes are on by default; no email is sent until the platform's notification service is enabled.
Review
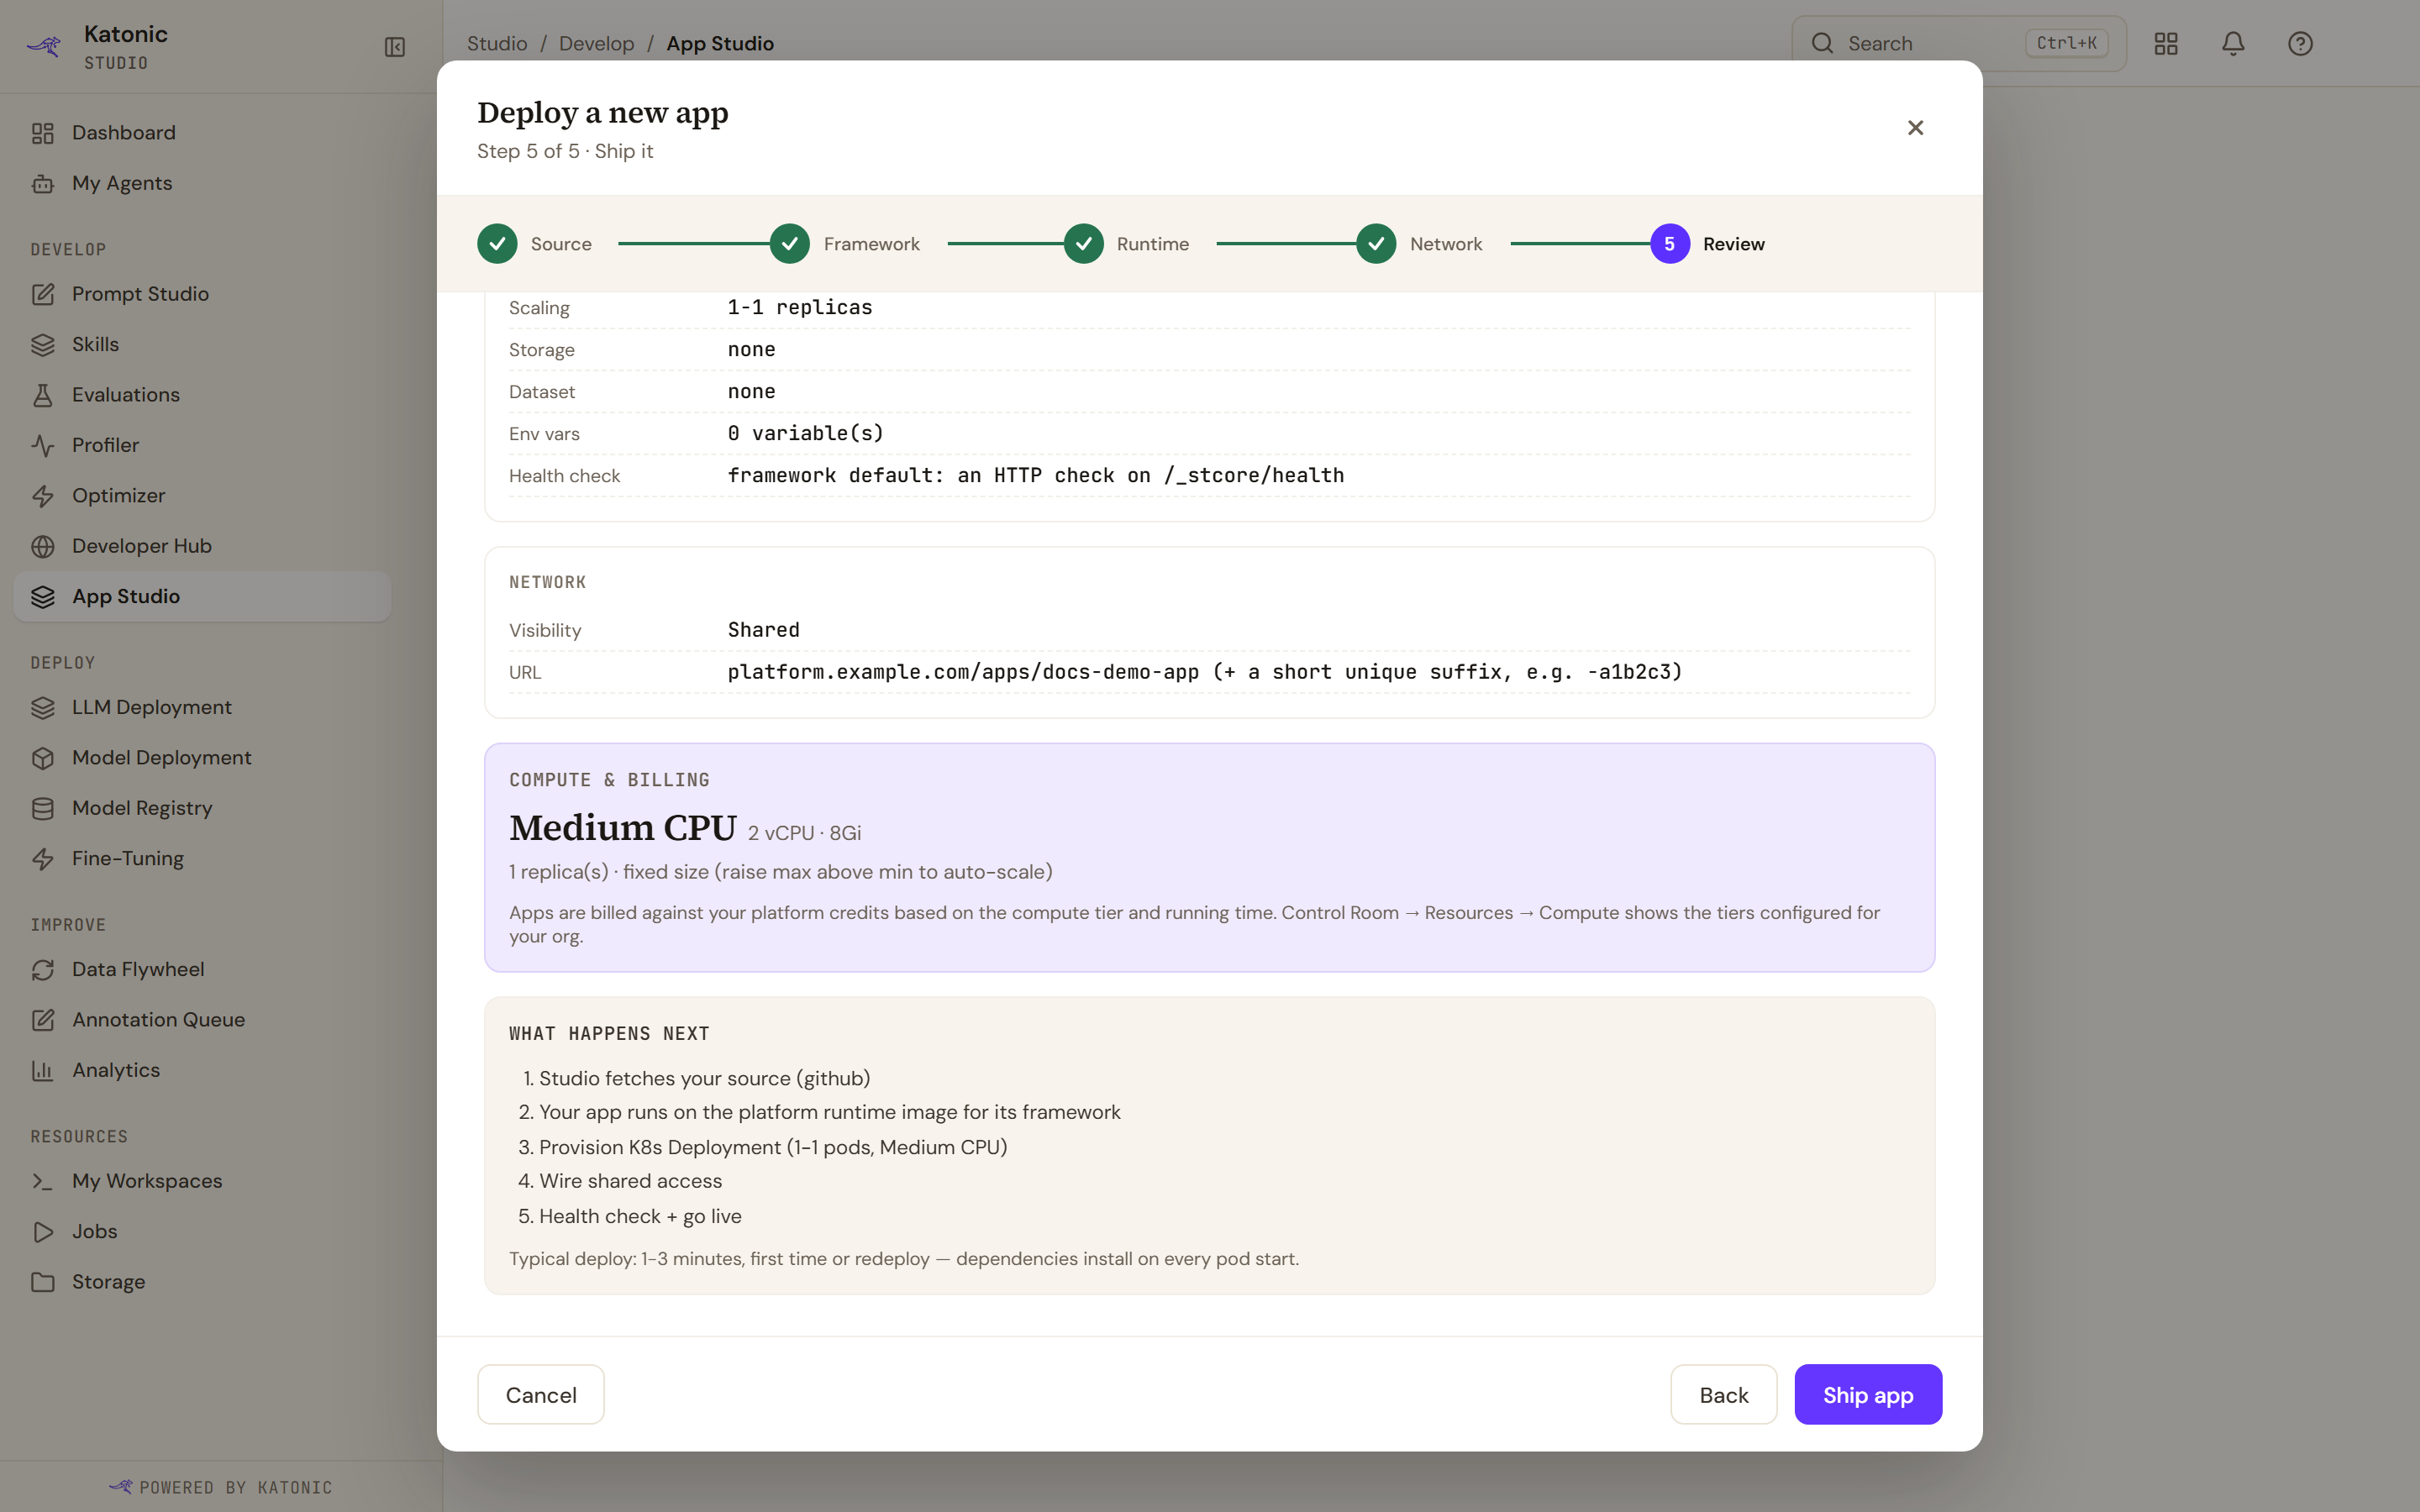
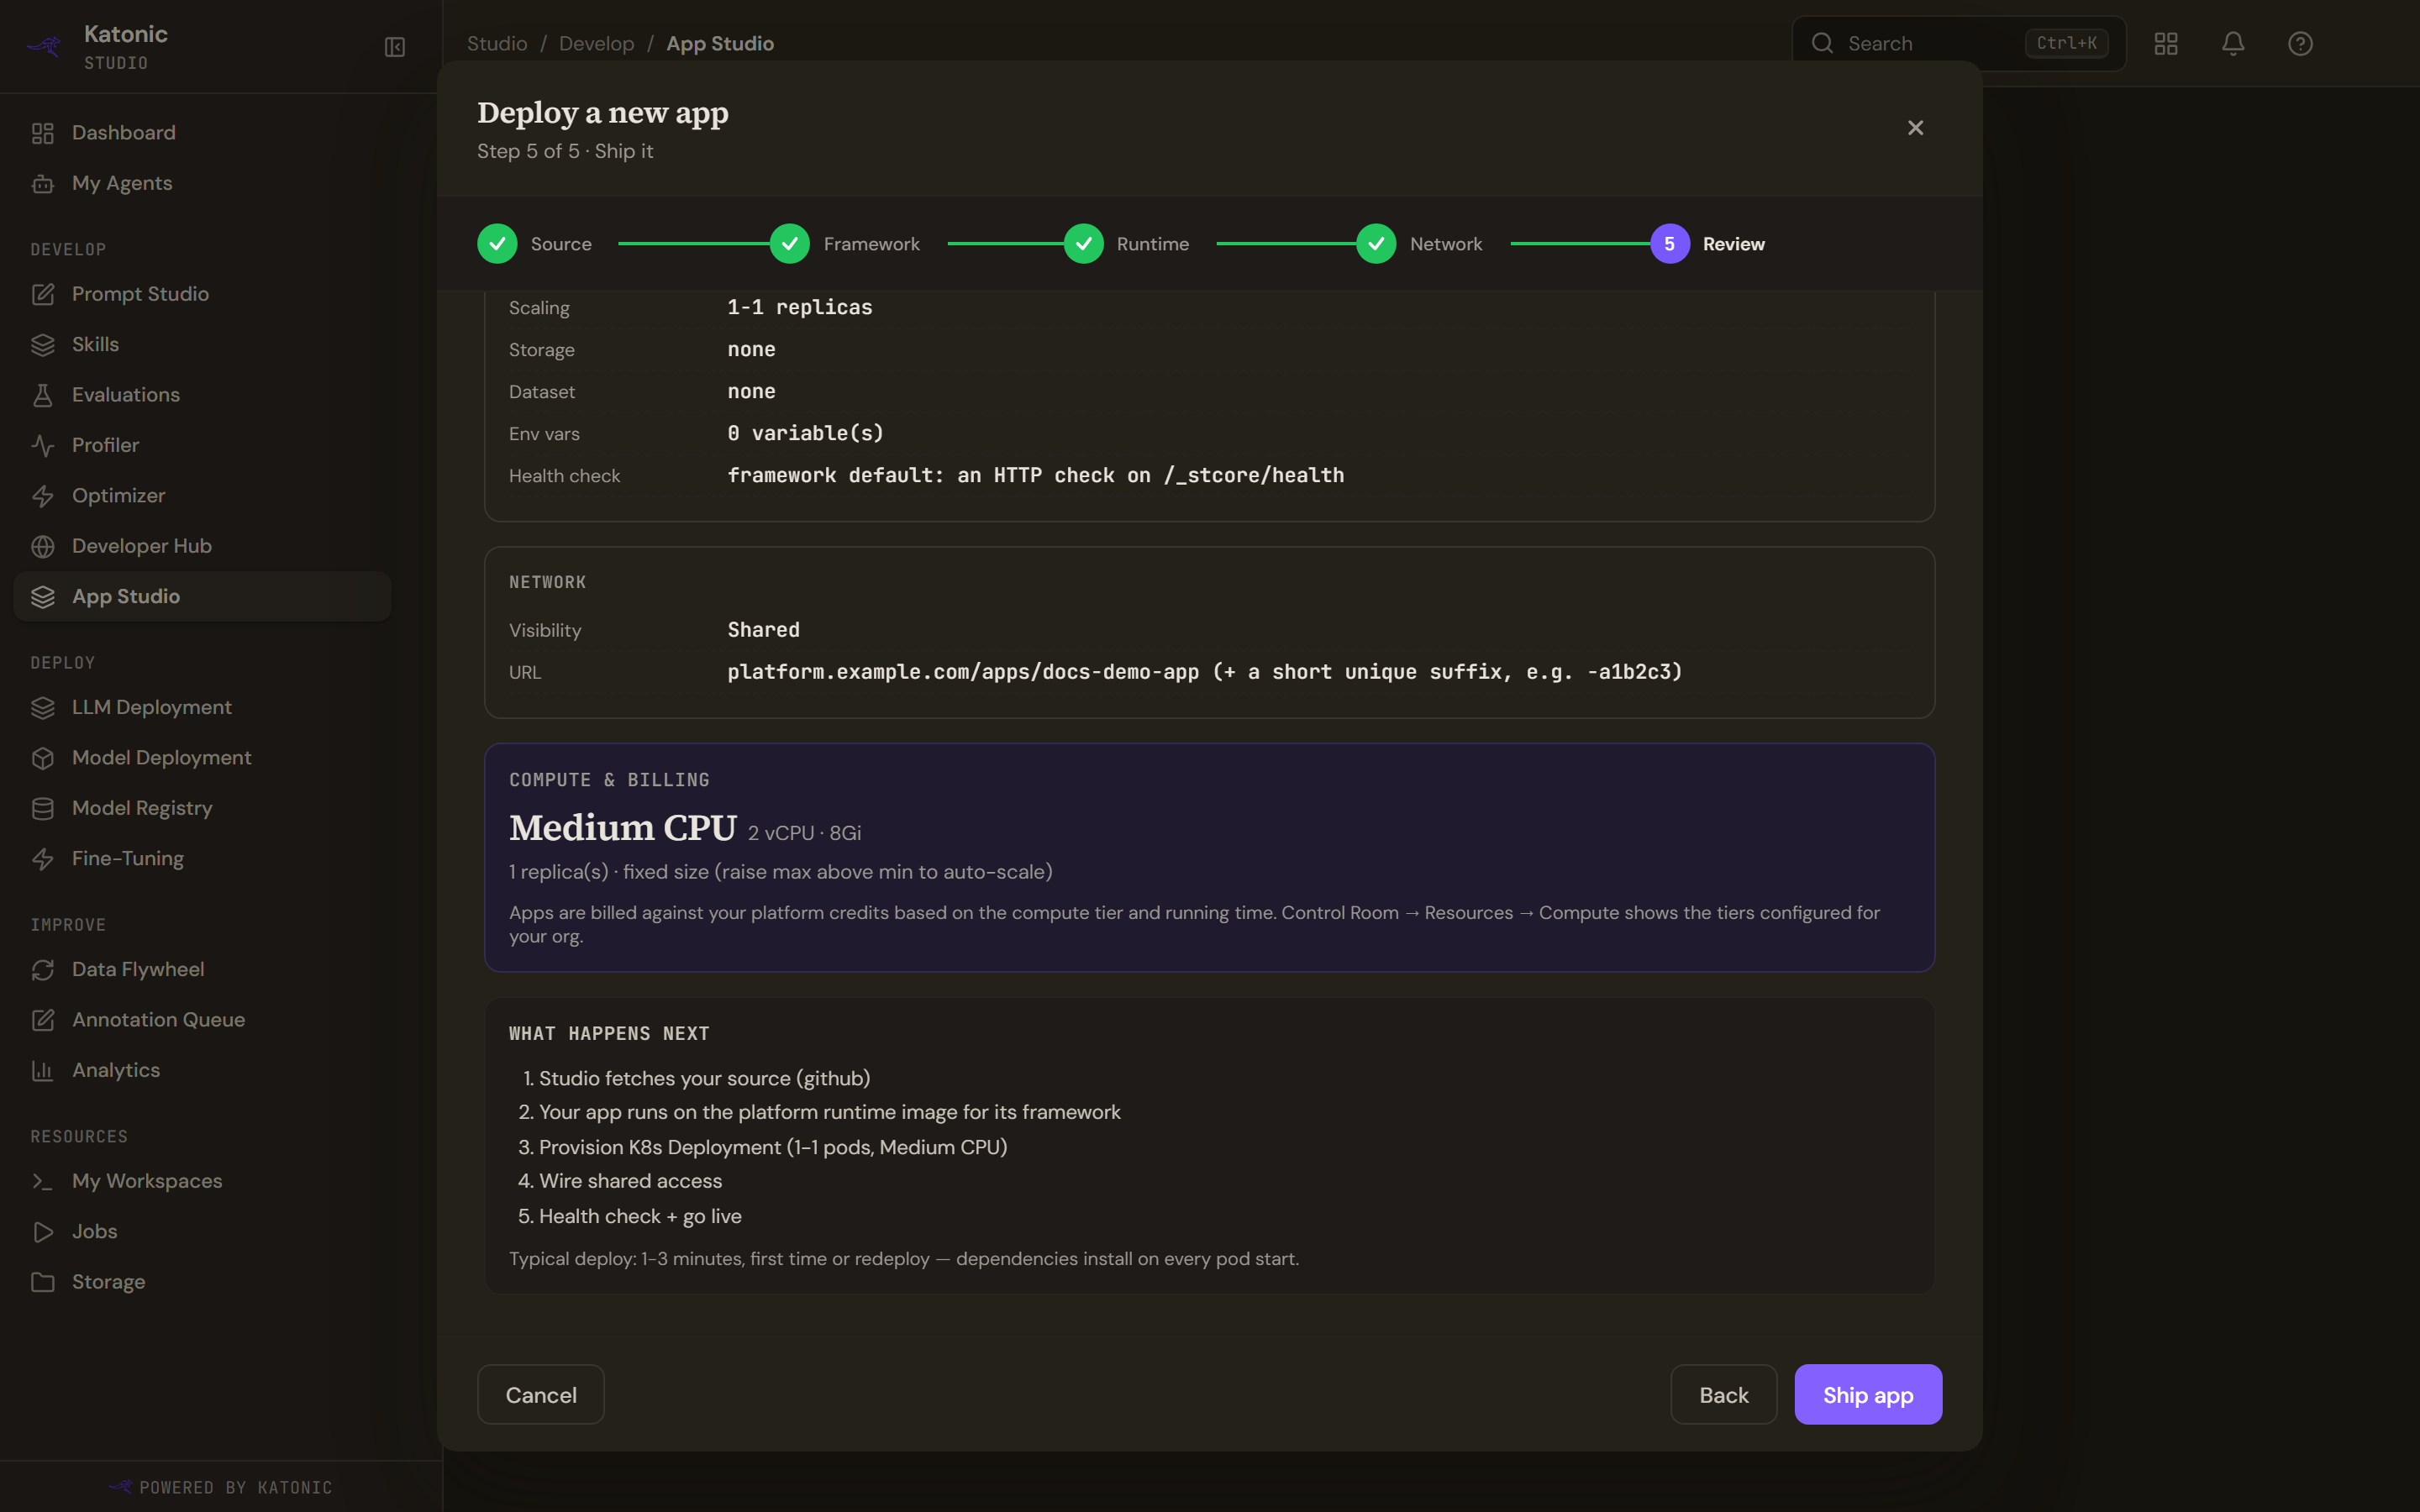
Every choice is repeated, with the app's address and a numbered list of what the build will do: fetch your source, run it on the platform's runtime image for its framework with dependencies installed when the pod starts, provision the deployment, wire access and run the health check. Nothing is built or pushed to a registry. The footnote gives one to three minutes, because dependencies install on every pod start.
The access line names whichever visibility you picked. A Docker app with no image reads "This app cannot be shipped yet" with "A Docker app needs an image.", and Ship app is disabled.
Ship is refused where Studio could not read the repository. Correcting the repository, the branch or the path clears it in place.
If the platform refuses the app at Ship app, the bar at the bottom of the wizard reads "Deploy failed:" followed by the real reason, for example a missing Docker image, an image outside the registry allowlist, a pull secret that is not allowed, an unknown compute tier or an unknown environment lane. Dismiss it, correct the step it names and ship again.
After you ship
The build view opens with a live log and a stage strip: see What happens after you ship.