Get started for builders
KnowledgeAgents
This page walks a builder from the first look at Studio to an agent that Members can pick in the Work Room. It is a journey, not a reference: each stage builds on the one before, links to the fuller page, and ends with something you can check.
Who can use it: the Builder role or higher, in a tenant licensed for agents and knowledge. You also need to belong to a team, because every agent needs an Owner team before it can be published; if you are in no team, ask your administrator to add you to one in the Control Room.
Recorded on .
Before you start
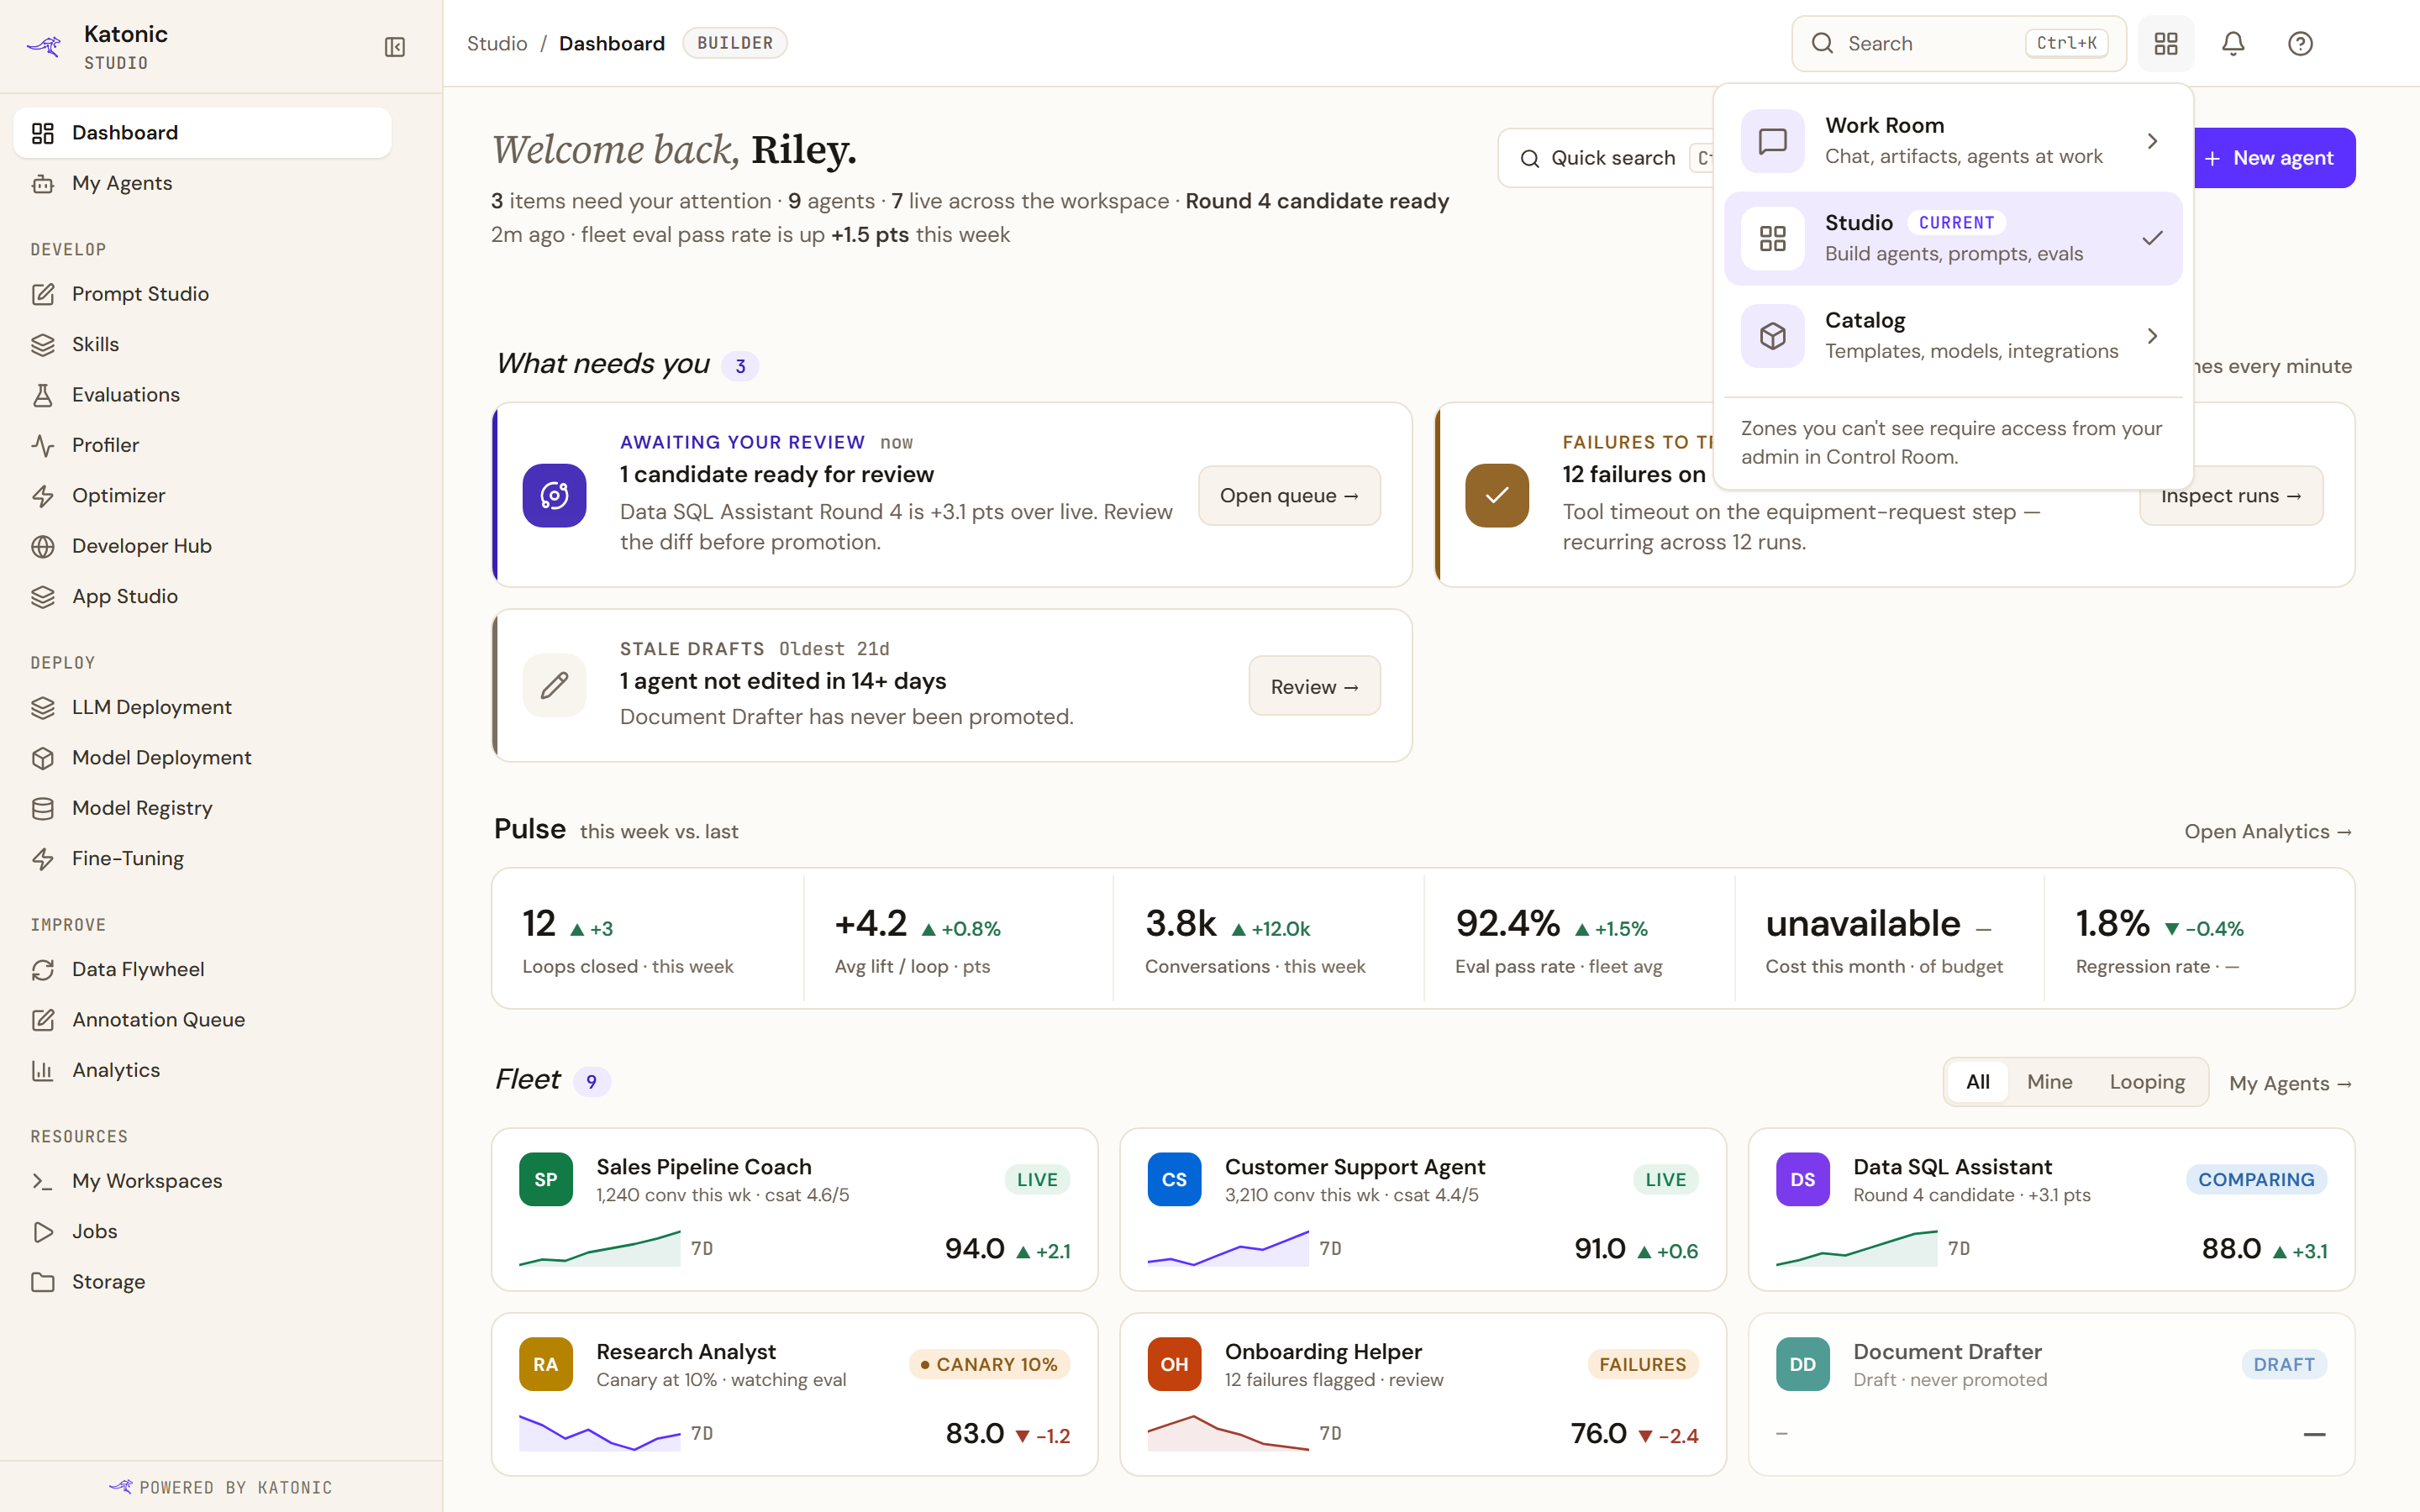
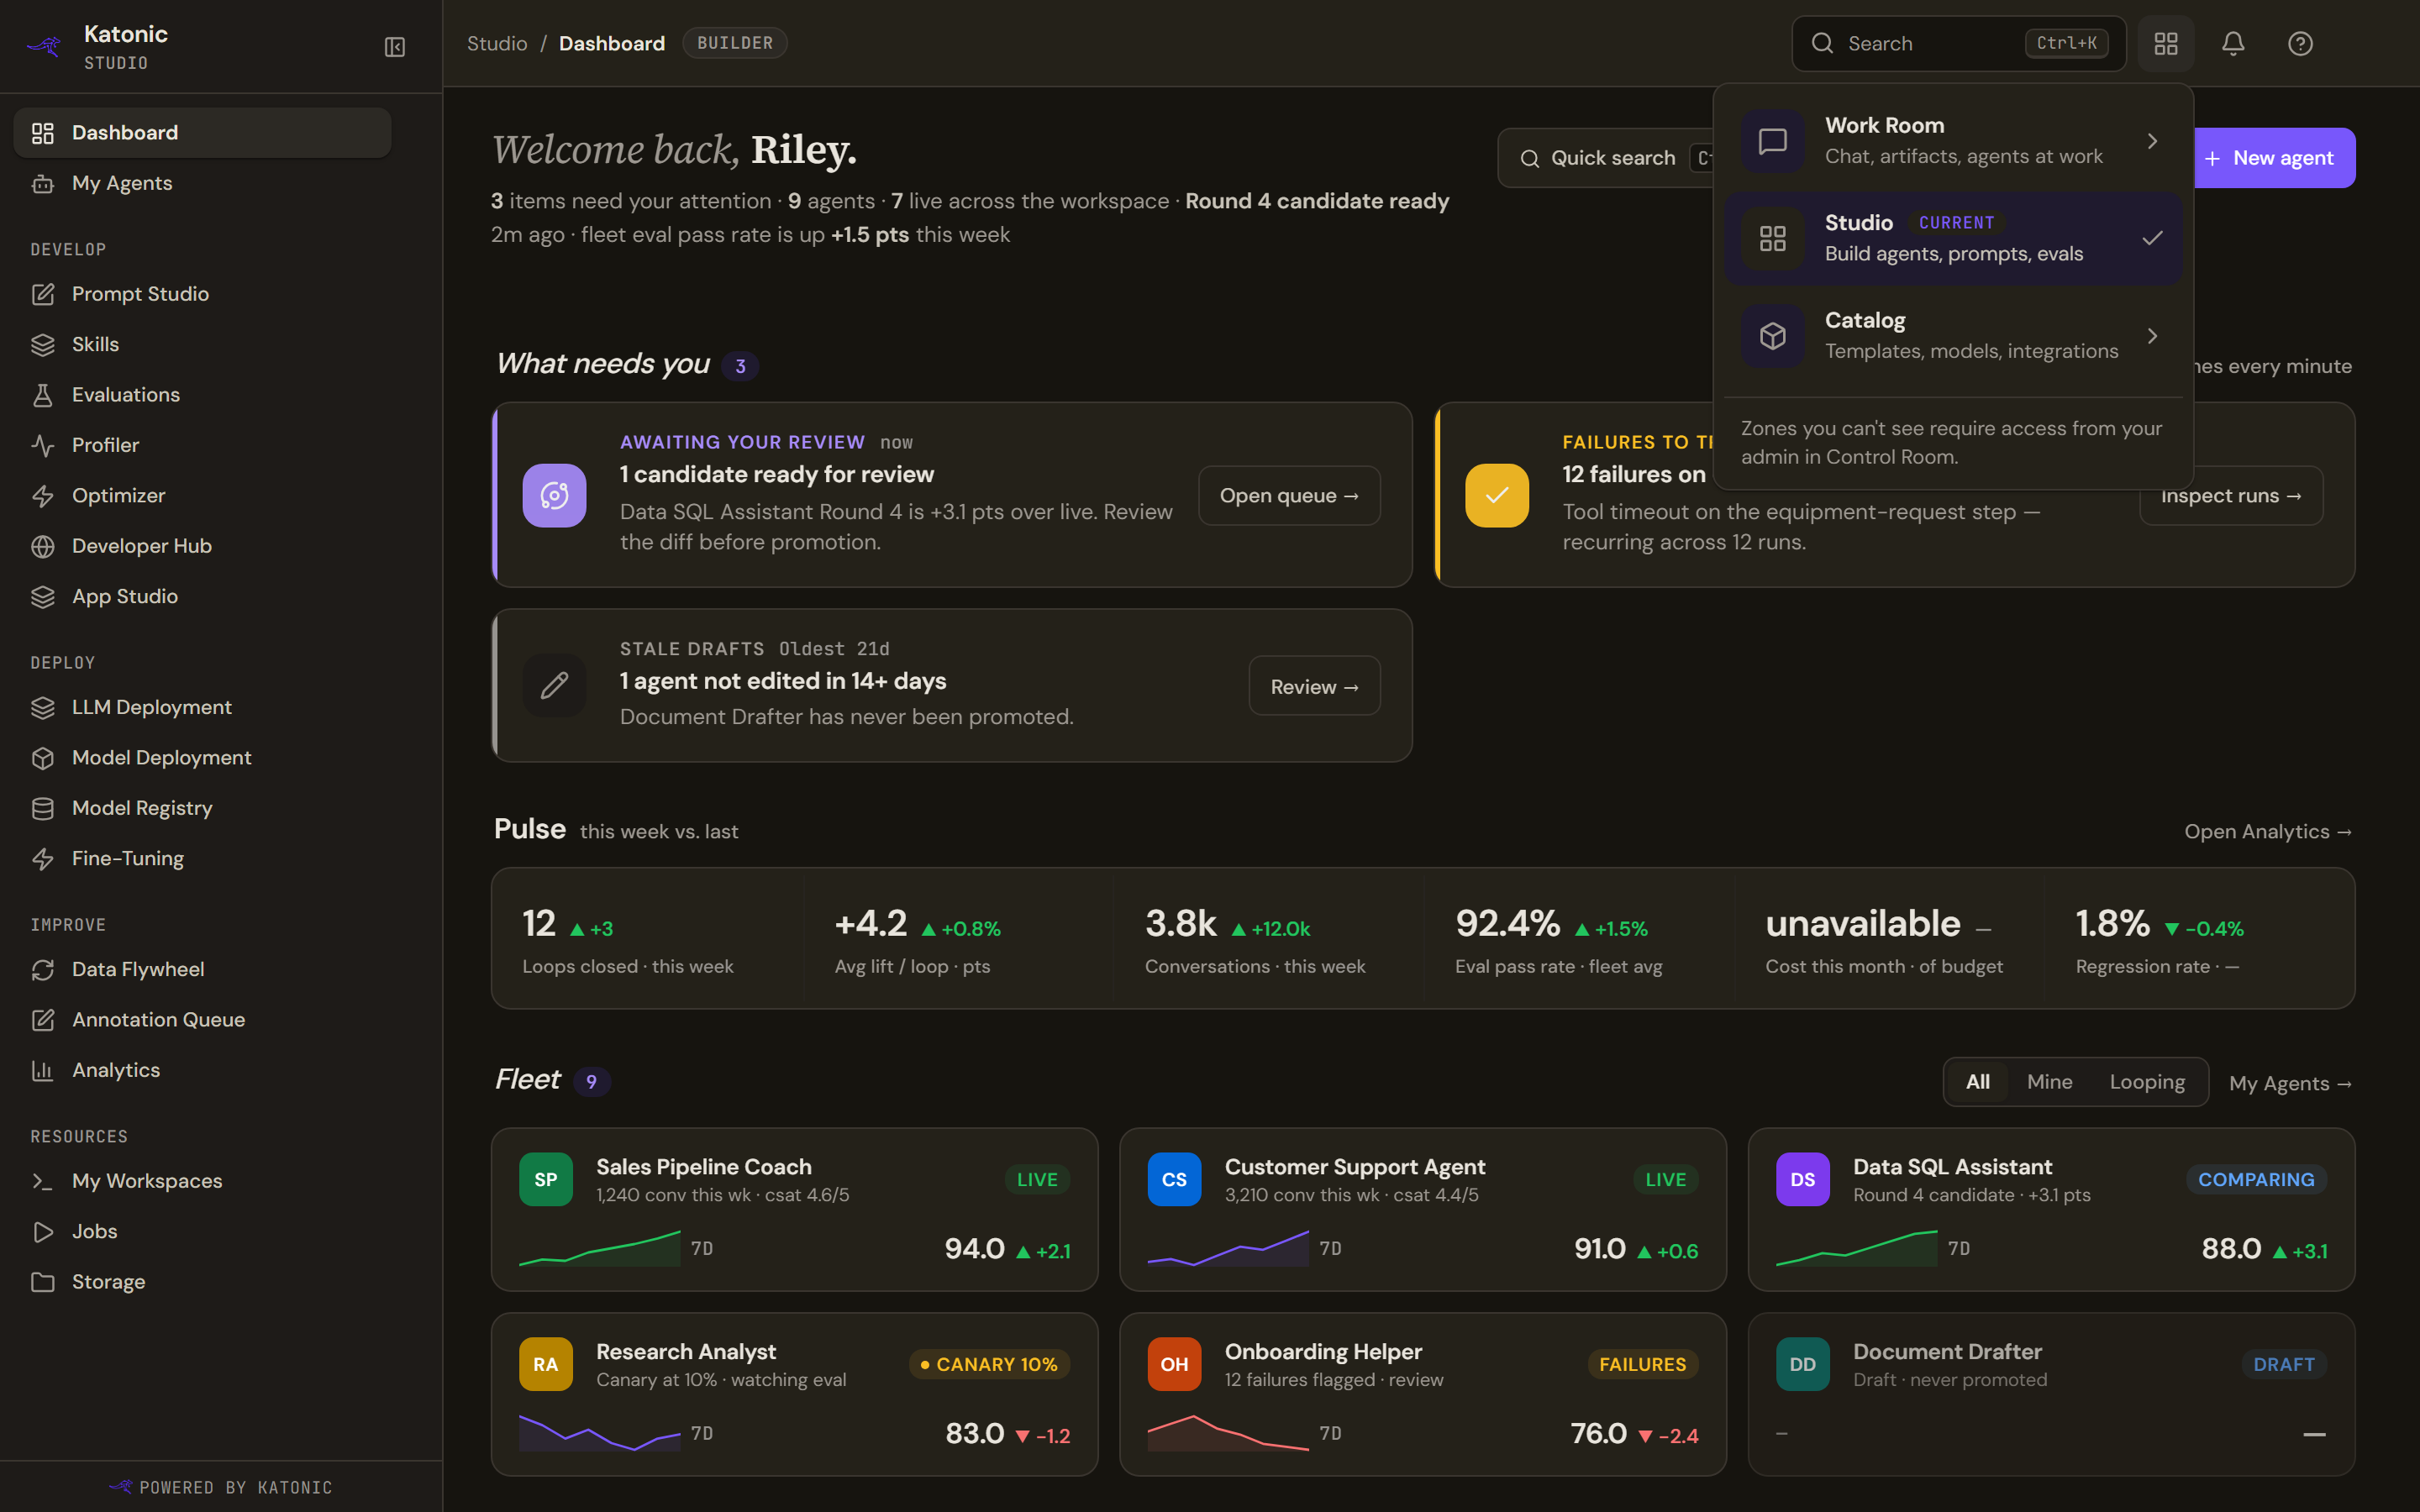
- Check your role. Switch workspace (the grid icon) in the top bar lists Studio for a Builder. If it offers only the Work Room and the Catalog, you are a Member; ask your administrator for the Builder role.
- Knowledge needs an embedding model, which your administrator configures under the Settings tab of Knowledge Management. Until one is set, the source wizard cannot be used.
- Have some content to answer from: a few files to upload, or the credentials for a connector.
The stages
- Open Studio and read the Dashboard
Switch to Studio. The Dashboard shows what needs a builder's attention, the week's figures, the fleet of agents and the drafts you last edited; Or start something new offers New agent, Run an eval, Open Prompt Studio and Add knowledge. My Agents lists every agent in the workspace with its status. The Studio Dashboard and My Agents.
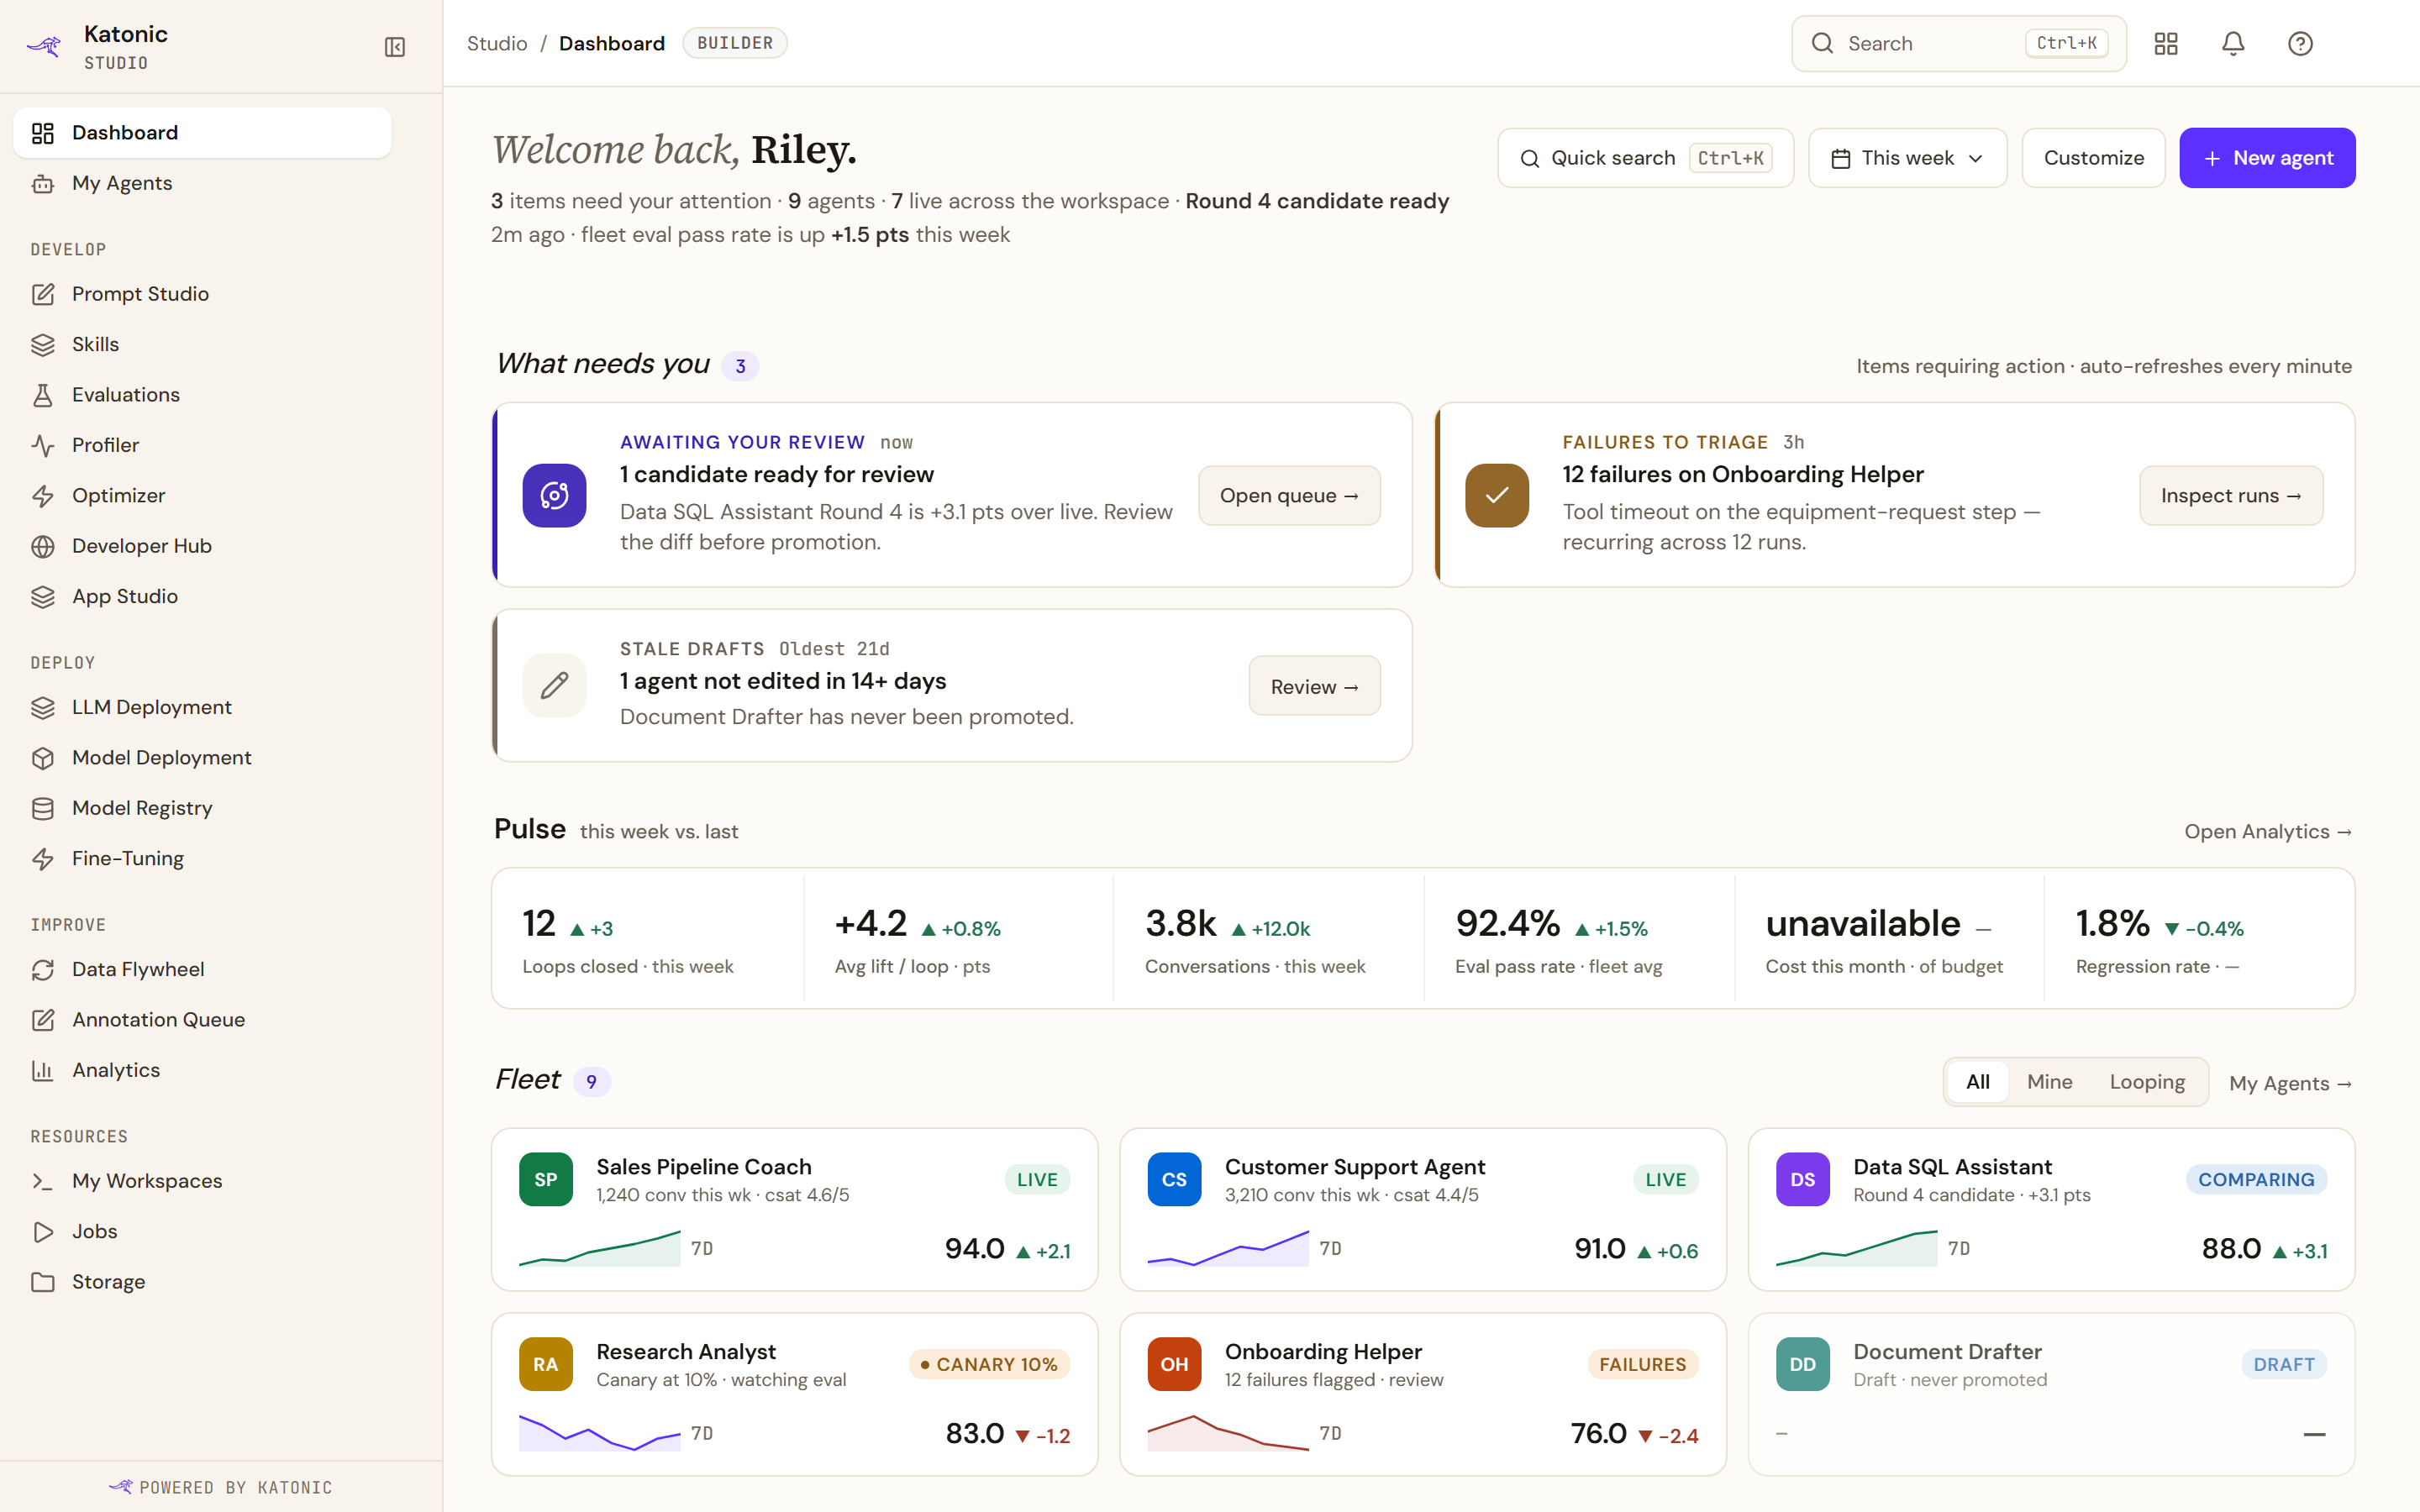
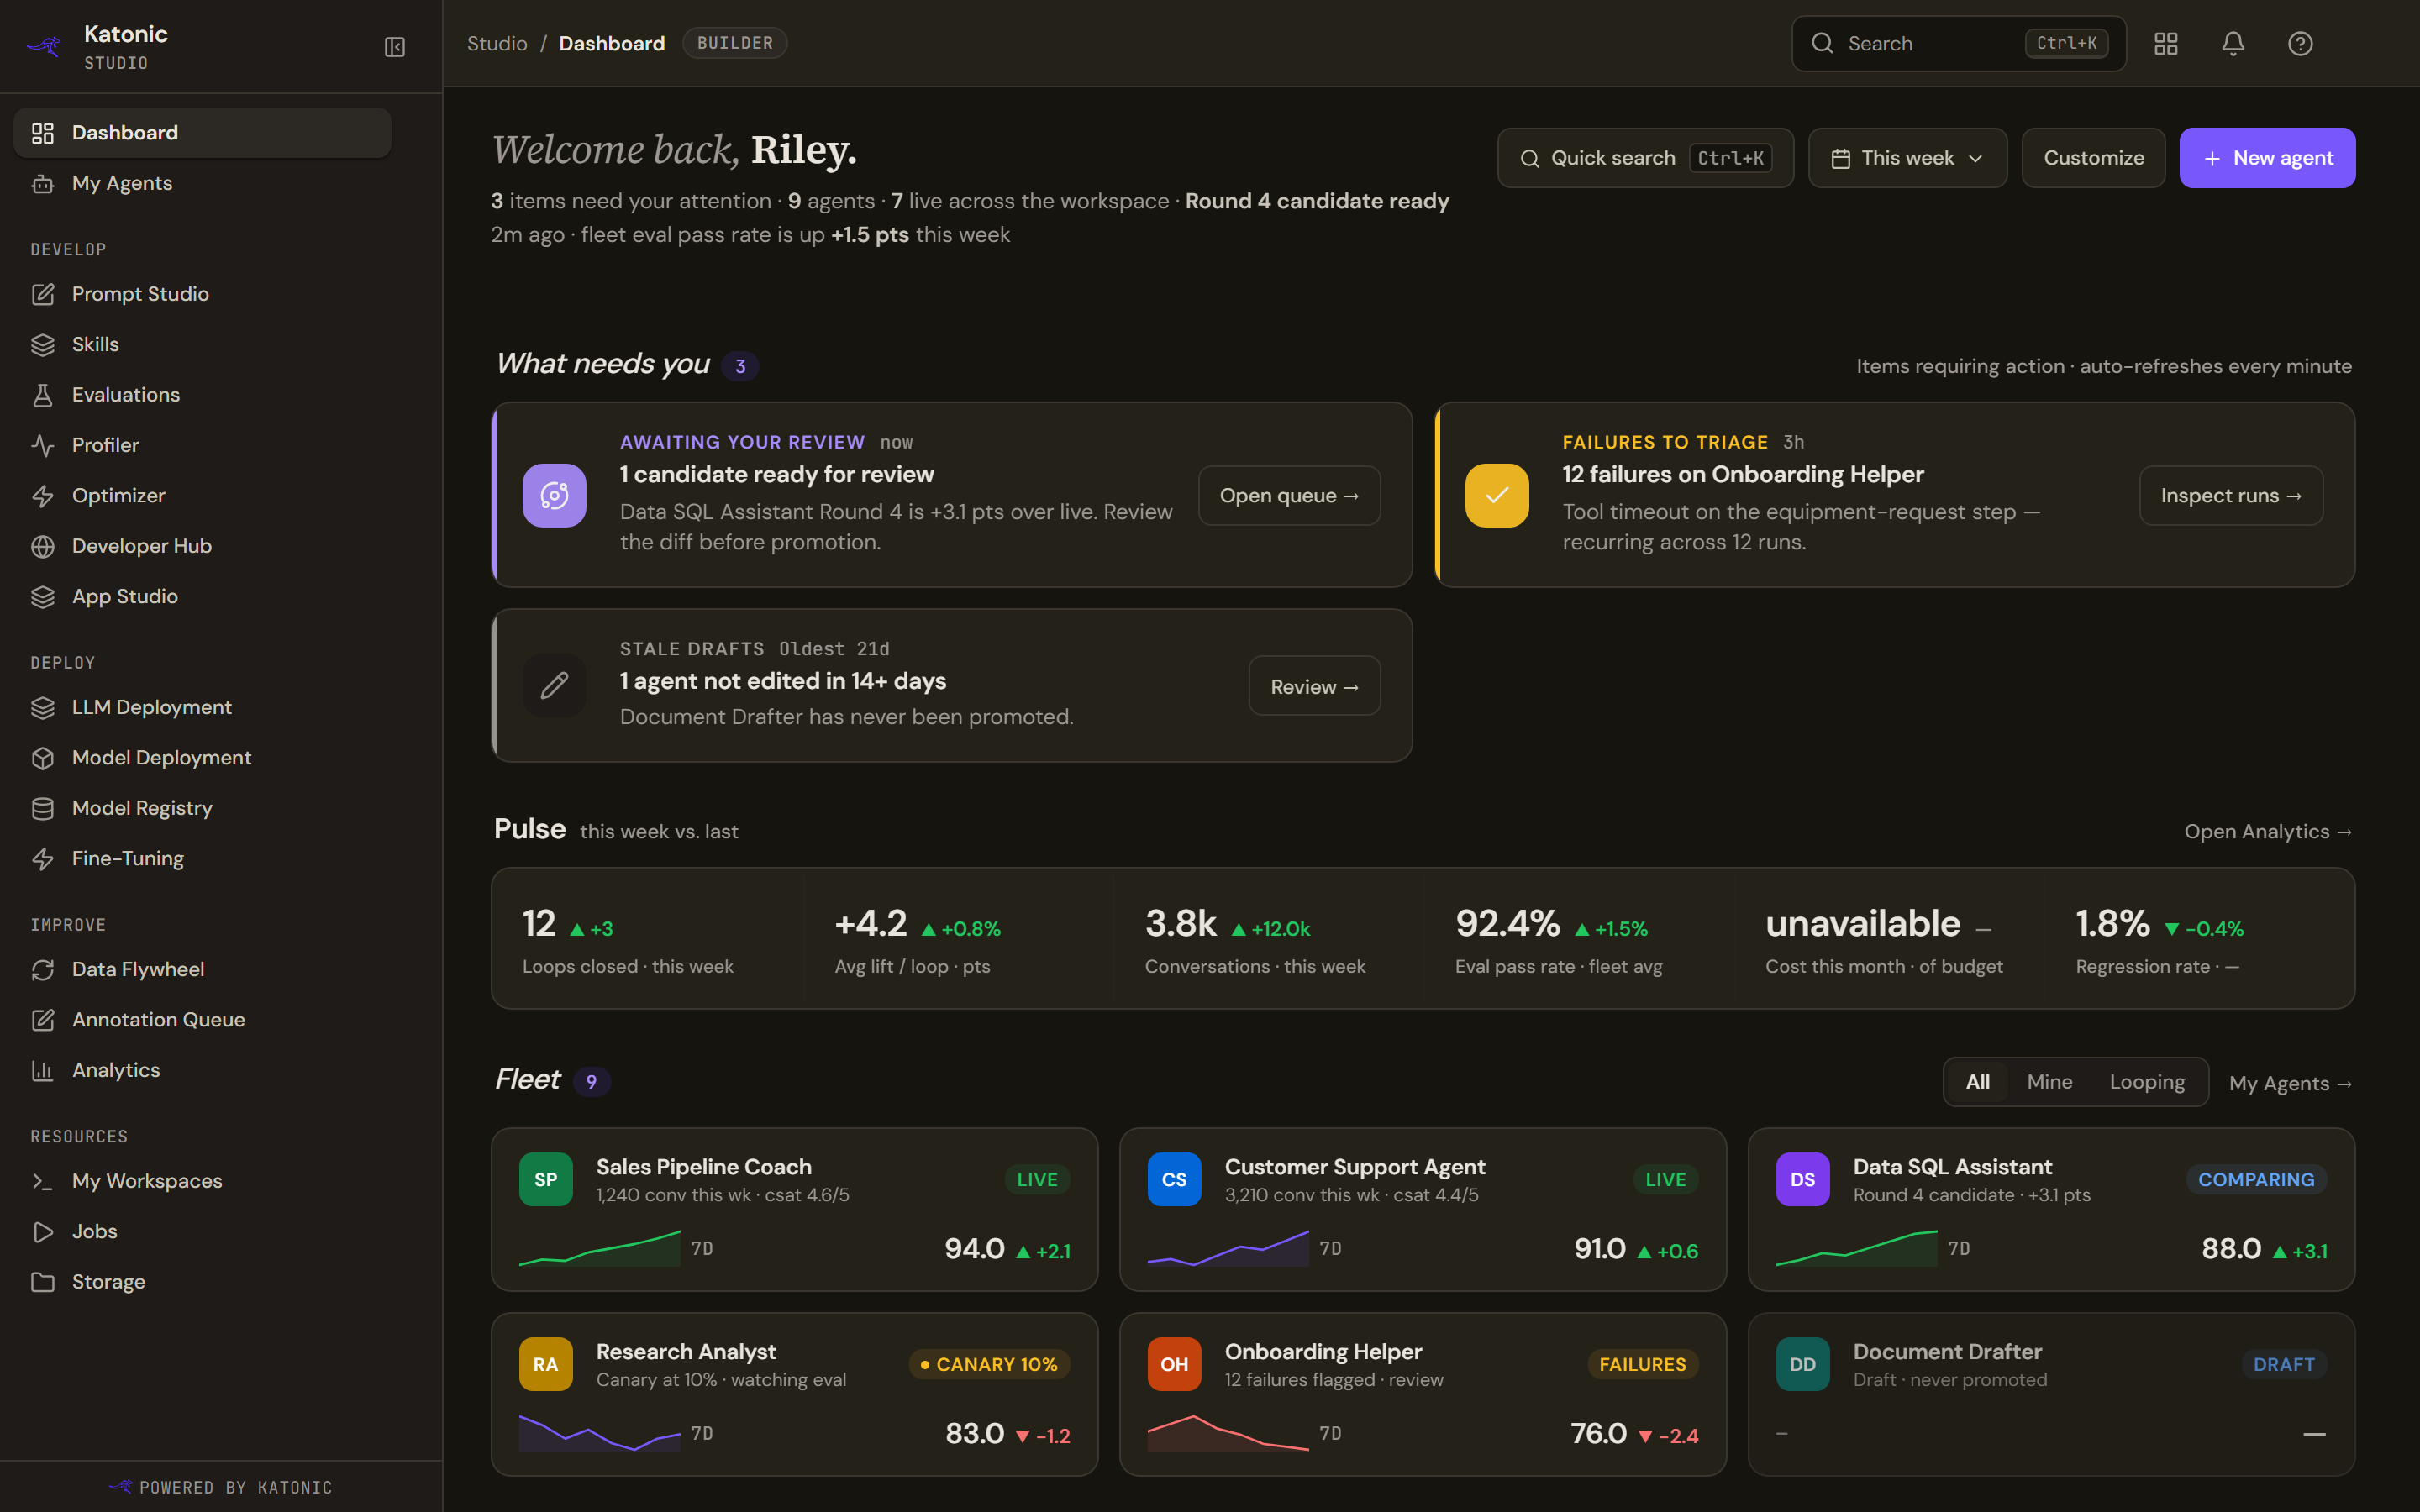
Studio as a Builder sees it: the Dashboard's summary line and the items that need attention, with the Builder chip in the top bar. - Add your first knowledge source
Open Knowledge Sources and select Add Source. The wizard has four steps: Select Source, Configure, Schedule & Access and Review. Start with File Upload, name the source, add a few documents, choose a one-time sync and keep the source Personal until it works. Check: the source's row reads Synced with a document count. Add a knowledge source; the connectors have a page each, and Control who can use a knowledge source covers sharing it with teams later.
- Create the agent
Select New agent. Pick Answer & assist, then Search your docs for an agent that answers from documents, or Answer questions for a general assistant. Choose a template or the Blank card and select Continue to build. Check: the builder opens on your draft, and My Agents lists it as Draft. Create an agent.
- Give it an identity, a prompt and your knowledge
In Identity, set the Display name, the slug, a one-sentence Description and the Owner team. In Behavior, write the System prompt or select Generate from Identity & template for a starter, and leave the Model tier on Balanced. In Knowledge, switch your new source on under Pick knowledge bases. Check: the Agent draft rail on the right lists the source. Build an answer agent.
- Attach a tool
In Tools, three groups are offered. Connected servers lists the MCP servers an administrator has registered in the Control Room; pick the tools this agent may call, and note that write actions get an approval gate by default. Function tools are the built-in tools that run inside Katonic, such as Document Generator. Agents attaches published agents this one can call. If the page says No MCP servers connected yet, ask an administrator to register one; the Catalog's Tools section shows which servers are on offer and whether each runs here. Tools and MCP and Tools and connectors in the Catalog.
- Test it in the sandbox
Open the Test tab, type a question your documents can answer and select Run. The answer streams in and the Run trace shows the configuration, the tool calls and the model call of the real run. Save the prompts you want to rerun. Then open Deploy and read Pre-flight: it names what is still missing, such as a guardrail profile, which you pick in the wizard's Guardrails section from the profiles an administrator created. Check: a run in the Test tab answers from your source, and Pre-flight lists no blockers. Test, publish and versions.
- Publish
Select Publish in the build header. Under Who can use it, choose Team or Organization; under Where it runs, tick Work Room, REST API or both. Fix any blockers the dialog lists, then select Publish to production or Publish to the lane your tenant uses. The success screen says whether the version is now live, was published to a lane to promote when ready, or is not live yet and waiting on approval. Check: Open in Work Room starts a conversation with it, and it appears on the Agents page for the people you chose. Test, publish and versions and Using agents.
- Keep it good
Run an evaluation against a dataset of questions and expected answers, with a pass threshold, so a change to the prompt or the model shows up as a number. Read the agent's page for its traces and versions, and roll back if a version misbehaves. Evaluations, The agent's page and Profiler.
Each stage ends with a check you can make yourself, and each links to the fuller pages in the Agents, Knowledge and Tools sections.