Add a knowledge source
Knowledge
A knowledge source is a named unit of content that agents can answer from: files you upload, or a system you connect through a connector. This page walks the wizard that creates one.
Who can use it: the Builder role, or a Member holding the Knowledge Admin grant, in a tenant licensed for knowledge. Builders work from Knowledge Sources in Studio; the same wizard opens from Knowledge Management in the Control Room.
Recorded on .
Prerequisites
- An embedding model must be configured under the Settings tab of Knowledge Management. Until it is, Connect Source is disabled with the hint Configure an embedding model in the Settings tab first.
- For a connector, have its credentials to hand, or be ready to sign in to the provider when the wizard asks.
- To restrict who can search the source, the teams you want to allow must already exist under Users and Teams.
Create the source
- Open the wizard
In Studio, open Knowledge Sources and select Add Source. In the Control Room, open Knowledge Management and select Connect Source. The Add Knowledge Source wizard opens with four steps: Select Source, Configure, Schedule & Access and Review.
- Select Source
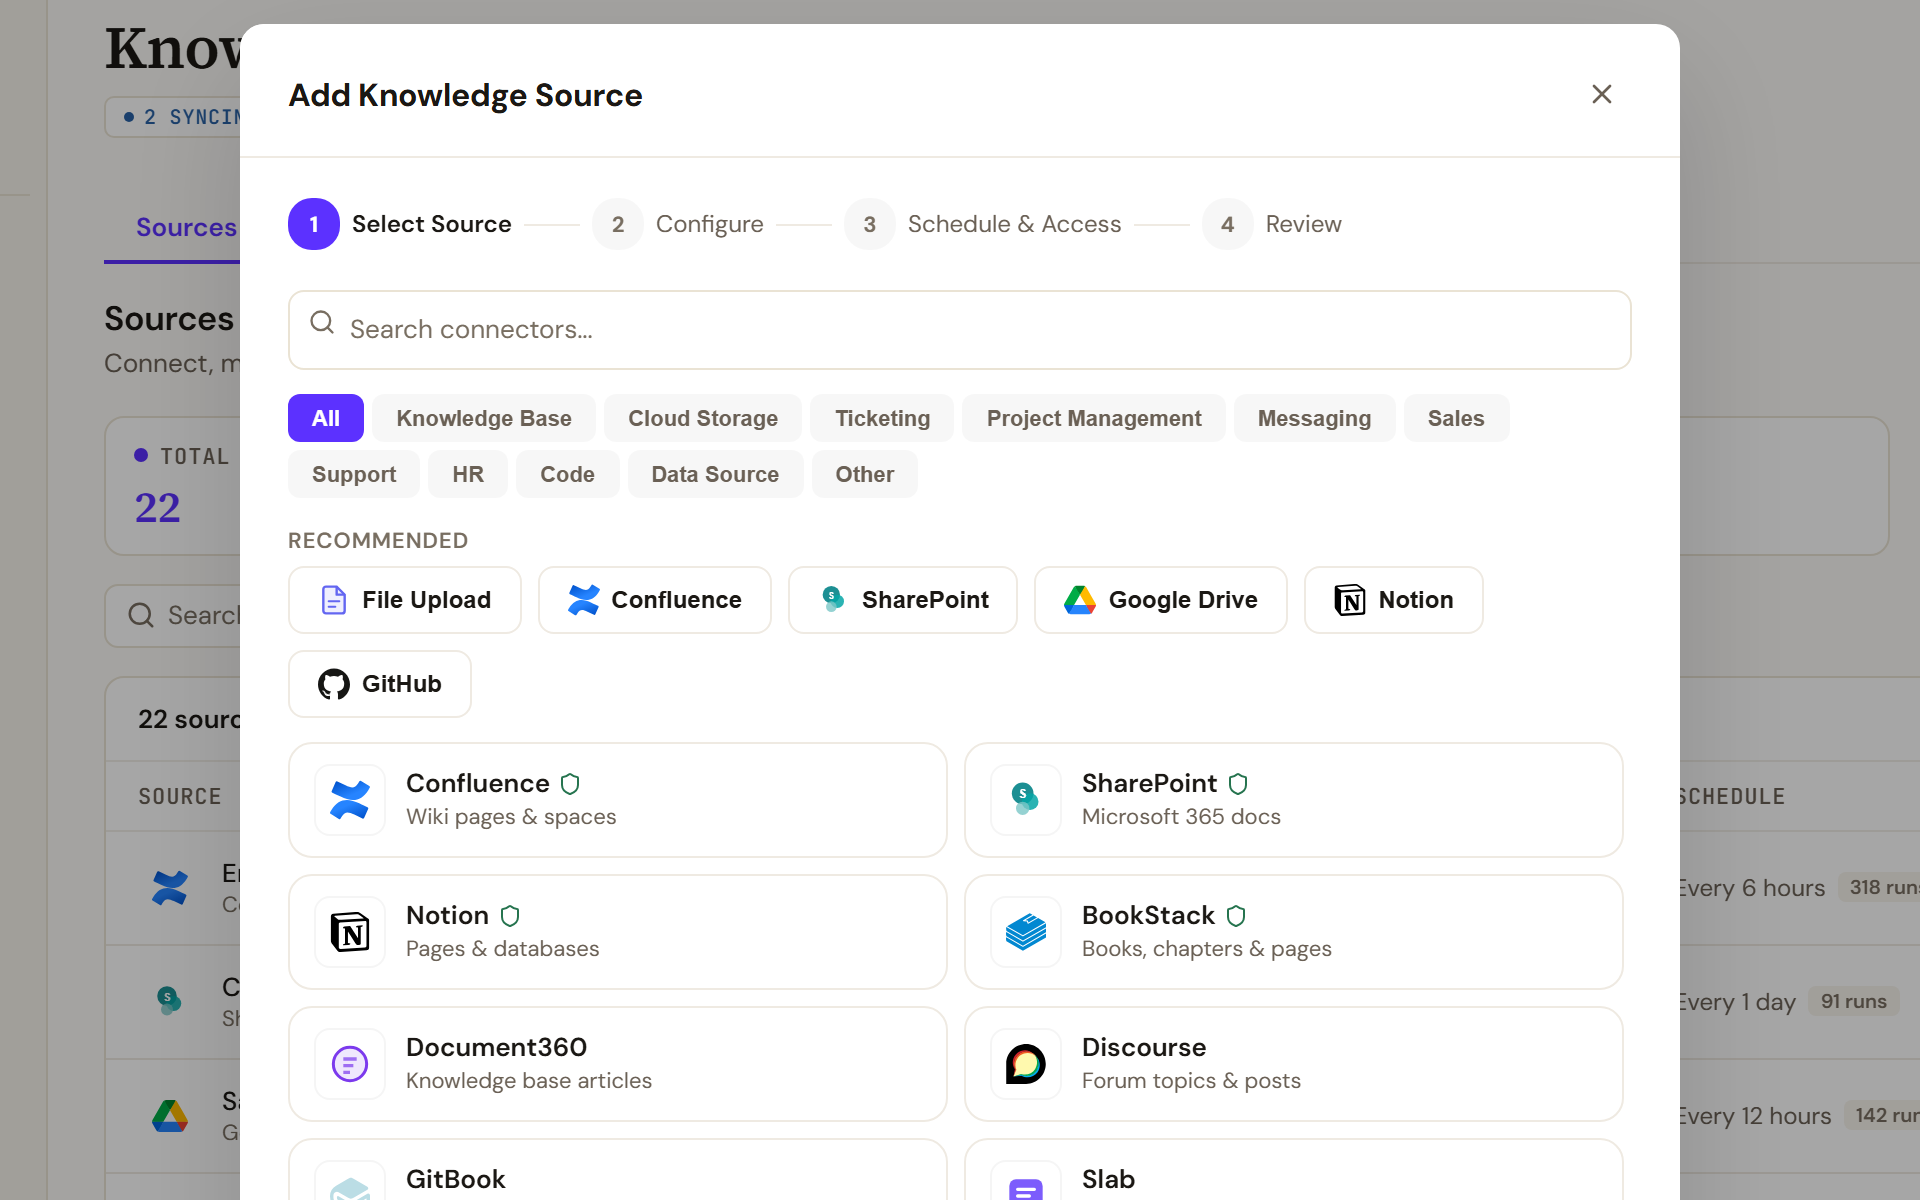
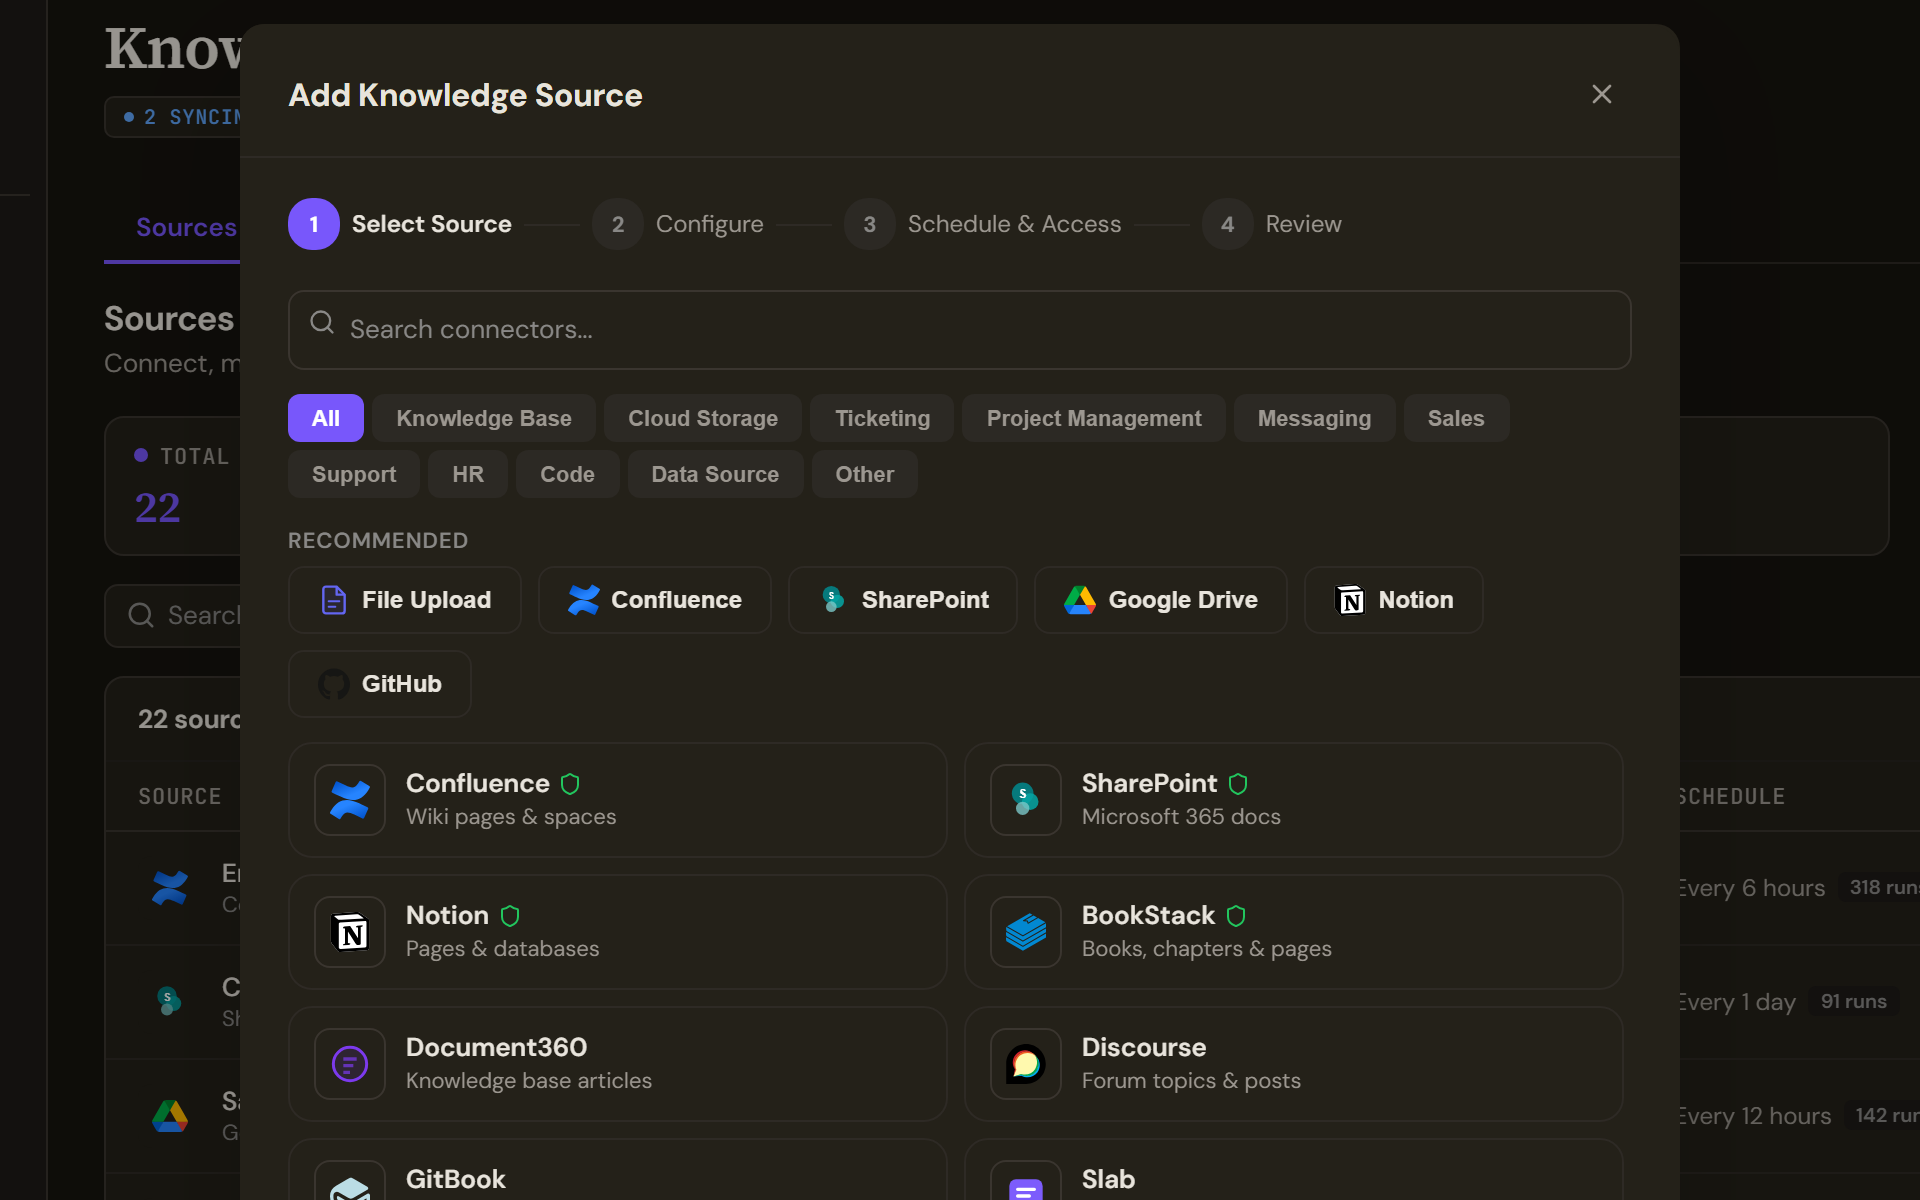
Step 1, Select Source: pick File Upload or a connector. Recommended sources sit at the top; the chips filter the grid by category. Pick File Upload to index your own files, or a connector. The Recommended row lists the common choices; the chips filter the grid by category, from Knowledge Base and Cloud Storage to Code and Data Source, and the search box finds a connector by name. Selecting a source moves you to the next step; Back returns here.
- Configure
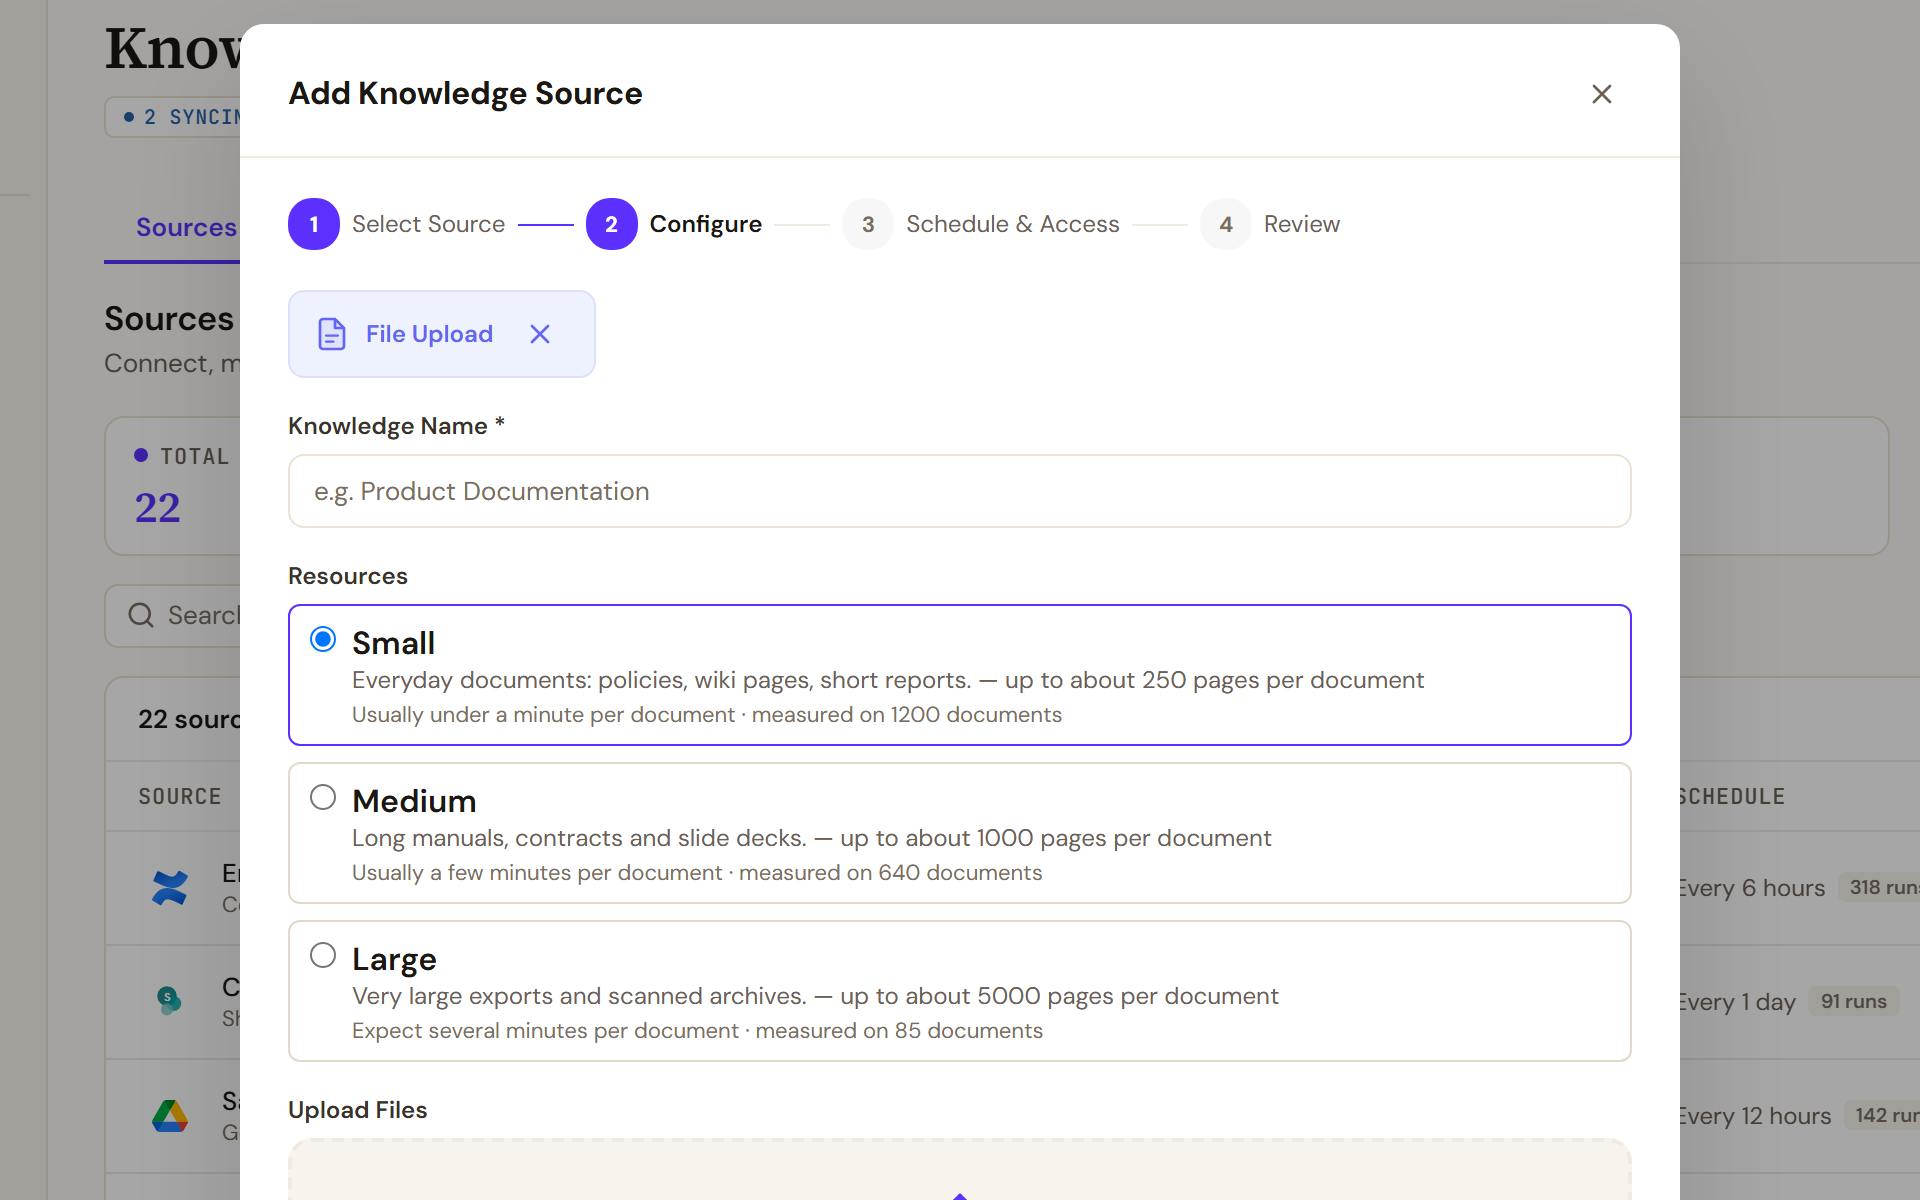
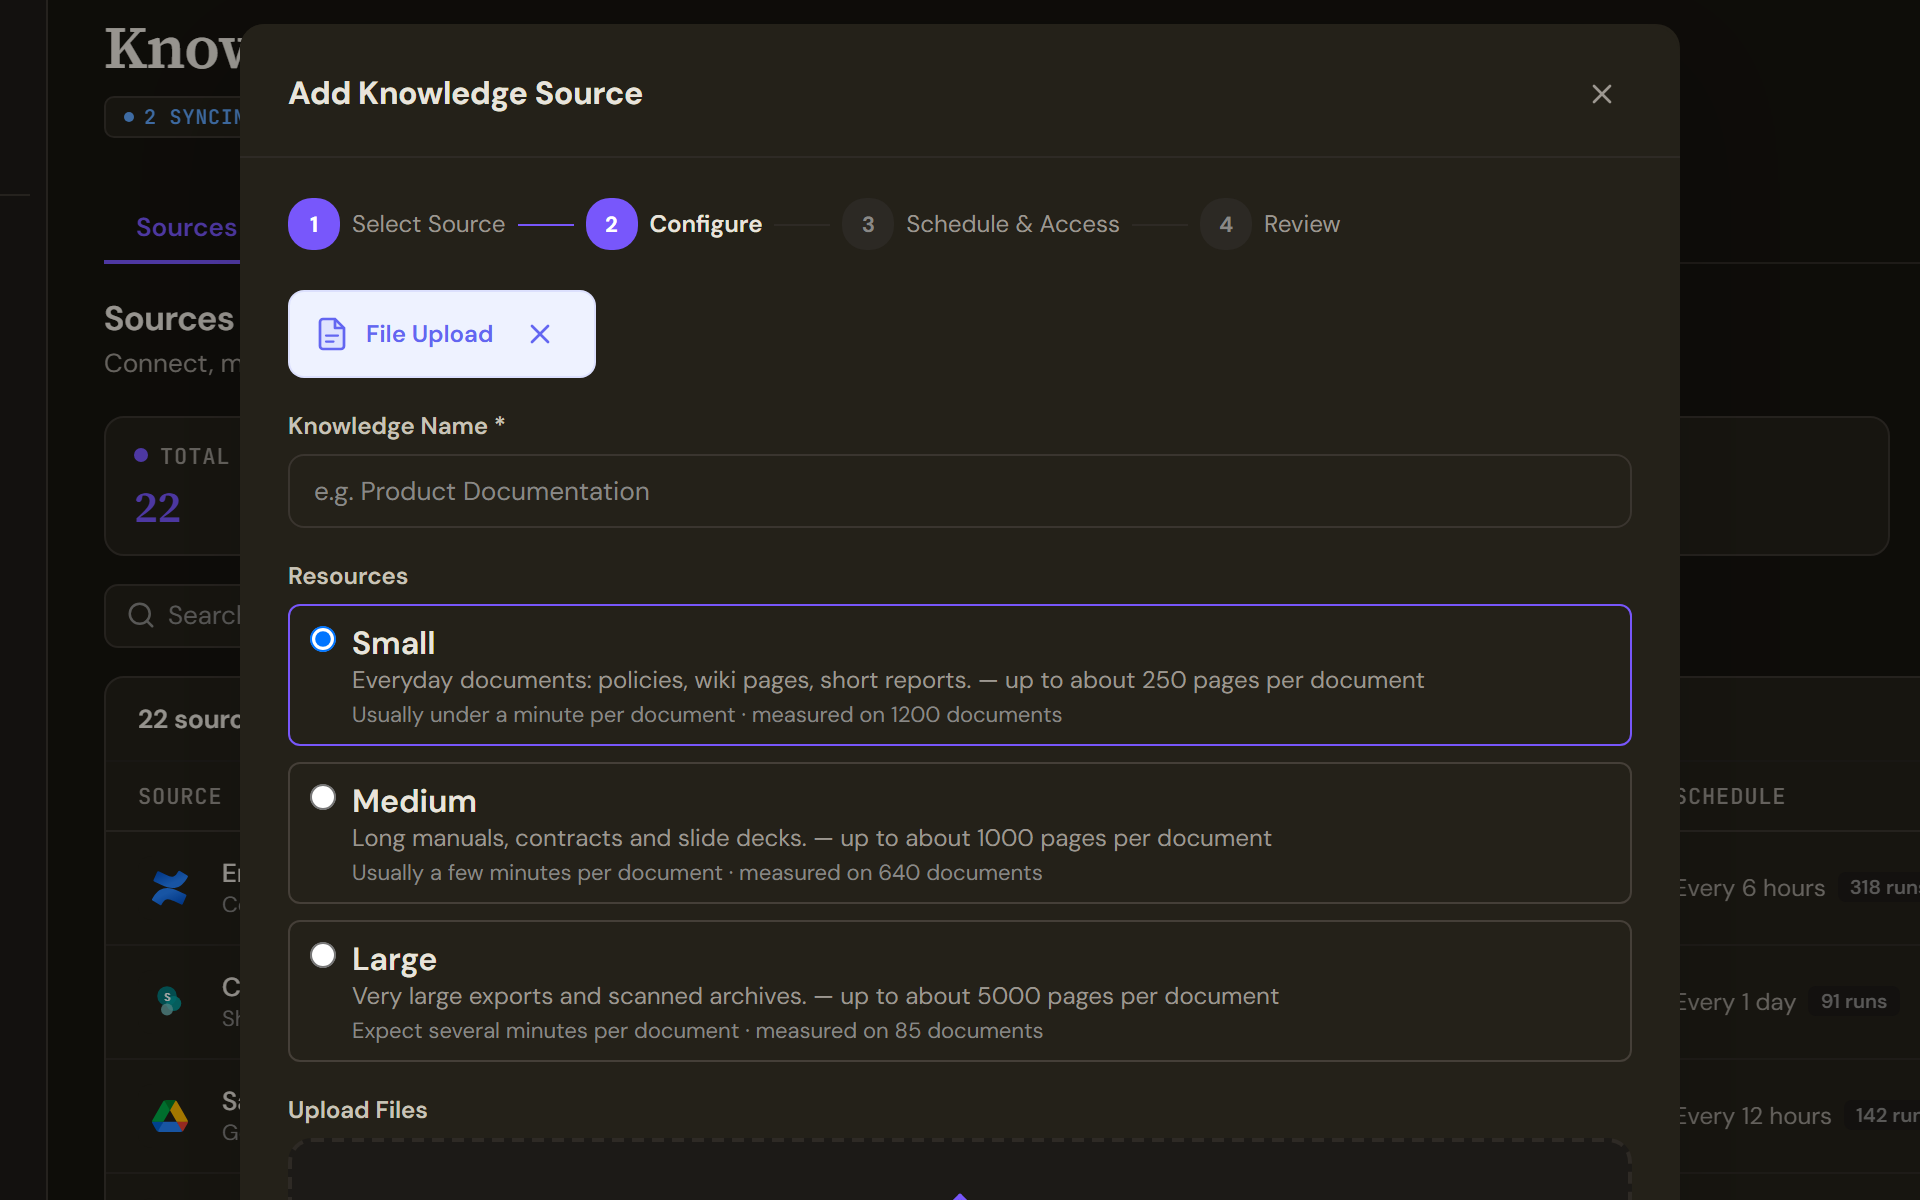
Step 2, Configure: name the source, pick its Resources and, for File Upload, add the files. Connectors ask for their credentials here instead. Enter a Knowledge Name, which has to be one no other source in your organisation already uses. For File Upload, select Click to upload or drag files here and add your files; the drop zone lists the accepted file types and the size limit per file. Under Resources, pick the option that matches your documents: each one says what it is for and about how many pages per document it holds, and the default is preselected. For a connector, enter the credentials it asks for, or select Connect with the provider to sign in through a secure pop-up. Next is enabled once the required fields are filled.
- Schedule & Access
Choose a Sync Schedule: One-time runs once and stops; Recurring syncs on a schedule, and a Schedule Interval field then takes a number and a unit (minutes, hours, days or weeks). Under Knowledge plane, decide whether to build an entity graph on top of the searchable index: Tenant default follows the workspace setting, Extract entities builds the graph (and adds cost per passage), Search only does not. For a SharePoint source, a note says its permissions are captured automatically on every sync. Under Access, choose Personal (only you can view) or Teams and tick the teams that may use the source; someone added to a team later gains access automatically. Access governs who inside Katonic can open the source; it does not change what the connector can read in the source system. See Control who can use a knowledge source.
- Review
Review Configuration summarises your choices. Use Back to change anything, then confirm. The source is created and the first sync starts; for a file upload the wizard says the files are uploading and indexing continues in the background.
Verify
Back on the sources table, the new row appears with a status. Pending or Syncing means the first sync is still running. Synced with a document count means the content is indexed and agents can use it. Open the row to see its Documents tab fill in, and use the Search & Test tab to ask a question and check what comes back.
Troubleshooting
- Source created, but the first sync couldn't start. The source exists but nothing is indexed yet. Open it and select Reindex.
- A knowledge source with that name already exists. Names are unique across your organisation. The wizard refuses a name that is taken rather than creating a second source that looks identical to the first in every column of the sources table. Choose a different name, or open the source that already holds it.
- The row says Failed. Open the source and read the Runs and Logs tabs for the error. Credentials and permissions on the provider side are the usual causes.
- A file was rejected on upload. The wizard names the rejected files and why, usually type or size. Fix the file and use Add files on the source to upload it later.
- Resources are unavailable. The list of resource options could not be loaded, so the source is indexed on the default resources. The source itself is fine.
- No teams to choose under Access Groups. Create the team first, then return to the wizard.
Do this from your own code