Building Entire Pipeline
Katonic custom components are pre-built components based on low-code no-code architecture. The components help you built a full end-to-end pipeline without writing a single line of code.
Here we'll be taking tips dataset and perform different preprocessing to prepare it for training.
All of the components will be listed inside the katonic pipeline canvas
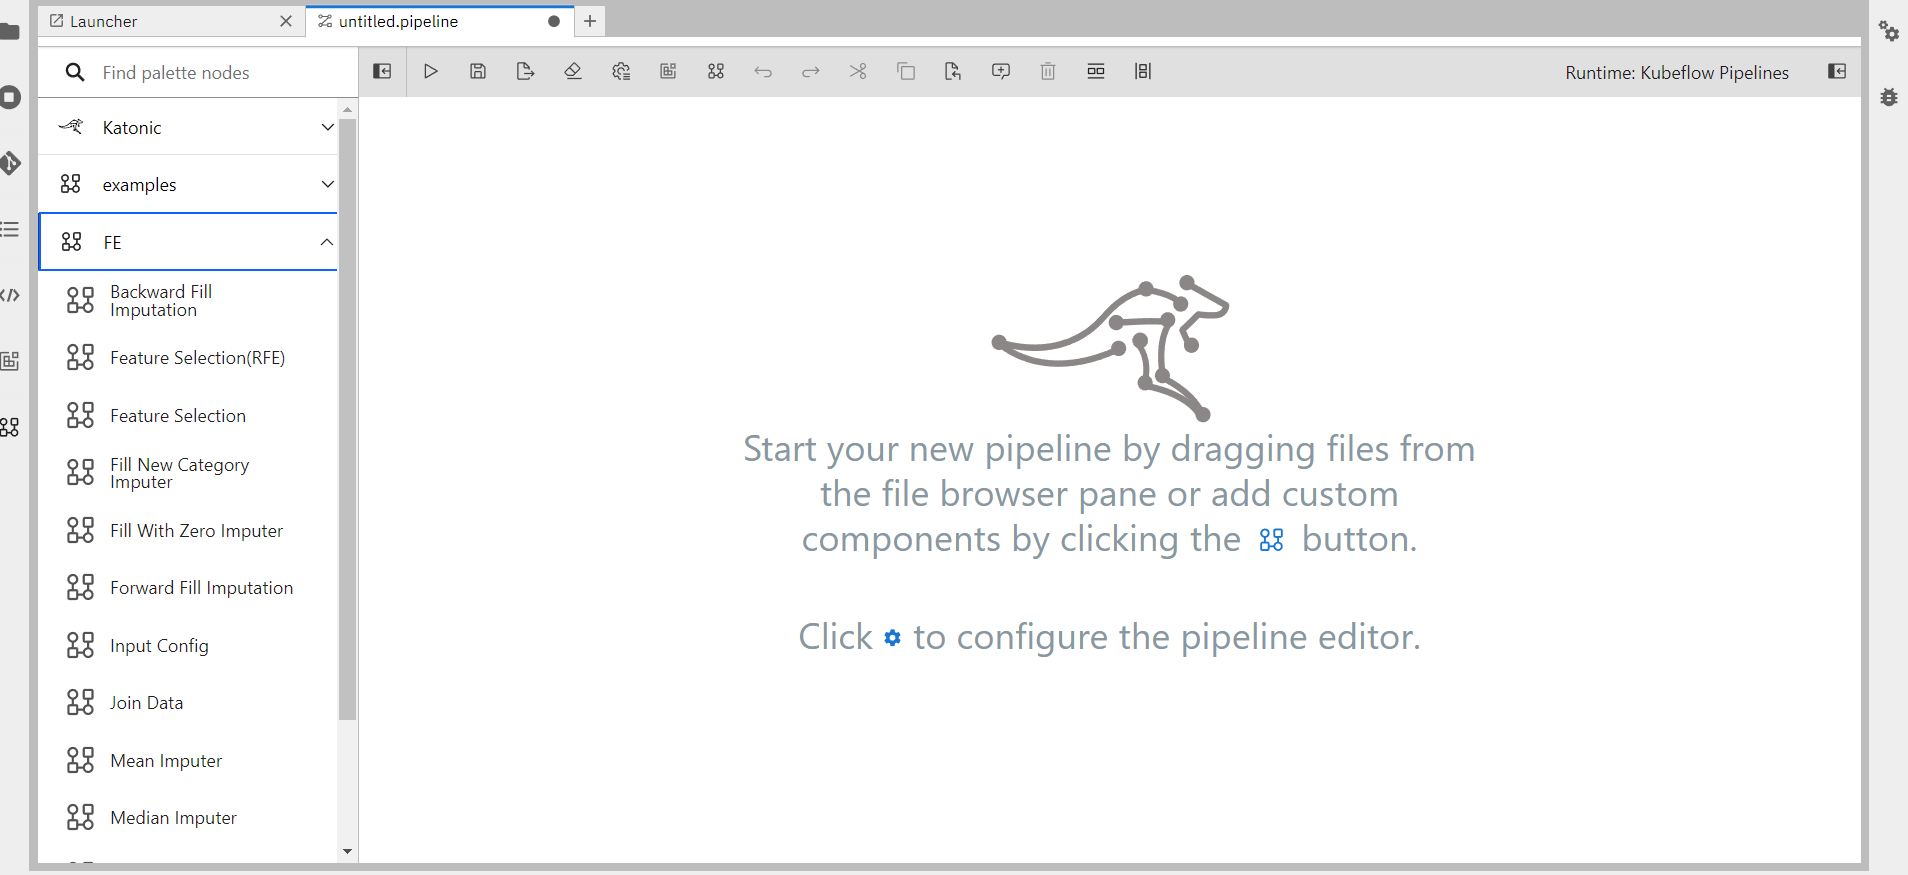
To build the pipeline one component(Input Config) needs to be the 1st element in the pipeline that takes necessary parameters from the user, then all these parameters are traversed throughout the entire pipeline.
Follow the below steps to design and run a pipeline using custom component
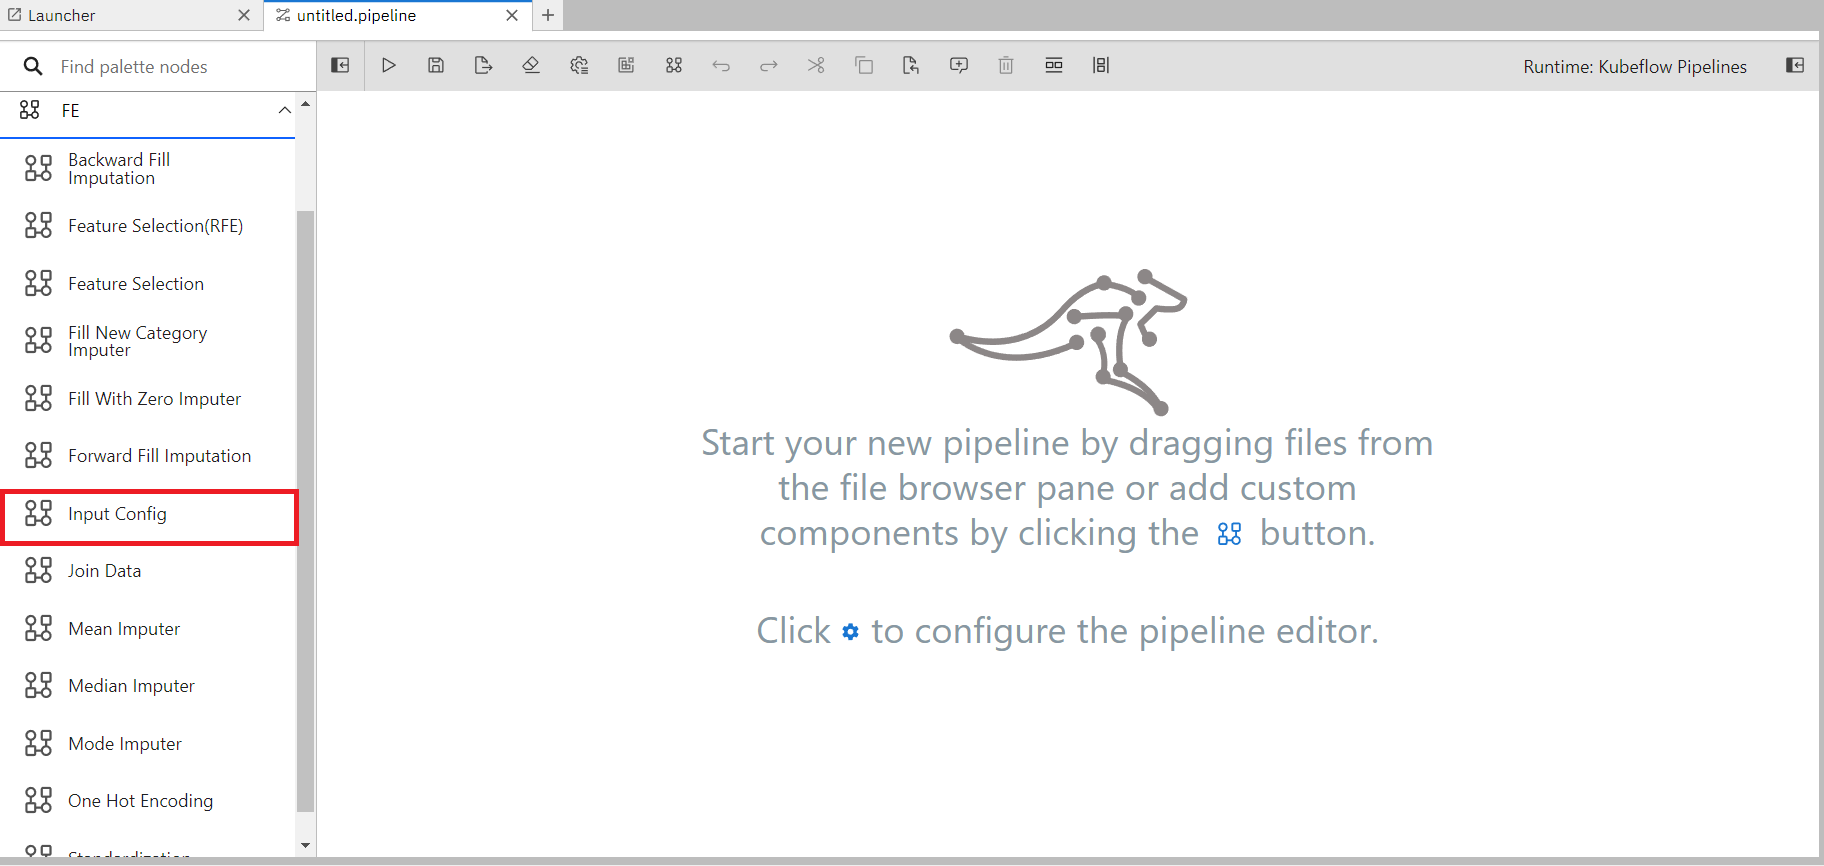
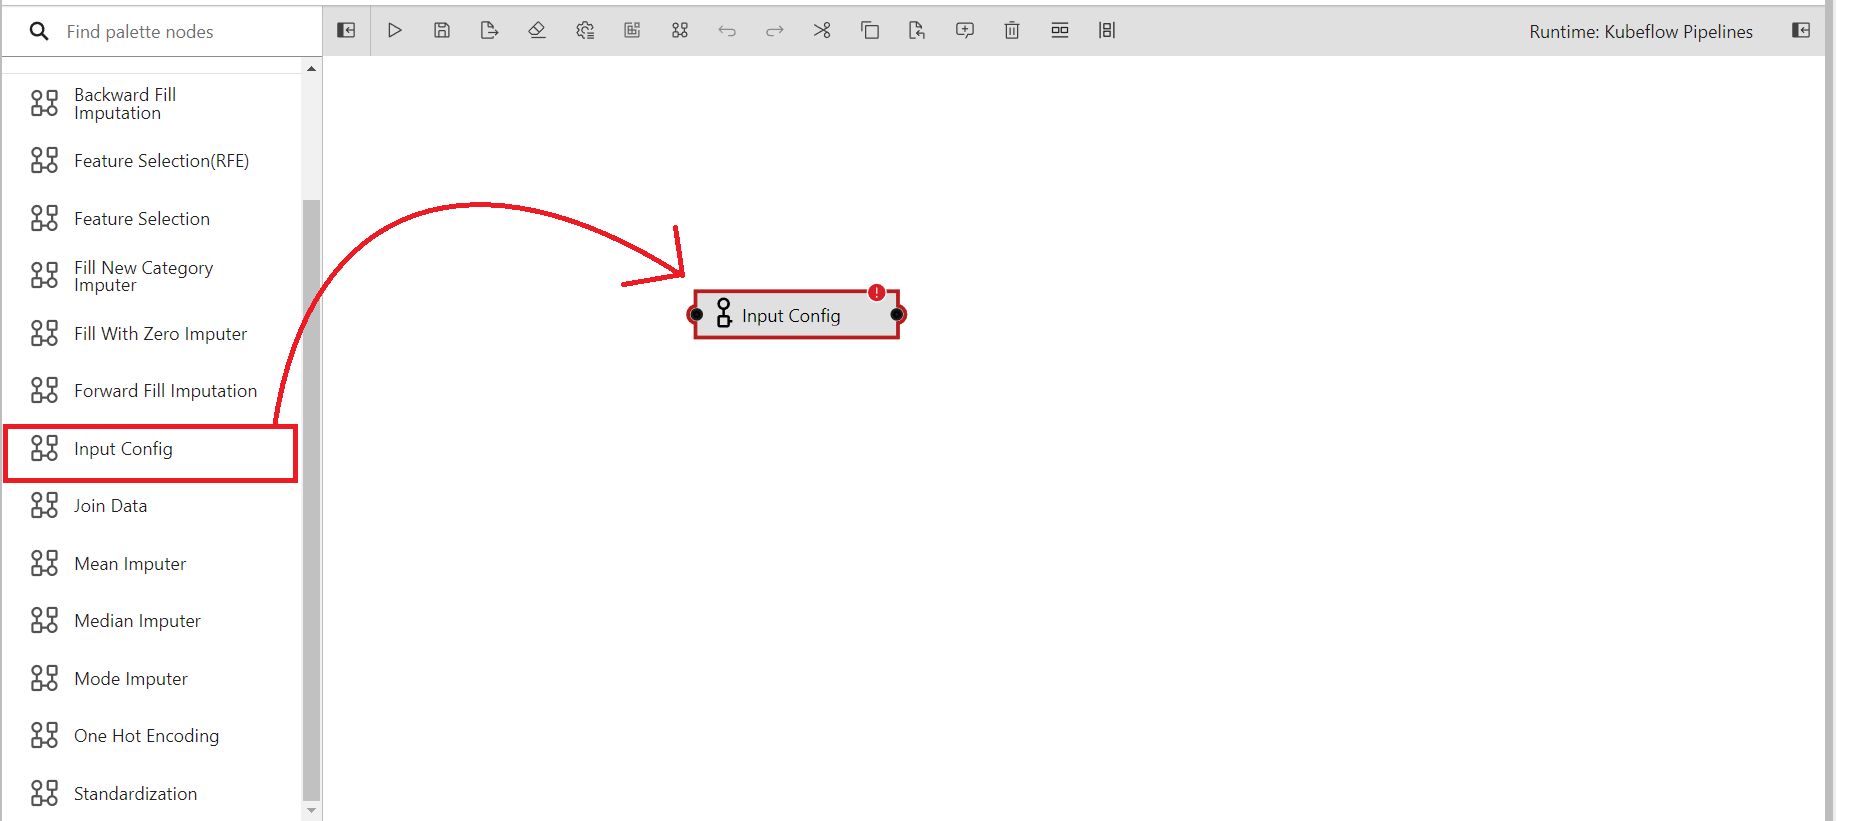
Drag and drop the components into the canvas in order to use them.
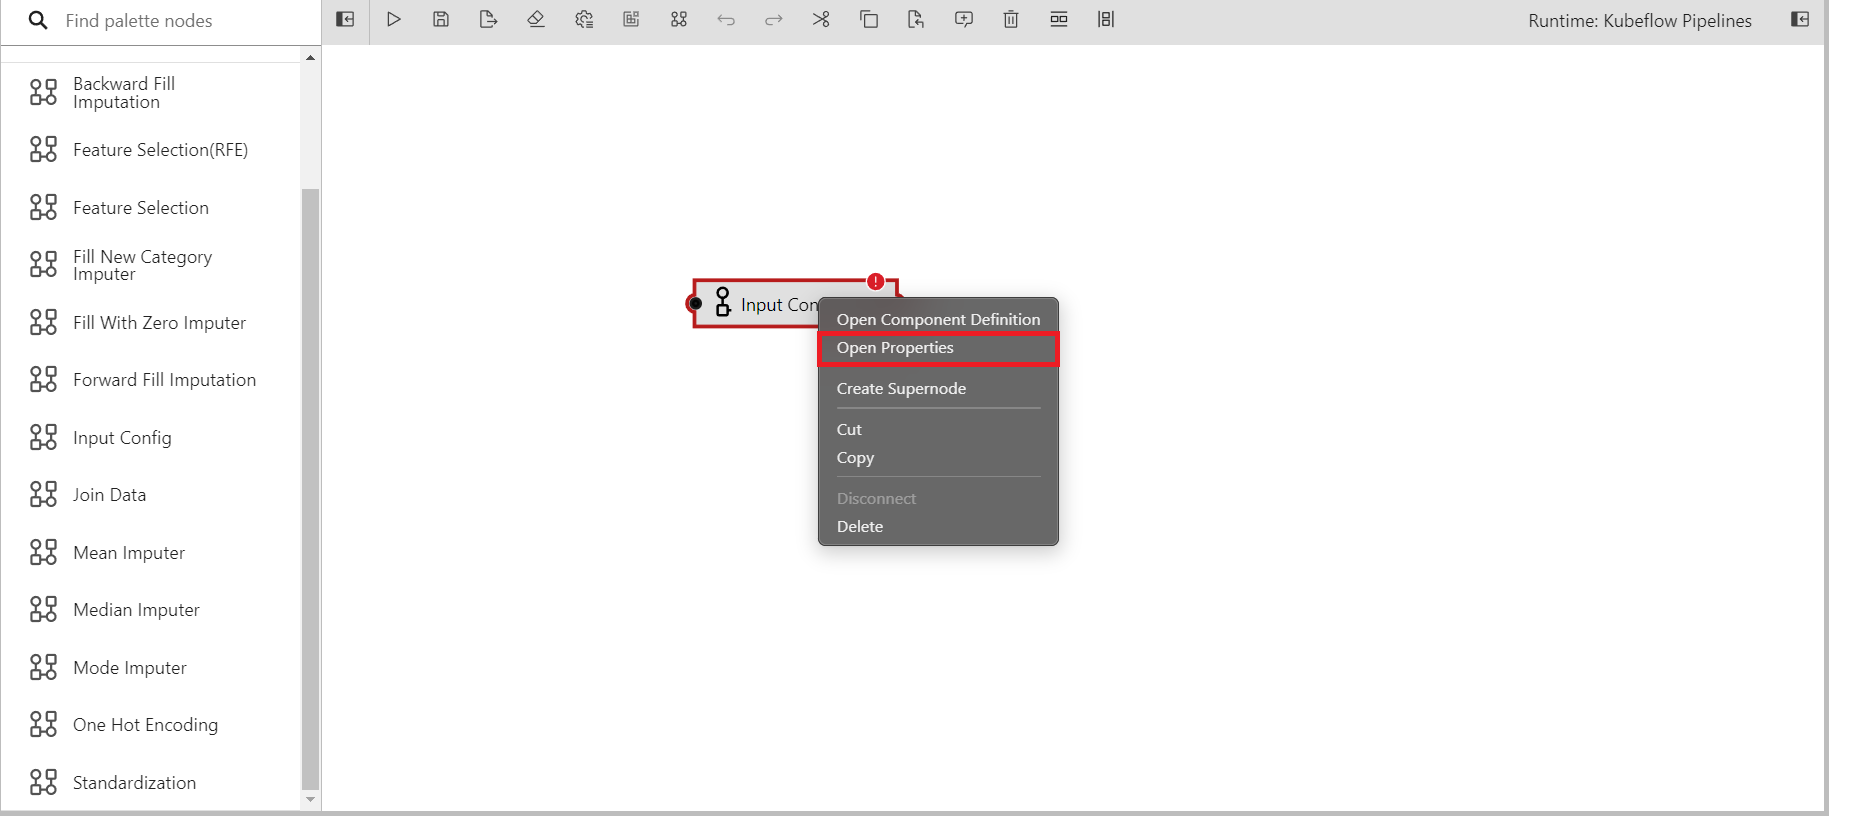
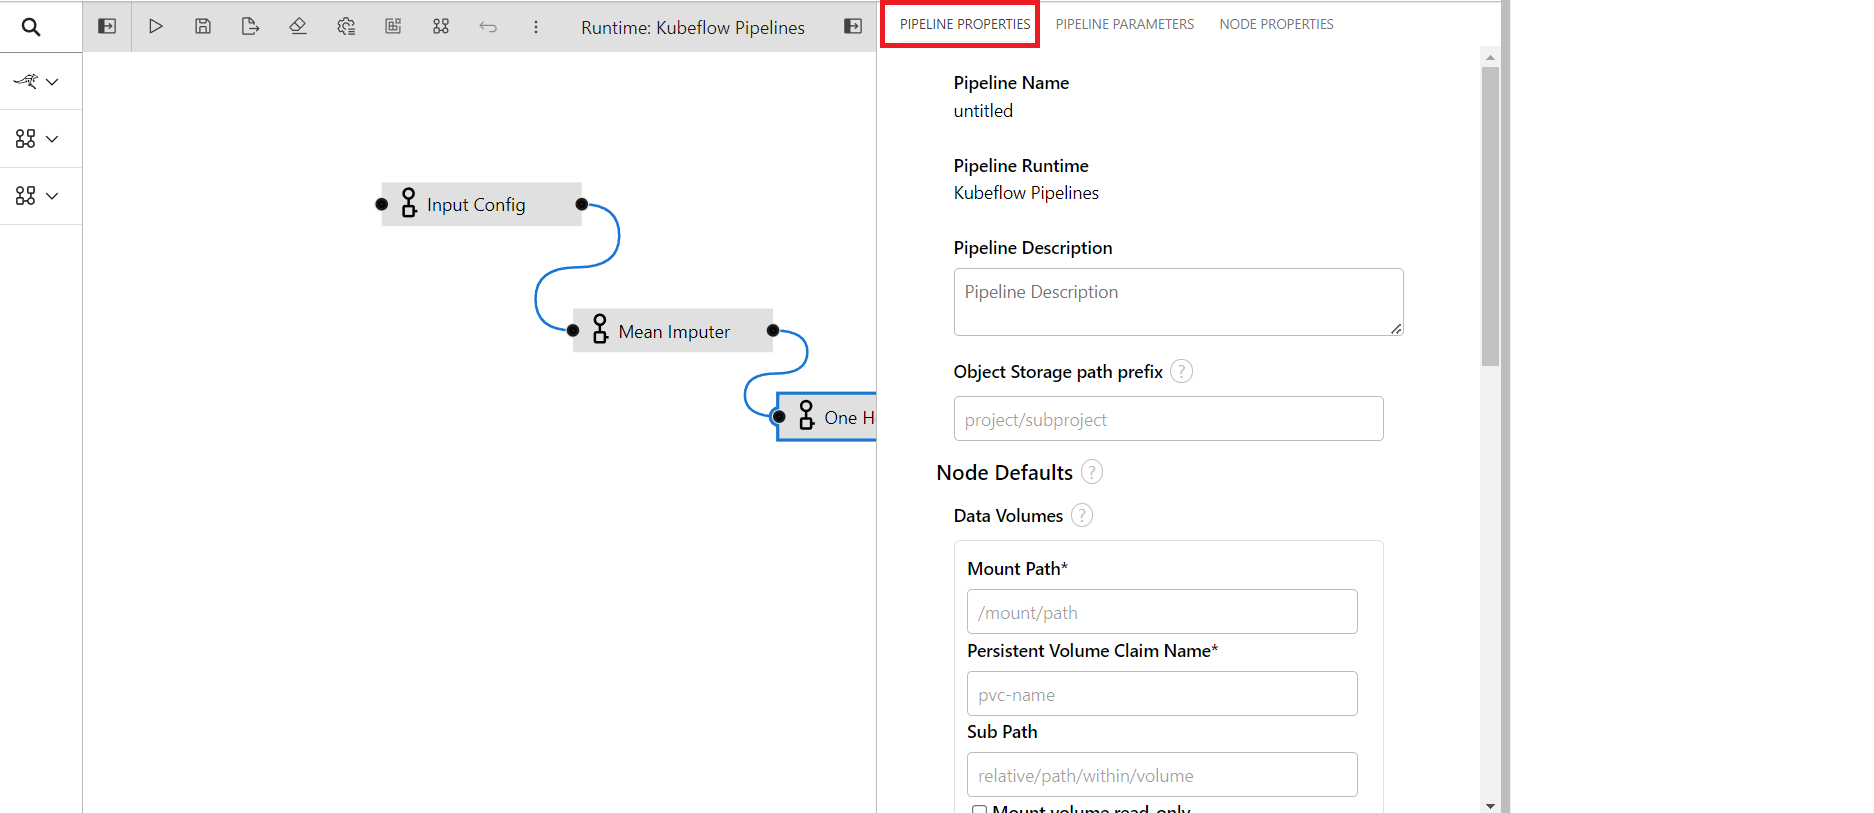
After you have imported your input config onto the canvas, you can right-click on it and select the option to open its properties.
Here are three
pipeline properties,pipeline parametersandnode parameters.Pipeline properties are those properties which are applicable for the entierity of the pipeline.
Pipeline parameters are used defined parameters than can be used inside the pipeline
Node properties are the properties related to an individual components.
A panel will appear on the right side of the screen and various input fields will be visible for you to complete.
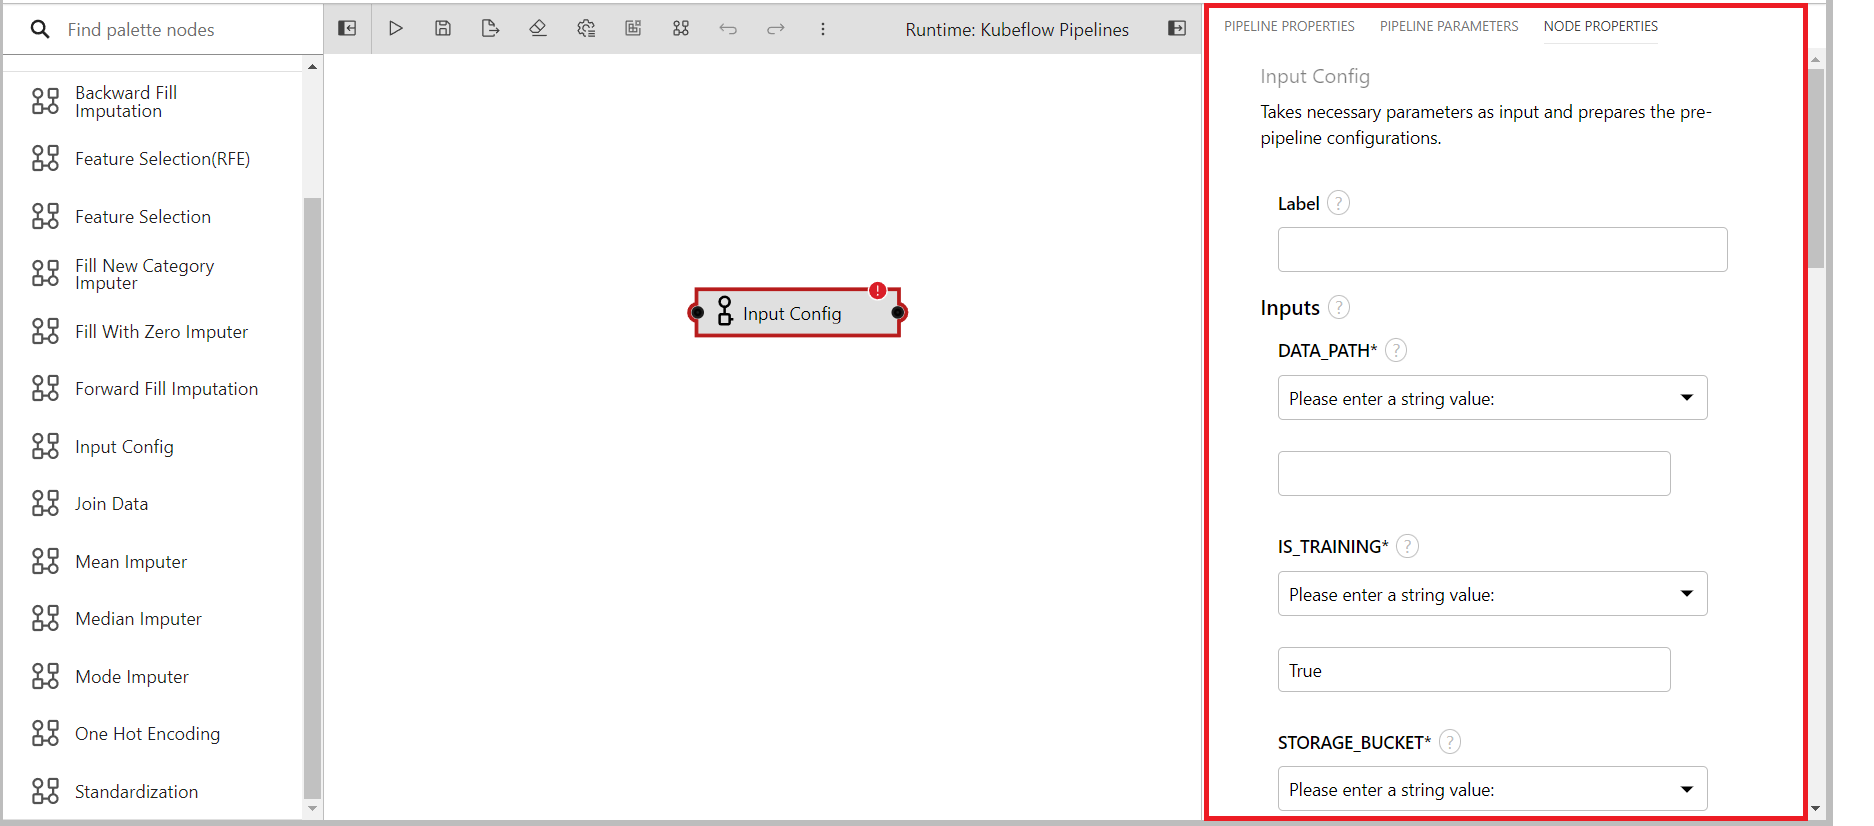
Provide suitable values for each of the input fields.
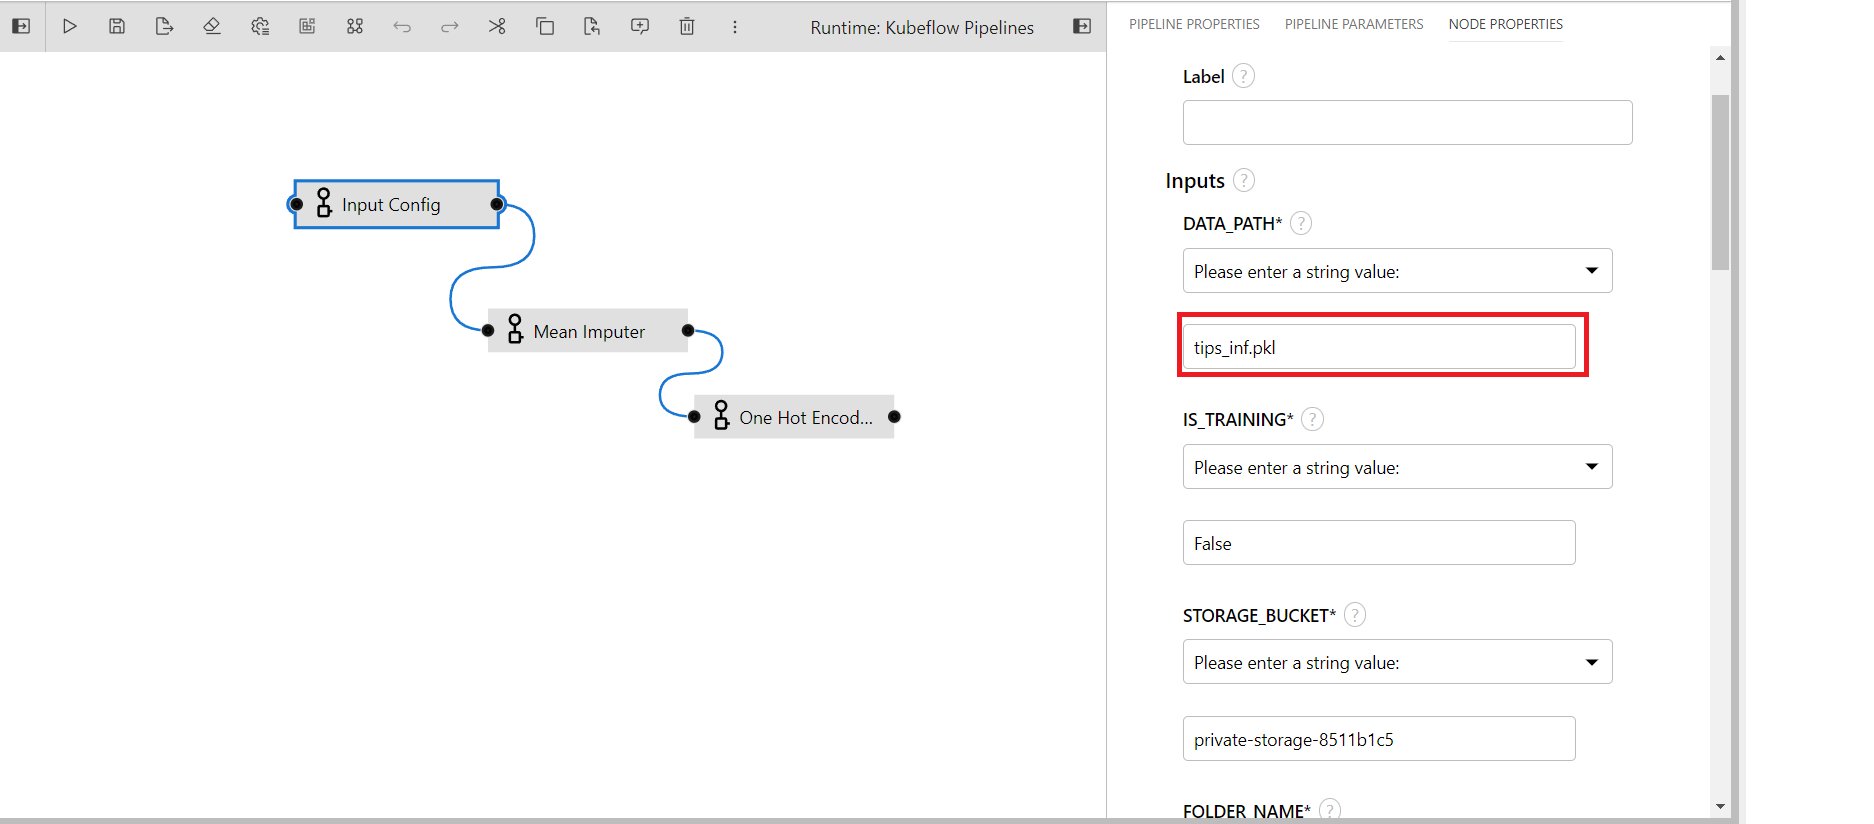
DATA_PATH: Input data file path inside private or shared bucket in katonic platform.(Provided input: tips.pkl)
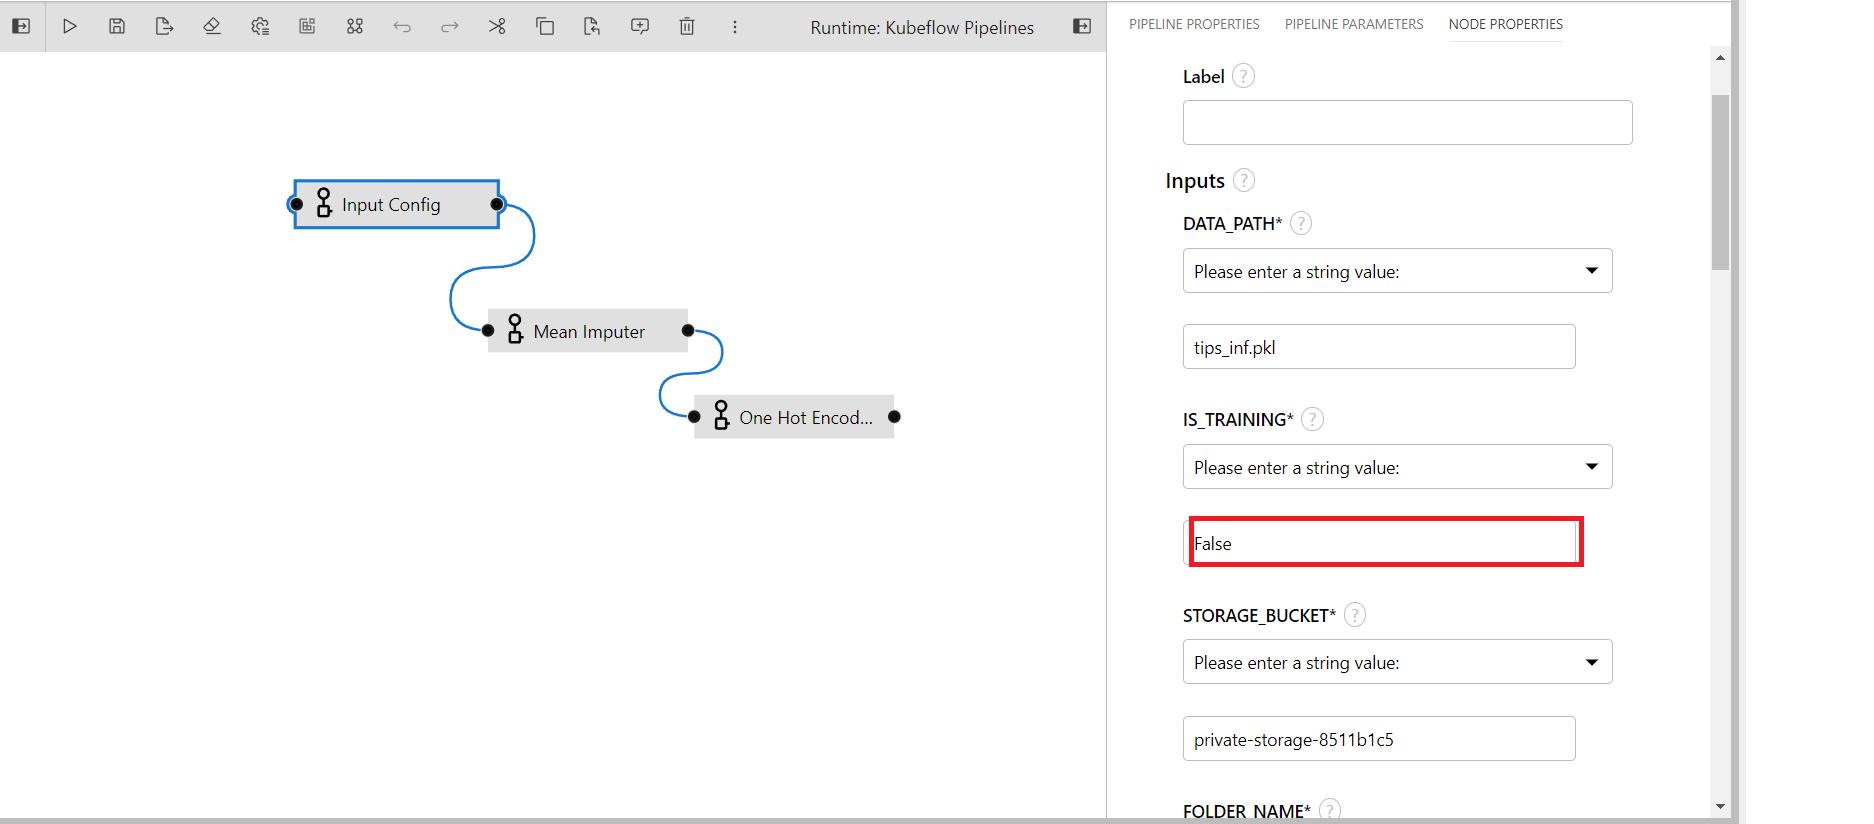
IS_TRAINING: To tell the system if the pipeline will run for training of inference. (Default: True)
STORAGE_BUCKET: The katonic file manager bucket name. You can get it by going to the
File Managersection of the platform. I'm using the private bucket as the data is stored there.[image for file manager]
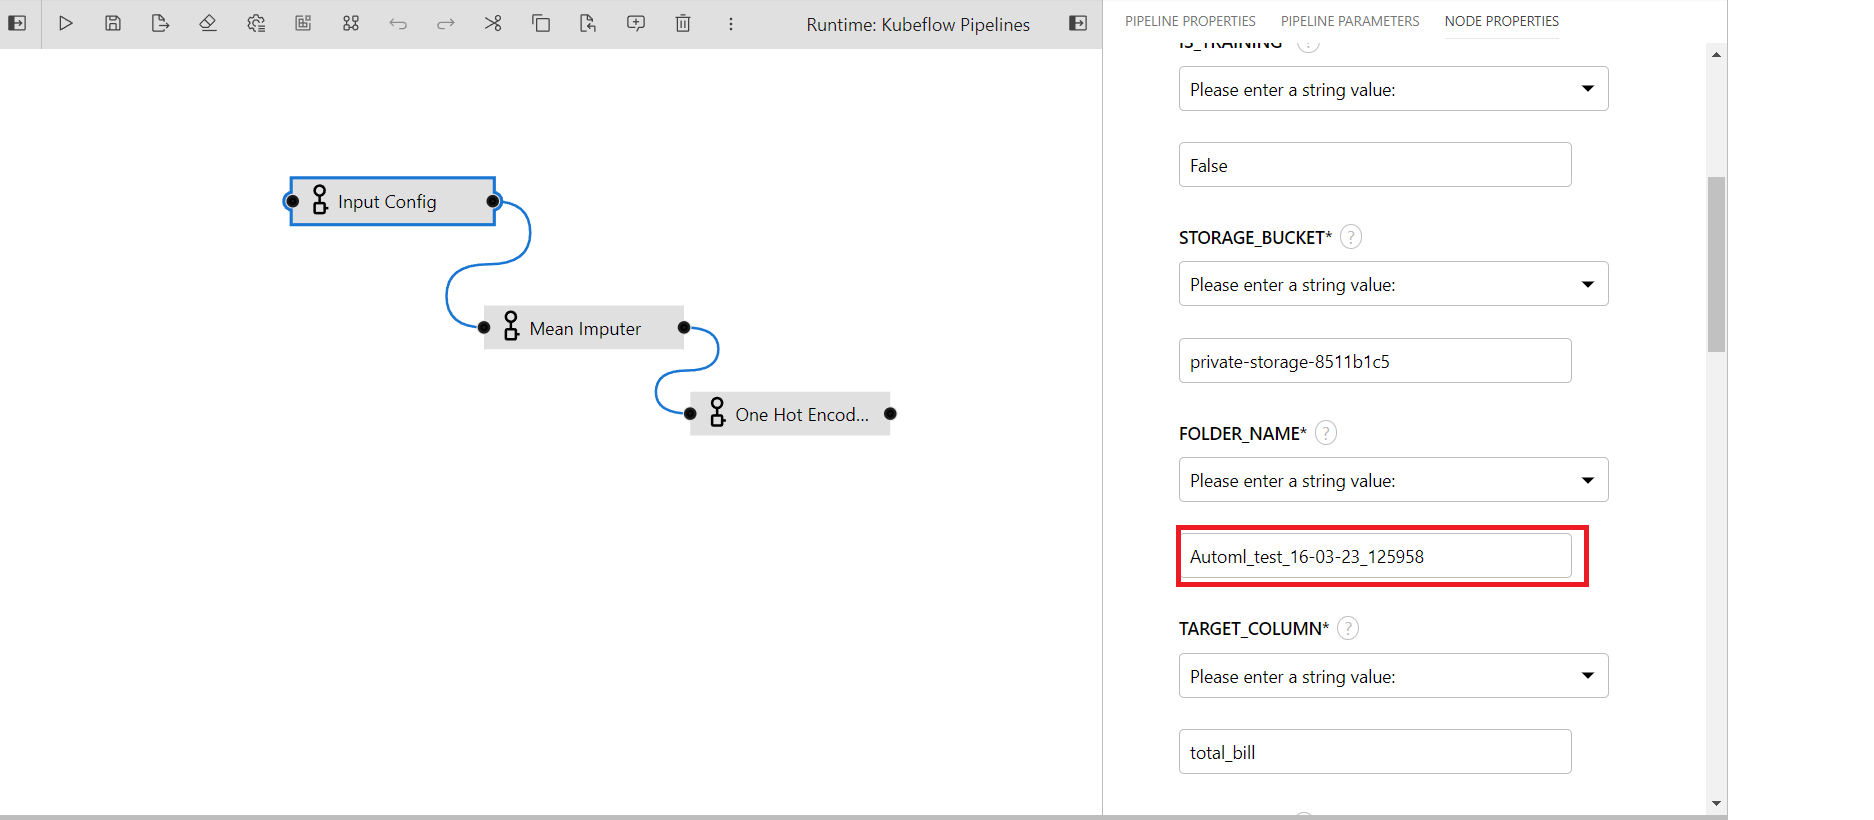
FOLDER_NAME: The folder name that will contain all the artifacts related to the pipeline.(Provided input: Automl_test)
TARGET_COLUMN: The target column name in the dataset.(Provided input: total_bill)
ID_COLUMN: The unique id column in the data, if doesn't exist create one as it is required for the pipeline to run properly.(Provided input: ID)
ACCESS_KEY: The access key of your file manager. This can be generated by going to
File Managersection in the katonic platform and clickin onAccess Token+.SECRET_KEY:The secret key of your file manager. This can be generated by going to
File Managersection in the katonic platform and clickin onAccess Token+.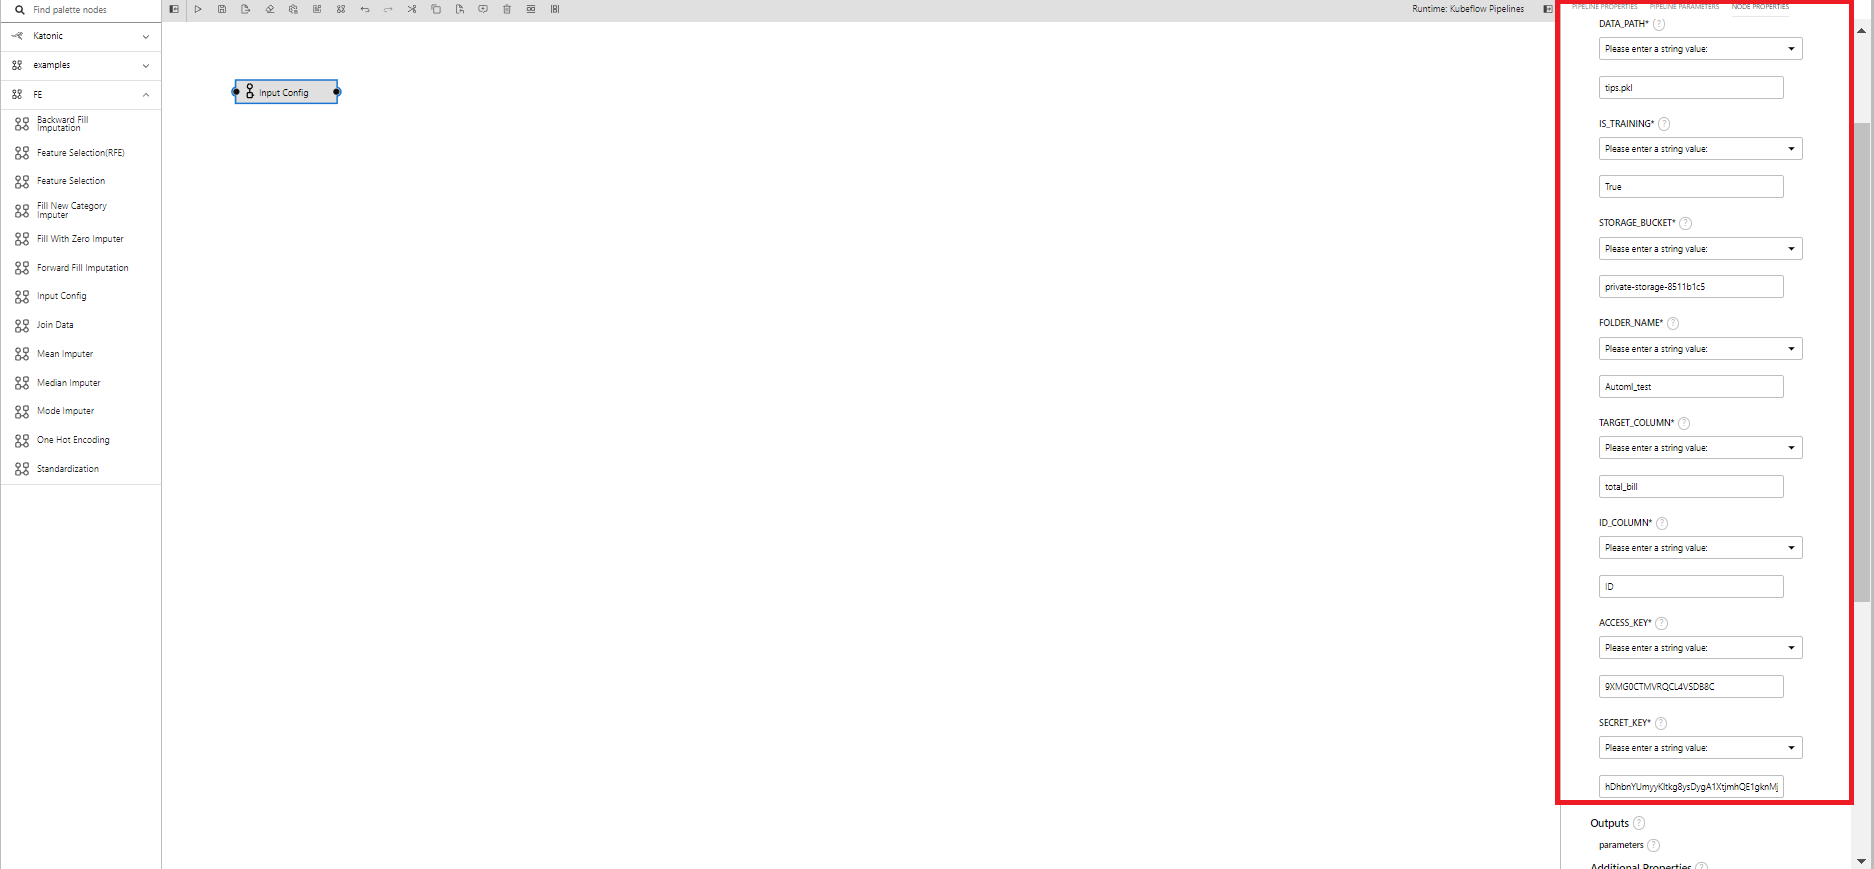
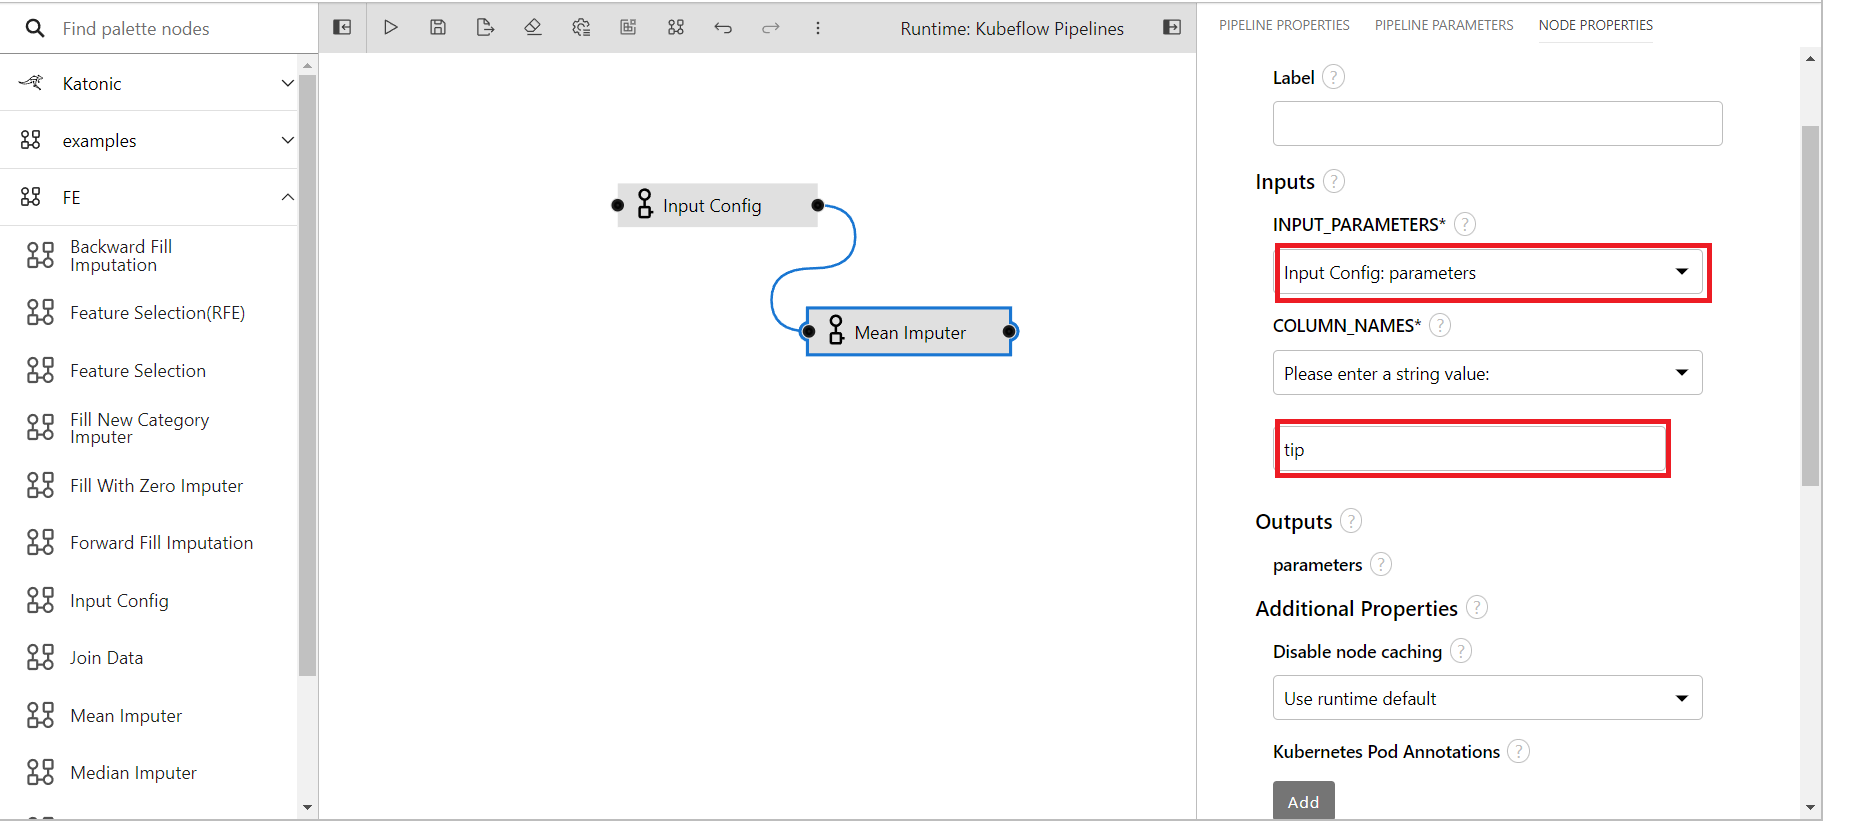
Now drag and drop mean imputer to the canvas from the catalogue
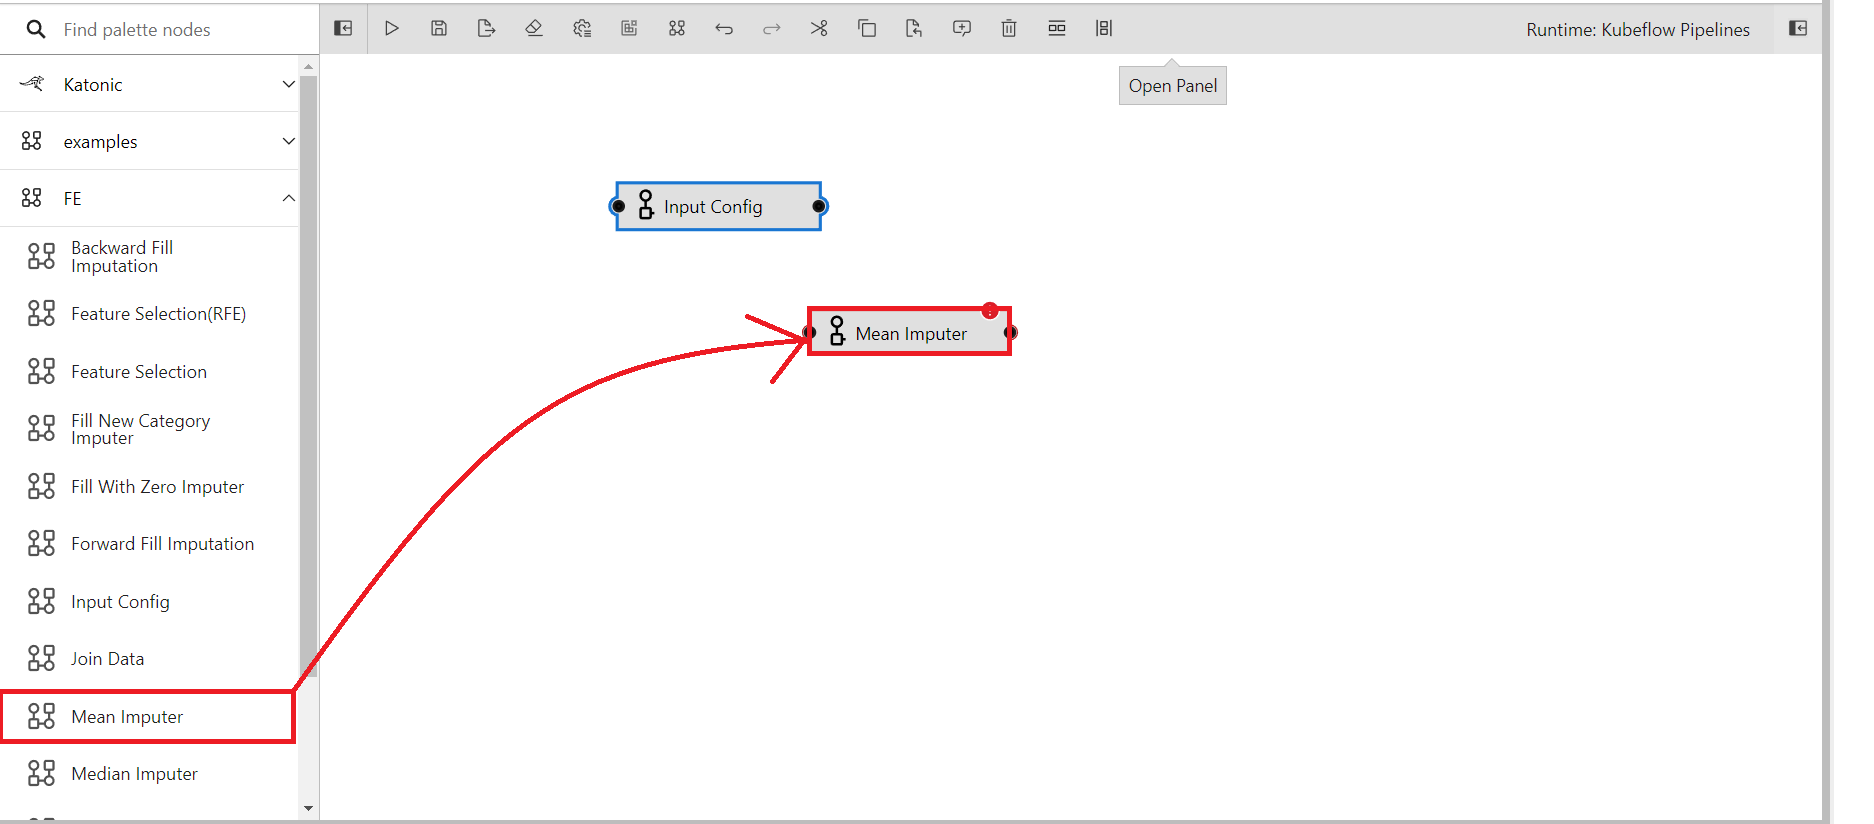
Connect the output port of input config to the input port of mean imputer
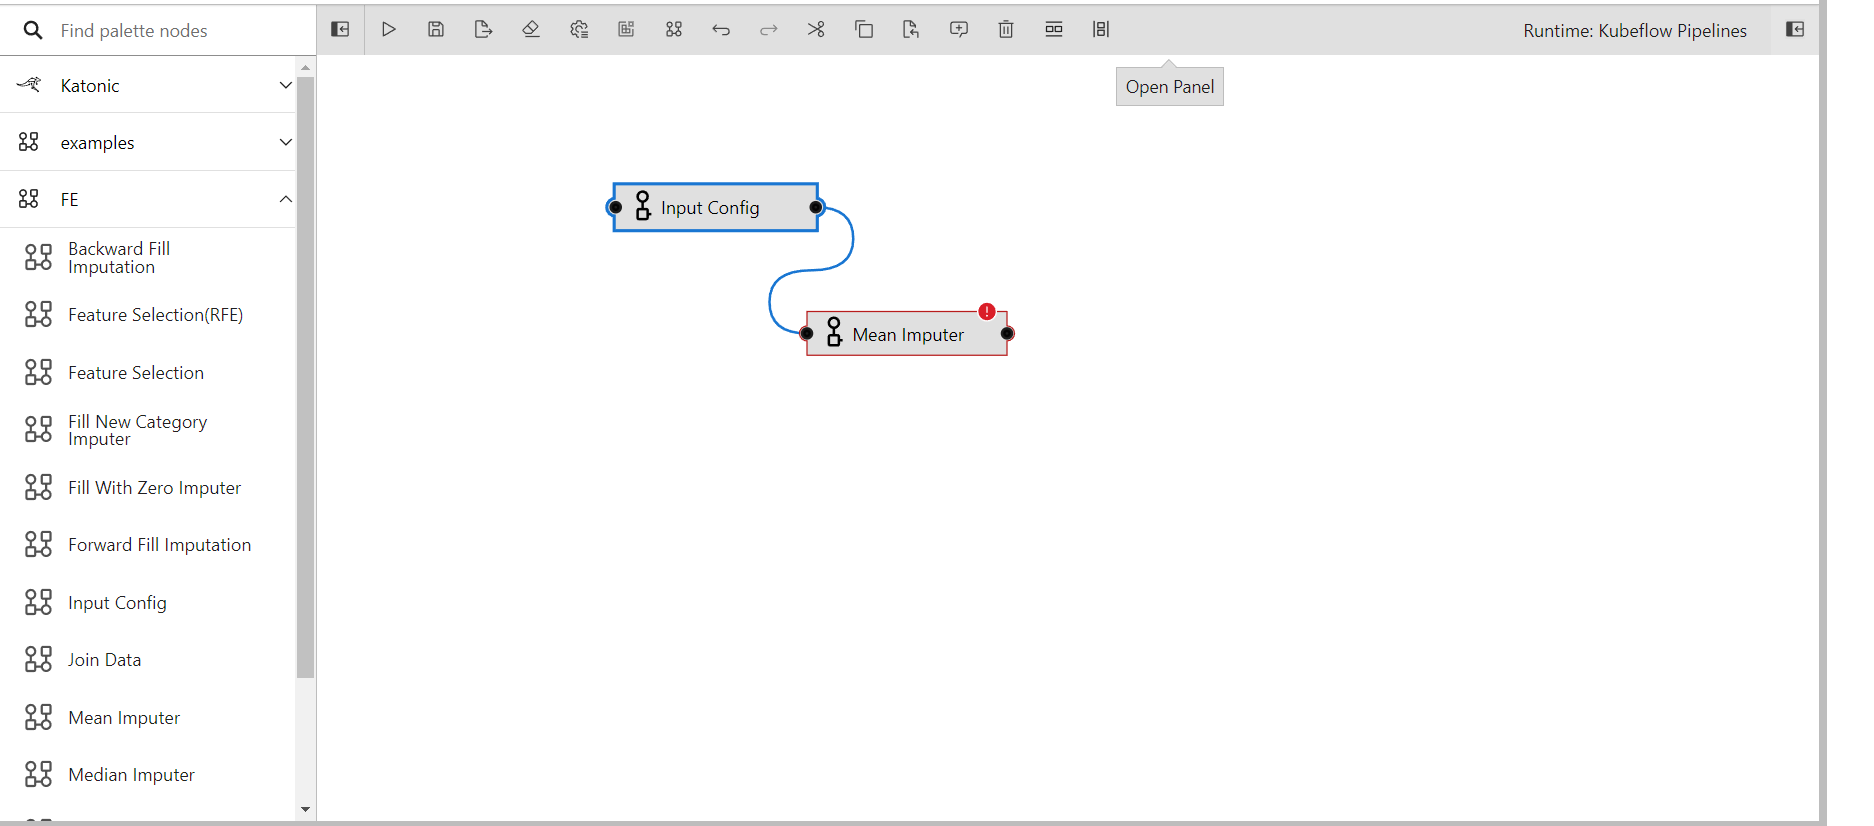
Populate the imputer component with suitable values and use the output from the input configuration as the input parameters for the imputer component.
INPUT_PARAMETERS: This contains all the necessary paramaters required to run the pipeline and here we'll take the parameters from input congfig.
COLUMN_NAMES: The name of columns to be imputed(Comma seperated if multiple.)
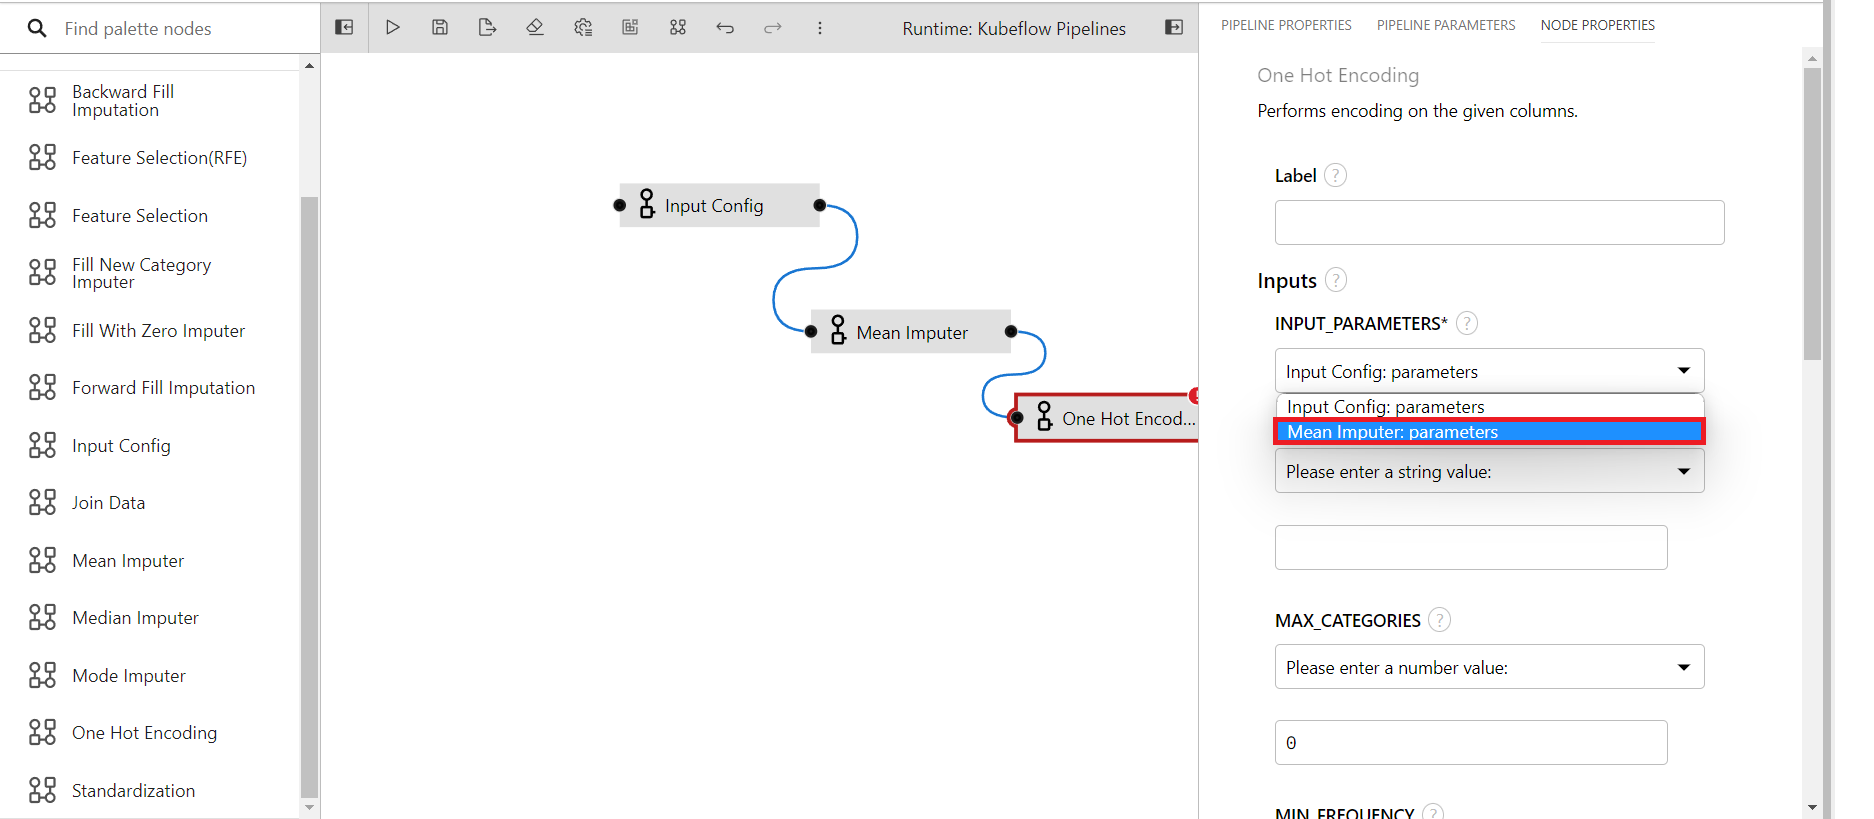
Likewise, bring the one-hot encoding component to the canvas to encode the categorical attributes and connect it to mean imputer
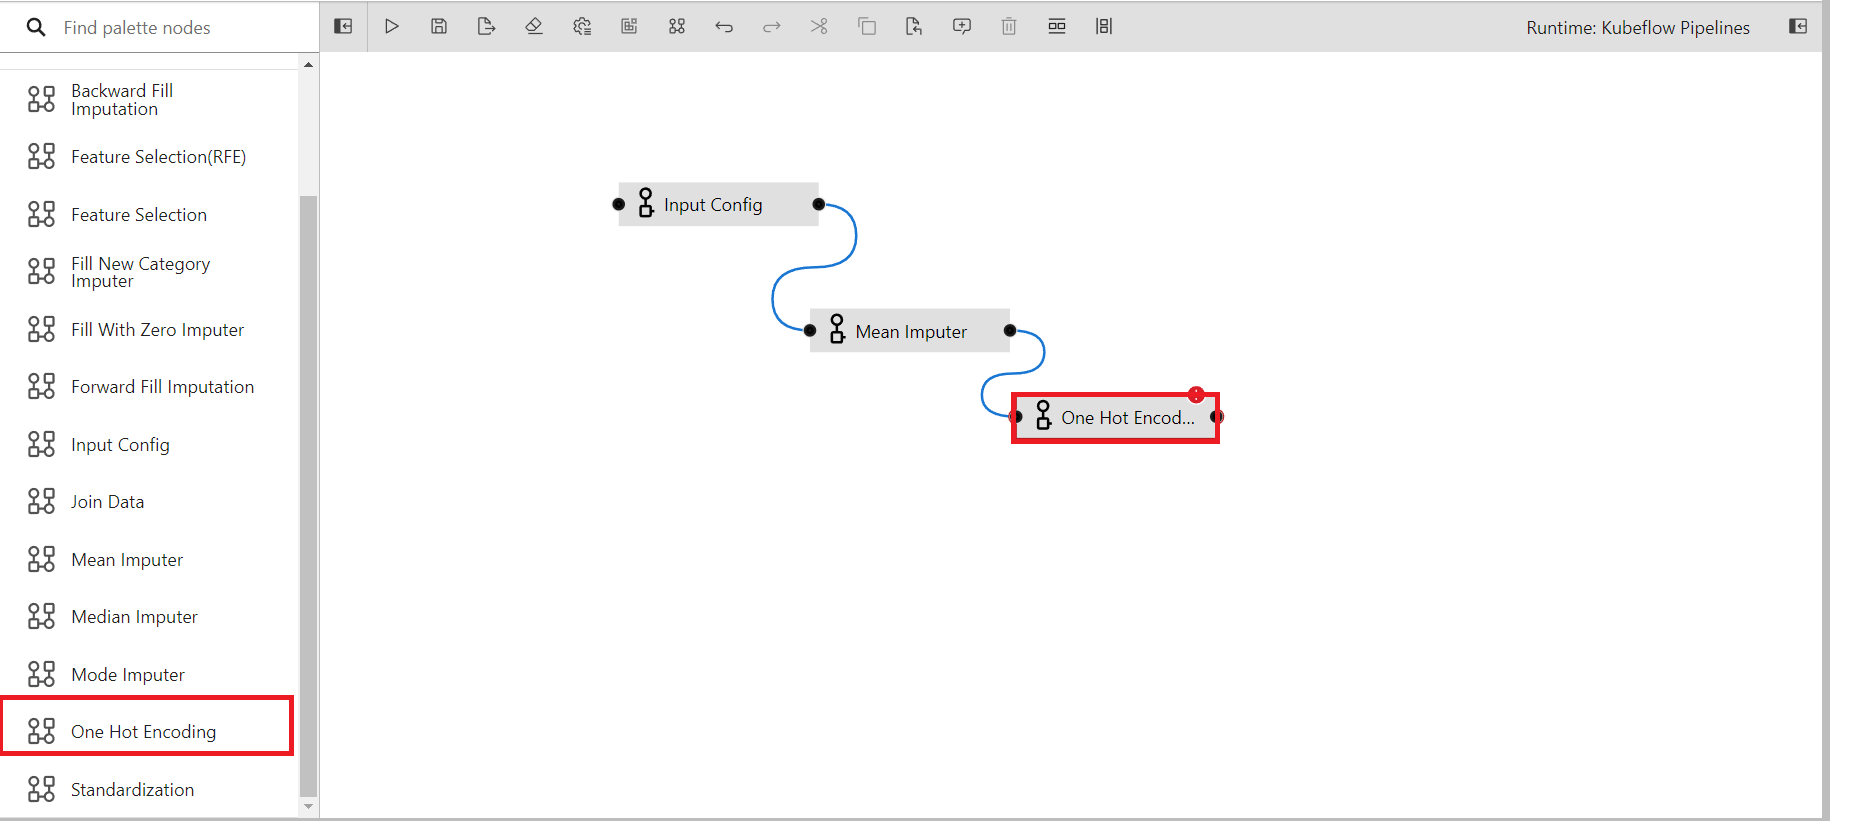
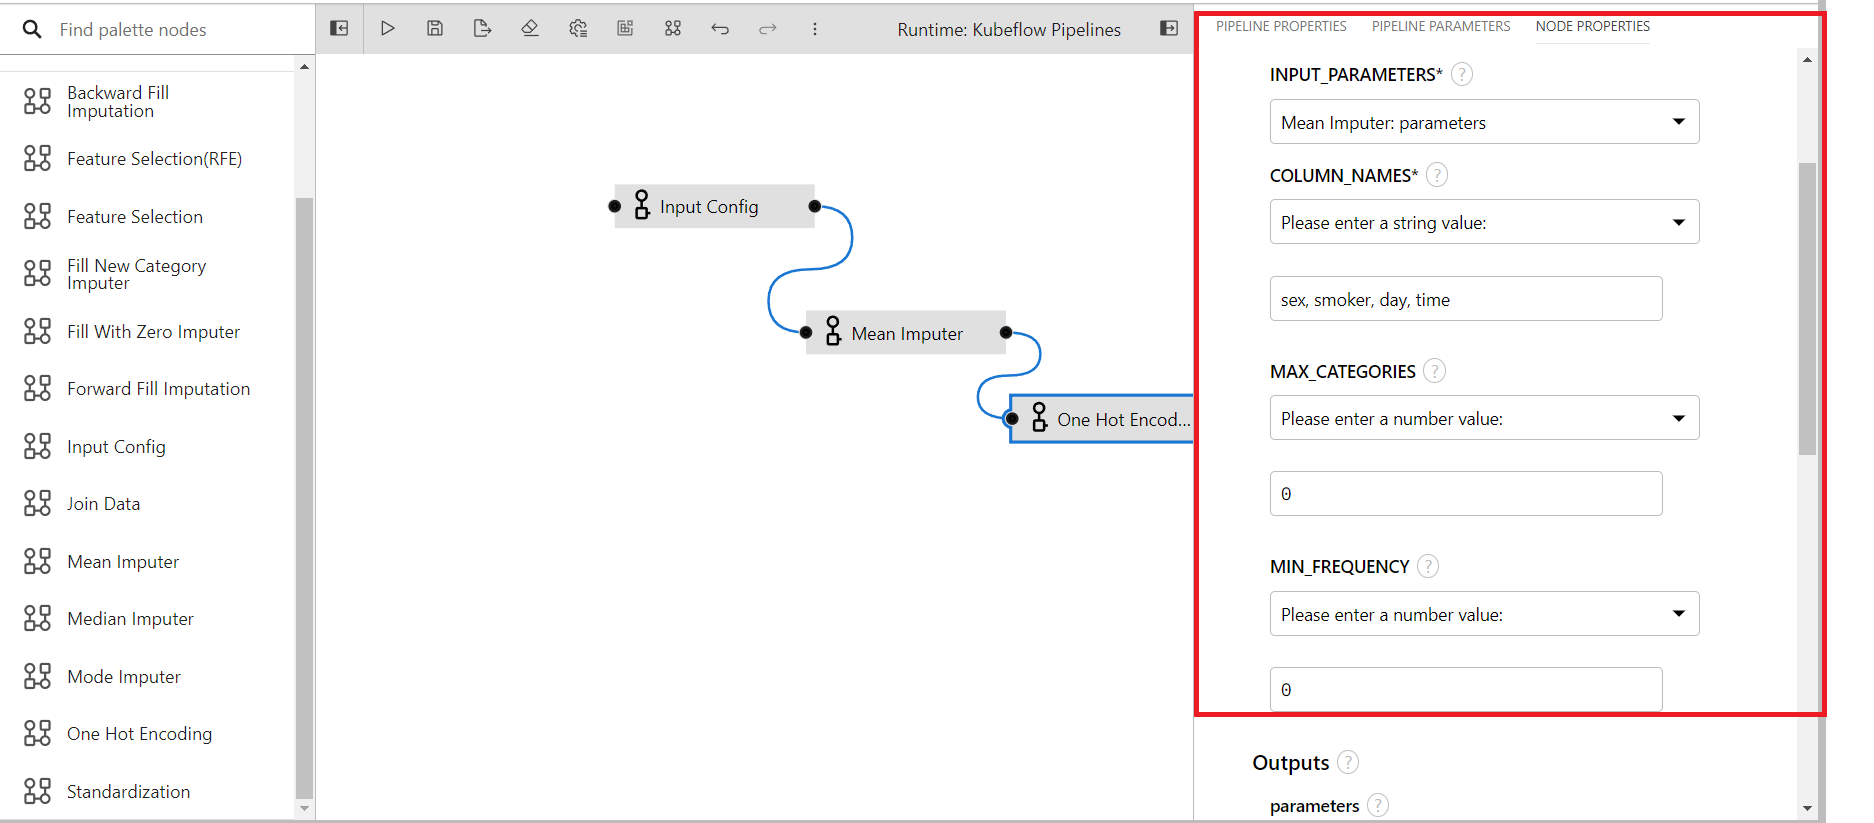
Utilize the output from the mean imputer component as the input parameters for the one-hot encoding component.
Provide suitable values for each of the input fields.
Now that we are using private bucket as our storage destination, we have to attach it to the pipeline.
Open properties panel of any components then click on pipeline properties.
Click on Add button of data volumne
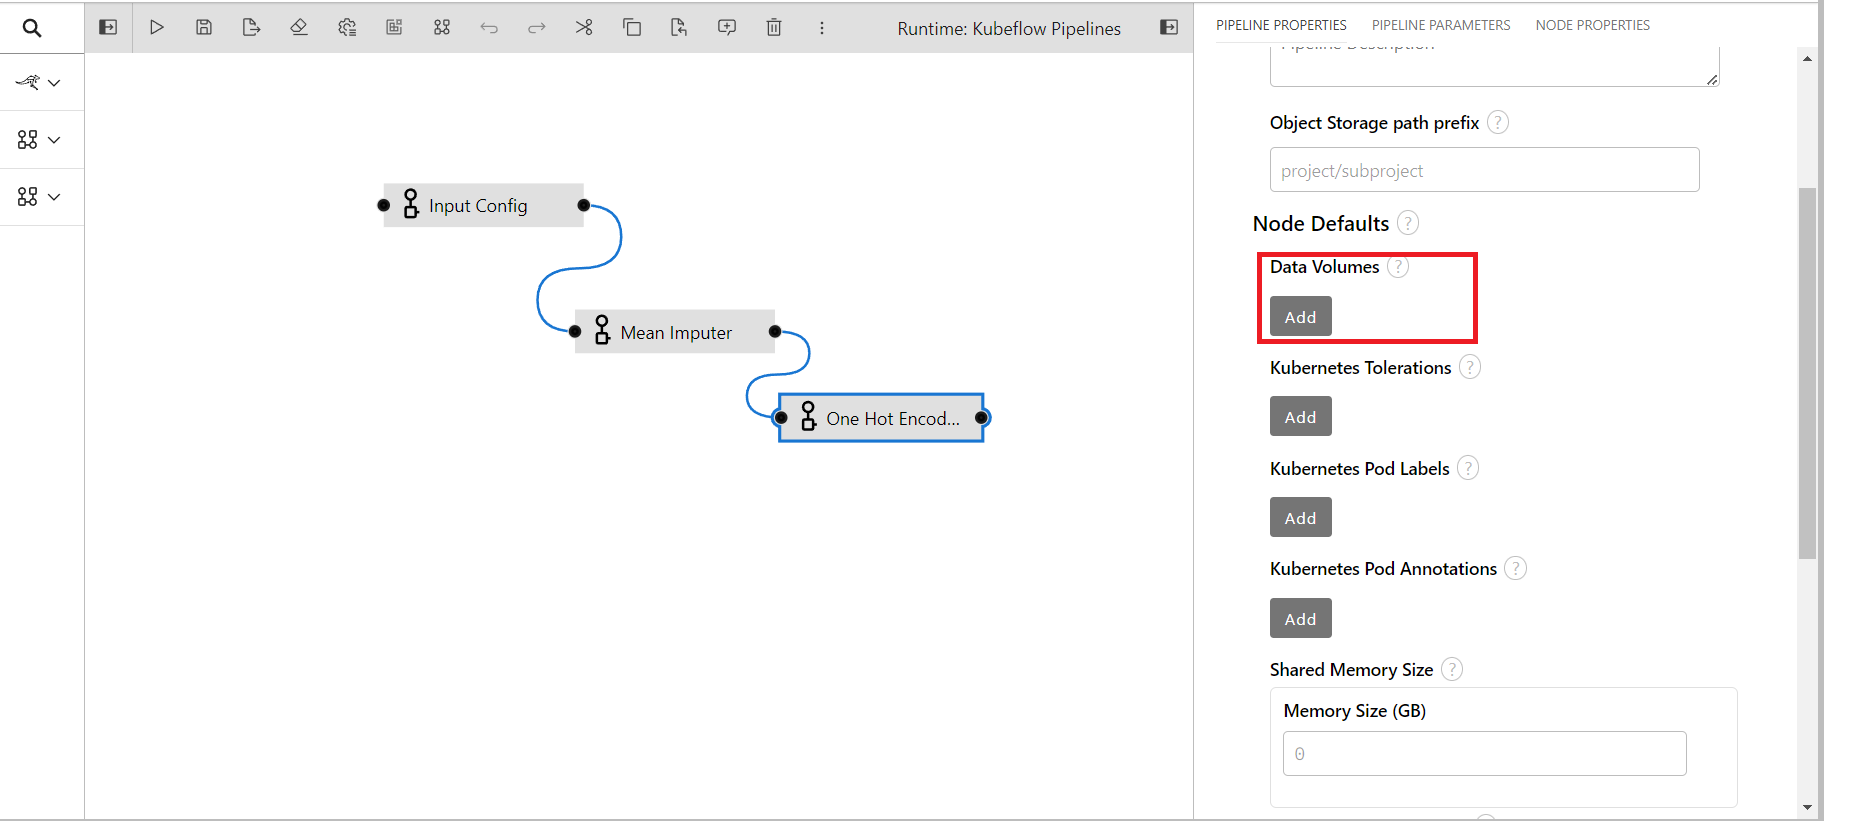
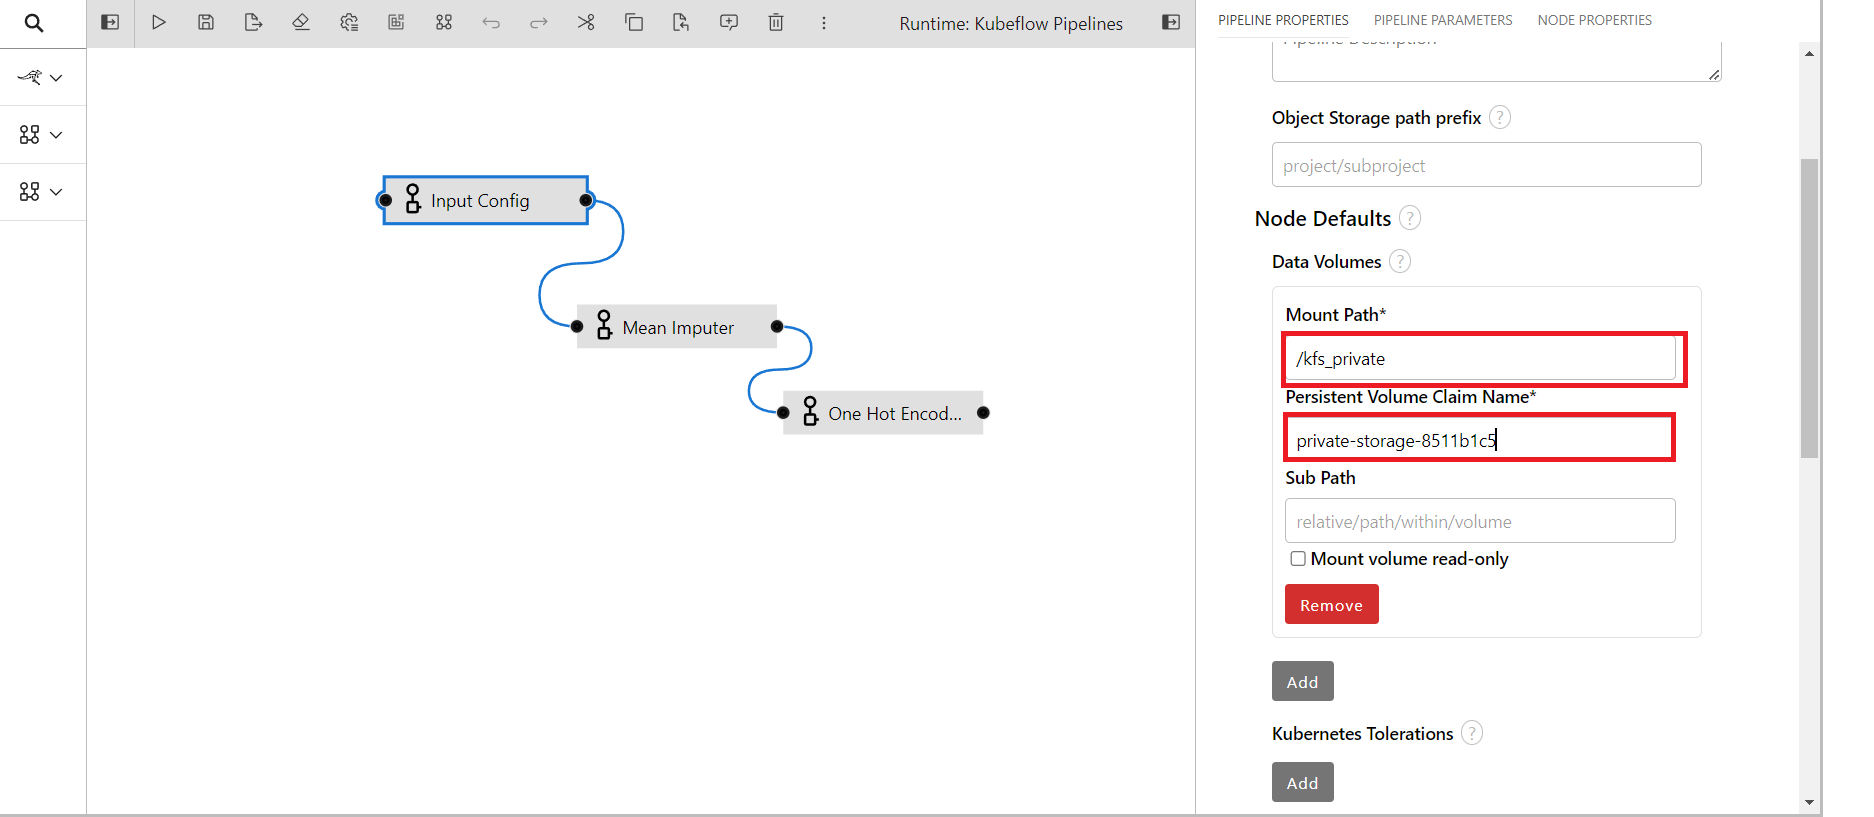
Provide the data for attaching data volume
Mount Path: Provide /kfs_private if private bucket is used and provide /kfs_public if shared bucket is used
Persistent Volume Claim Name: Provide your bucket name
Click on the run button
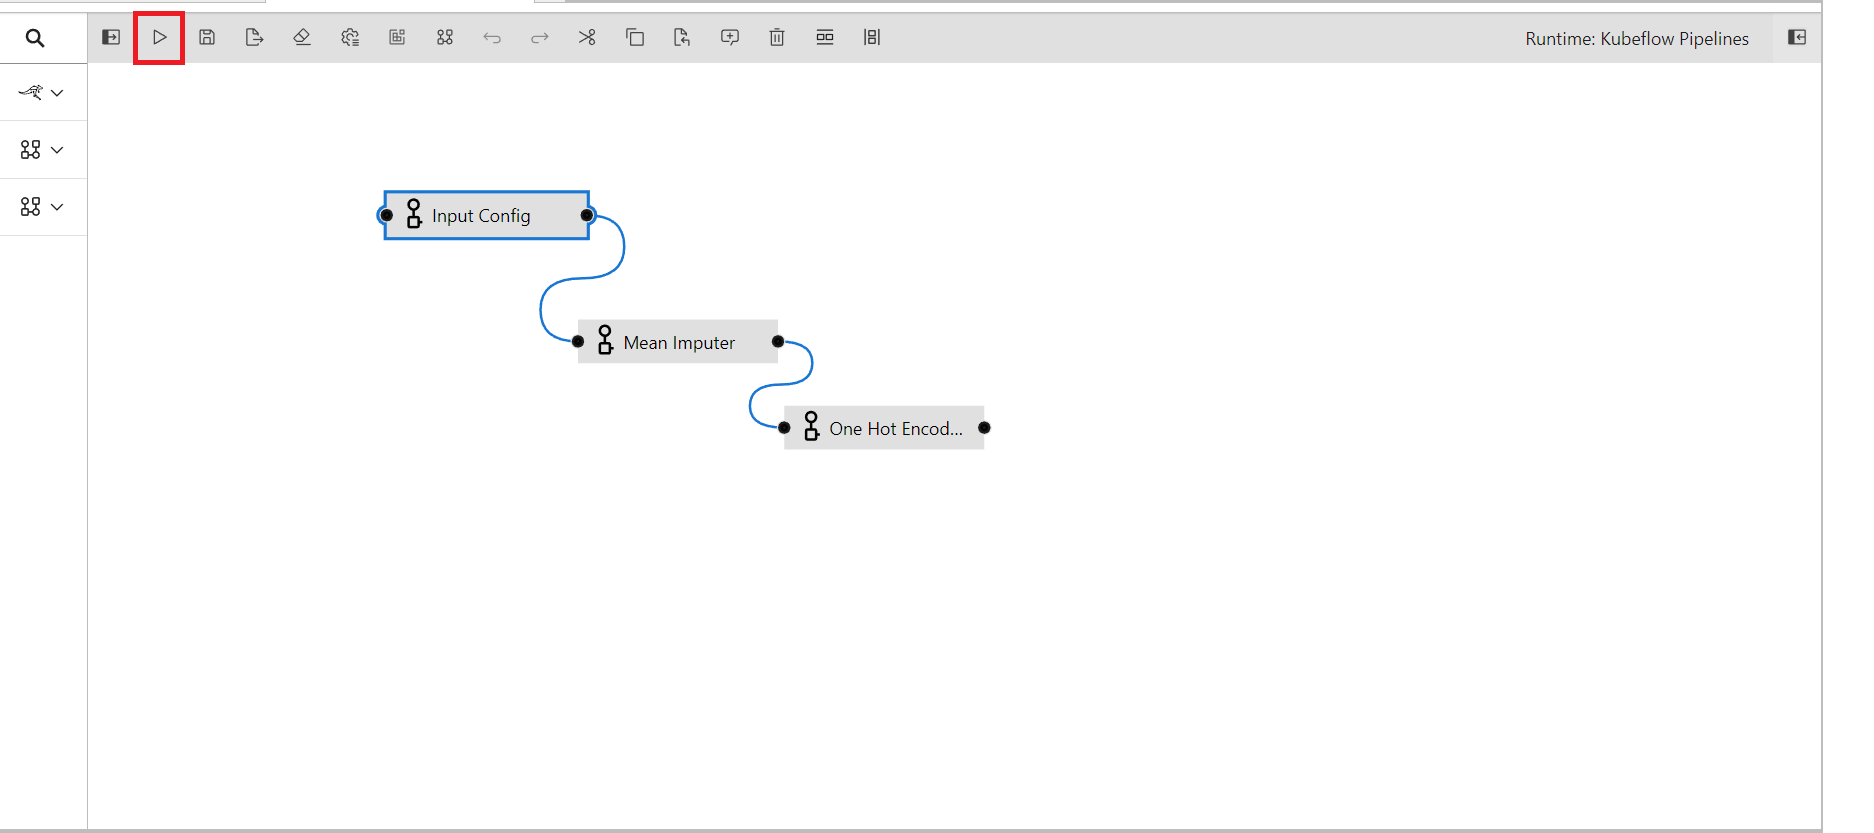
Assign a name to the pipeline and choose the runtime.
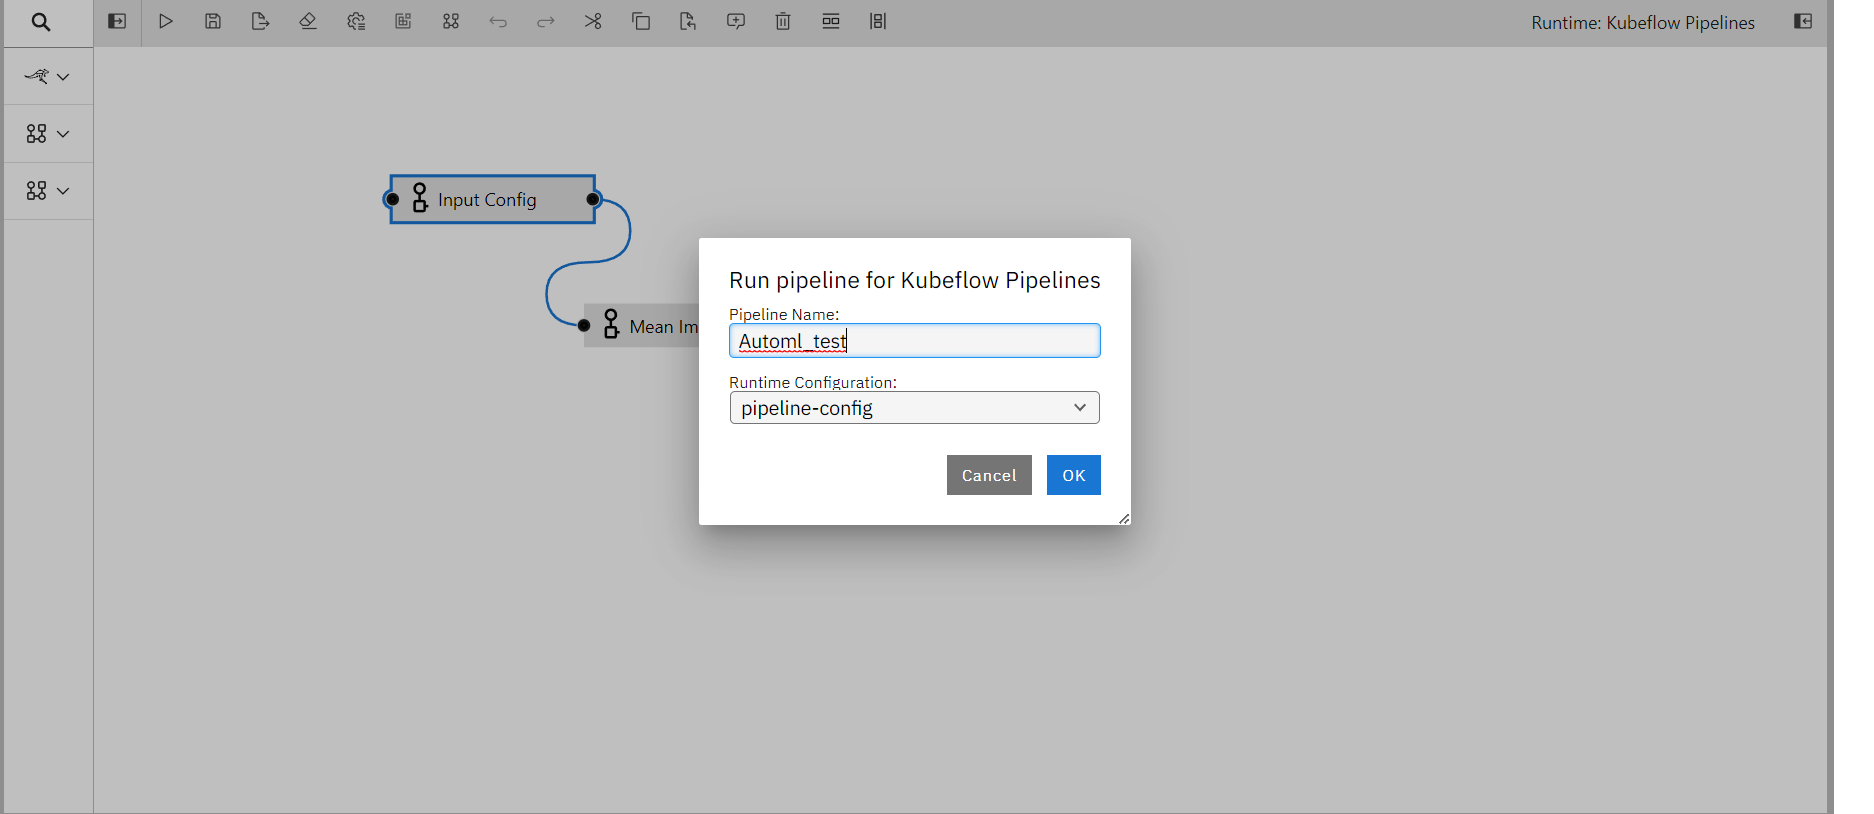
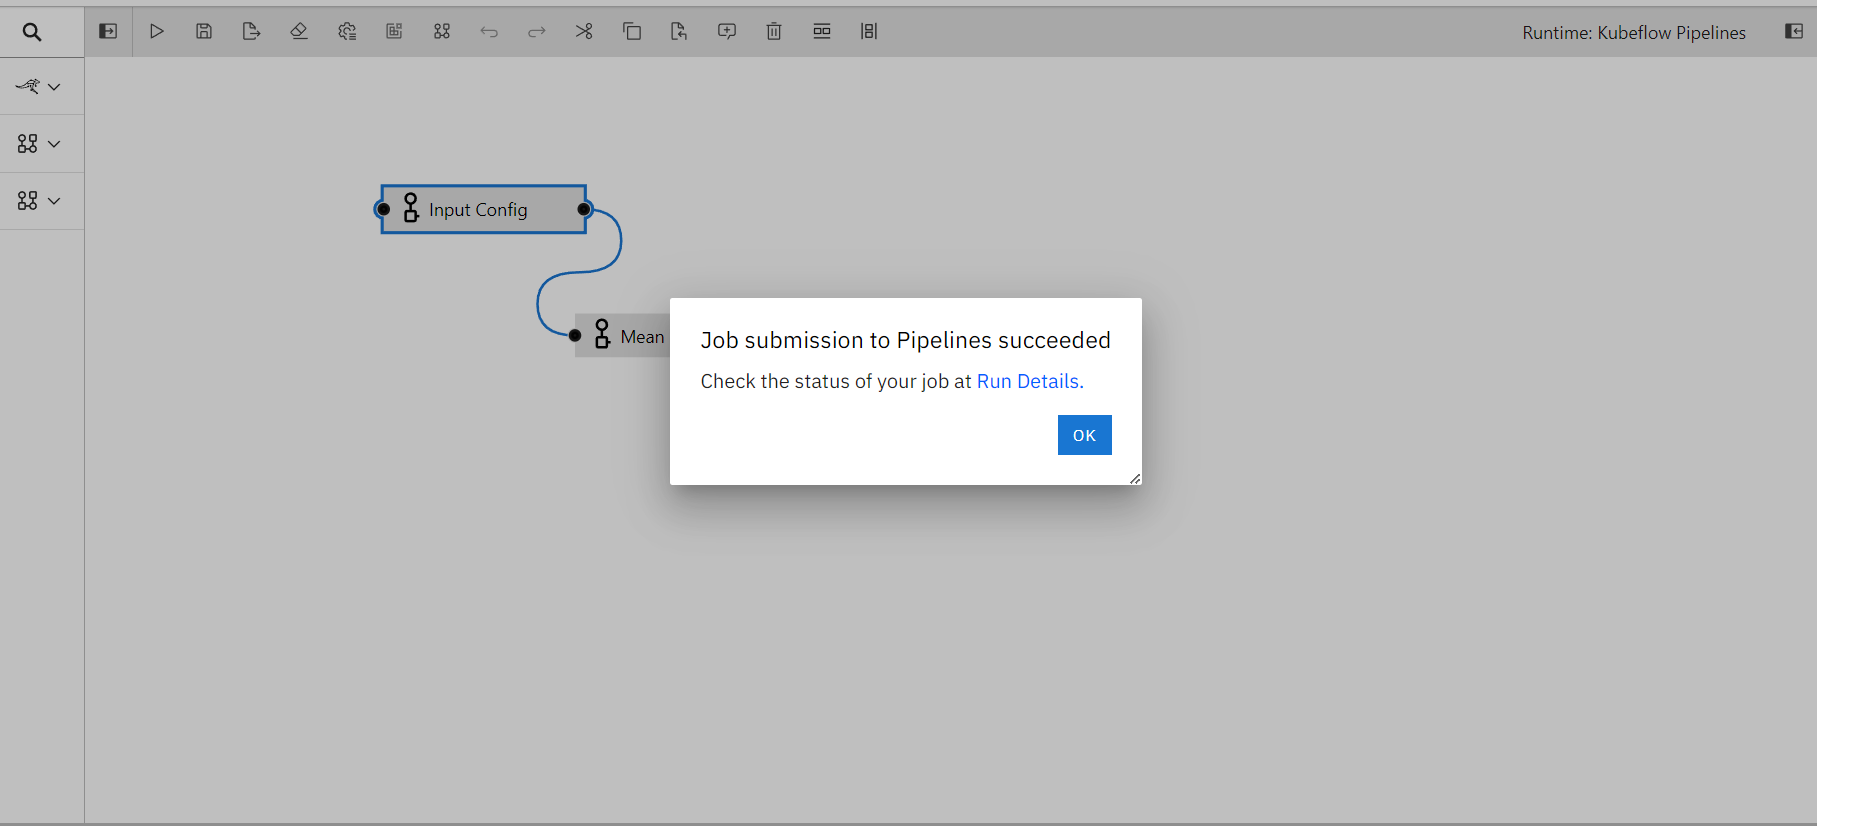
Run pipeline and click on run details to see your pipeline
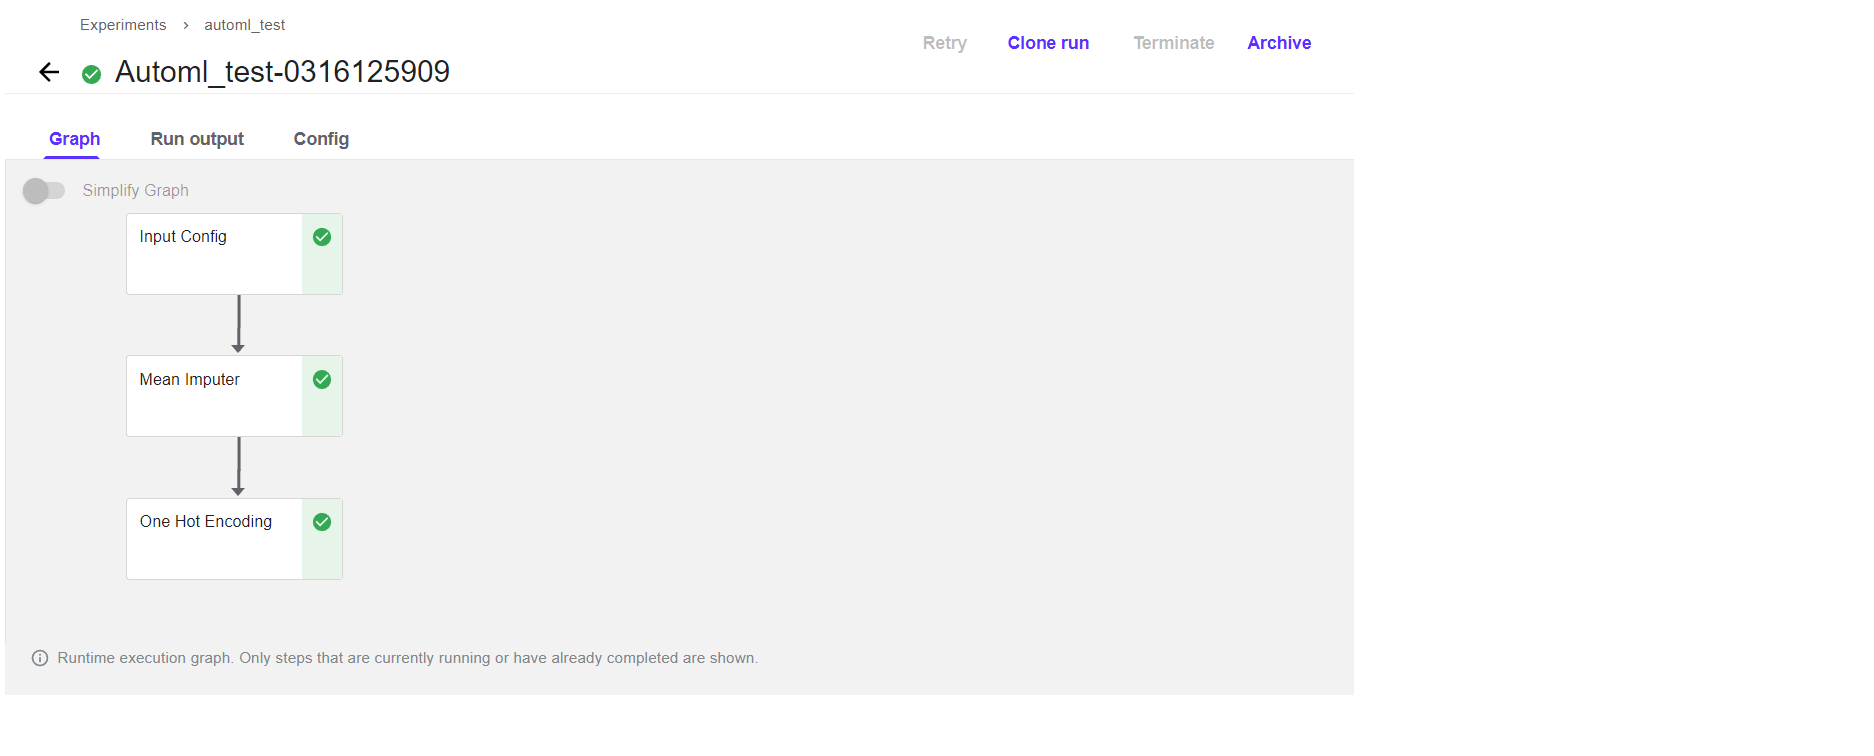
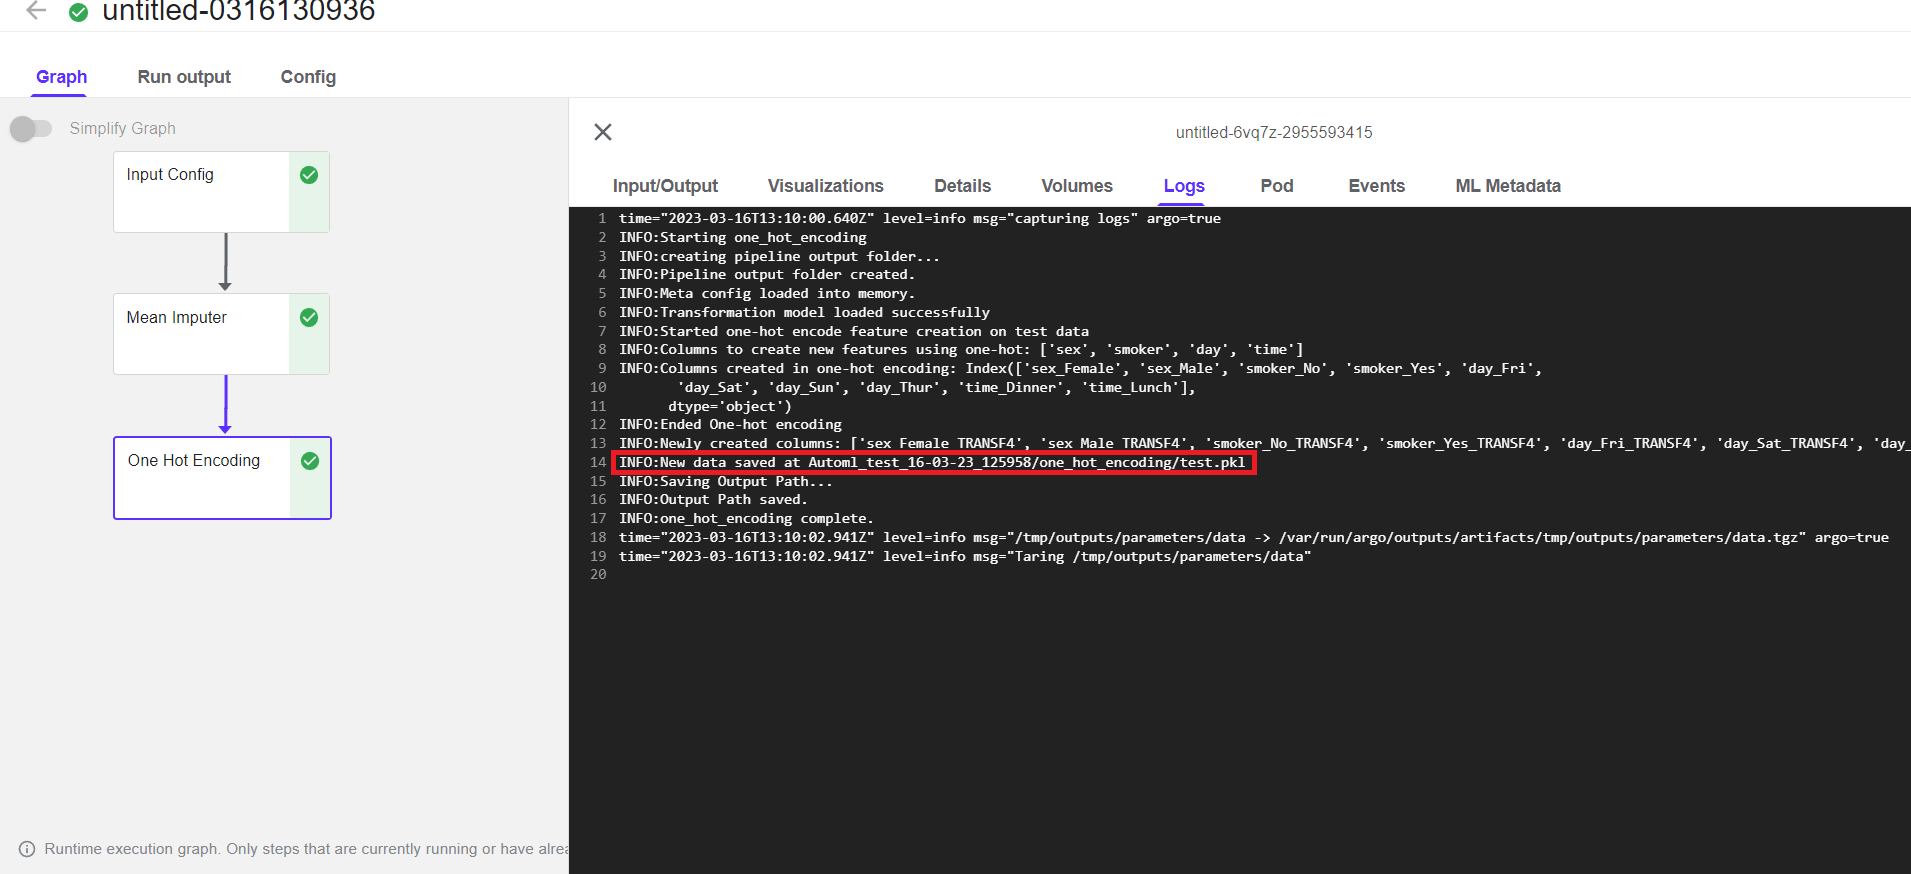
Once the pipeline is complete running it will look like below
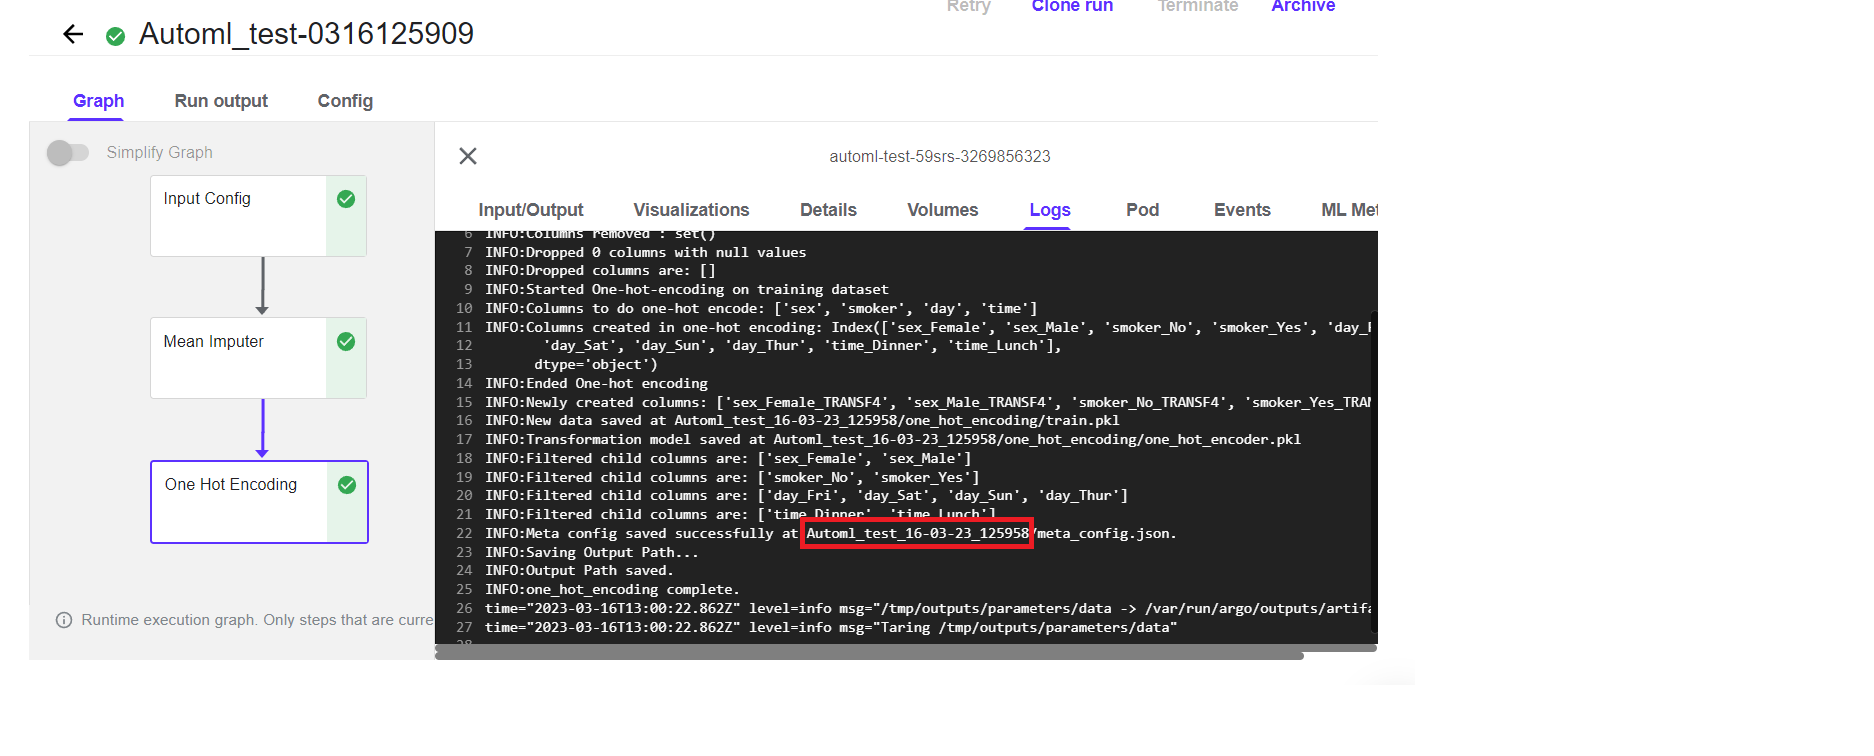
To execute the pipeline for making predictions, choose the name of the newly created folder from the logs.
Paste it to the folder name section of input config
Write False in is_training parameter
Provide the inference data file name
Run the pipeline by clickin on the run button.
The final resulted file path can be found in the log of last running component
You can create any pipeline with components as per your requirements using katonic custom components.