Connect single sign-on
With single sign-on, people sign in with the account they already have at your identity provider, and their Katonic role follows their group membership. You set it up once, on the SSO Setup tab of Platform Settings, before inviting anyone, so the first people sign in the right way from day one.
Who can use it: the Super Admin role, which owns single sign-on. The SSO Setup tab and its controls also unlock for the Admin role; everyone else sees Platform Settings without this tab. On AI Cloud the tab says SSO is managed per organization in multi-tenant mode. and points you to Security & Compliance, tab Authentication & SSO.
Recorded on .
Prerequisites
- An OpenID Connect identity provider; OpenID Connect is the only provider the panel offers.
- An application registered there for Katonic, with its client ID and client secret.
- The provider's metadata URL, the address of its
.well-known/openid-configurationdocument. - Someone who can register a redirect URI on that application; Katonic gives you the URL after the first save.
- A decision on which groups map to which roles. Super Admin cannot be assigned through single sign-on.
Configure the identity provider
- Switch SSO on
Open Platform Settings, select SSO Setup and switch Enable SSO Integration on. Until a provider has been saved, the switch only reveals the form; once one exists, the same switch turns the login button on and off at once.
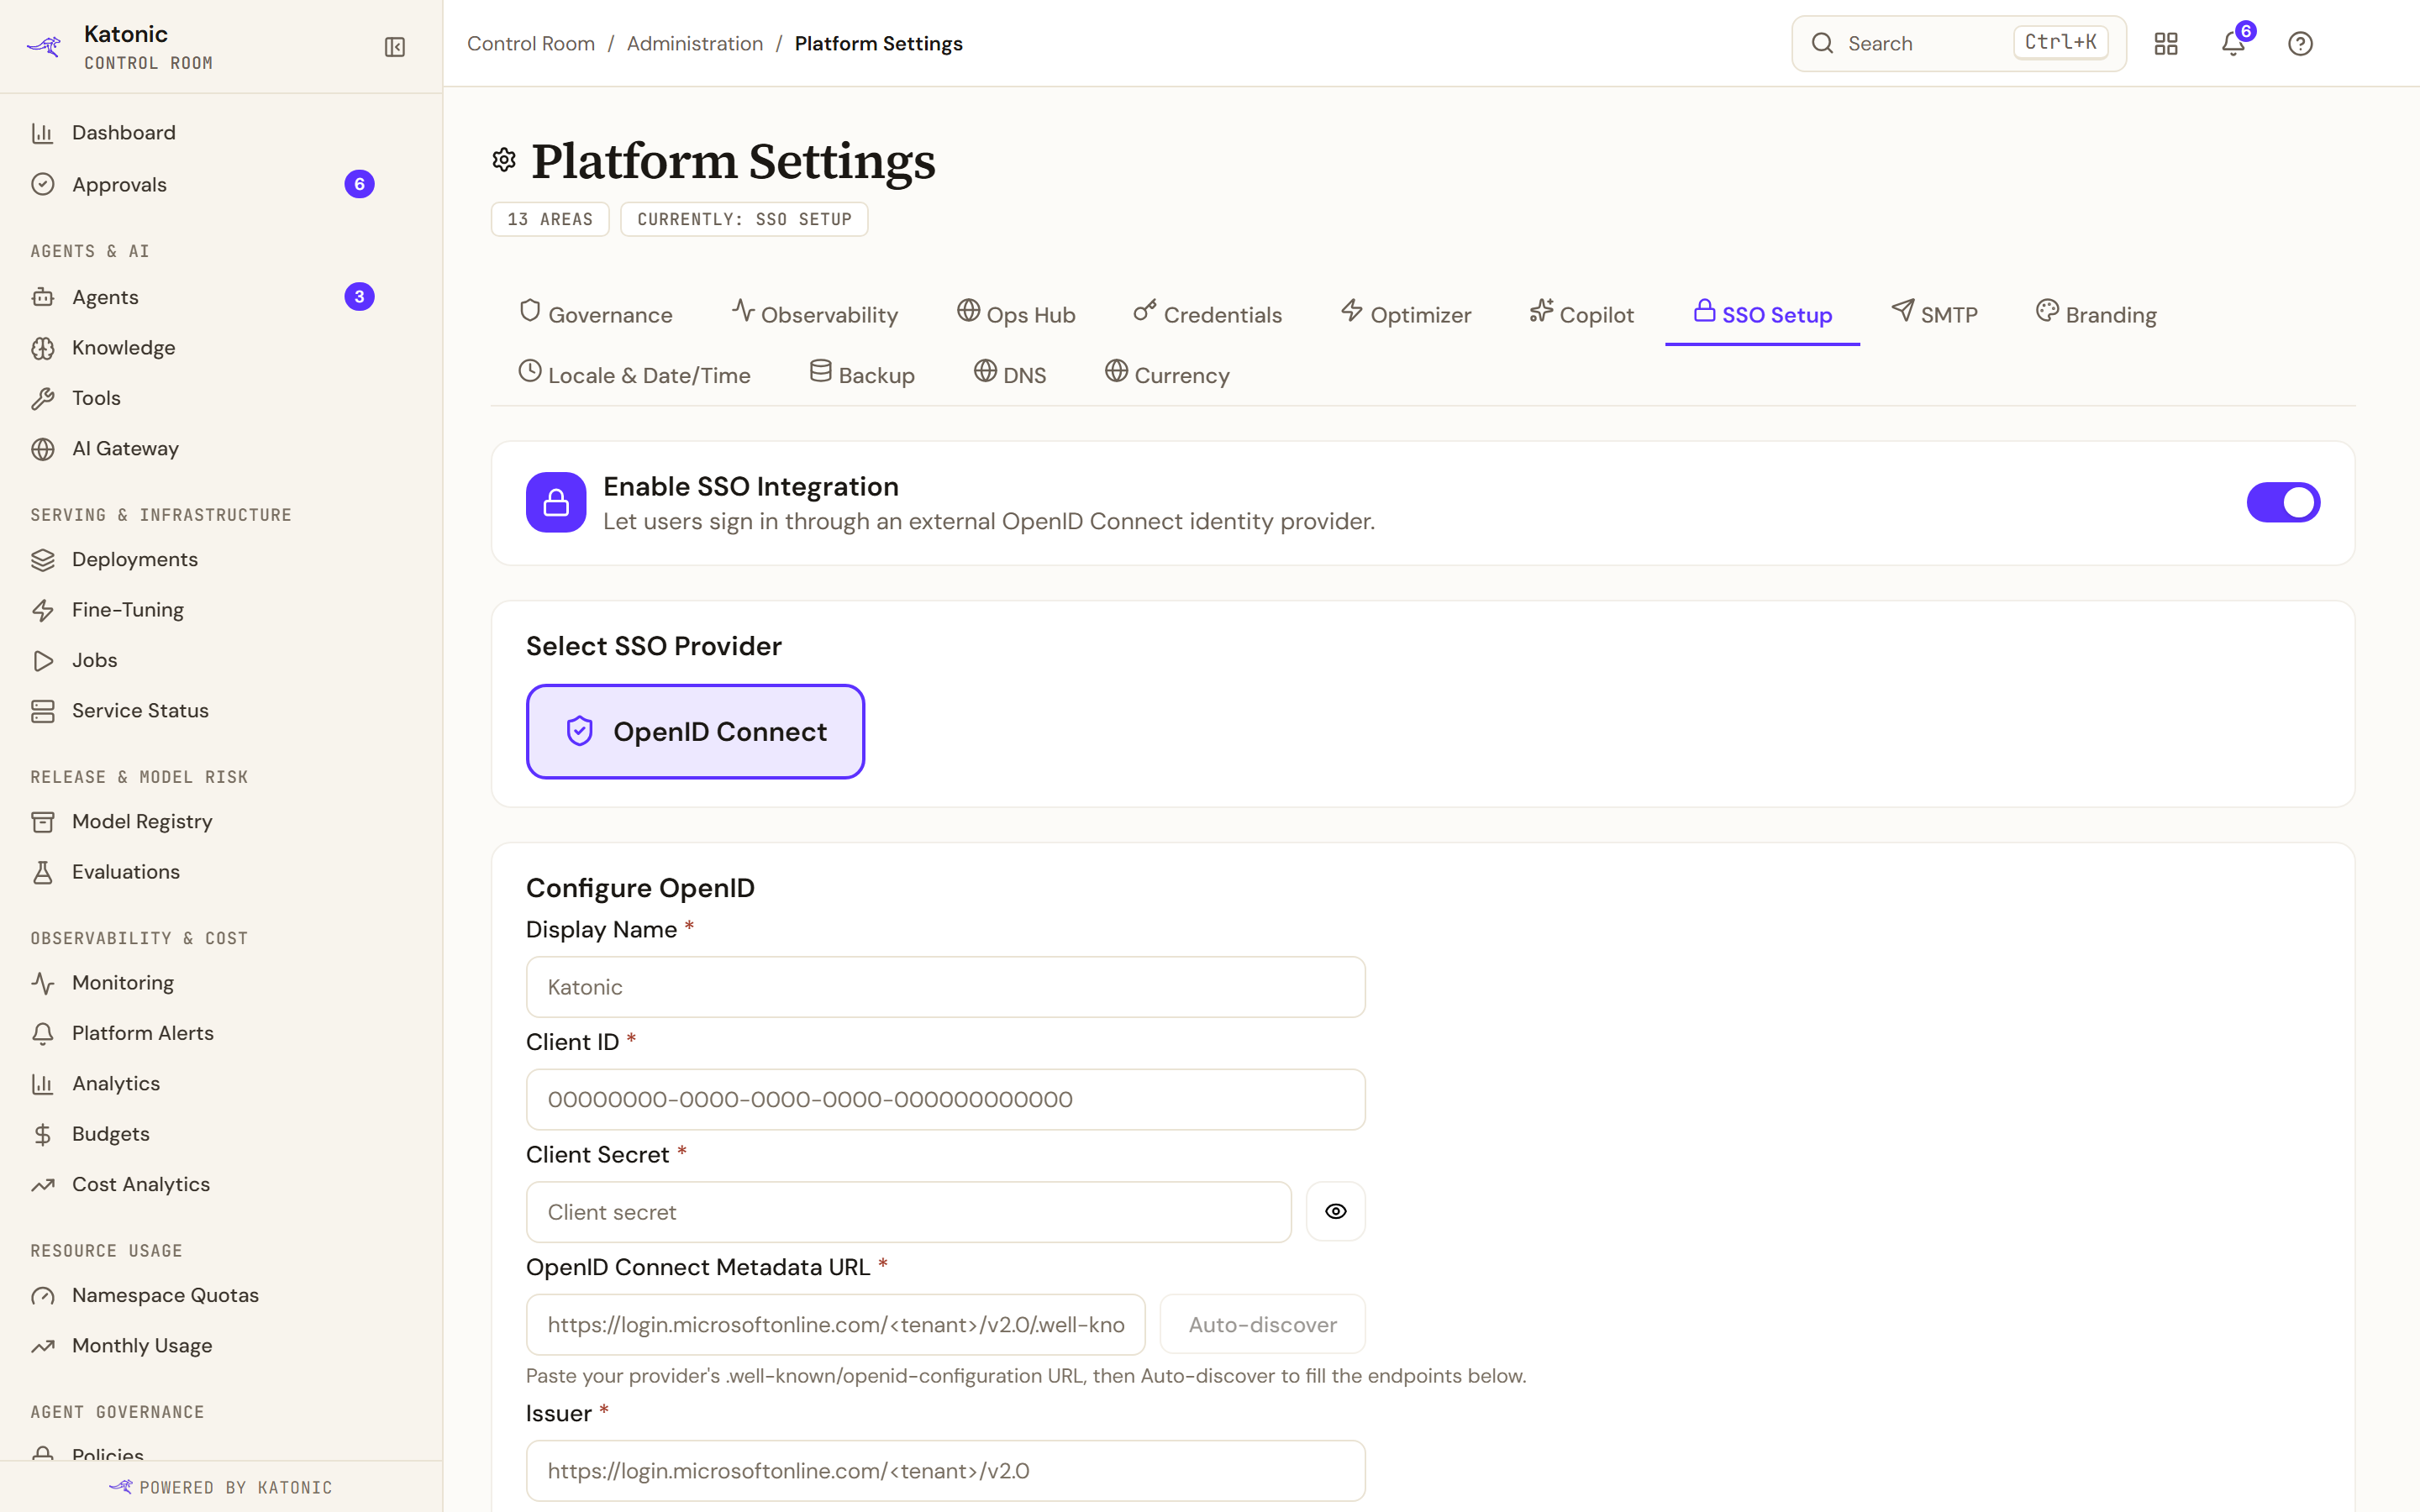
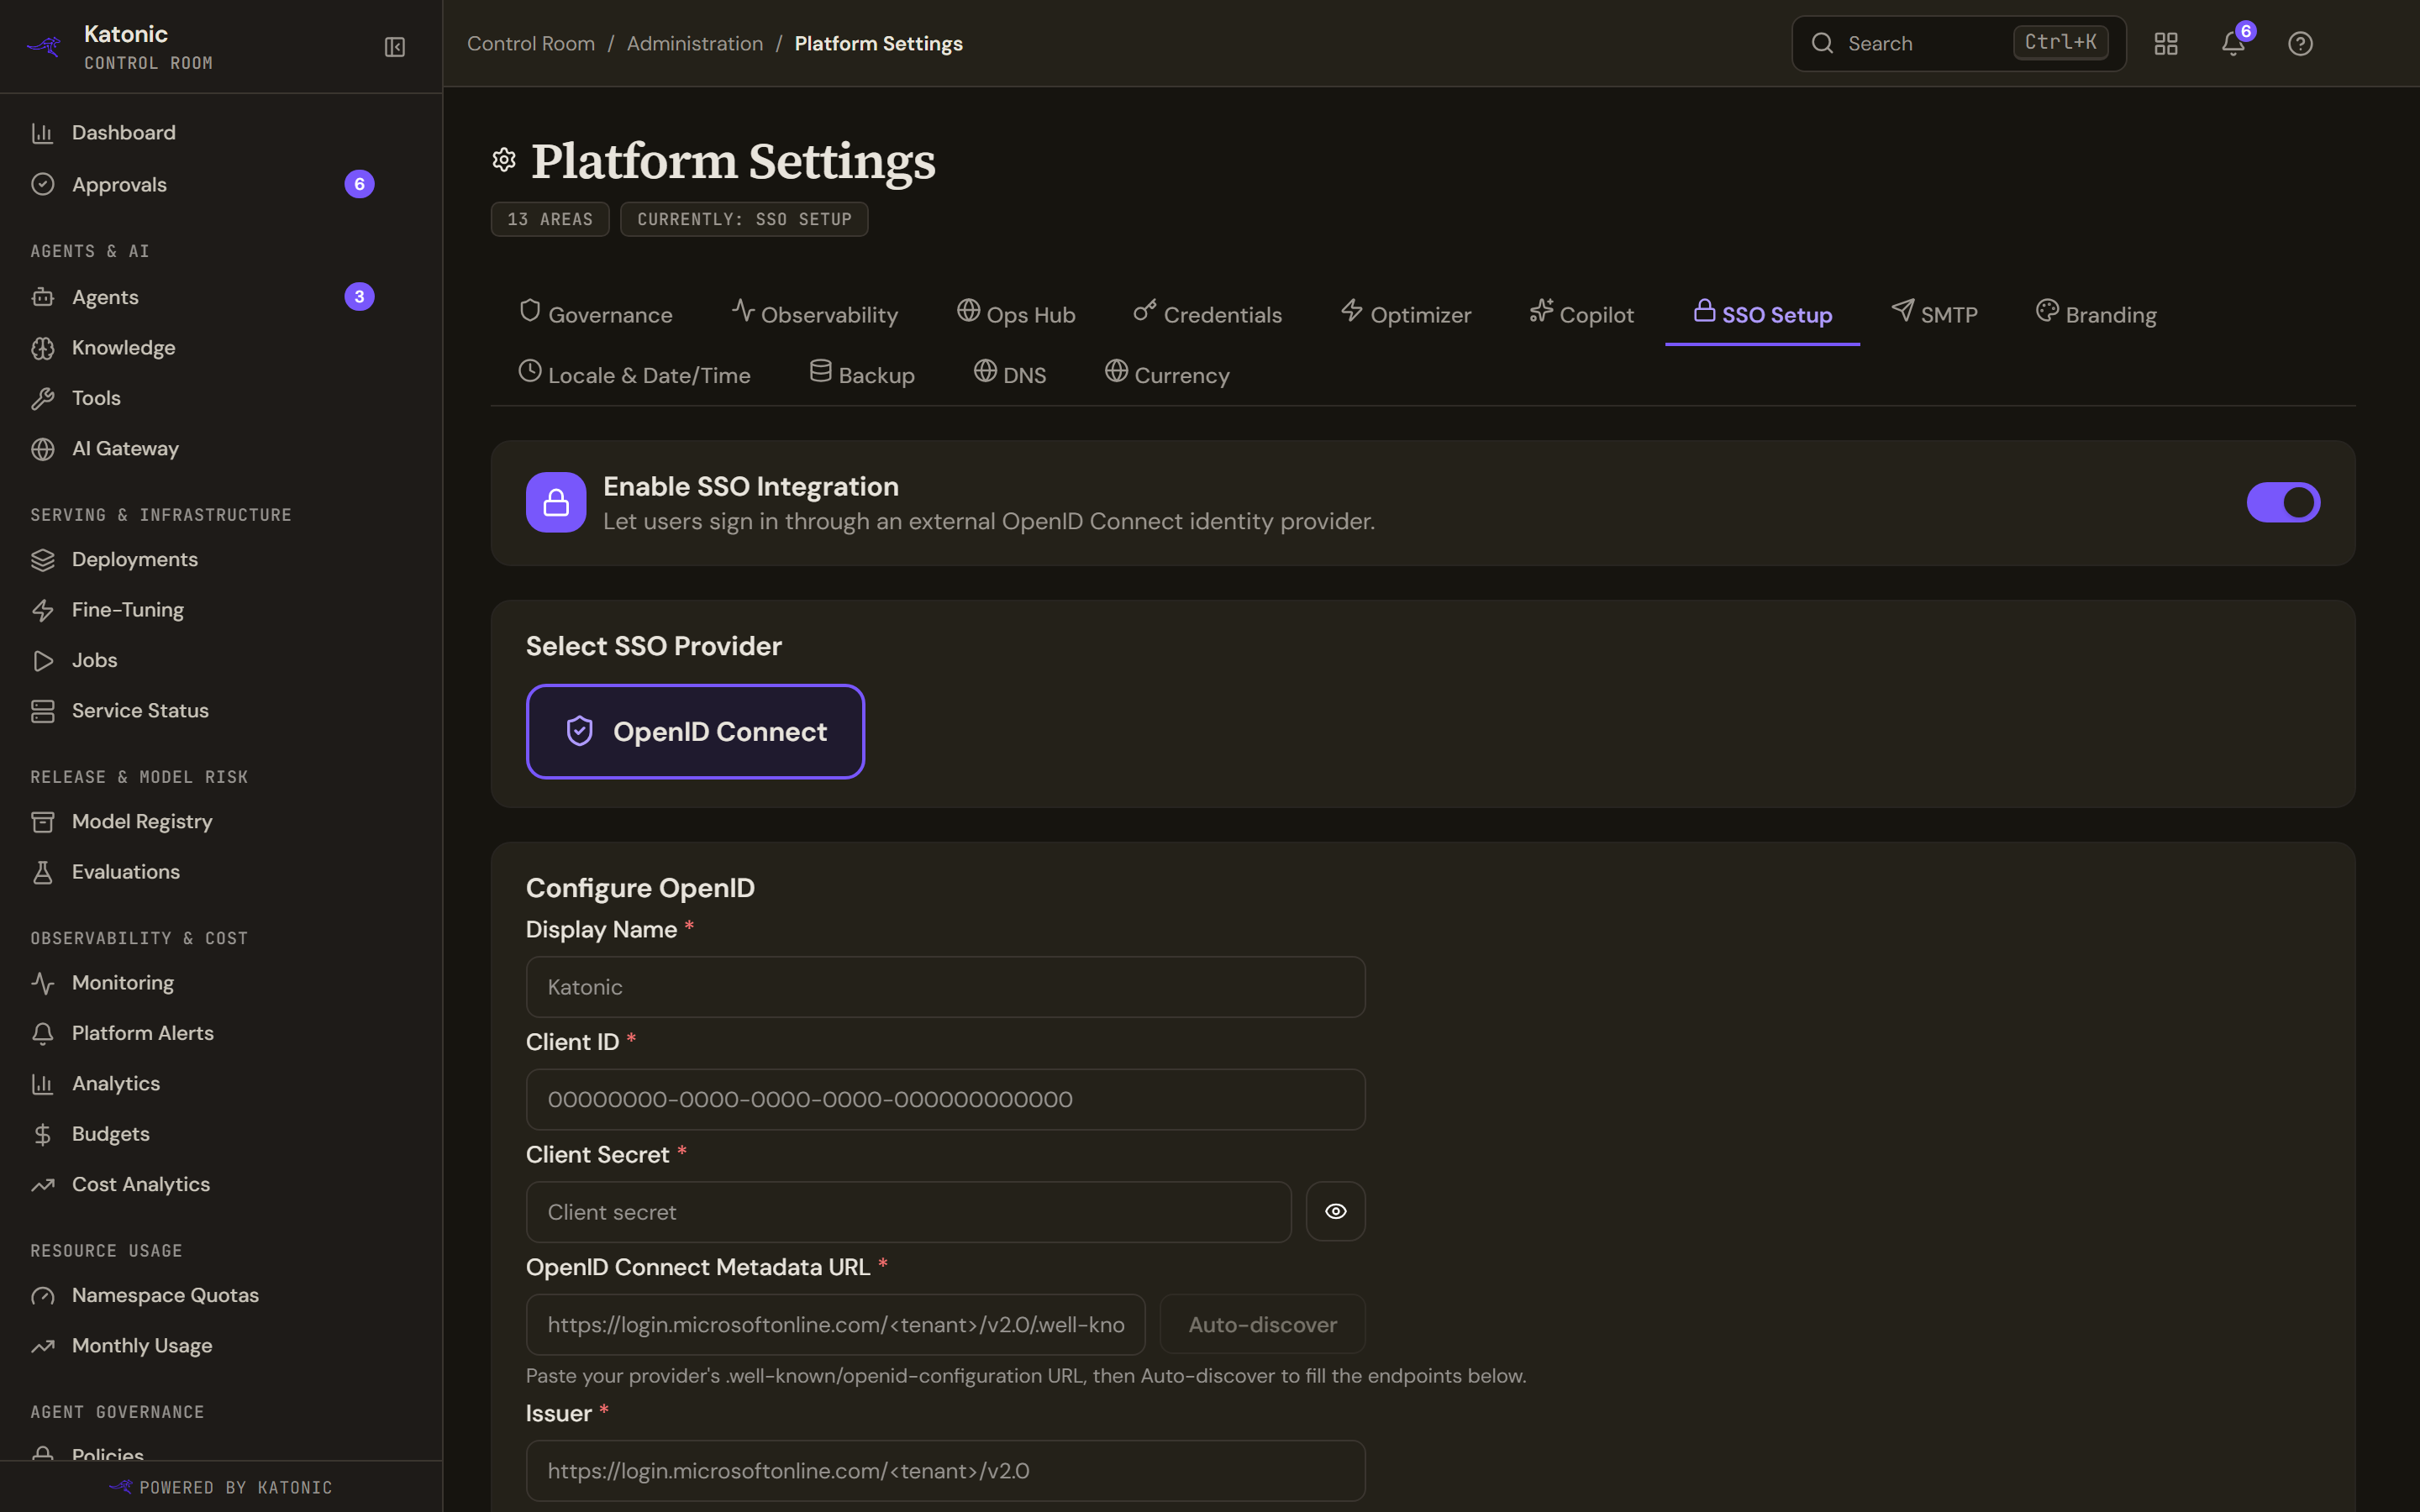
Switching Enable SSO Integration on reveals the form. OpenID Connect is the only provider; paste the metadata URL and Auto-discover fills the endpoint fields beneath it. - Describe the application
Under Configure OpenID, enter Display Name, Client ID and Client Secret. After a save the secret is never shown again: the field says A secret is stored. Leave unchanged to keep it, or type a new one to rotate.
- Discover the endpoints
Paste the OpenID Connect Metadata URL and select Auto-discover. It fills Issuer, Authorization URL, Token URL, User Info URL, JWKS URL and, when published, Logout URL, then locks them with the note Endpoints auto-filled from discovery. Edit manually unlocks them for a provider that is not fully compliant, and Done editing locks them again. If the document lacked some endpoints, the panel asks you to complete them.
- Map groups to roles
Under Access & role mapping, choose the Default role for SSO users (Member, Builder or Admin): every federated user gets at least this role, and without one they can authenticate but have no access. Keep it at Member unless everyone should build. Enter the Group claim name, the token claim carrying the user's groups. Under Group → role rules, select Add group rule for each group that should receive a higher role, entering the group's id or name and the role; Remove rule (the cross) deletes a row. Rules add to the default, roles re-sync at every login, and Super Admin cannot be granted this way.
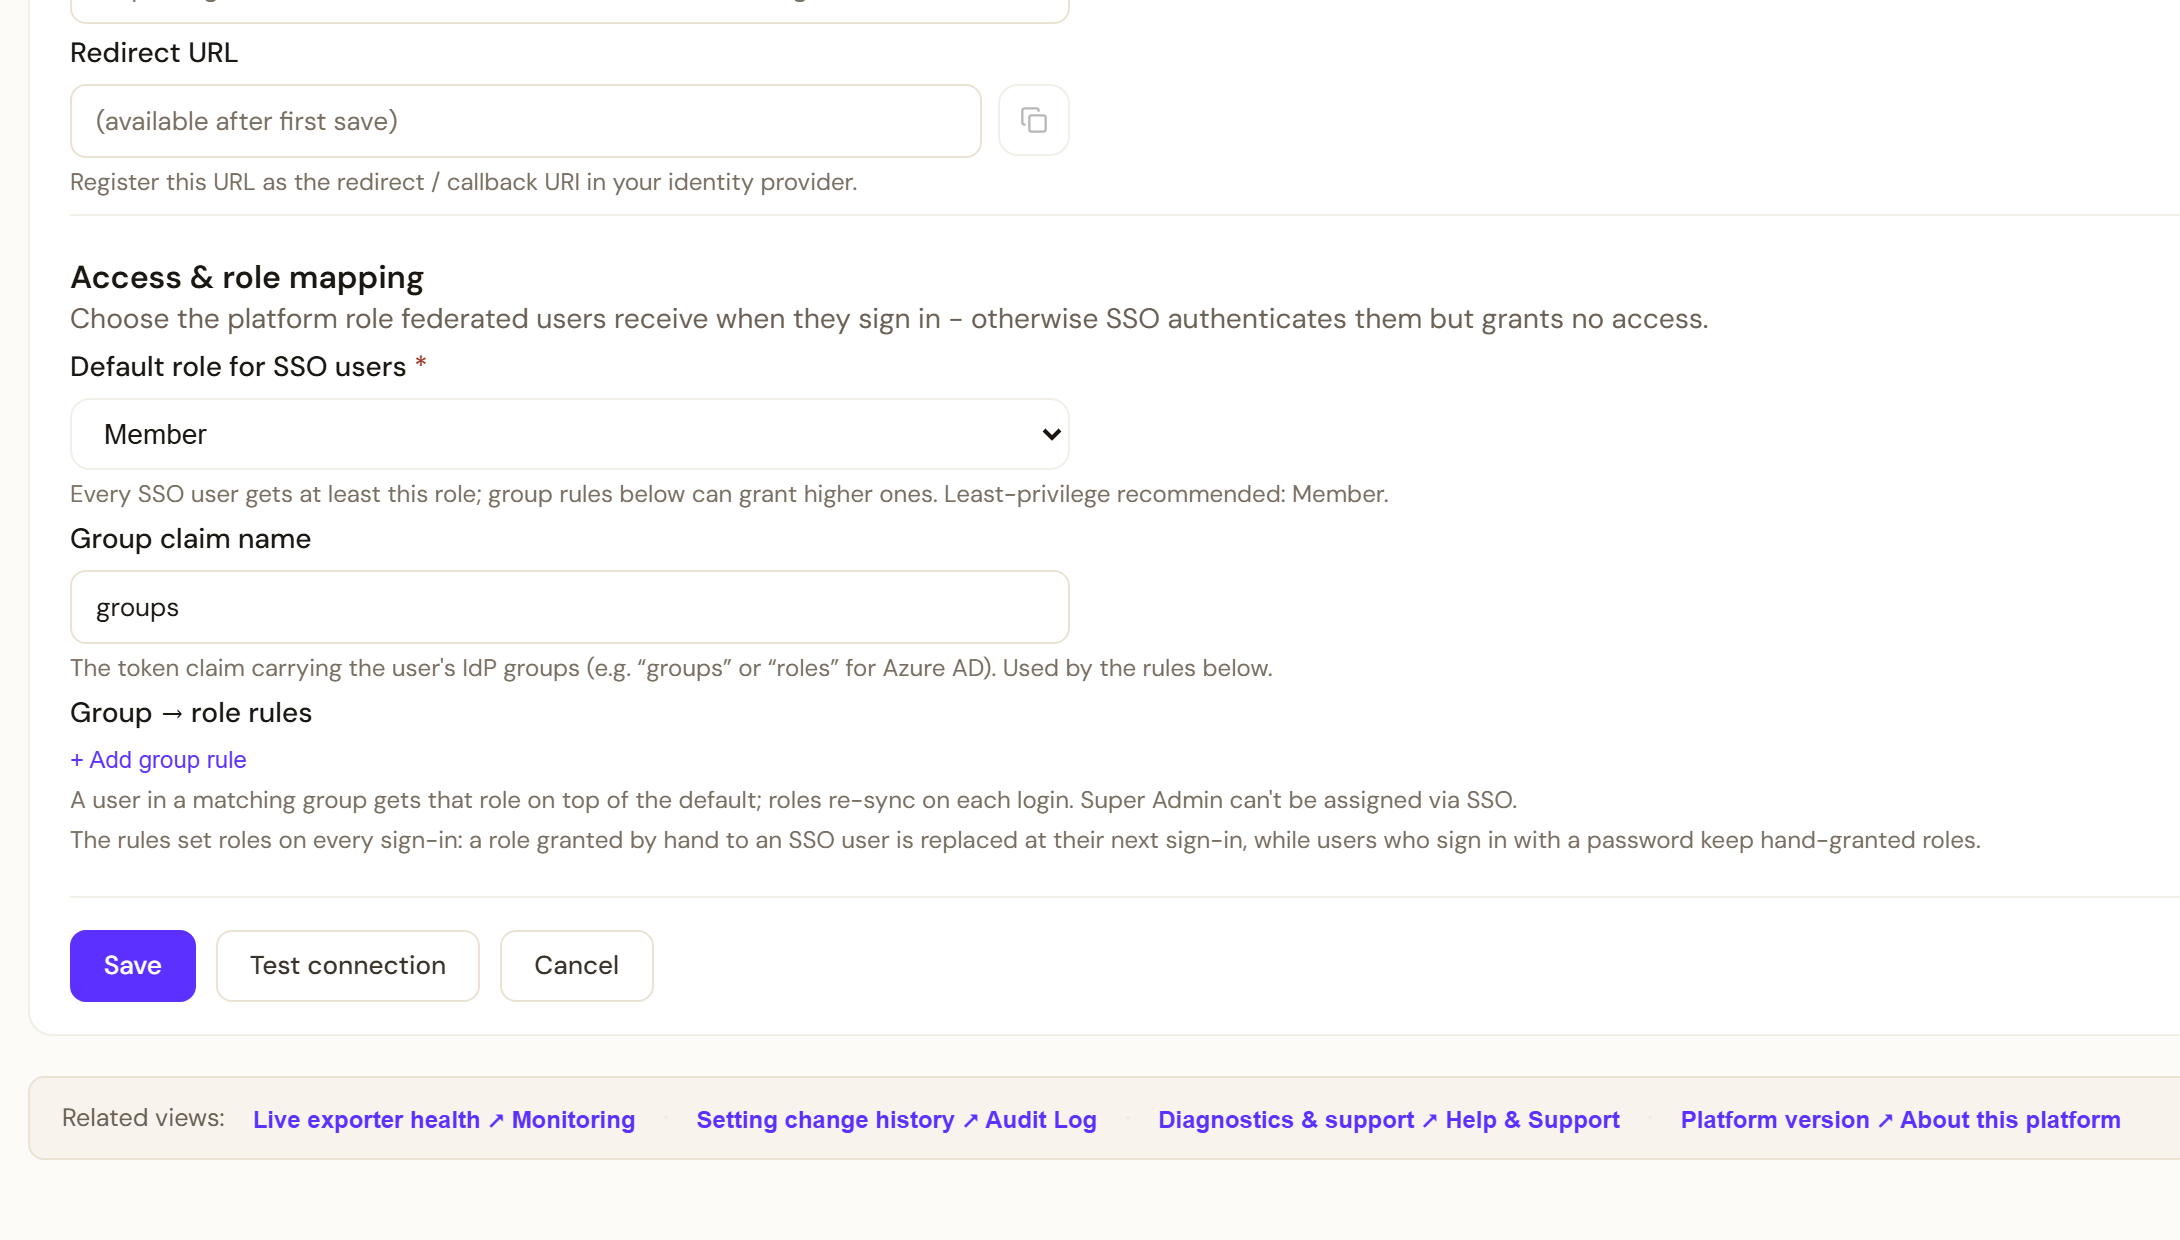
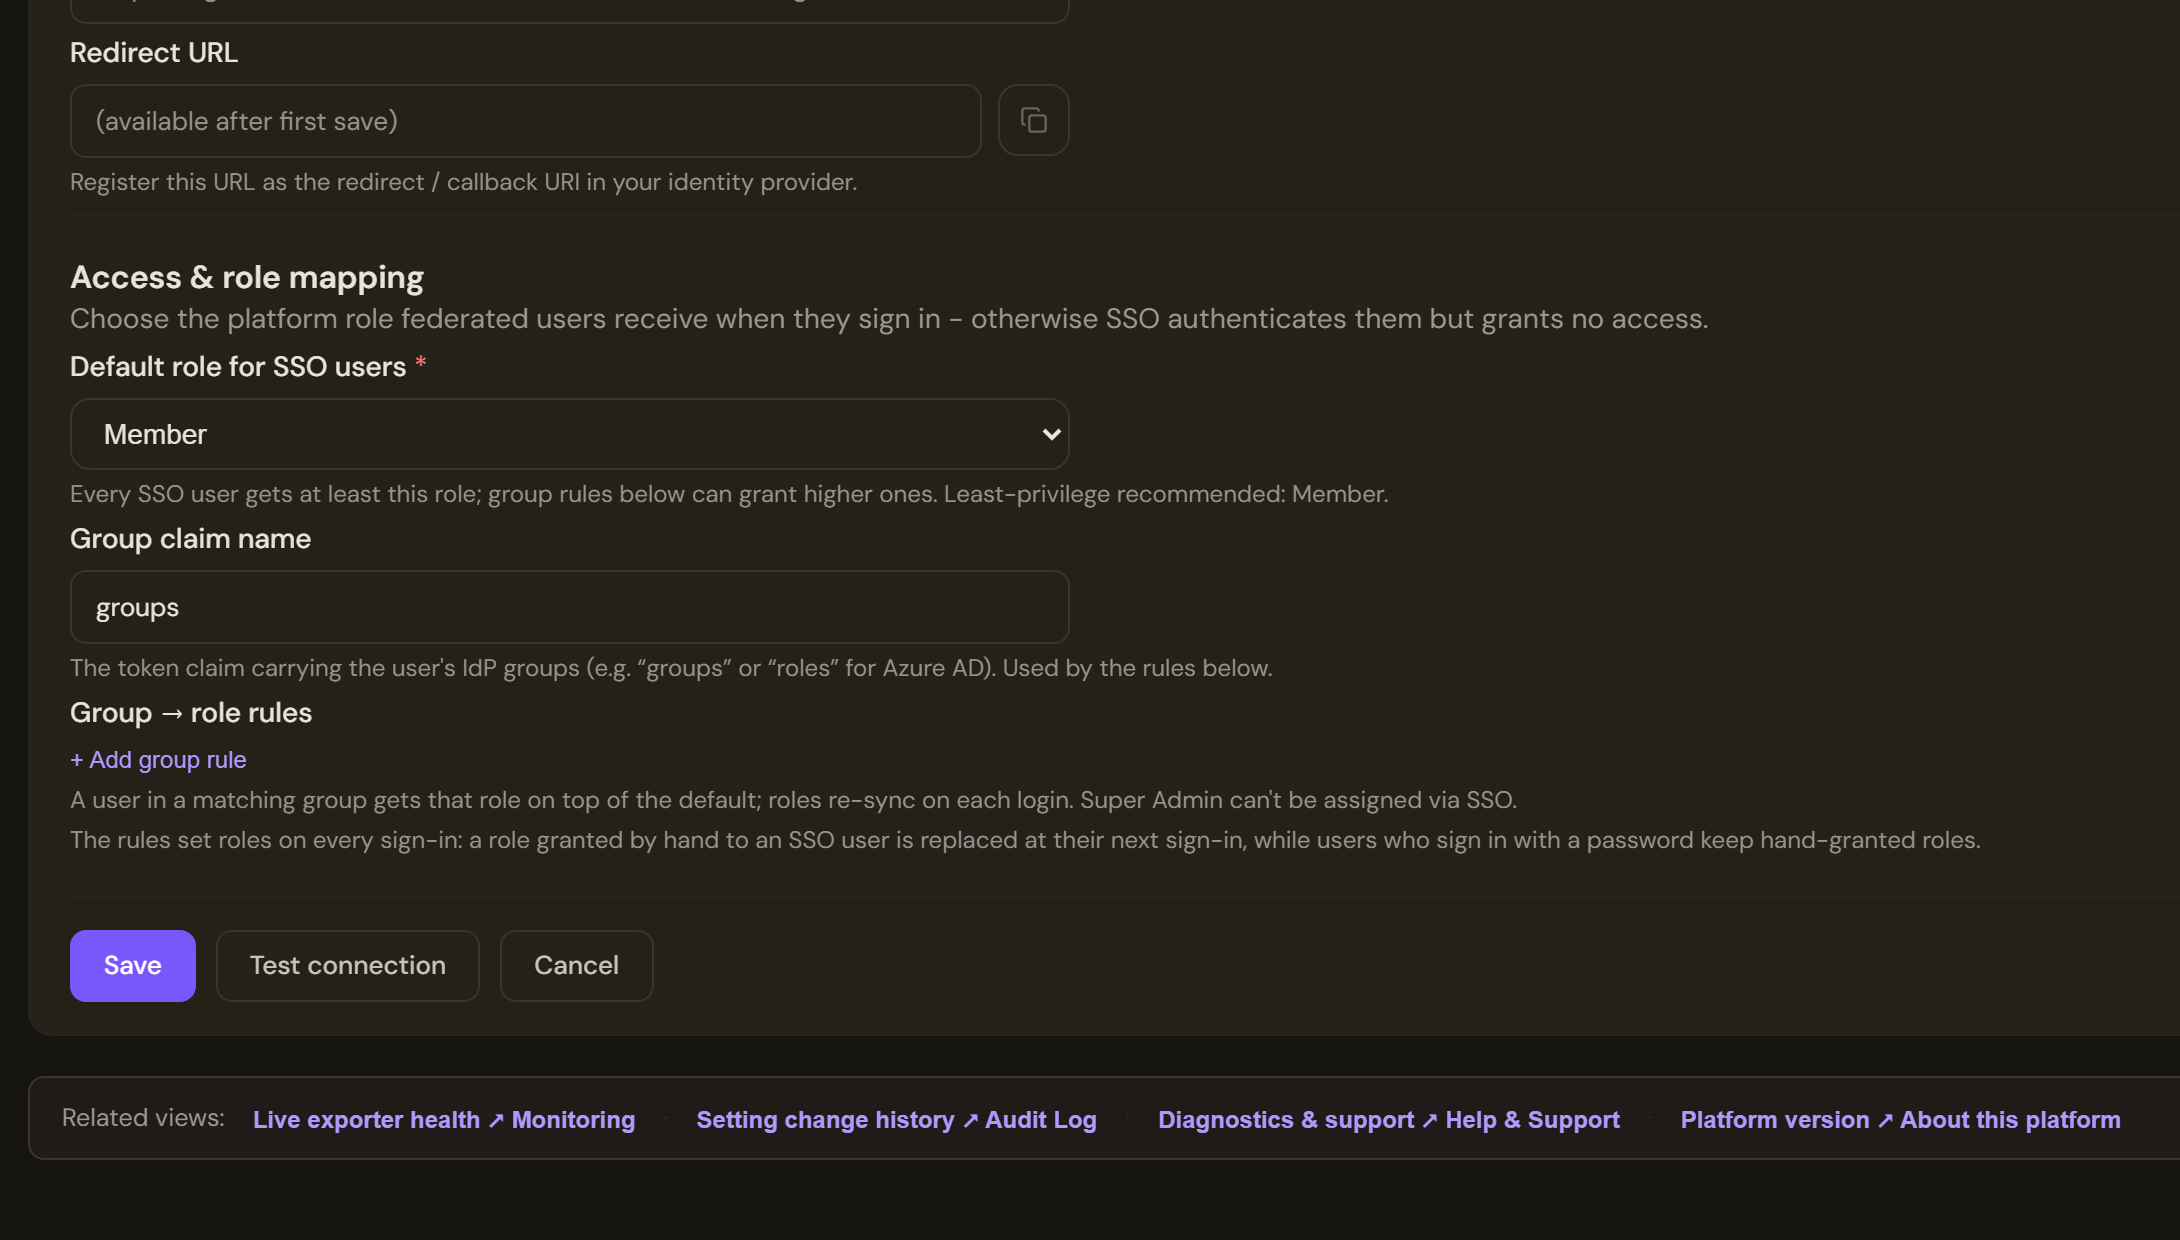
Access & role mapping decides what a federated user may do: a default role every SSO user receives, the claim that carries their groups, and rules that grant a higher role per group. - Test the connection
Select Test connection. It checks the values as typed, with the secret you entered or the stored one, and lists each check: Connection looks good, or The test found problems naming the endpoint or credential that failed.
- Save
Select Save. With the switch on, every field marked with an asterisk must be filled. The panel reports SSO configuration saved; Cancel discards your edits and reloads what is saved.
- Register the redirect URL
After the first save, Redirect URL is filled in; it reads (available after first save) until then. Select Copy (the copy icon) and register it as the redirect or callback URI on the application at your identity provider.
What changes at sign-in
The login page gains a Sign in with SSO button. Someone who uses it receives the default role plus any role a group rule grants, re-evaluated at every sign-in, so a change of group at your provider takes effect at the next login. Super Admin is never assigned this way.
For someone who signs in through single sign-on, the rules are the source of truth: a role or grant given by hand on Users & Teams is replaced by what the rules say at their next sign-in, so put the change in the group or in the rule. People who sign in with a platform password keep hand-given roles. A person who has been deactivated or offboarded is refused at sign-in rather than recreated.
The Authentication & SSO tab under Security & Compliance shows the same integration read-only: the provider card marked Configured or Disabled, how many users it has provisioned, Edit configuration, Remove and a Keycloak connection card. Testing stays on SSO Setup, where the client secret is entered.
Disable or remove
- Switching Enable SSO Integration off opens Disable SSO integration: the button leaves the login page and people sign in with their platform credentials, but the configuration is kept. Confirm with Disable.
- Remove SSO, shown once a secret is stored, opens Remove SSO integration: the identity provider is deleted from the sign-in service and the button disappears. Confirm with Remove; the form resets.
Verify
- The login page shows the Sign in with SSO button.
- A test user in a mapped group signs in and the role chip in their top bar shows the mapped role; a user in no mapped group shows the default role.
- Users & Teams lists the new user, and Authentication & SSO shows the provider as Configured with a count of provisioned users.
Troubleshooting
- Enter the OpenID Connect Metadata URL first.: Auto-discover needs the URL.
- Discovery failed. Check that the Metadata URL is correct and reachable.: the platform could not fetch it, or the server's own reason is shown instead.
- No OpenID Connect endpoints were found at this URL.: the address answered but is not a discovery document.
- Please fill all required fields.: with the switch on, a field marked with an asterisk is empty.
- Fill in the Client ID and endpoint URLs (or Auto-discover) before testing.: the test has nothing to probe yet.
- The test could not be run.: the test itself failed to reach the platform and is listed as a failed Connection test row. Try again.
- Someone signs in with no access or the wrong role: check Default role for SSO users and that Group claim name matches what your provider sends; the role is re-read at their next sign-in.
- Couldn't load these settings, so nothing is shown rather than a guess: the read failed, so the form is withheld rather than shown empty over a live configuration. Retry.
Go deeper
The Control Room pages behind this journey, each with every field, state and message: