Multimodal
Overview
Multimodal refers to the integration and interaction of multiple modes of data, typically involving different sensory channels such as text, images, and sometimes audio. In the context of AI, multimodal systems are designed to understand, process, and generate content across various data types, allowing for a more comprehensive and nuanced understanding of information. These systems leverage the combined power of multiple modalities to enhance their capabilities, enabling them to perform tasks that involve diverse forms of input and output.
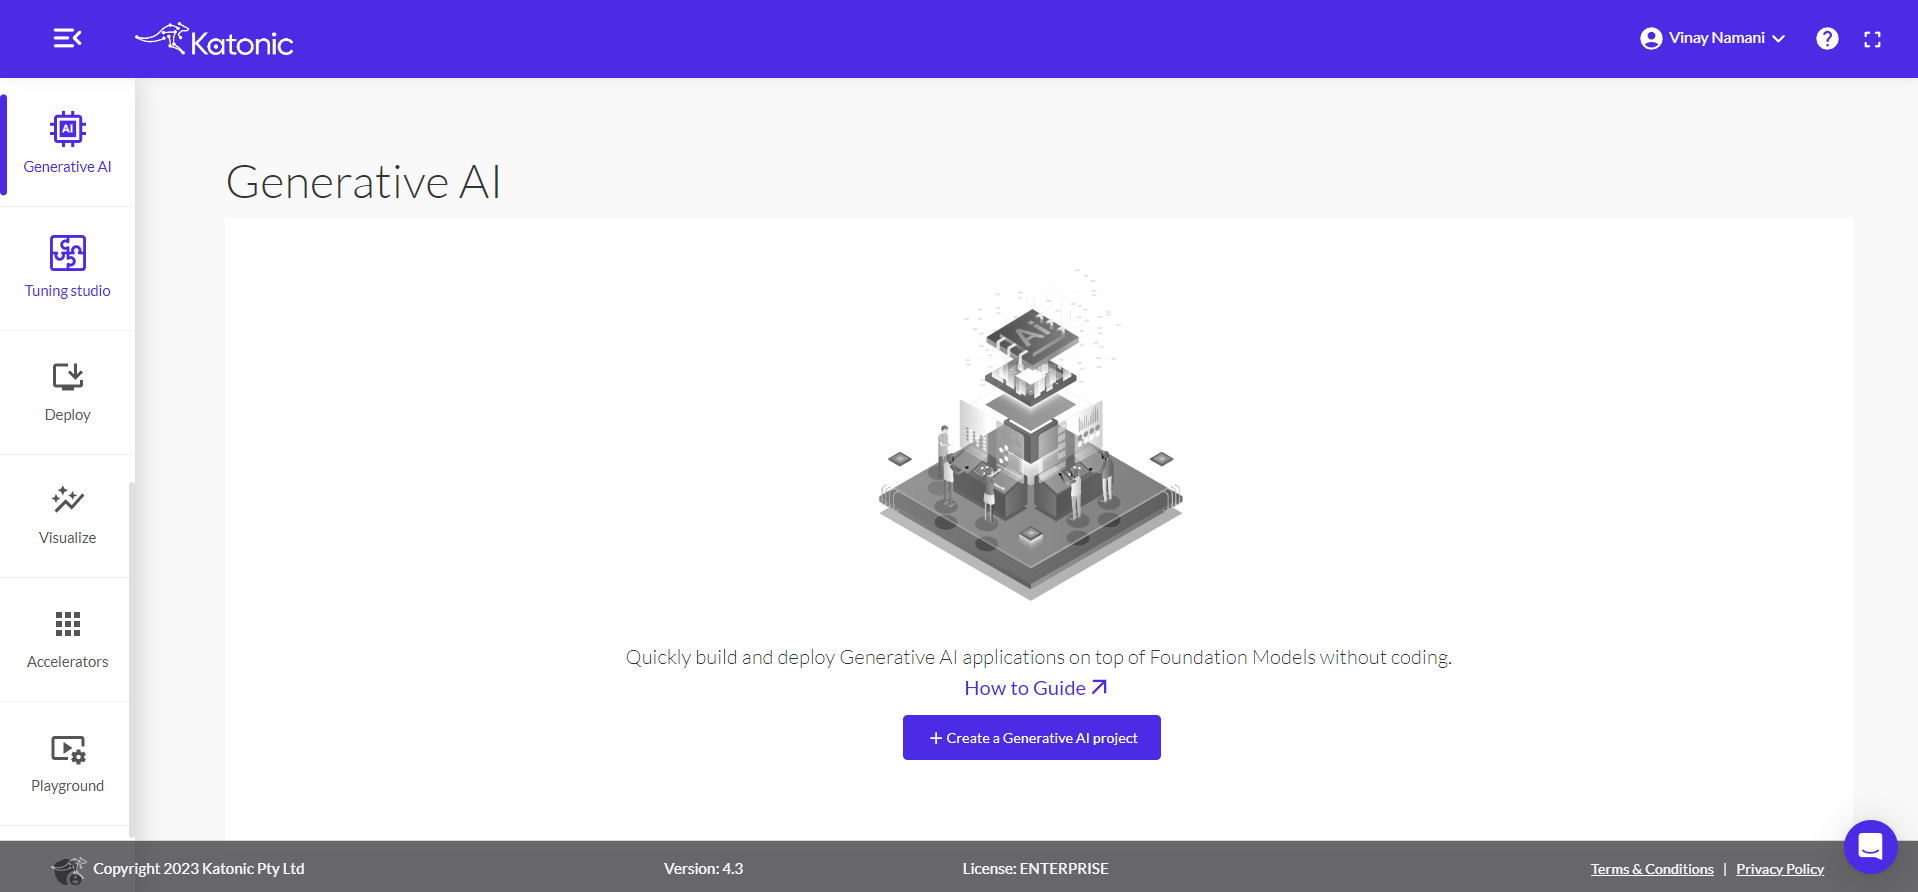
Initial Dashboard
Upon accessing the dashboard, you will find several tabs, including the Generative AI and Deploy tabs.
Creating a New Generative AI Project
Add Multimodal model
The first thing before creating a multimodal chatbot is to choose a Multimodal from the Foundation model management and filter the category by multimodal. These models are reflected only after the Admin includes them in the model library which is present in the Foundation model management section.
Note: Access to add foundation models and embedding models can only be granted by administrators.
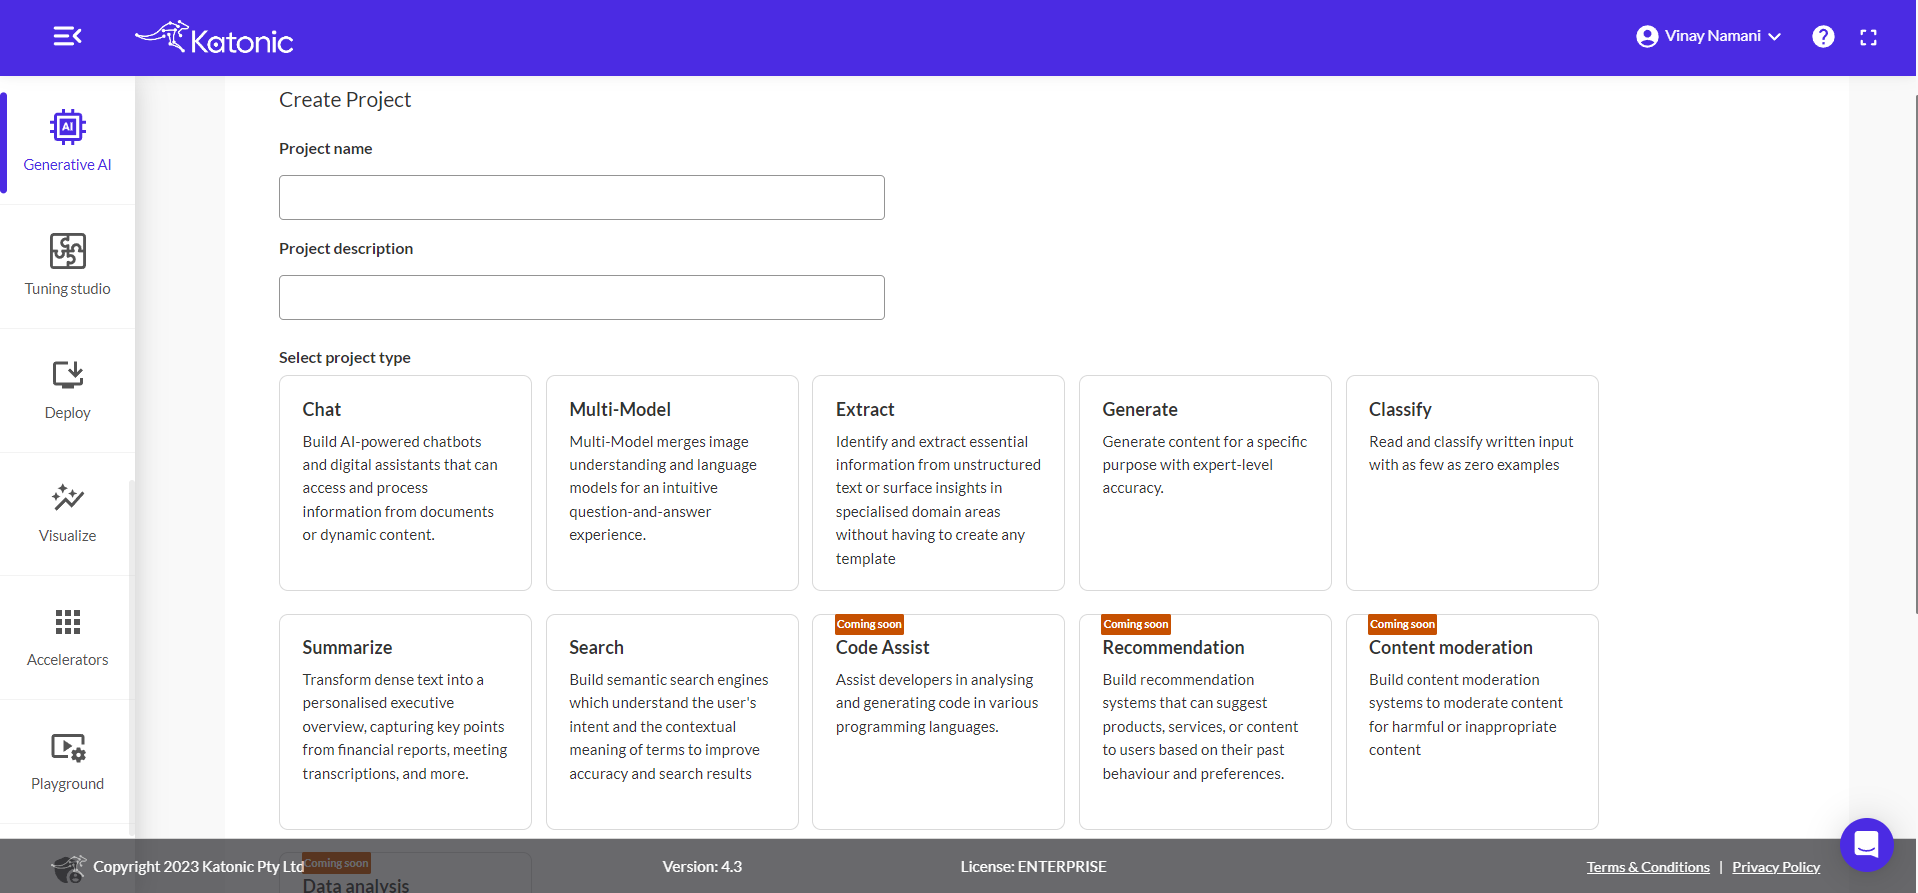
Project Creation
To create a new project, follow these steps:
Click on the Create a Generative AI project button.
- Choose a name for the project based on your preferences.
- Select the project type as
Multimodal.
Note: In future releases, you will have the option to choose from various project types, including
Code-AssistandRecommendation. These additional project types will provide more flexibility and customization options for your projects.
Click on create for the further process.
Now, select one multimodal from the available options.
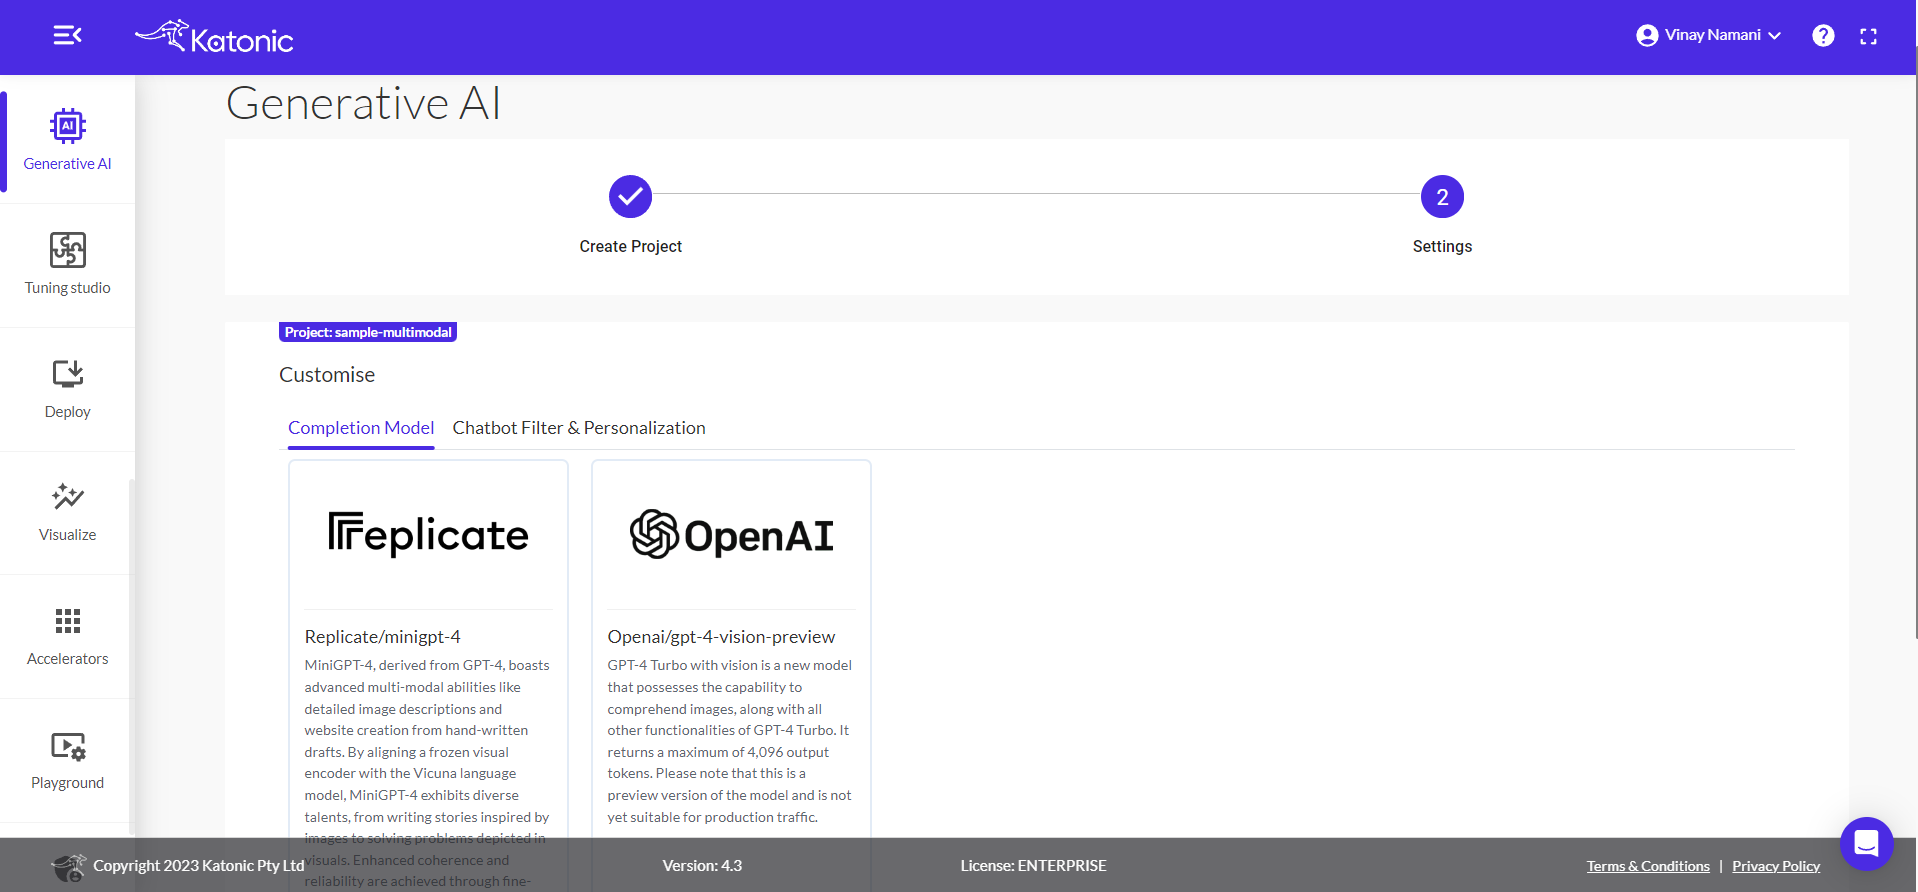
Click on Next to proceed.
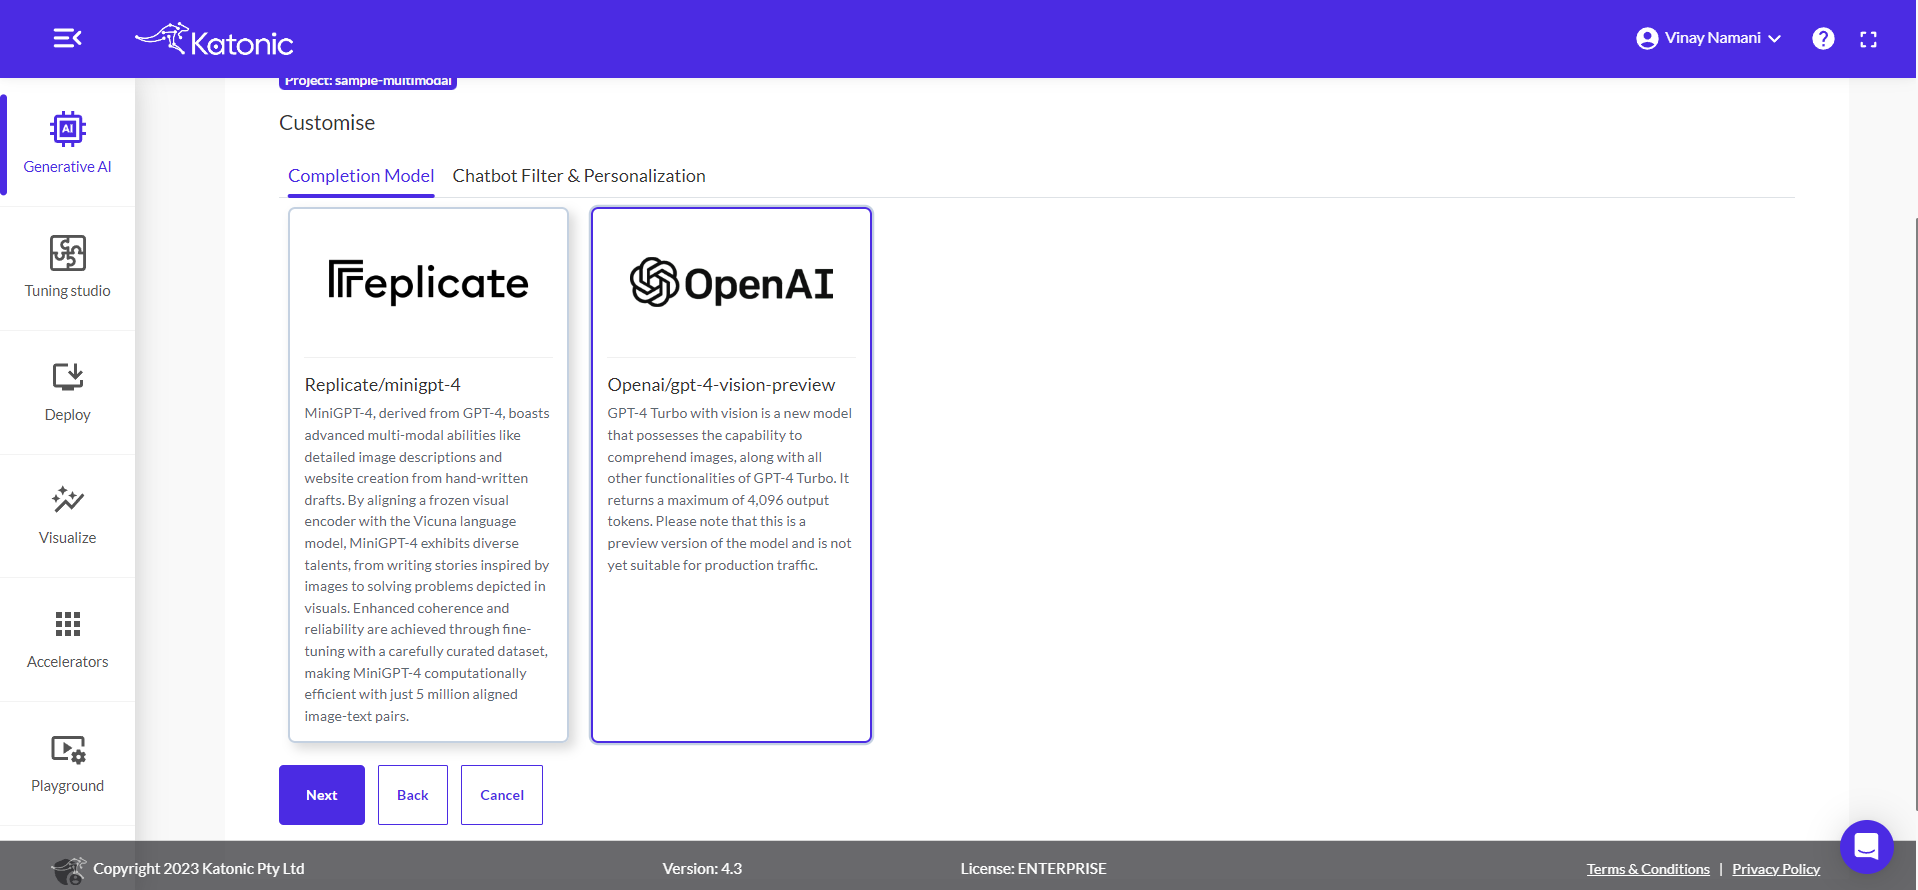
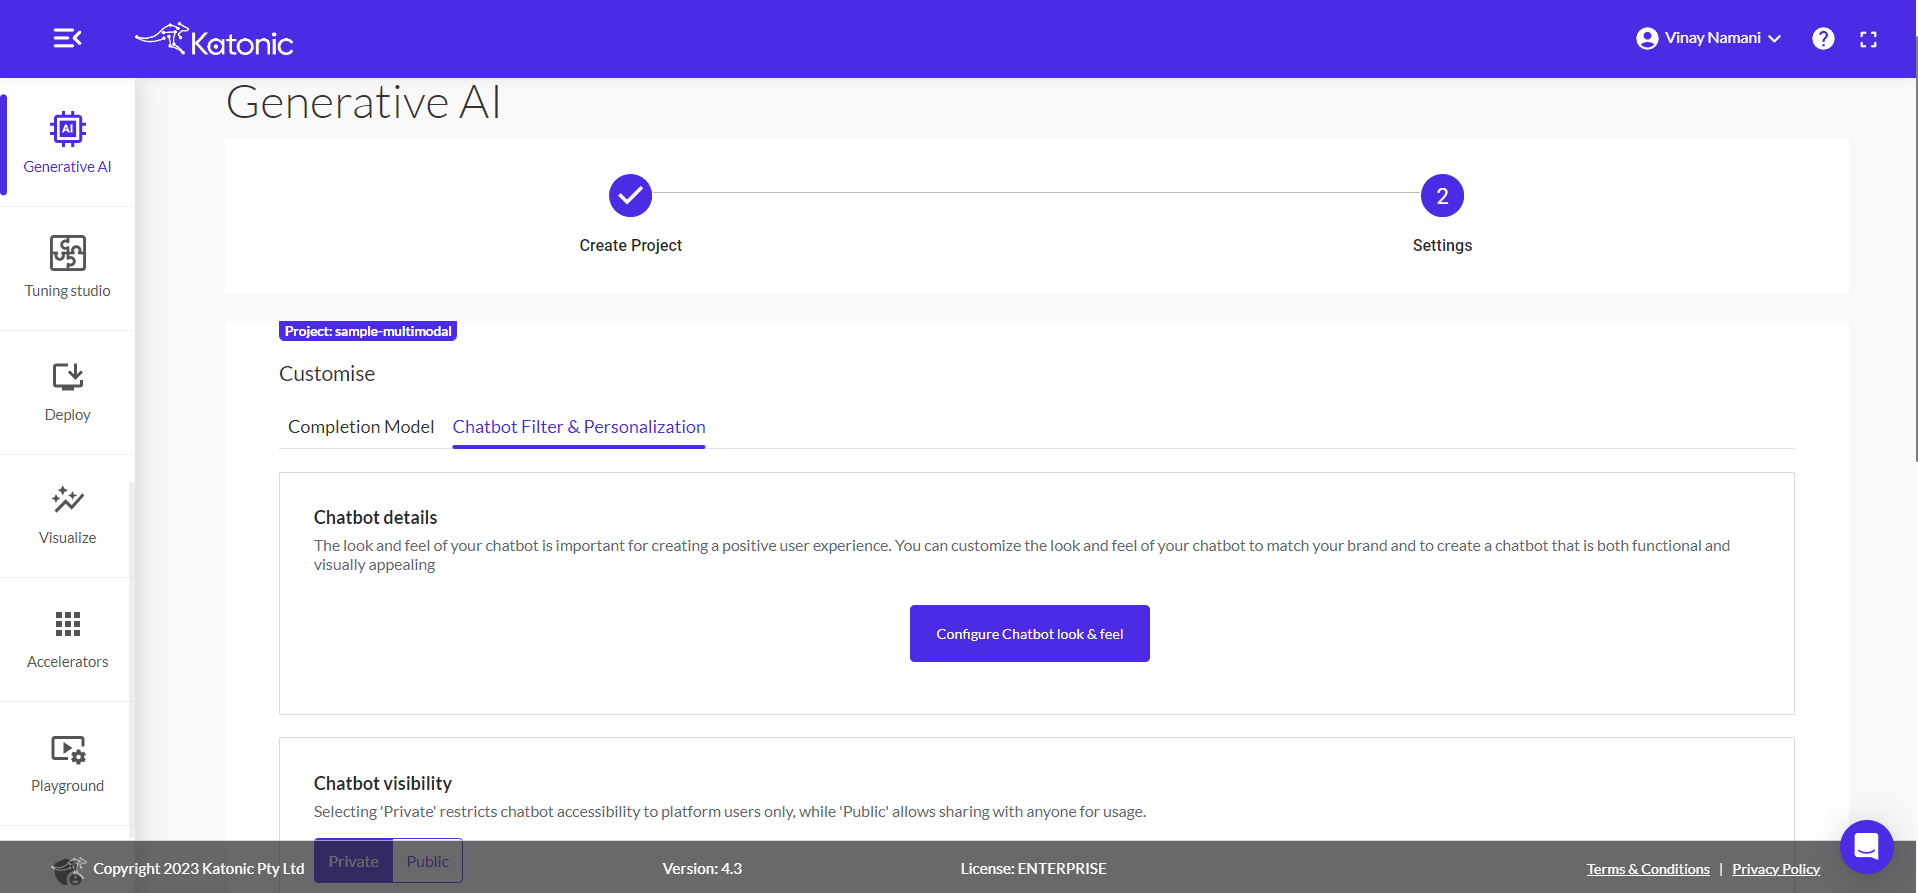
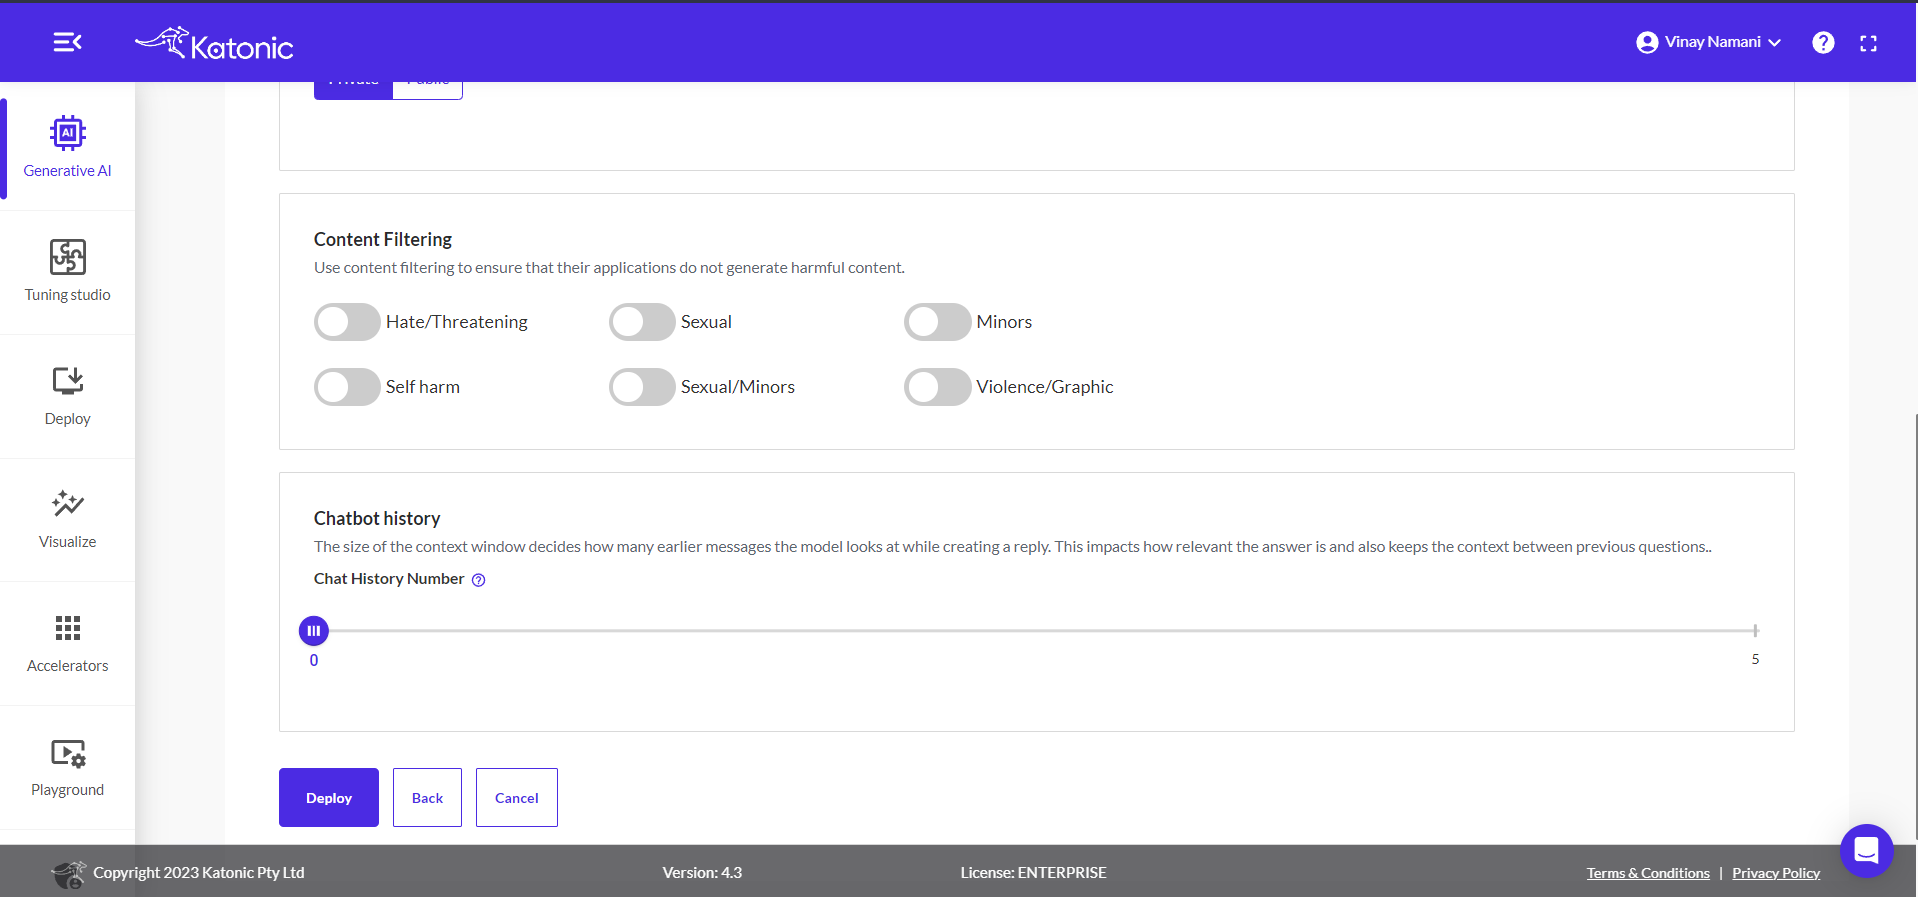
Under the tab Chatbot Filter & Personalization, you can add theme and logo to your multimodal chatbot.
For more details regarding this customization please check Chatbot Filter & Personalization.
After completing the configuration, click the Deploy button to initiate the deployment of your multimodal.
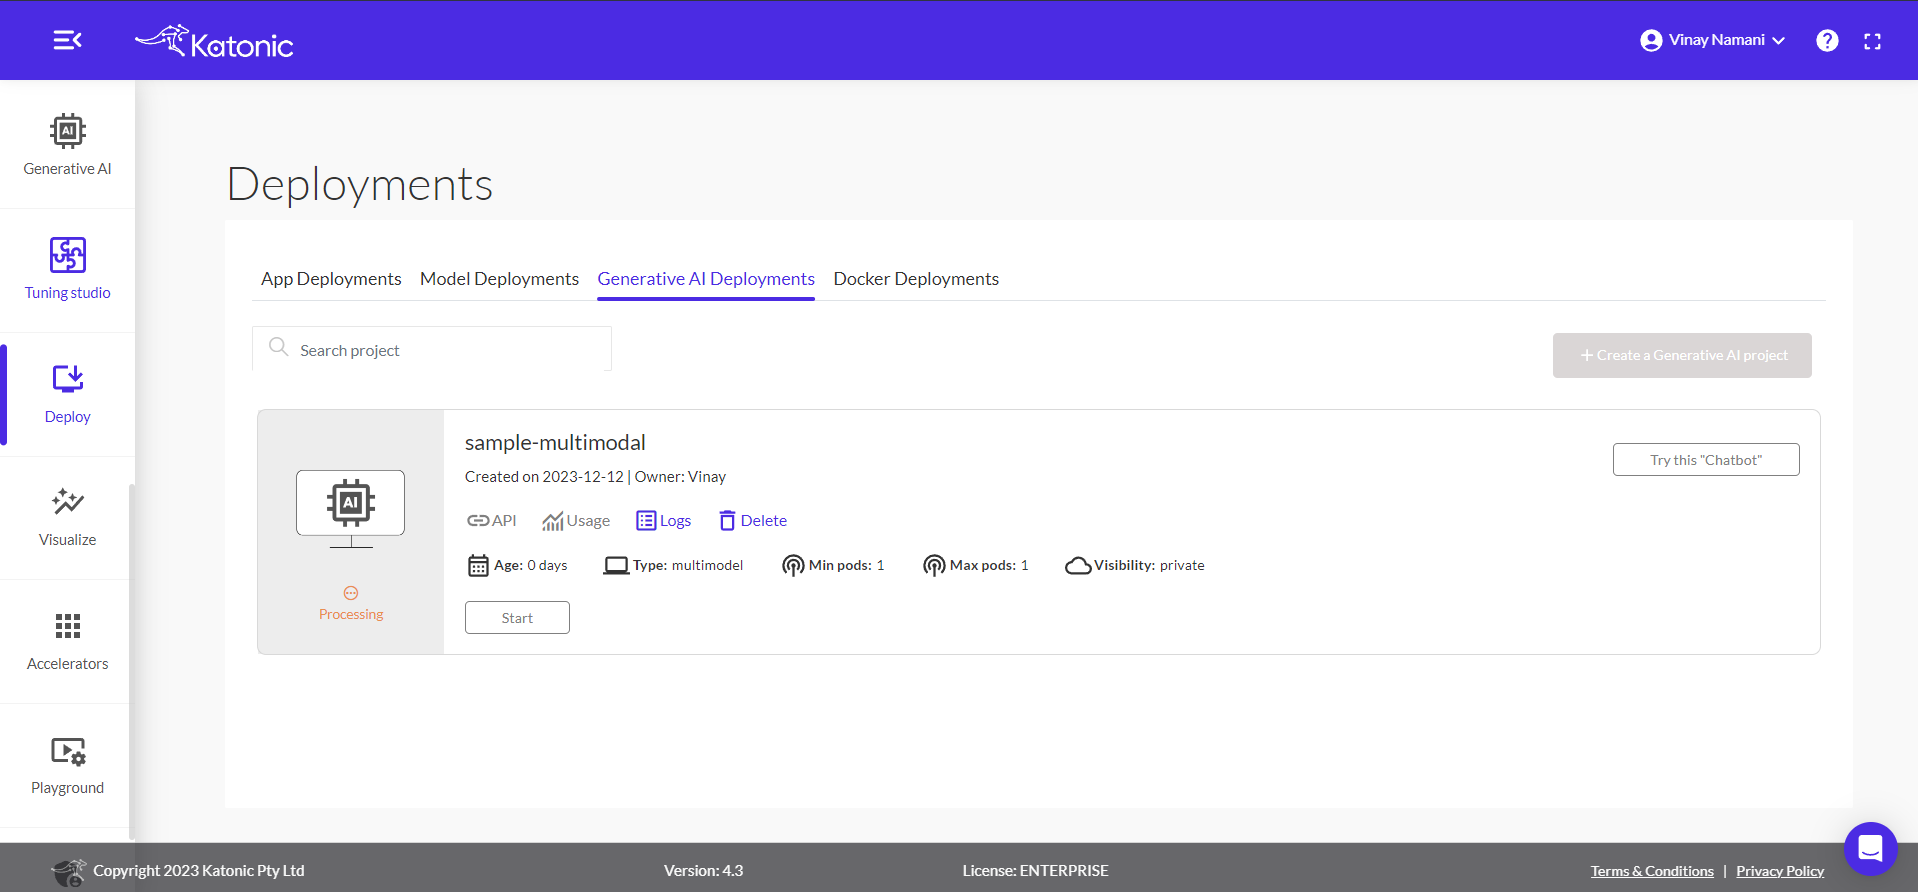
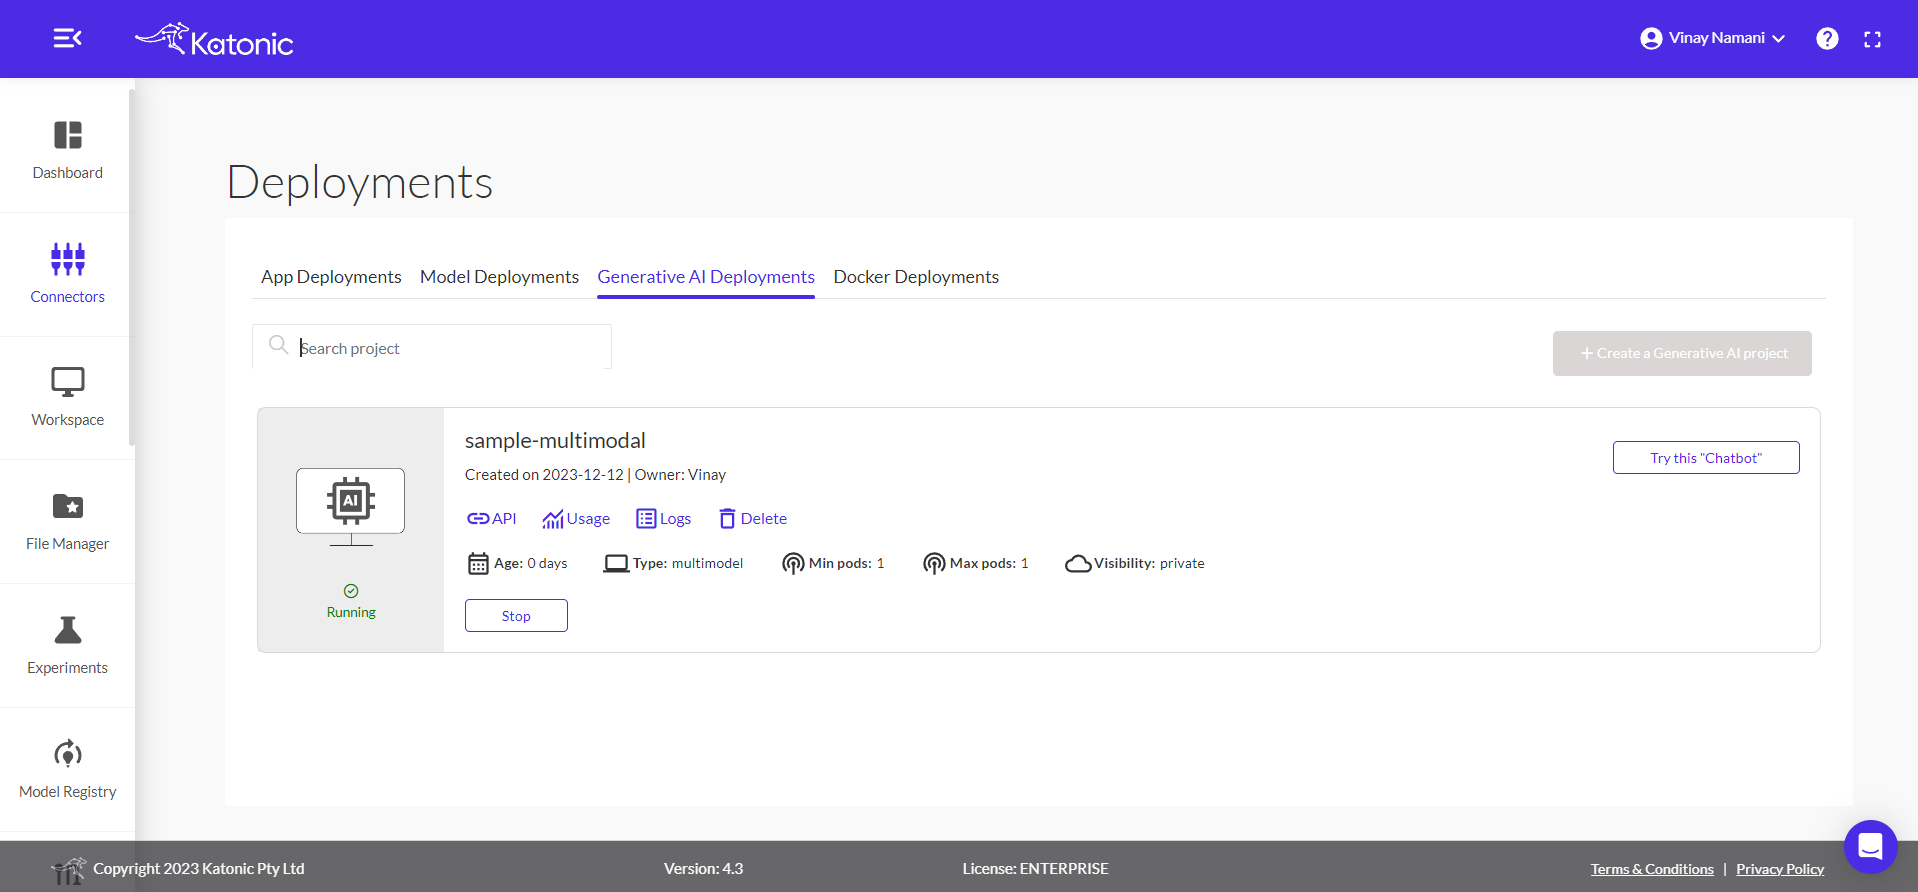
After clicking on Deploy you will be redirected to the deployment section. In this section, you will be able to view and access the multimodal chatbot you have created. You can interact with the chatbot, test its responses, and explore its functionality. The deployment section provides a convenient interface to use and manage your chatbot effectively.
In the deployment section, you will have access to various features and settings related to your chatbot. These include:
Logs: You can view the logs generated by your chatbot, which can provide insights into its behaviour, interactions, and any errors or issues encountered during usage.Resource information: This section provides information about the resources utilized by your chatbot, such as memory usage, CPU usage, and other performance metrics. It helps you monitor and optimize the resource utilization of your chatbot.Minimum and maximum number of pods: You can set the minimum and maximum number of concurrent connections or pods so that your chatbot can handle multiple requests. This allows you to control the scalability and capacity of your chatbot based on your requirements and the expected traffic.
These features and settings enable you to monitor, manage, and optimize the performance and scalability of your deployed chatbot.
Initially the project it will be in processing state till the deployment gets completed.
After the deployment gets completed, the chatbot status will turns into running.
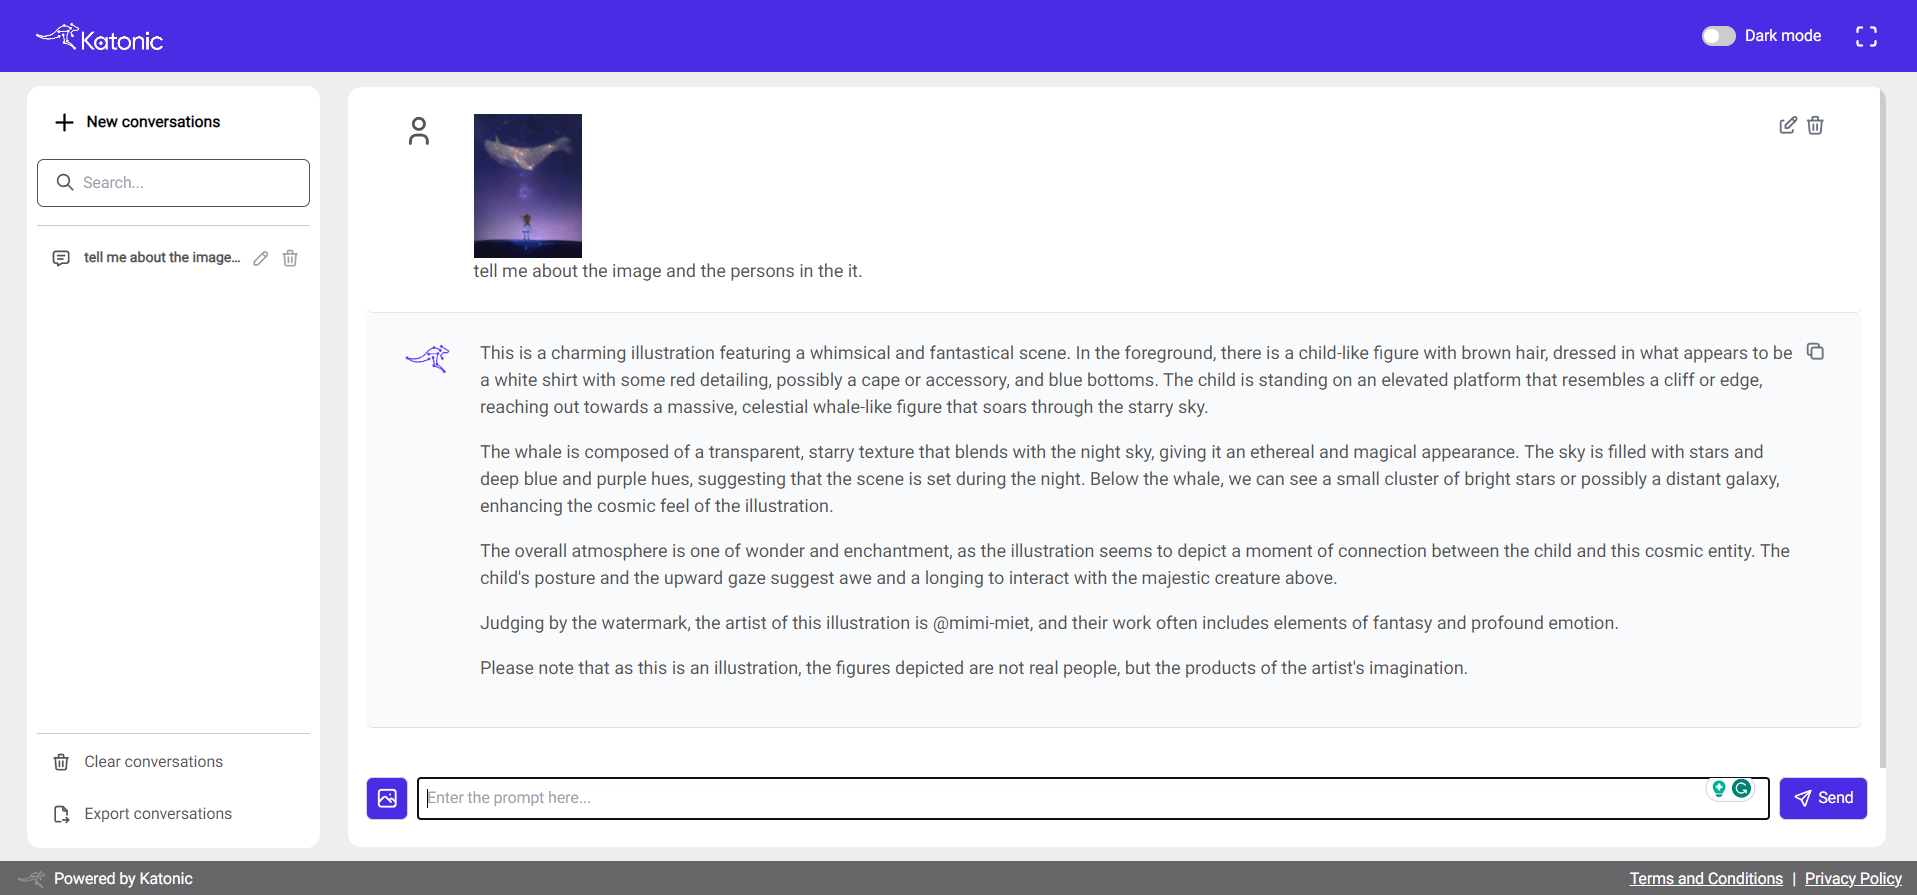
Multimodal Chatbot
- To initiate a conversation with the updated chatbot, click on the
Try this Chatbotbutton in the deployment section. - This action will redirect you to a new chatbot UI page dedicated to interacting with the model.
- On the chatbot UI page, locate a image upload field where you can upload your image then use the text input field where you can enter your messages or questions related to your image.
- The chatbot will generate responses based on the input you provide.
- Enjoy a dynamic conversation with the chatbot by entering messages and receiving real-time responses on the UI page.
Note: After uploading an image, you can ask unlimited questions about the same image without needing to upload it again for each query.
To utilize the API endpoints and access the Swagger documentation, please follow this link.