Git Integration
Git Integration with Jupyter
You may commit any changes that you make in a workspace back to GitHub. We recommend using the JupyterLab Git extension, which comes preinstalled in Katonic workspaces by default.
To begin, click on the Git icon in the menu bar on the far left. This will open the Git panel.
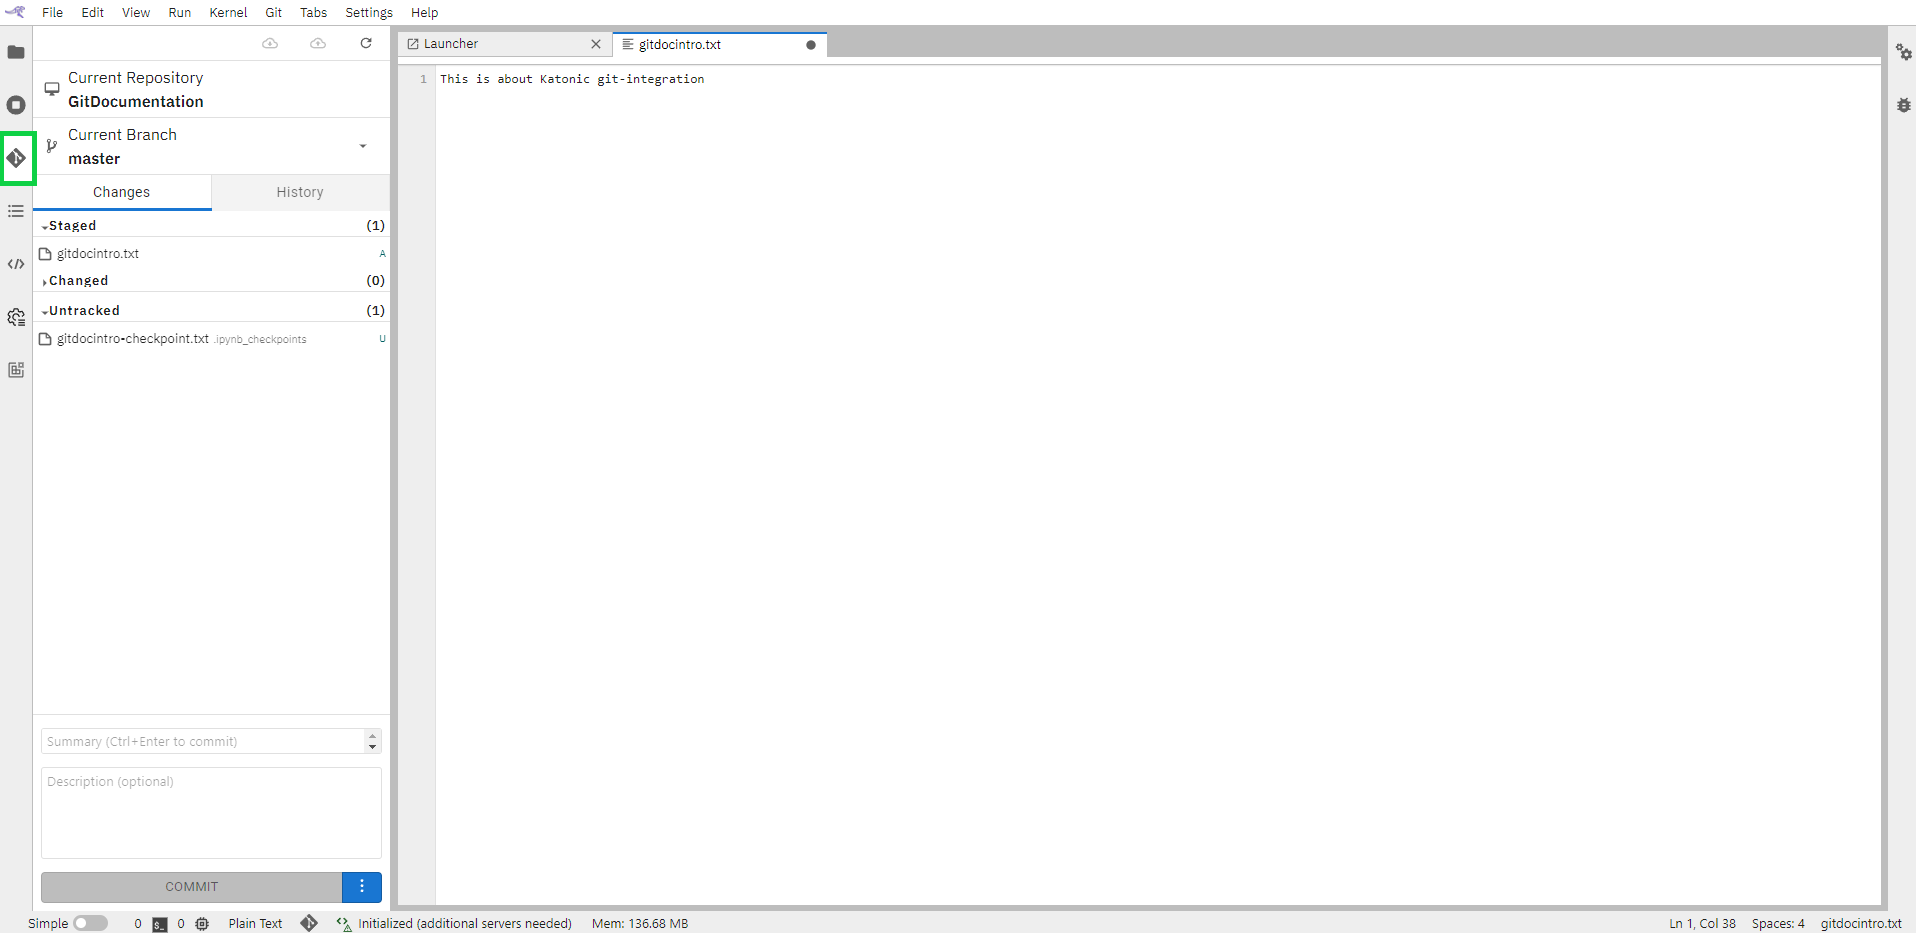
Stage the changes you wish to push and create a commit for them. Then click on the "Push committed changes" button on the top right to push your changes. The first time you do so in a new workspace session, you will be prompted to provide your GitHub username and Email.
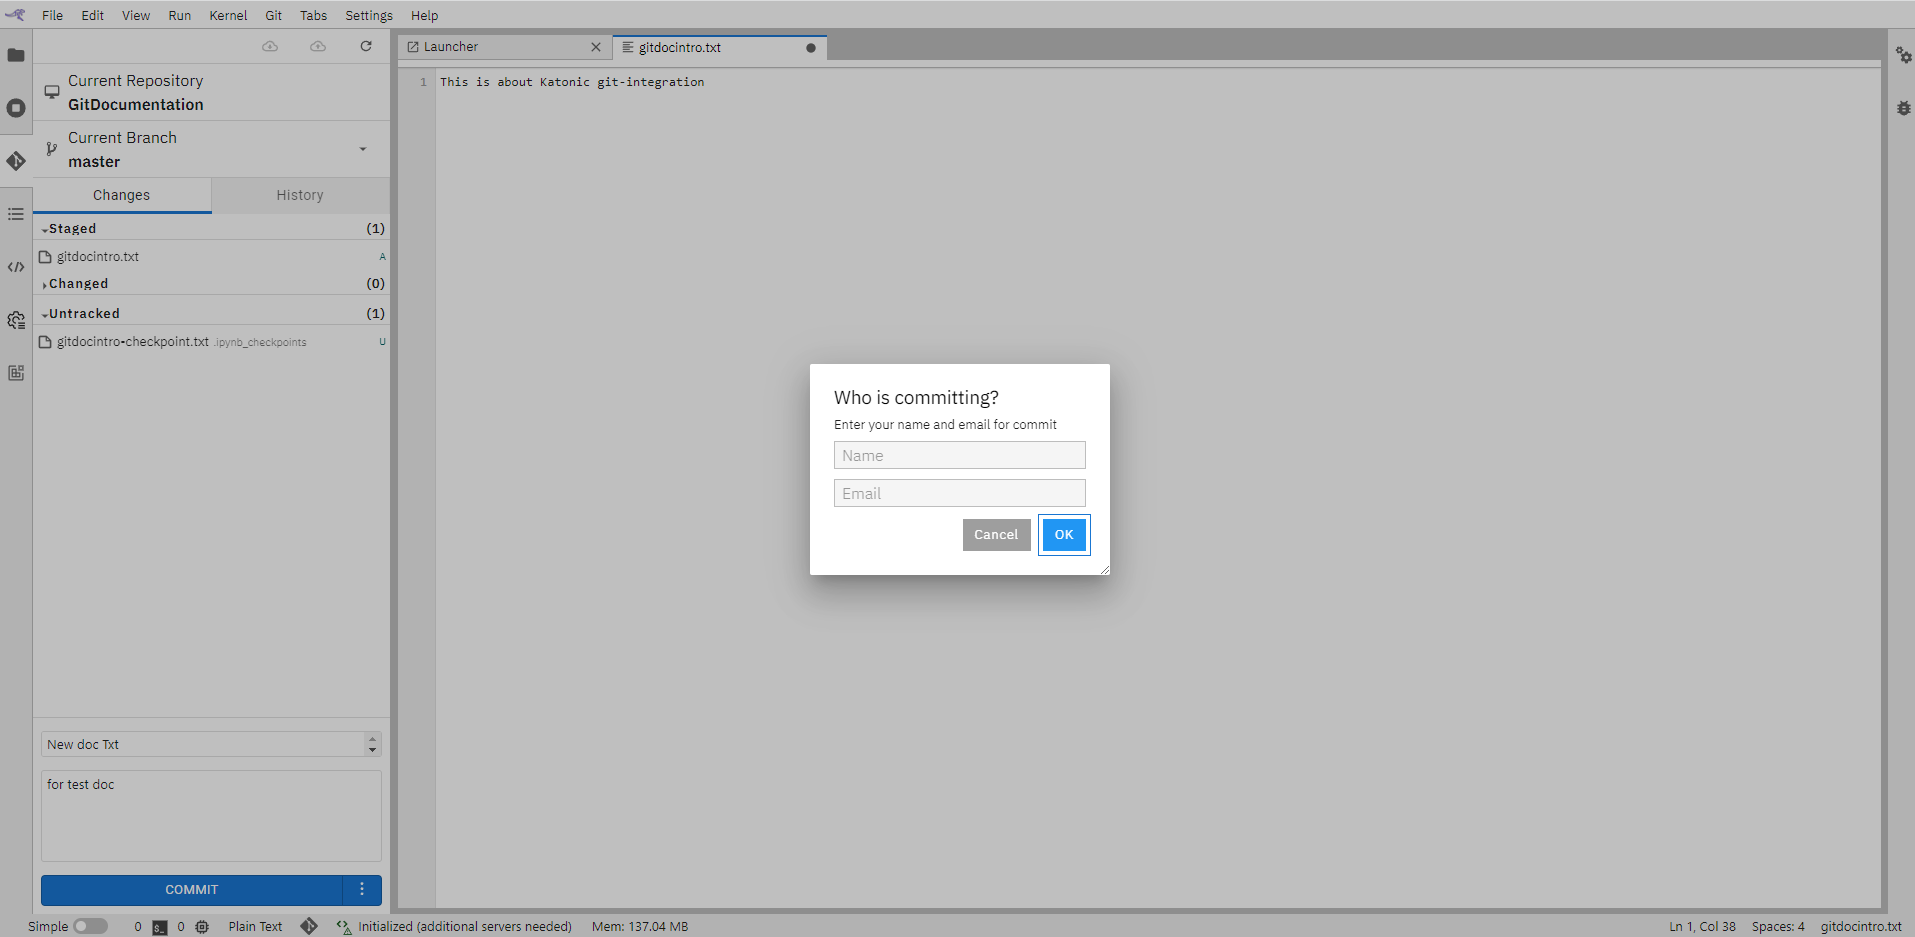
Provide valid credentials and will push your changes to the repository. This flow works for both public and private repositories.
Note that you must use a personal access token, as GitHub no longer supports commits authenticated using your user password.
This flow can can also be performed using the git add, git commit, and git push command-line instructions.
Git Integration with Visual Studio Code
Getting started with Integating VSCode with GitHub
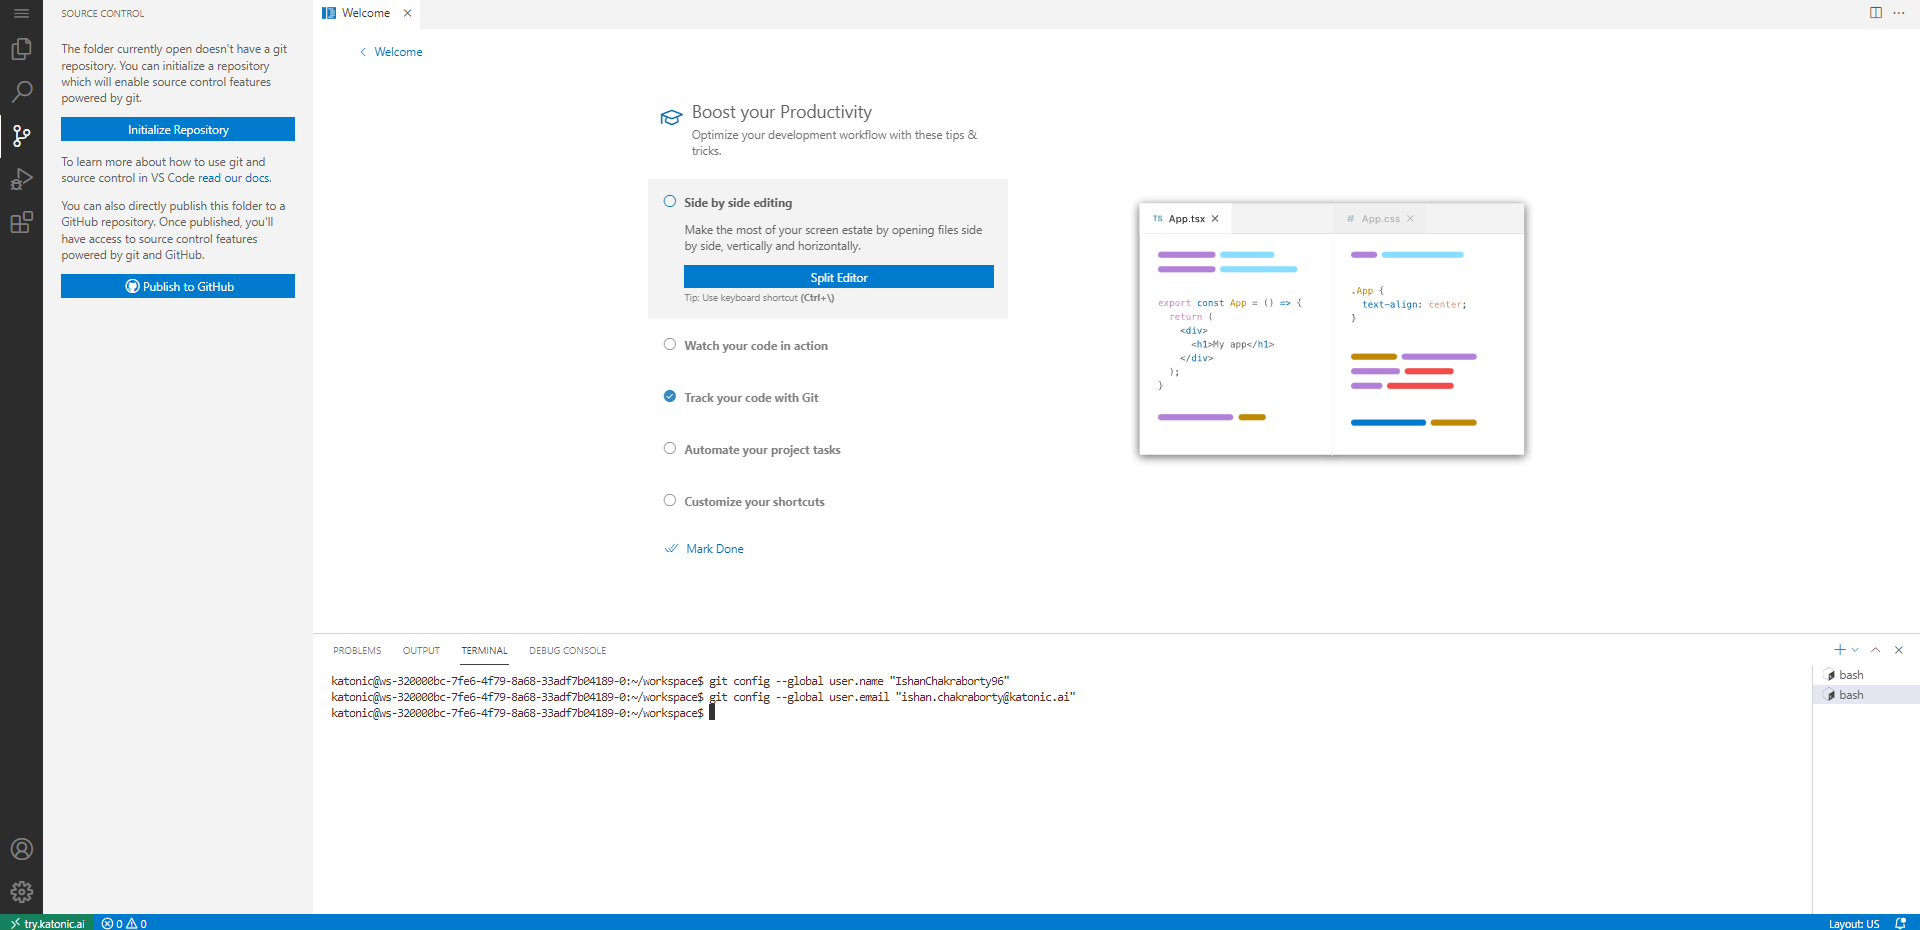
Once you've connected with your VSCode workspace You will be viewing the VSCode UI.

To Connect with GitHub you need to use the terminal and use the GIT commands.
git config --global user.name "USERNAME"
Git config --global user.email "Email"
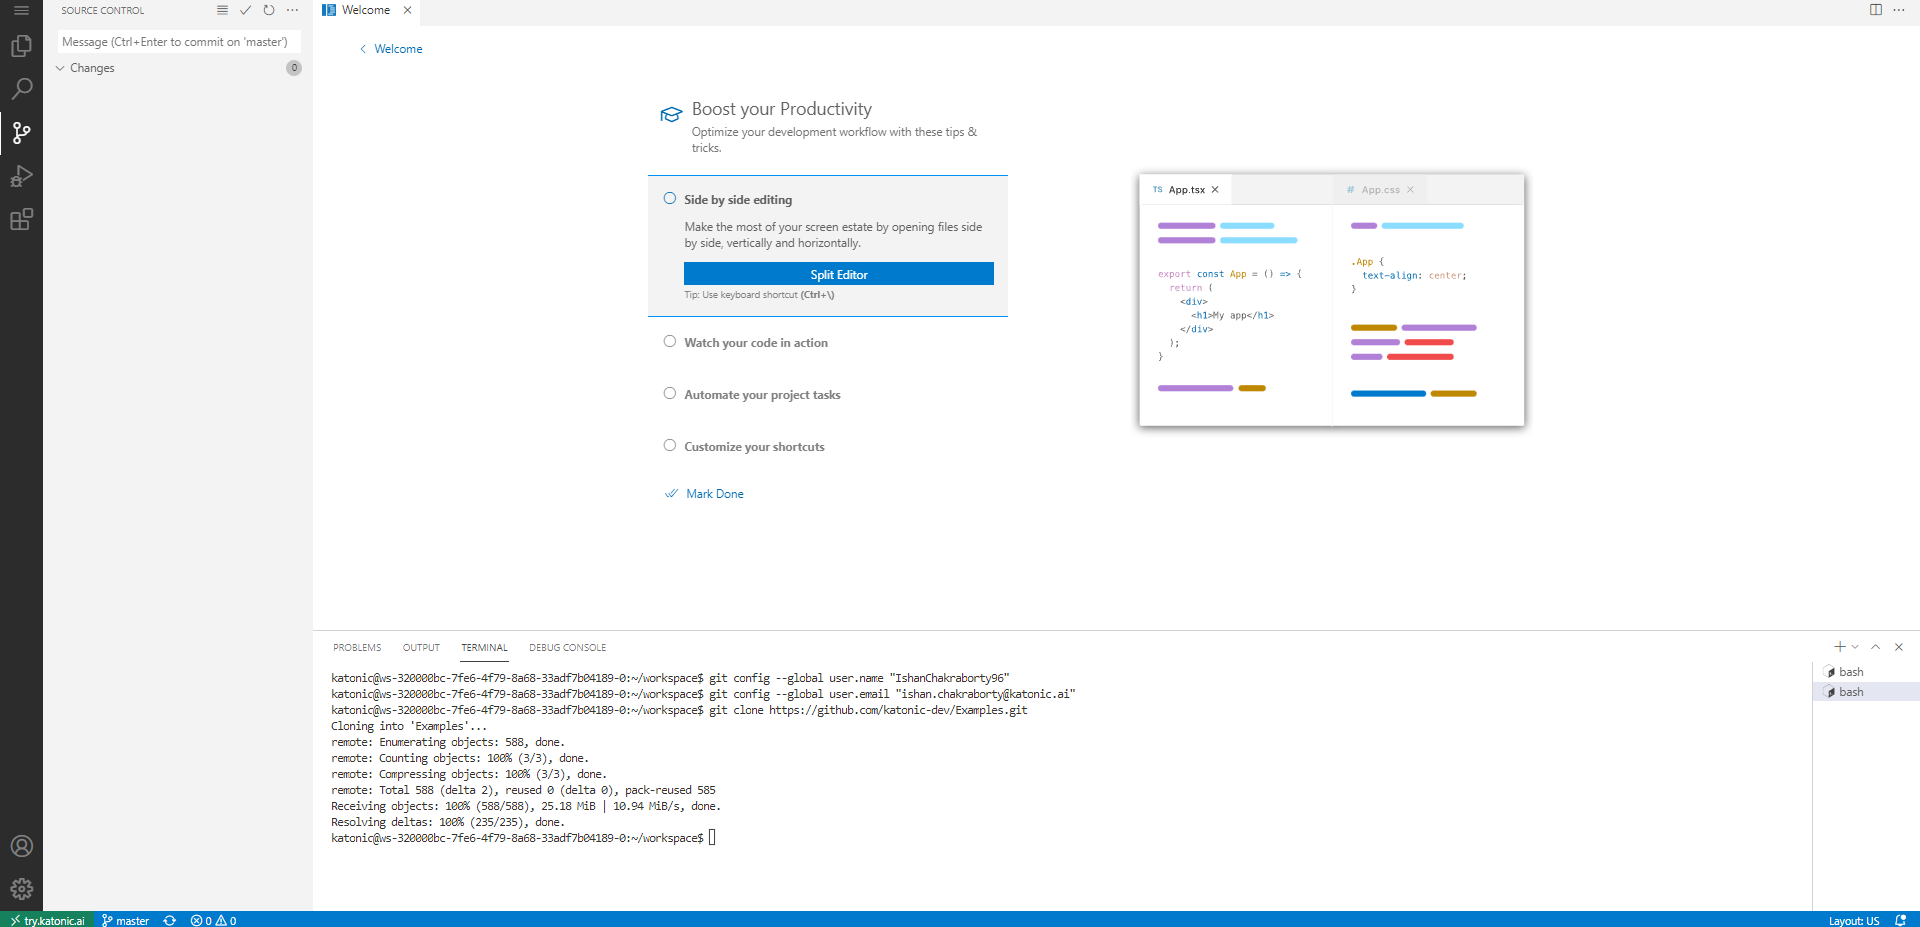
Cloning a repository
You can search for and clone a repository from GitHub using the Git: Clone command in the terminal.
From the GitHub repository dropdown you can filter and pick the repository you want to clone locally.
Authenticating with a private repository
Enabling authentication through GitHub happens when you run any Git action in VS Code that requires GitHub authentication, such as pushing to a repository that you're a member of or cloning a private repository.
While cloning the private repository you'll see a prompt to sign in using GitHub extension.
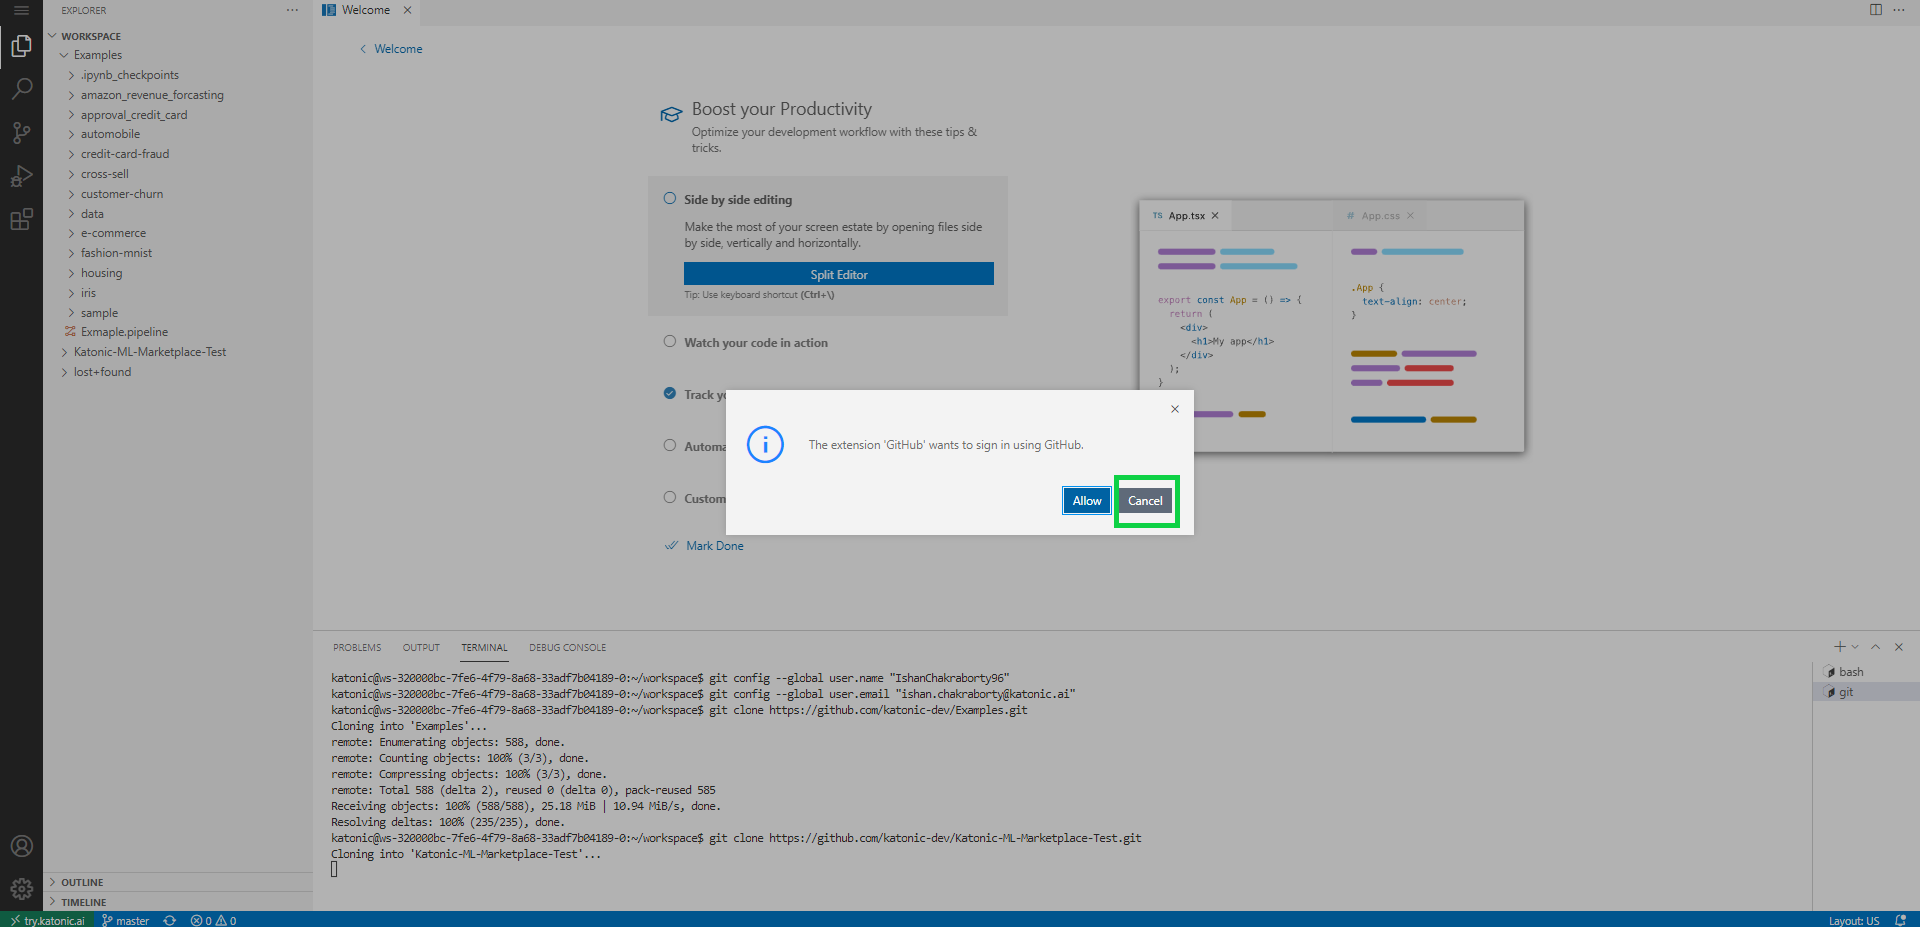
Note: As we don't support GitHub extension please select the "Cancel" button and use the internal sign-in to connect with GitHub.
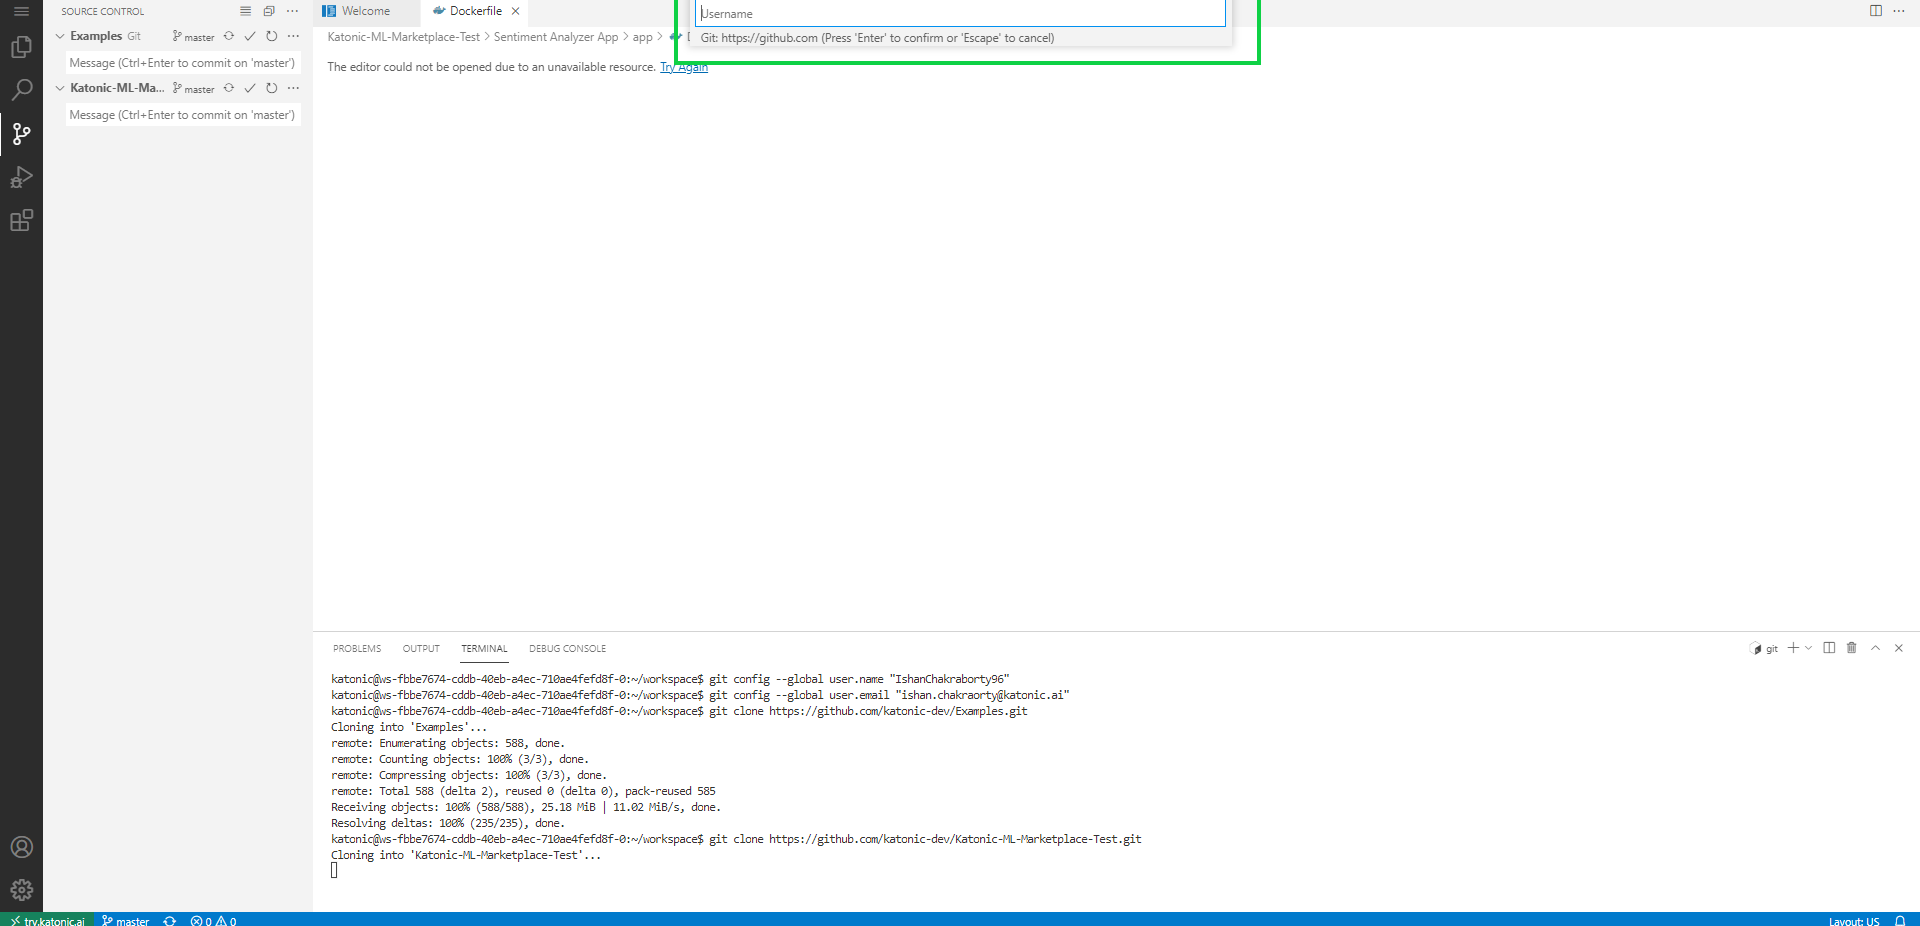
After Selecting Cancel you will be asked for your username and password in the top middle of the UI.
After giving your username next it will ask for your password (Password is nothing but your GitHub token).
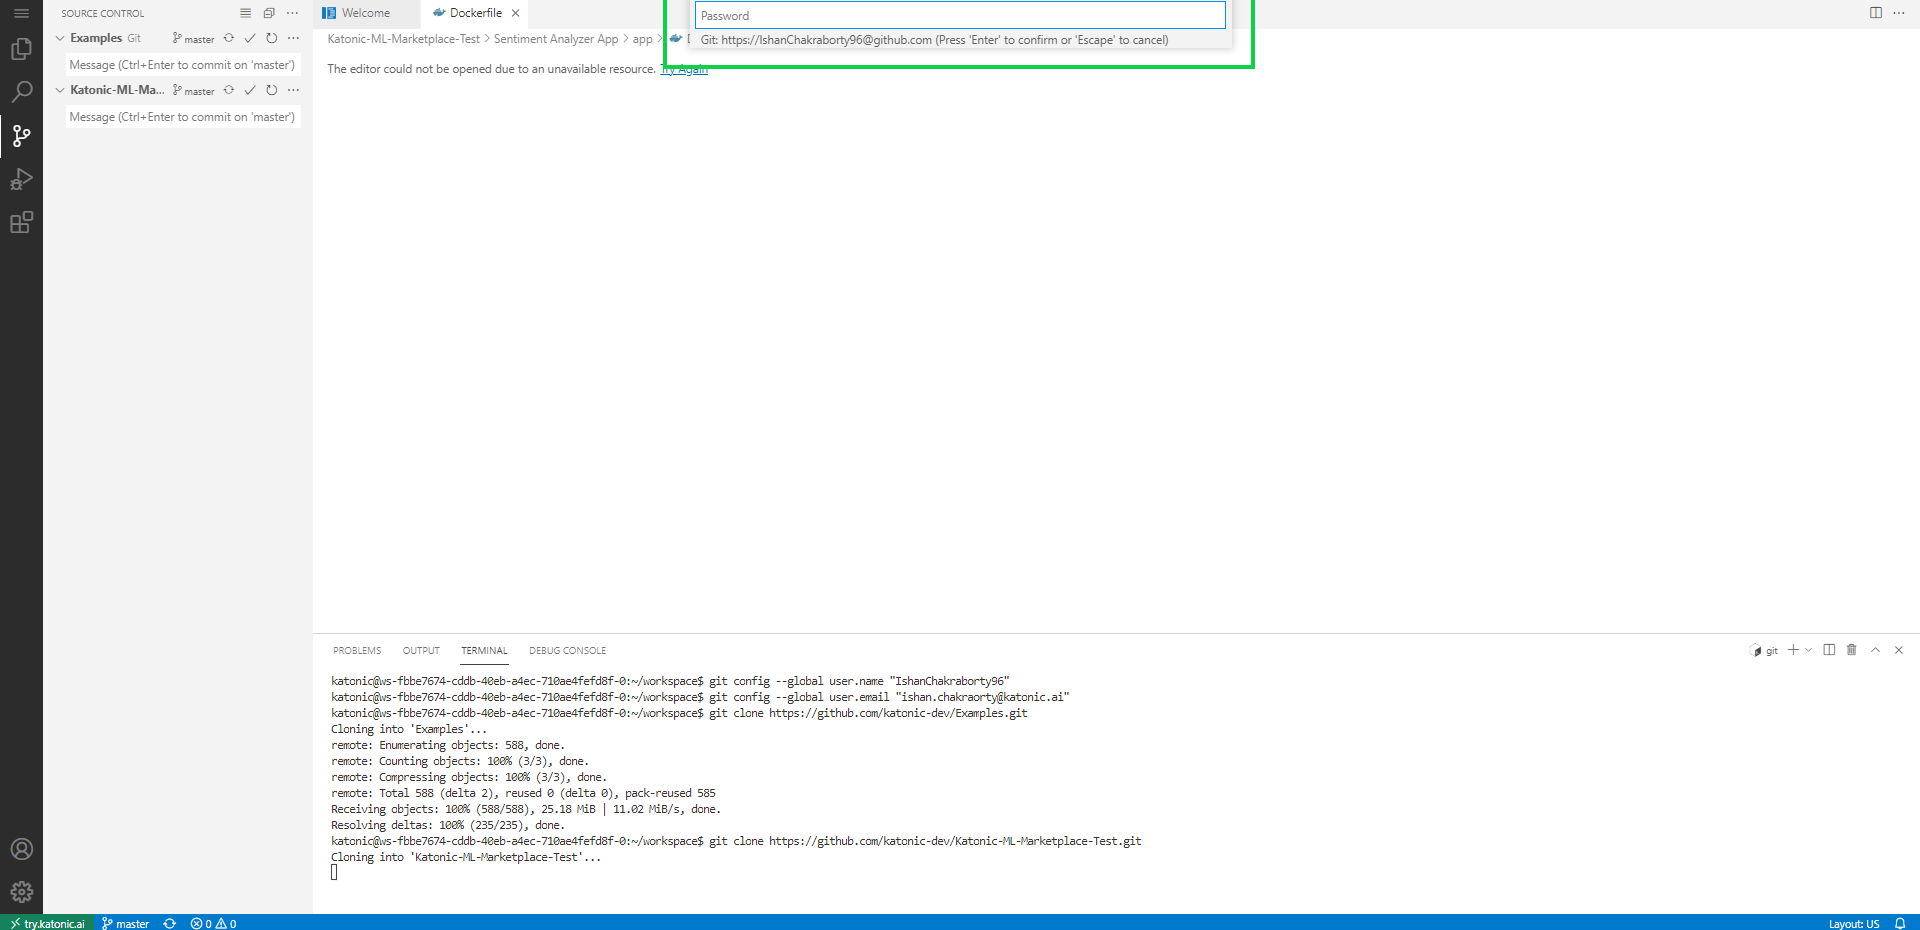
Note: You can add your authorization GitHub token manually in Password. In GitHub, you will receive your authorization token. Copy the token and Paste in your Password.
Note: Your GitHub Token can be generated from GitHub Settings.
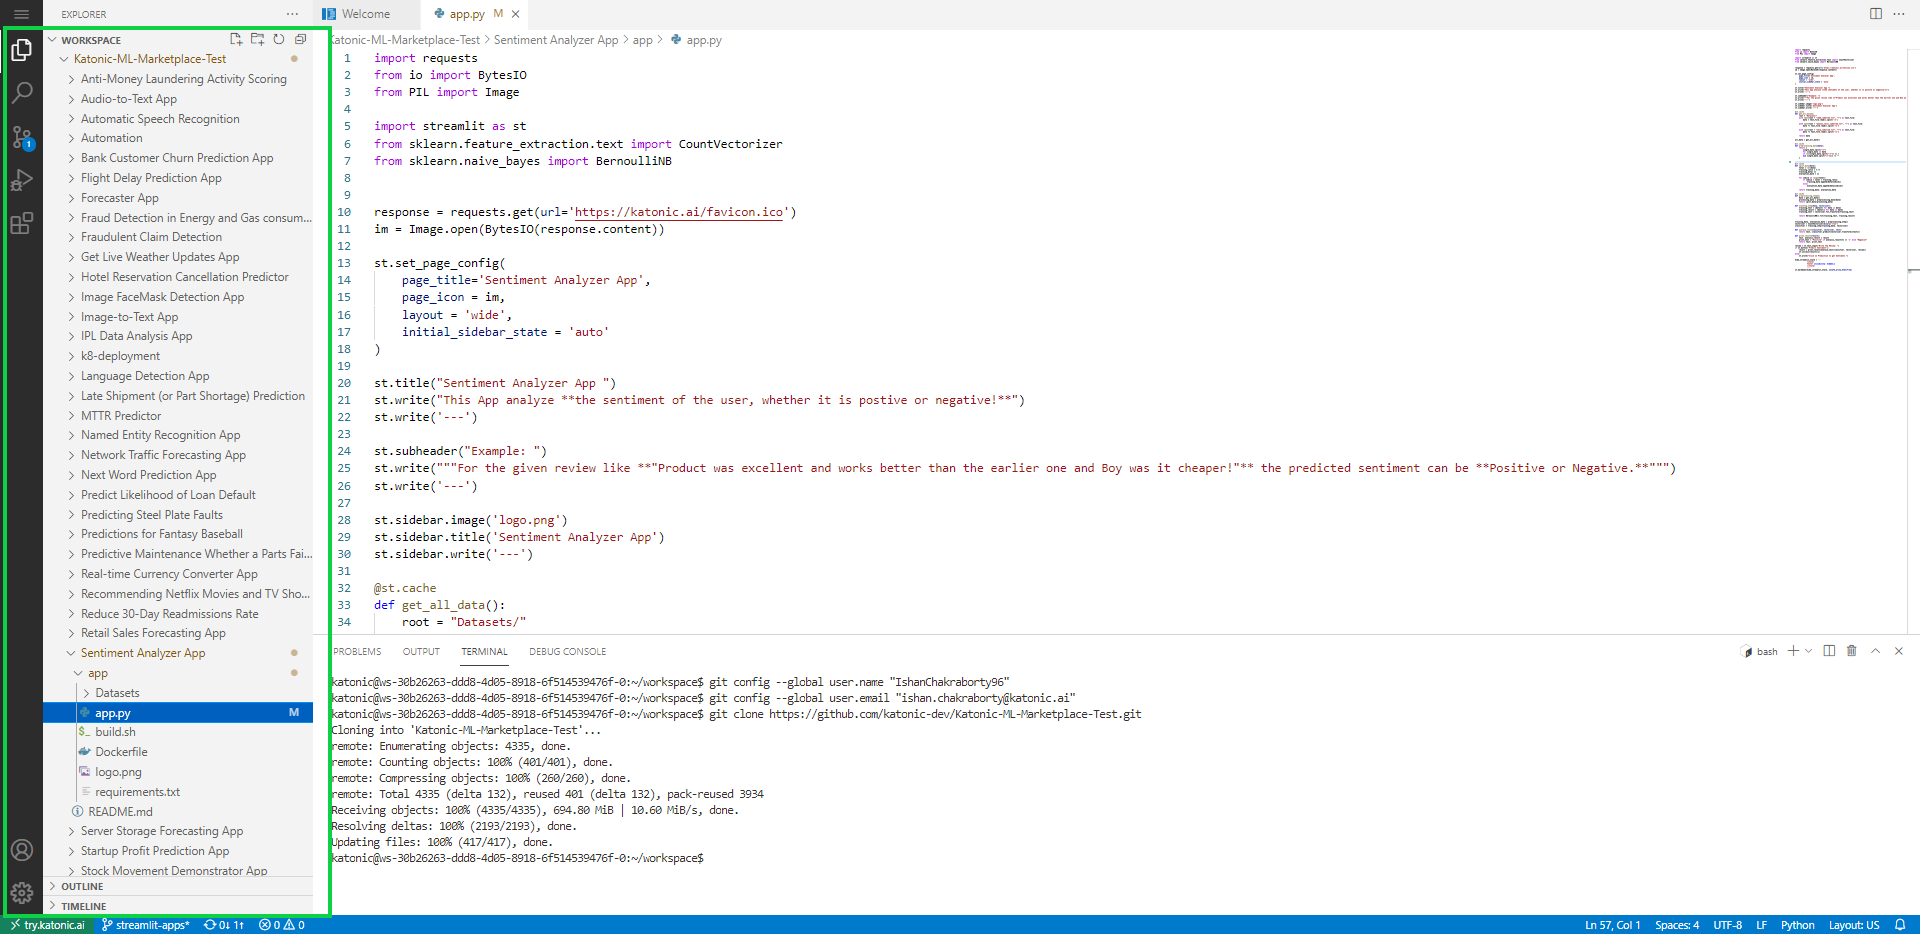
Once all ypur files are clone you can start working on your workspace and then you can update your changes from commiting your change from source control.
Git Commit and Push
Once your files are clone or ready you can commit your file with a message. If it's a private repository then it will ask your username in top middle of VSCode UI.

Note: For private repository it will ask for your GitHub Username.
After giving your message to commit you will get to see a prompt for asking about would you like to stage all your commit them directly.

Note: You can select Yes or Always depending upon the user.
After commit you can Git push by selecting View or more actions(...) icon, In dropdown you will find Push.
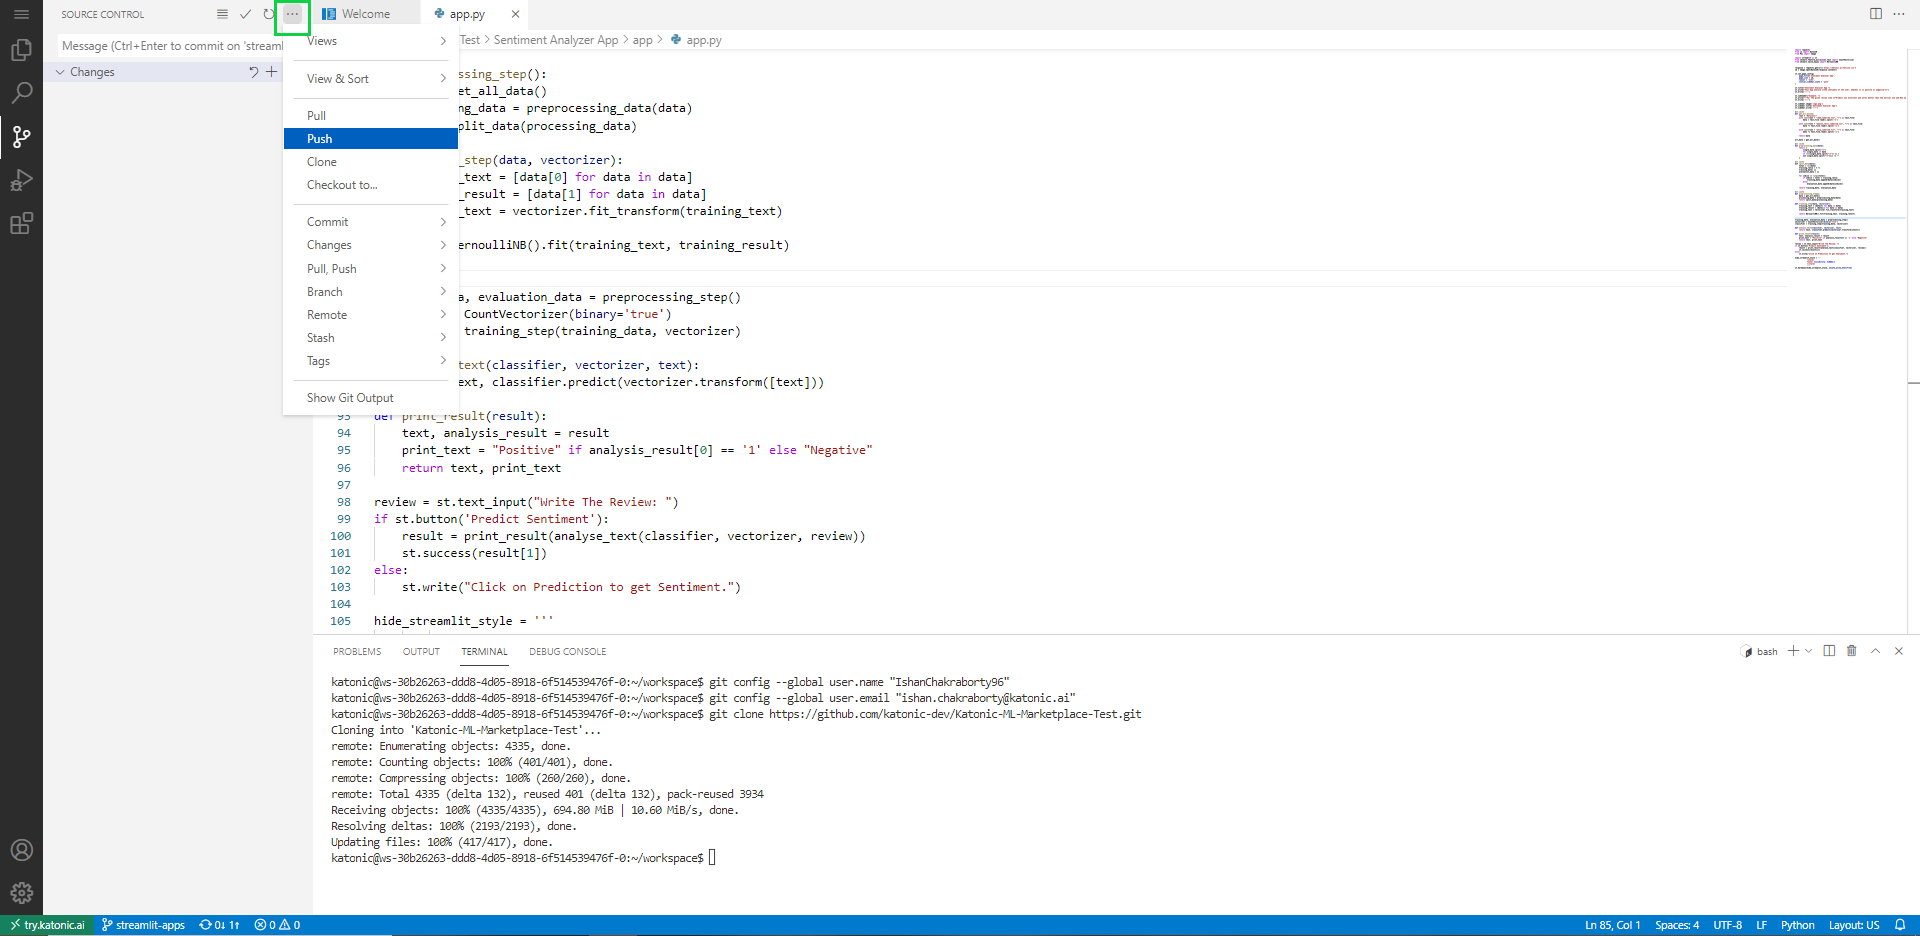
By pushing all the files are now updated to GitHub repository. You can check your repository for the Updated files.