From Notebook to Katonic Pipeline using Katonic SDK
The Katonic Python SDK helps data scientists and developers to interact with Katonic from their code, experiments and models. Through the SDK, you can create experiments, manage models, automate your machine learning pipeline and more.
In this example we will see how to create a basic kubeflow pipeline using katonic SDK.
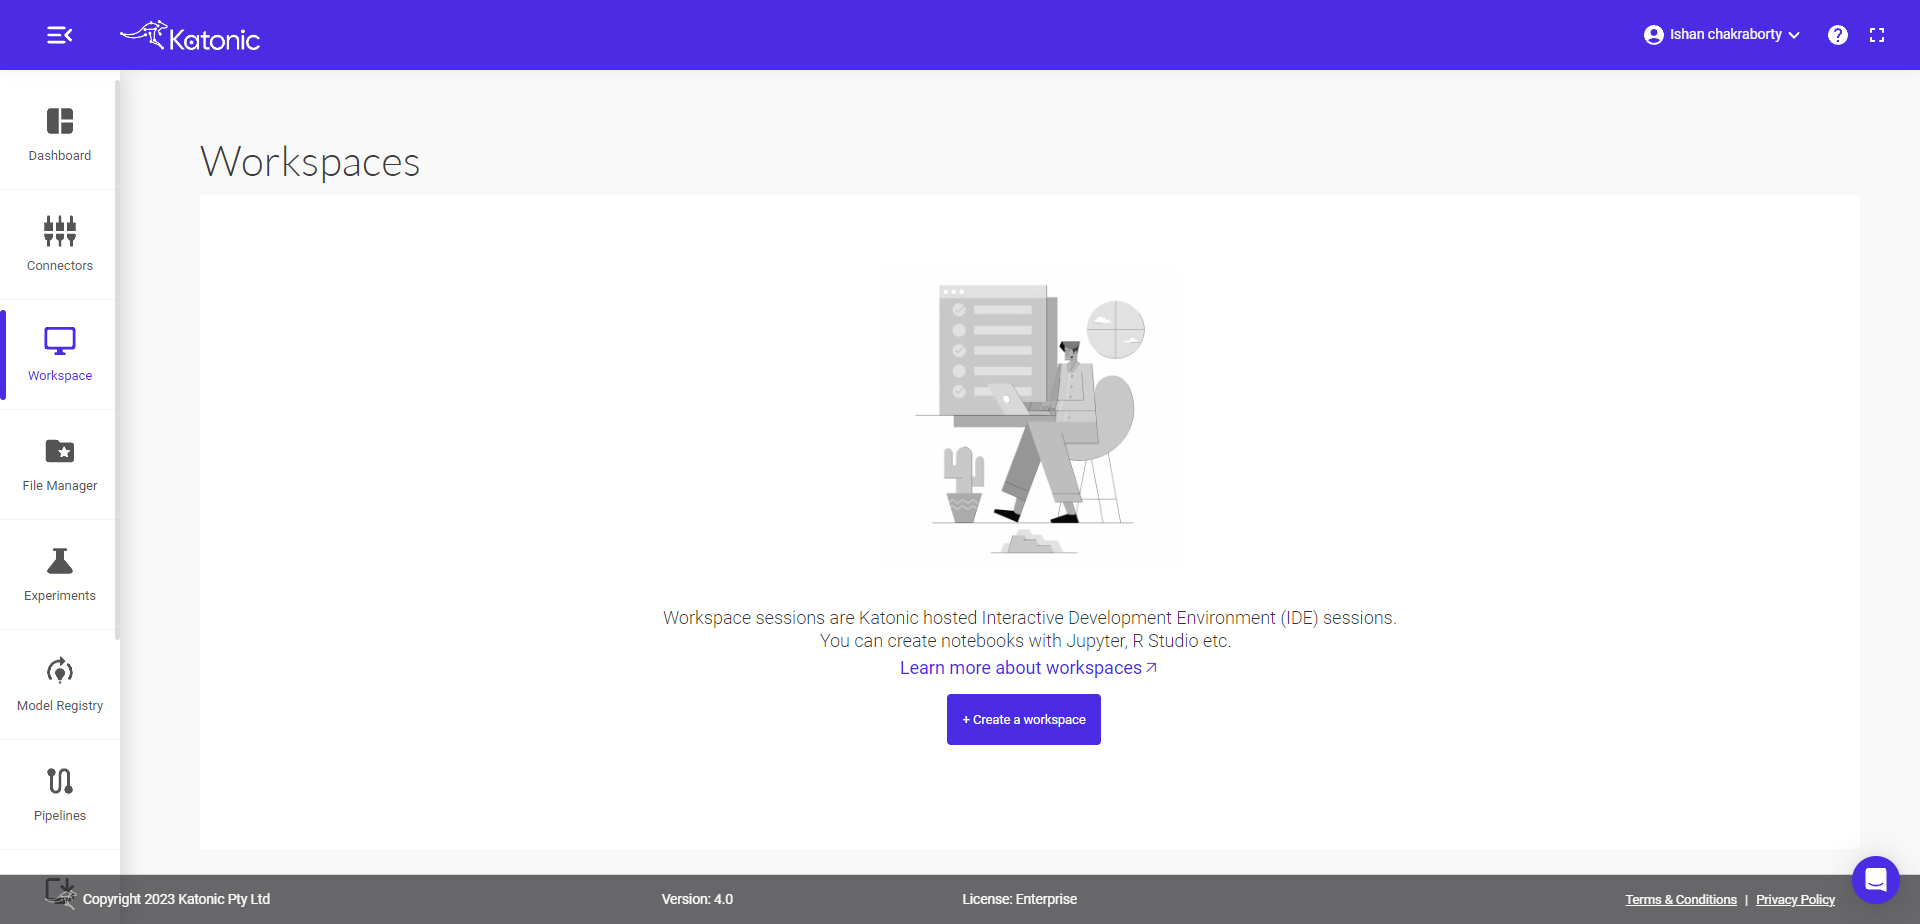
Step 1: Click on create workspace
From the left panel select Workspace and create your own workspace on clicking "Create Workspace".
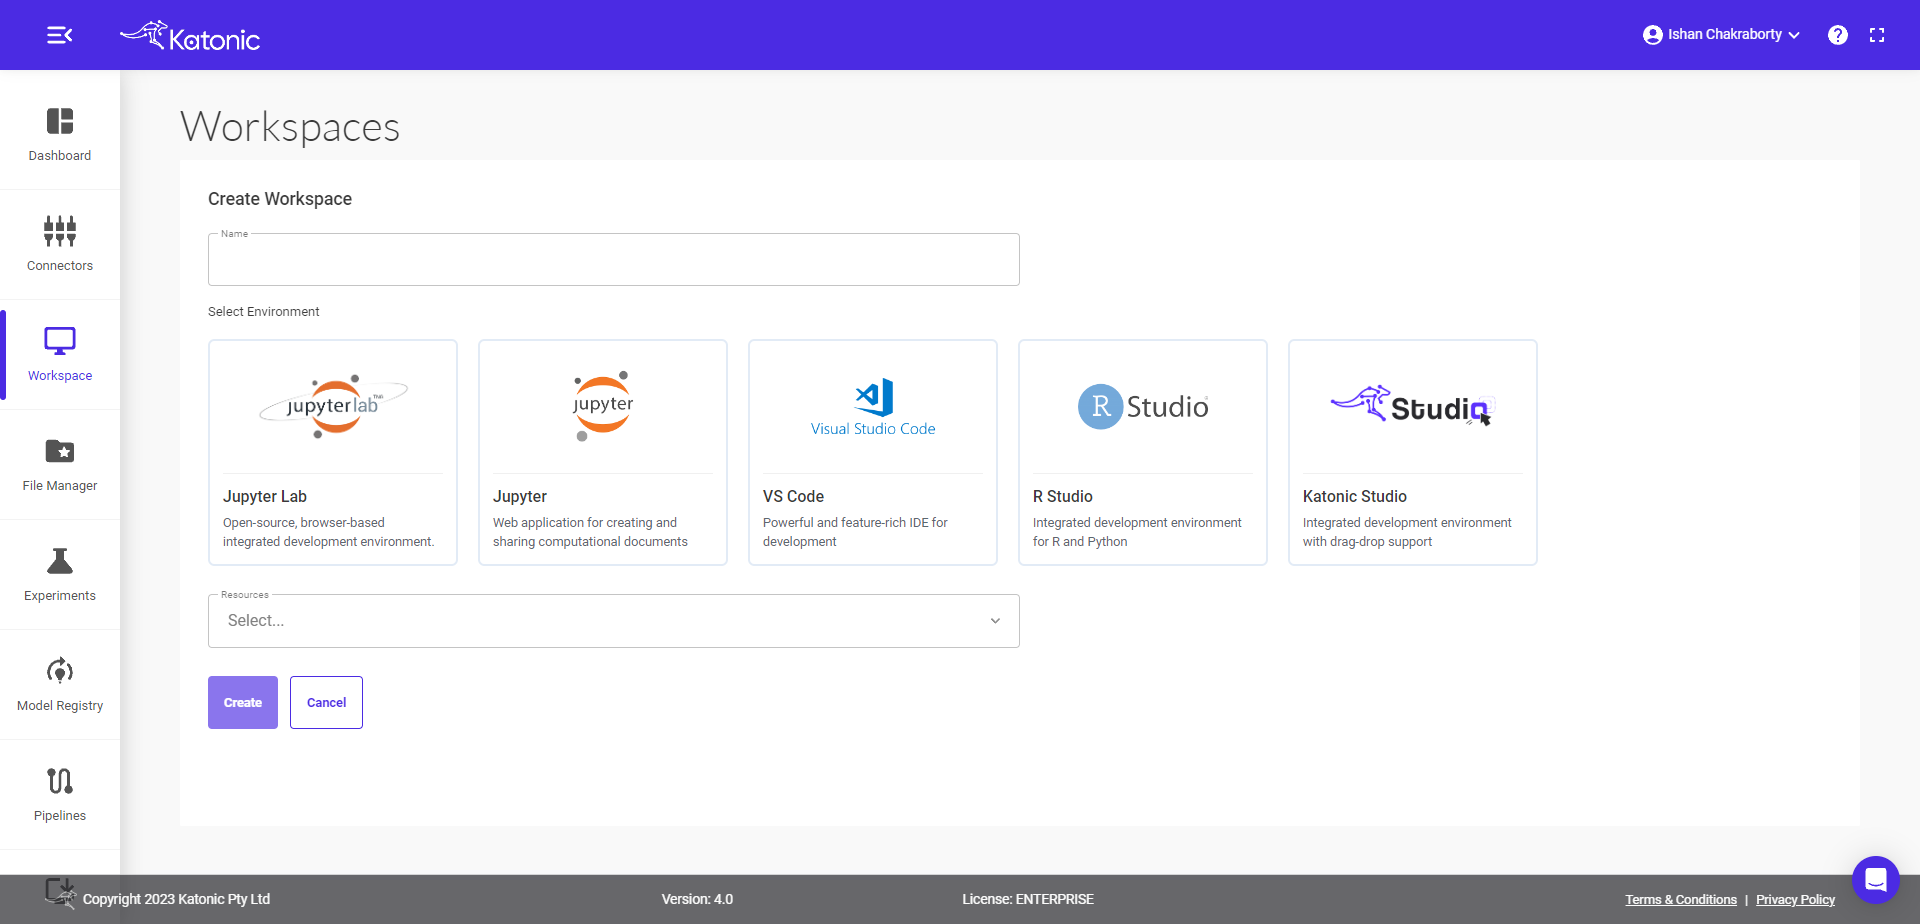
Step 2: Fill in all the information and choose desired workspace
Name - give the required name.
Environment - select the required environment where you want to work. The available environment for the
Katonic-SDKare Jupyter Lab, Jupyter and Visual Studio code.Image - select the required image and
Katonic SDKworks in all images exceptkatonic-studiobecause of thepipelinecomponent present in the Katonic SDK but you can use other components of sdk eg.connectors,file-manager,automl,feature-storeanddriftinkatonic-studio.Resources - select the resources as per your requirement.
Step 3: Click on Create
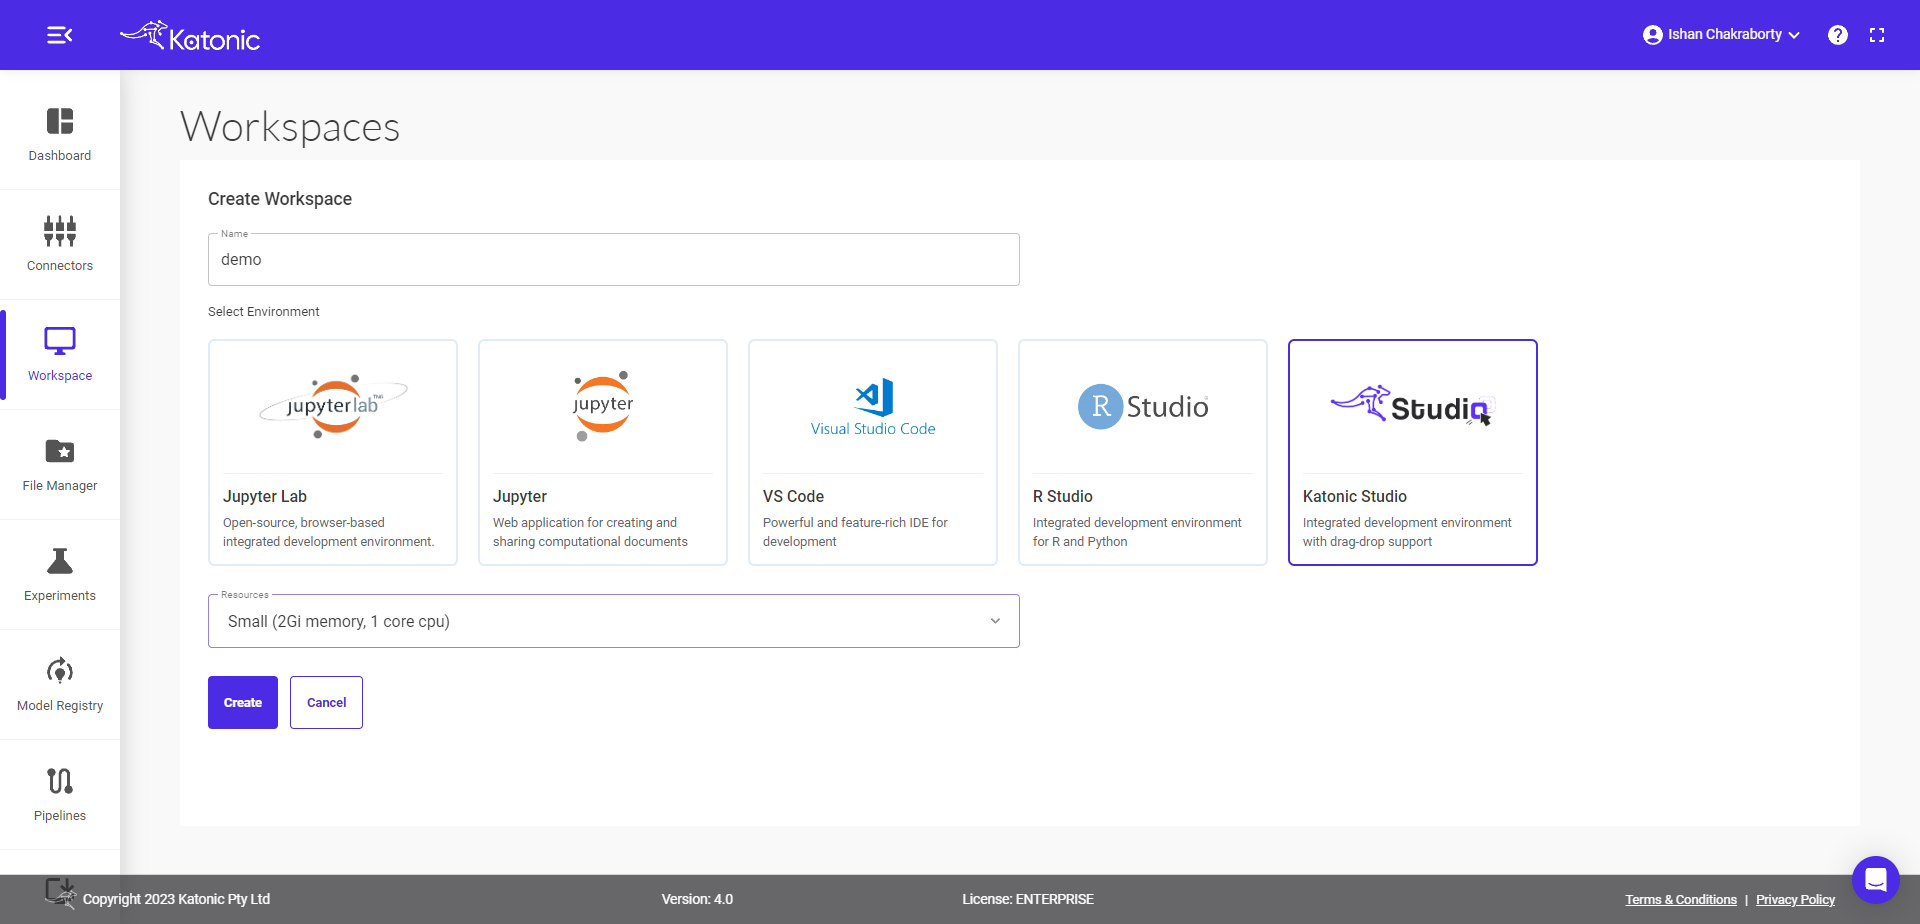
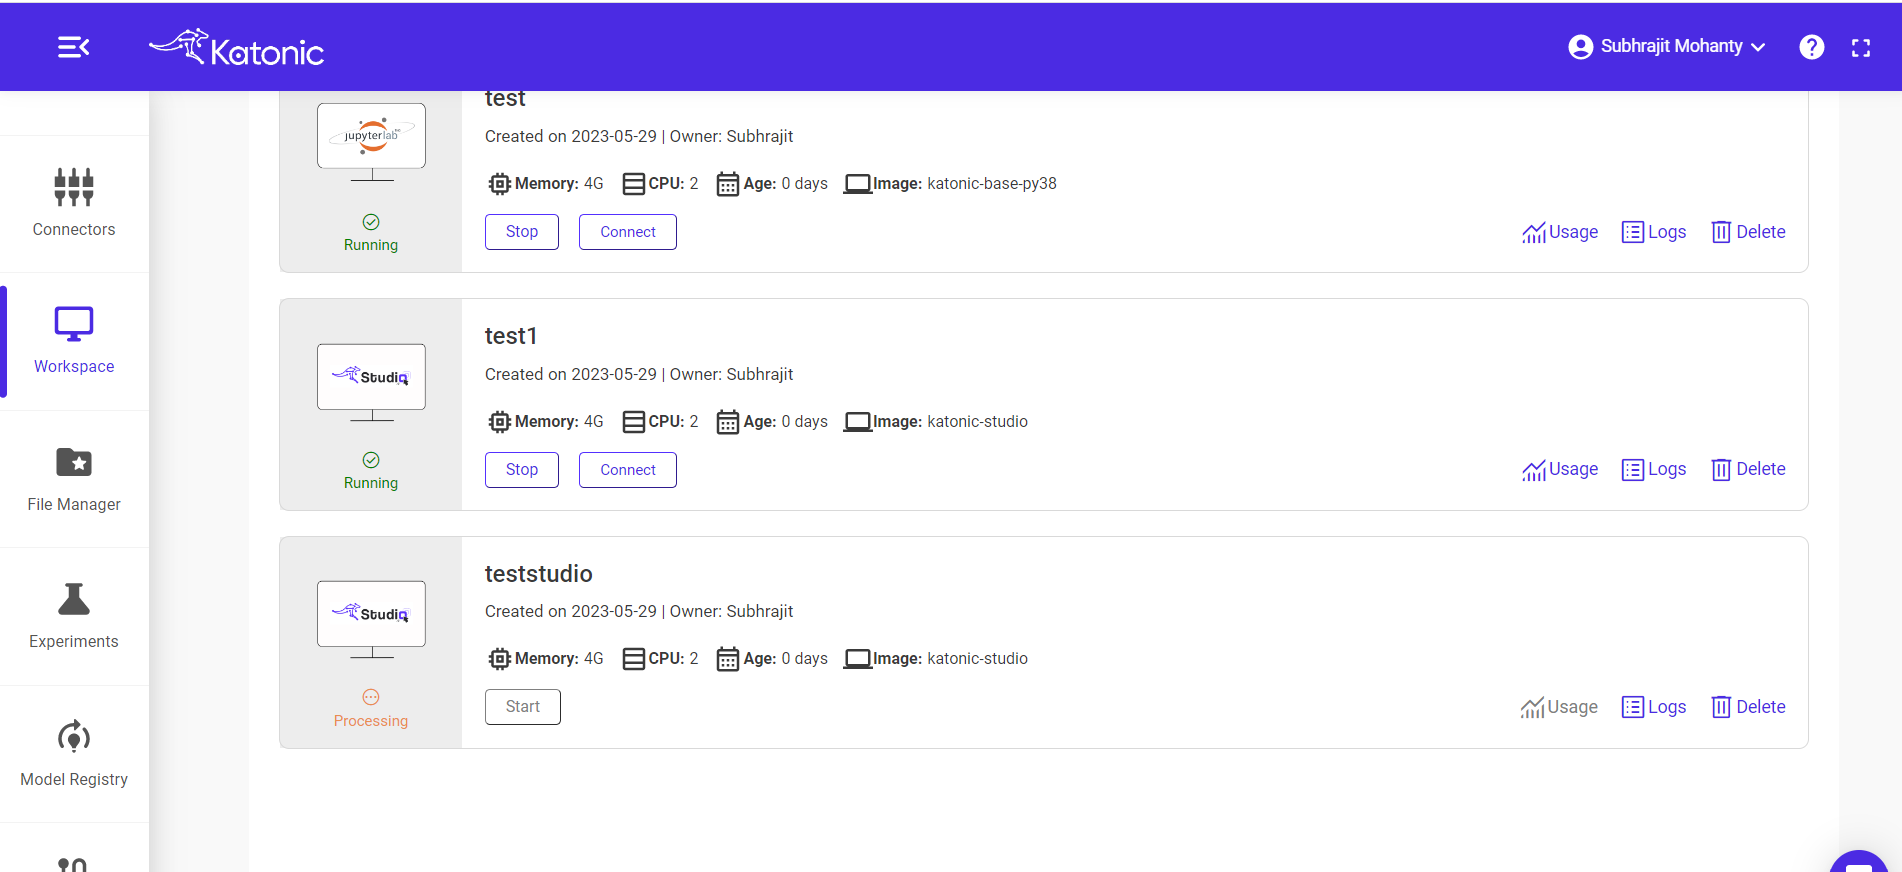
Step 4: On clicking 'Create', you can see the workspace.
Click on start to get into Processing state.
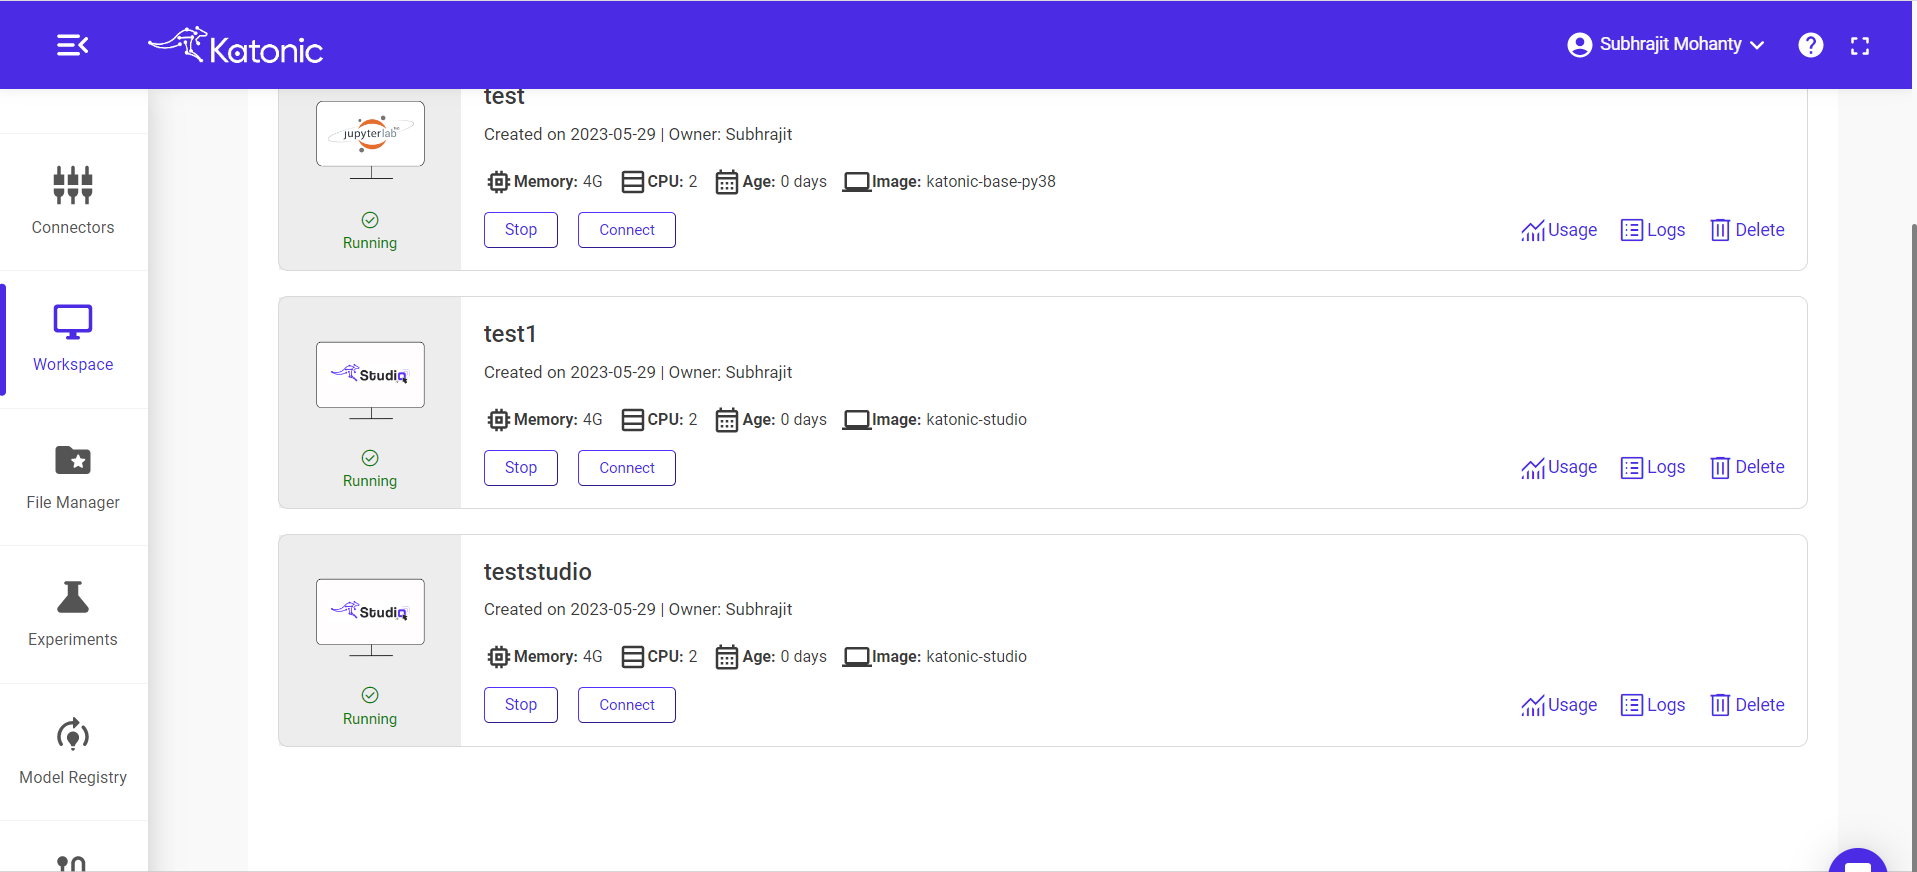
Step 5: Open workspace
Once the workspace got into running state, click on 'connect' to open your workspace.
Step 6: Create a new notebook
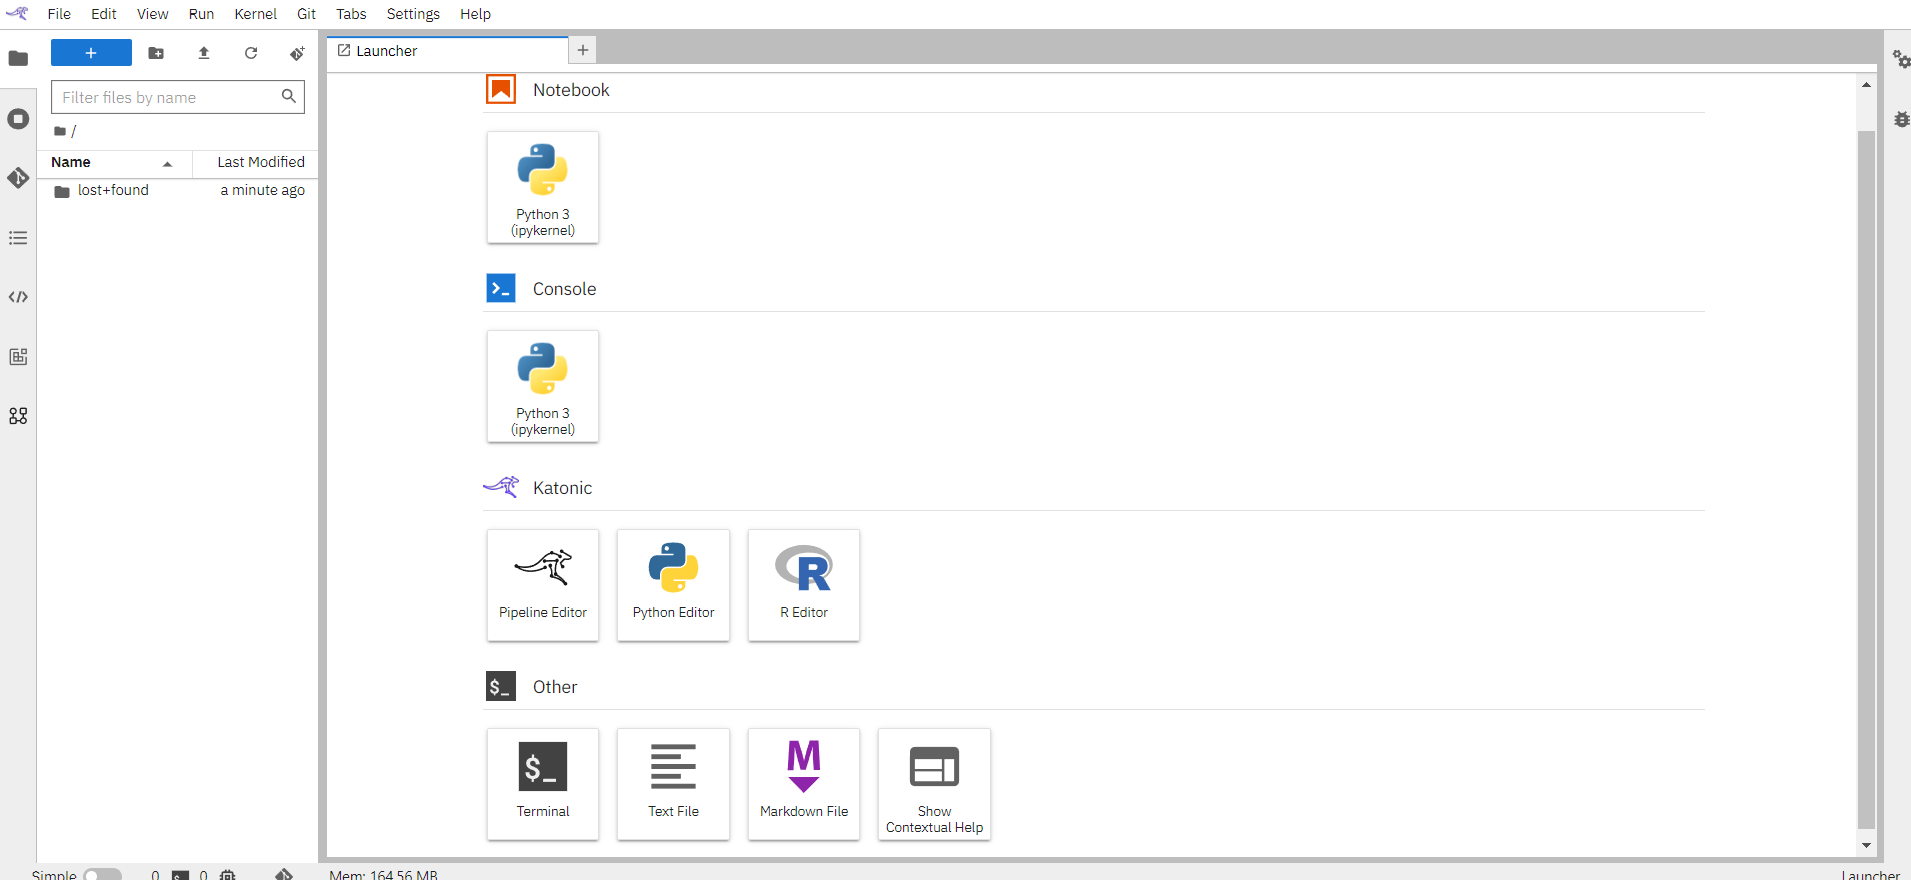
Step 7: Get your files and run it
- you can also clone the repository to use the examples as a referenece, experiment and analyze the results.
Step 8: Kubeflow Pipeline using Katonic SDK
Create a pipeline function
create a pipeline by defining task inside a pipeline function
from katonic.pipeline.pipeline import dsl, create_component_from_func, compiler, Client
def print_something(data: str):
    print(data)

@dsl.pipeline(
    name='Print Something',
    description='A pipeline that prints some data'
)
def pipeline():
    print_something_op = create_component_from_func(func=print_something)

    data = "Hello World!!"
    print_something_op(data)
create_component_from_func is used to convert functions to components that is stored inside print_something, data is passed inside print_something_op to print it.
- Compiling And Running: Here pipeline experiment name, function is defined.
from datetime import datetime
import uuid
EXPERIMENT_NAME = "Print_Something"
pipeline_func = pipeline
Using the pipeline funcion and yaml filename the pipeline is compiled that generated the .yaml file.
compiler.Compiler().compile() from katonic.pipeline compiles your Python DSL code into a single static configuration (in YAML format) that the Kubeflow Pipelines service can process.
pipeline_filename = f'{pipeline_func.__name__}{uuid.uuid1()}.pipeline.yaml'
compiler.Compiler().compile(pipeline_func, pipeline_filename)
The pipeline is uploaded using the katonic.pipeline.pipeline.client() that contains all the pipeline details.
client = Client()
experiment = client.create_experiment(EXPERIMENT_NAME)
run_name = pipeline_func.__name__ + str(datetime.now().strftime("%d-%m-%Y-%H-%M-%S"))
client.upload_pipeline(pipeline_filename)
run_result = client.run_pipeline(experiment.id, run_name, pipeline_filename)
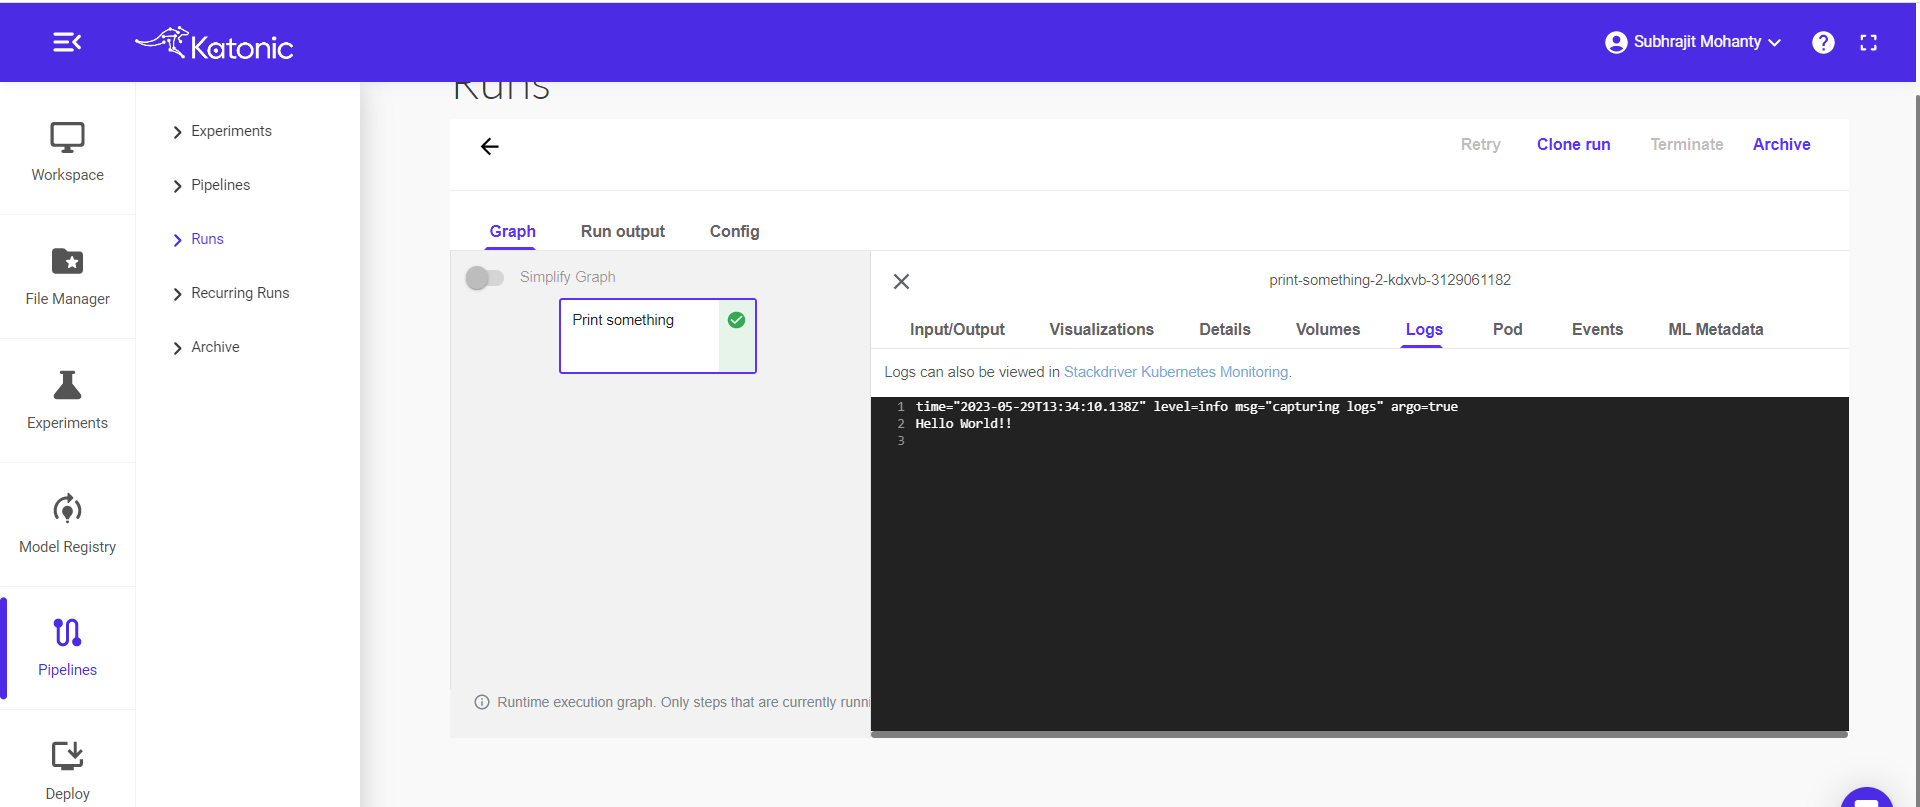
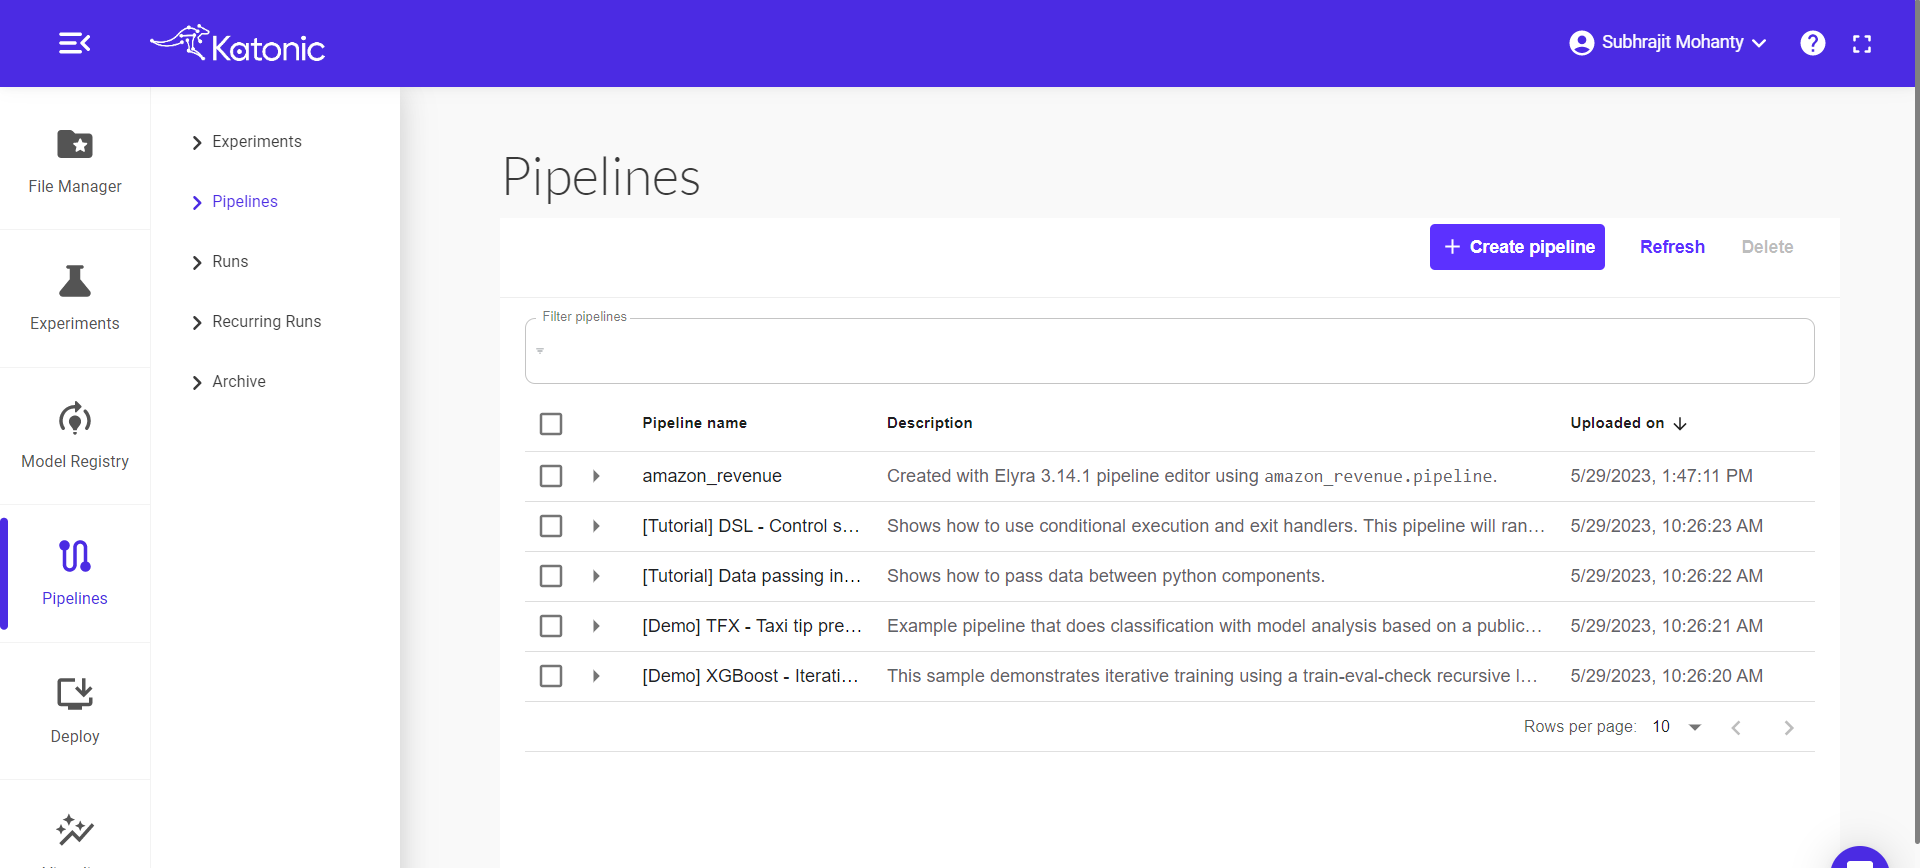
Step 9: Click on pipeline to view the pipeline
Step 10: Go on Runs and View your pipeline running
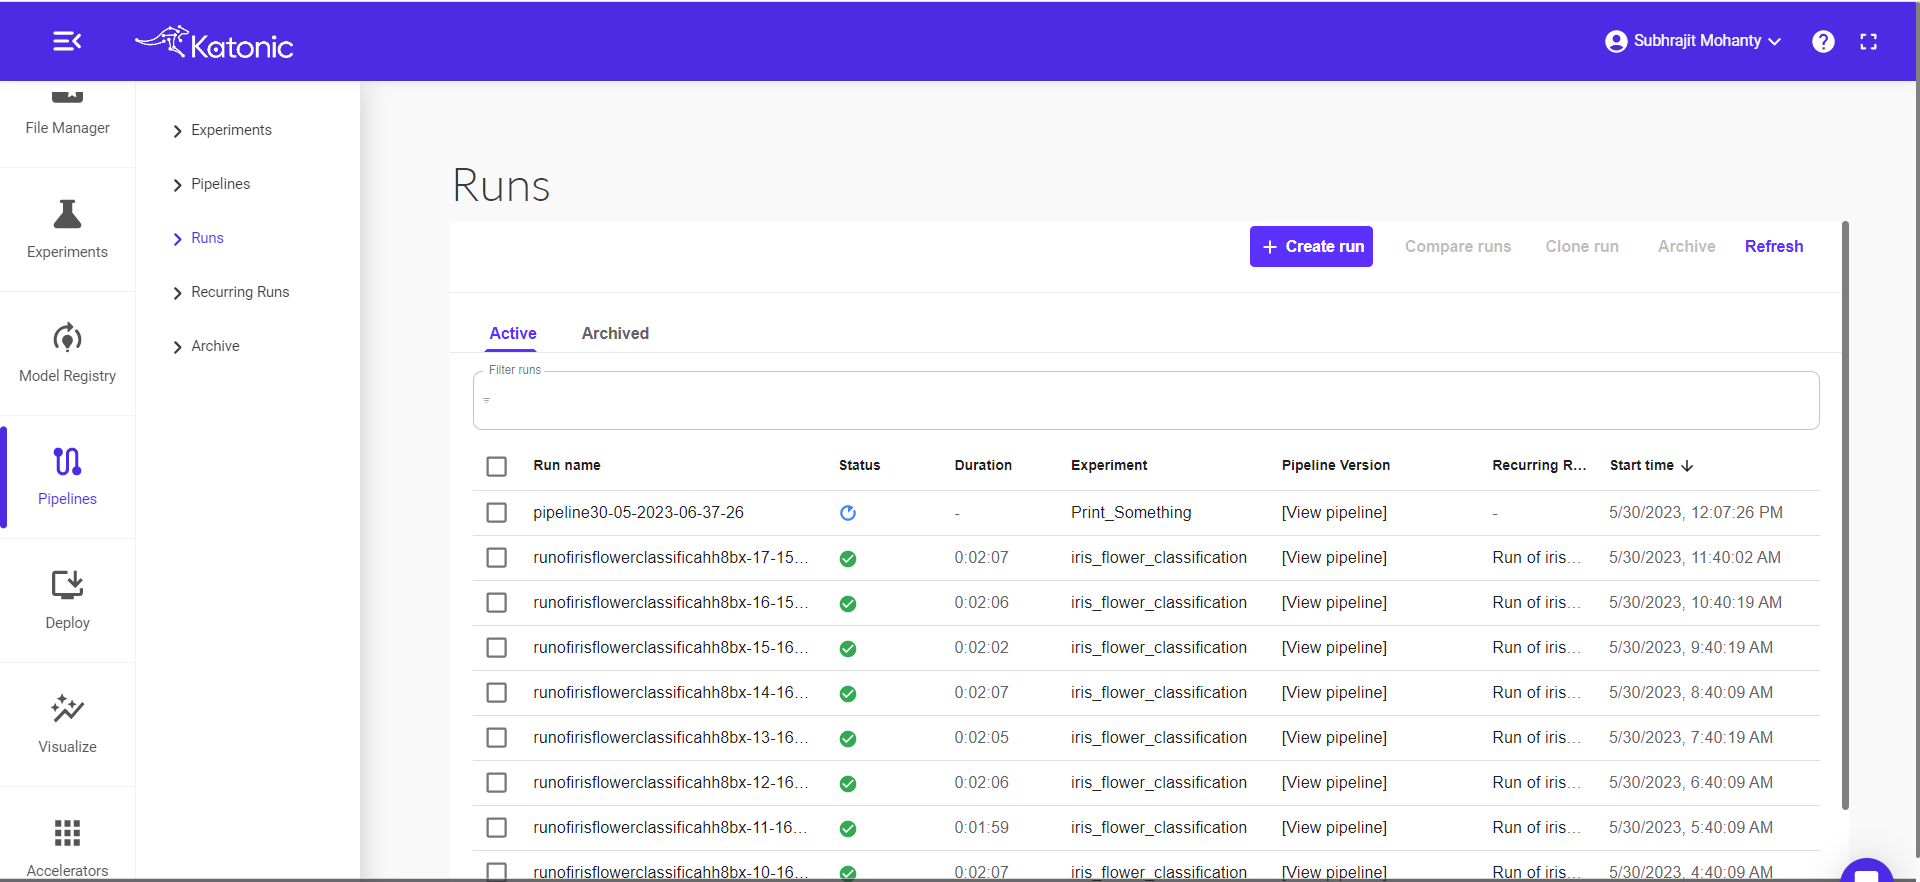
Step 11: The green check mark indicating the pipeline run completed .check the log by clicking on the mark.