Get started with Gradio App
Overview
This article will show you how to publish a Python App with Gradio in Katonic Platform.
In this tutorial you will:
- Publish an App to the Katonic Deploy Launchpad.
You’ll be working with sample-gradio app.
Setting up the Gradio App repository in Github.
To ensure a successful deployment of gradio, certain requirements must be met. Please follow the steps outlined below to set up the GitHub repository:
- Create a GitHub account (if you don't have one already).
- Sign in to your GitHub account.
- Click on the "+" icon in the top-right corner of the GitHub homepage, then select "New repository" from the dropdown menu.
- Provide a suitable name for your repository in the "Repository name" field.
- Optionally, enter a description for your repository in the "Description" field.
- Choose the visibility of your repository. You can make it either public or private.
- Select the checkbox that says "Initialize this repository with a README". Choose a license for your repository. You can either select one from the available options or choose "None" if you don't want to include a license.
- Finally, click on the "Create repository" button to create the repository on GitHub.
- Once you have completed these steps, you will have successfully set up the GitHub repository needed for deploying gradio.
After setting up the GitHub repository, you can proceed with creating your Gradio app code. Please ensure that your repository contains the following files:
app.py: This file should be located in the root folder of your repository. It will contain the code for your Gradio application. Make sure to name it as app.py.
requirements.txt: This file should also be located in the root folder of your repository. It should list all the required Python packages and their versions that your Gradio app depends on. This file helps to ensure that the required packages are installed correctly when deploying your application.
To perform the tasks mentioned, you can follow the steps outlined below:
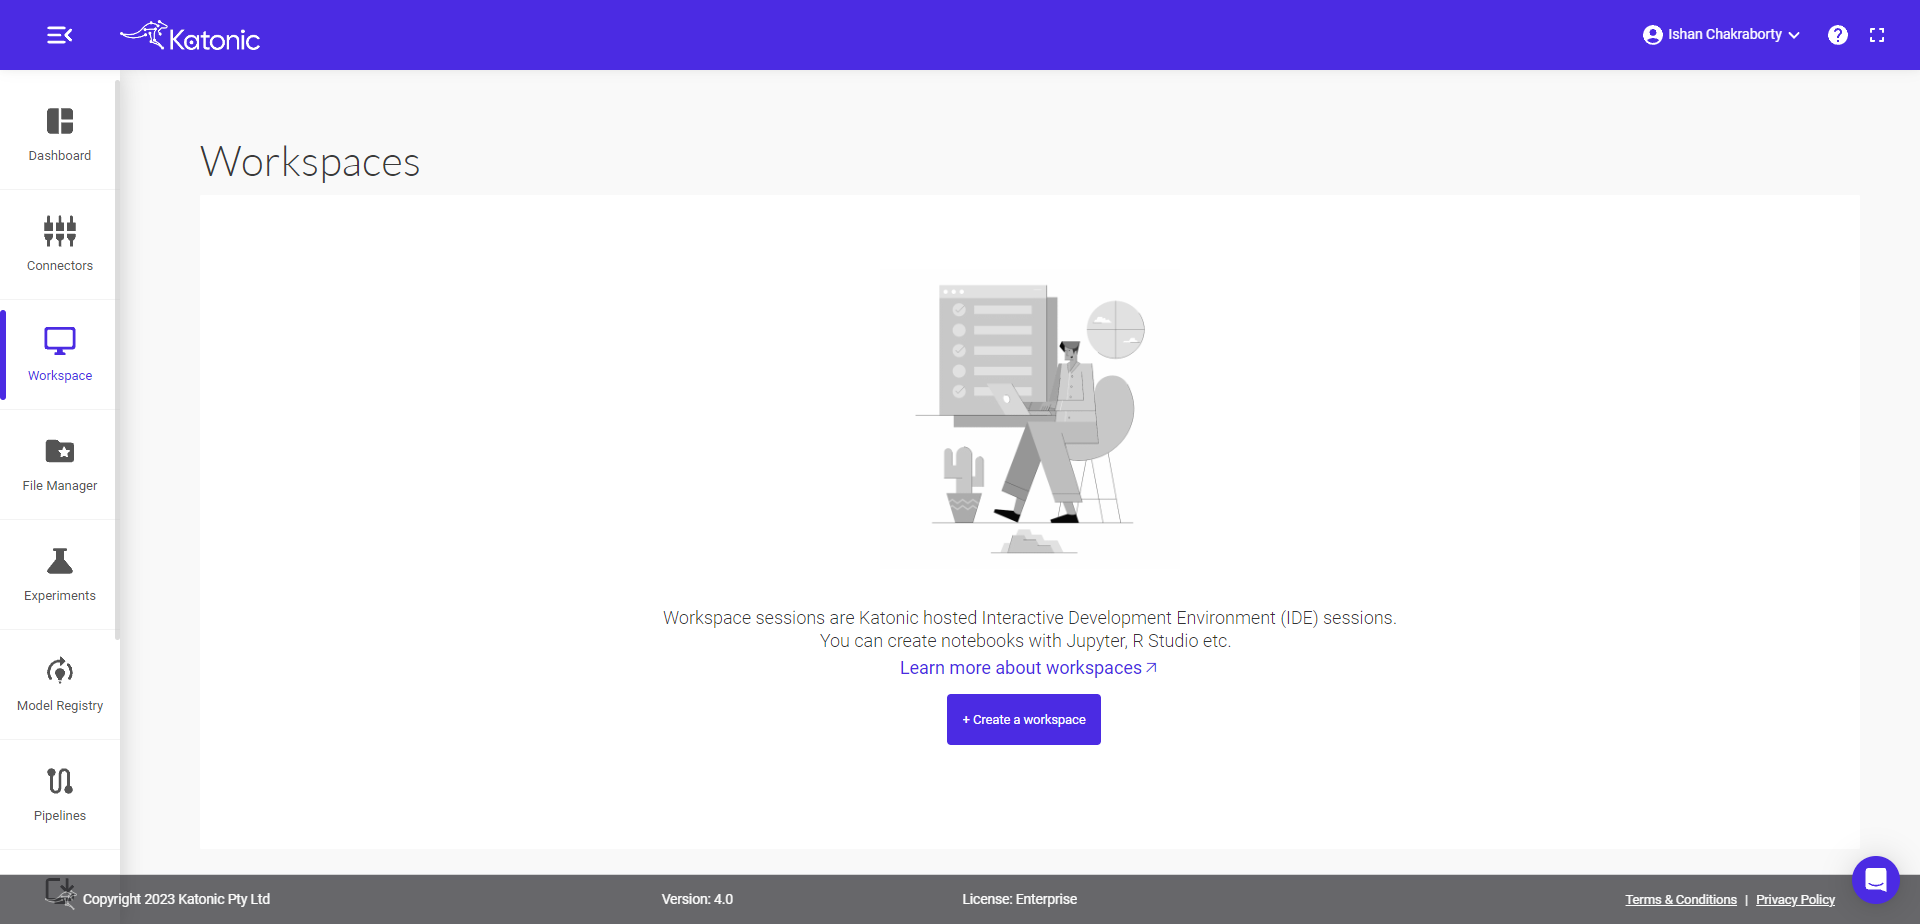
Setting up your Workspace
To create a VS Code Workspace capable of running your app, follow these instructions:
Select Workspace from the platform and click on Create Workspace.
Fill in the following details:
Name: Provide a name for your workspace.
Select Environment: Choose the VS Code environment.
Webapp: Select Streamlit.
Image: Choose the Streamlit version.
Additional Port: Specify the port where you want to run the app.
Resources: Select the desired compute resource for the workspace.
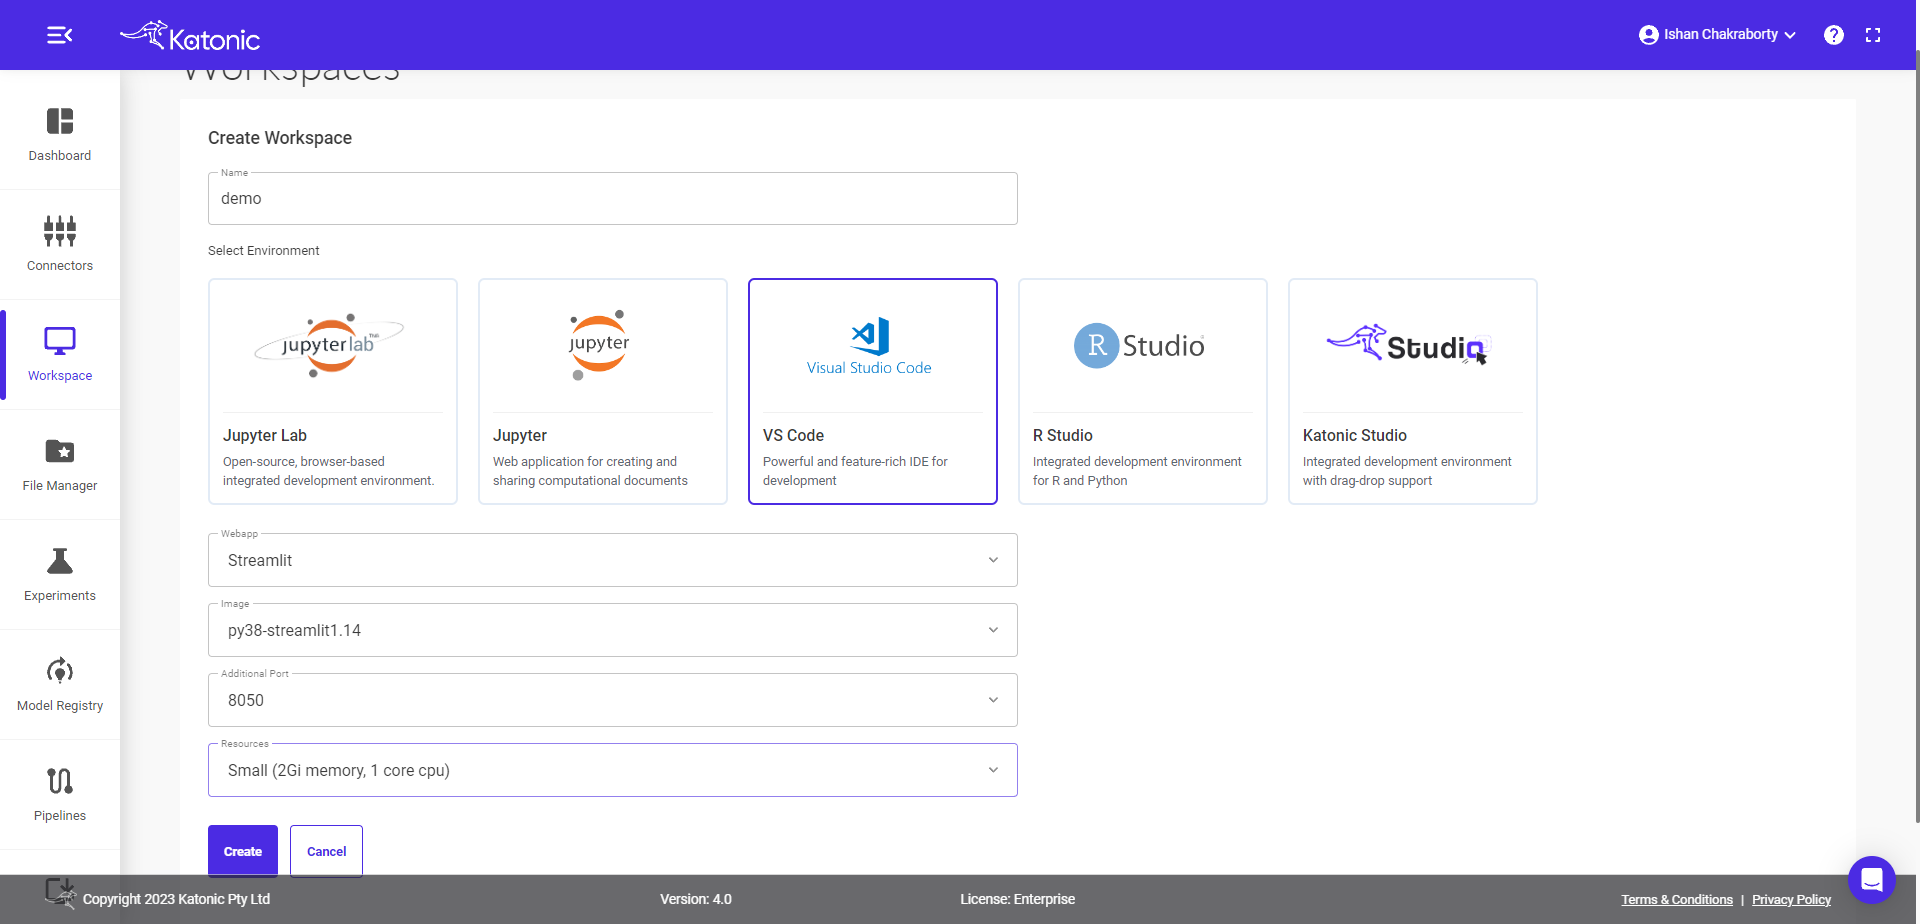
Click on Create to create the workspace.
Once you click on Create, you will be directed to the Workspace overview window. Here, you will see your workspace listed as "Processing".
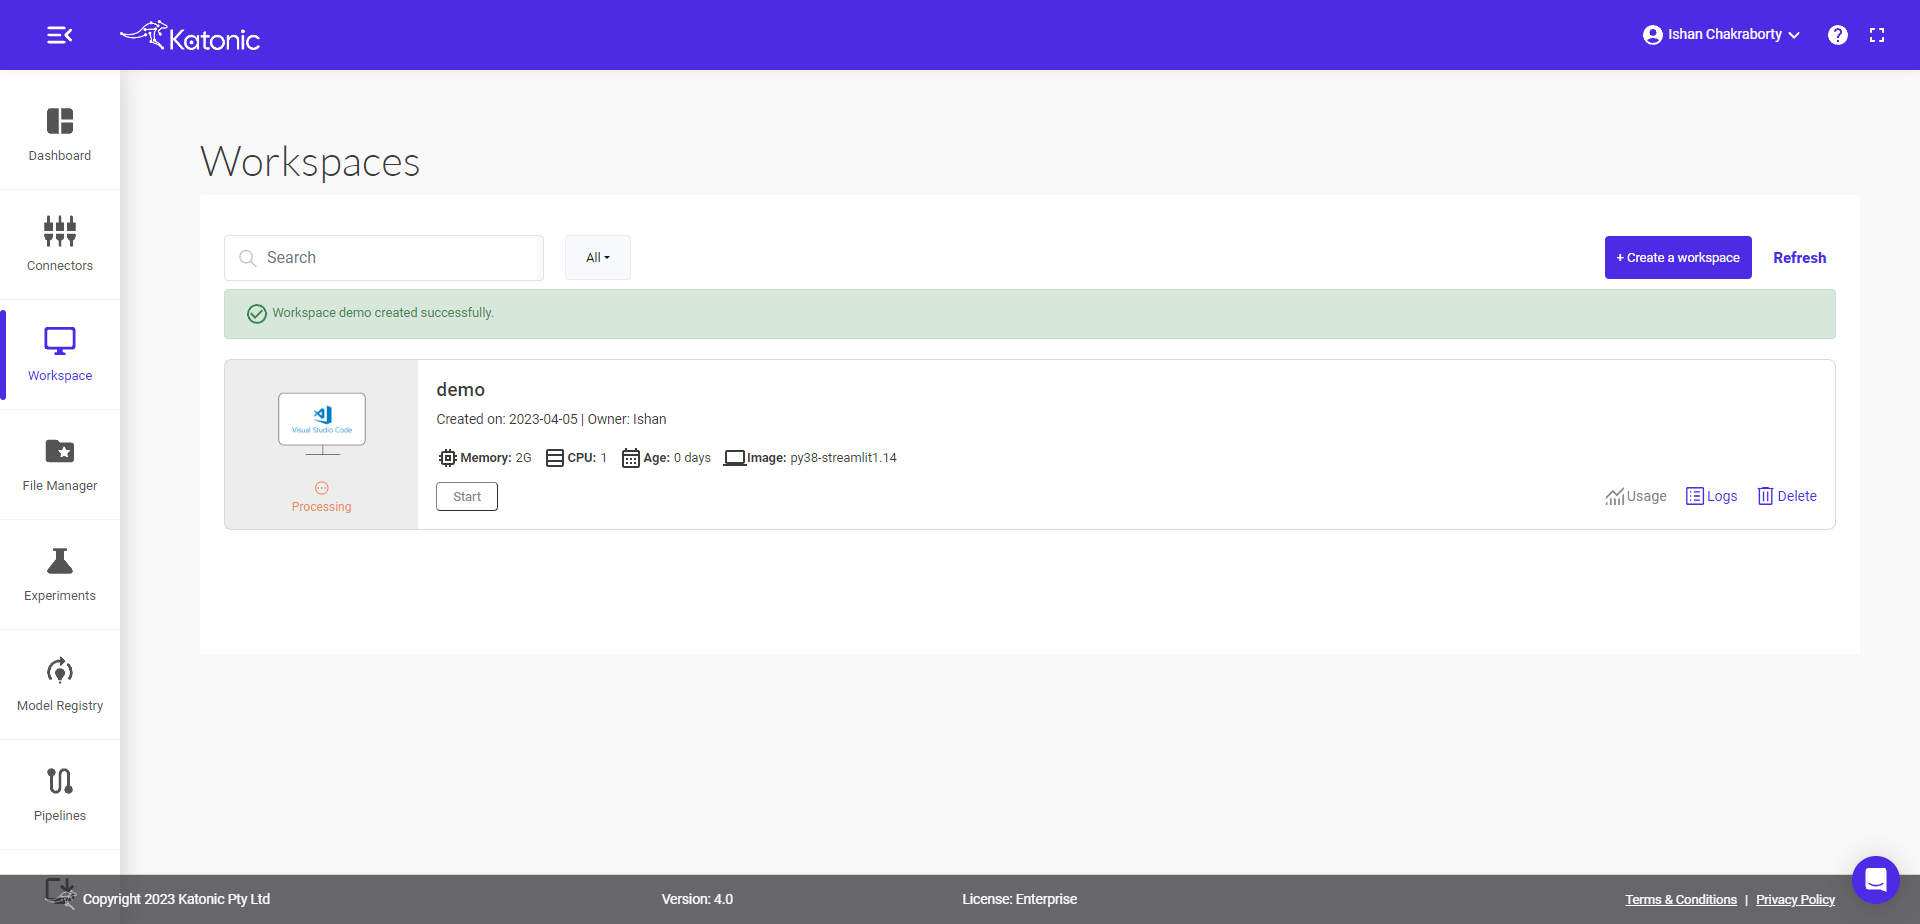
It may take approximately 2-3 minutes for your workspace to be ready. Please be patient during this process.
Note: If you don't see the status change from "Processing" to "Running" after 2-3 minutes, you can try refreshing the page.
Once the processing tab changes to "Running", you can connect to your workspace.
Click on the "Connect" button to use this workspace for building your app.
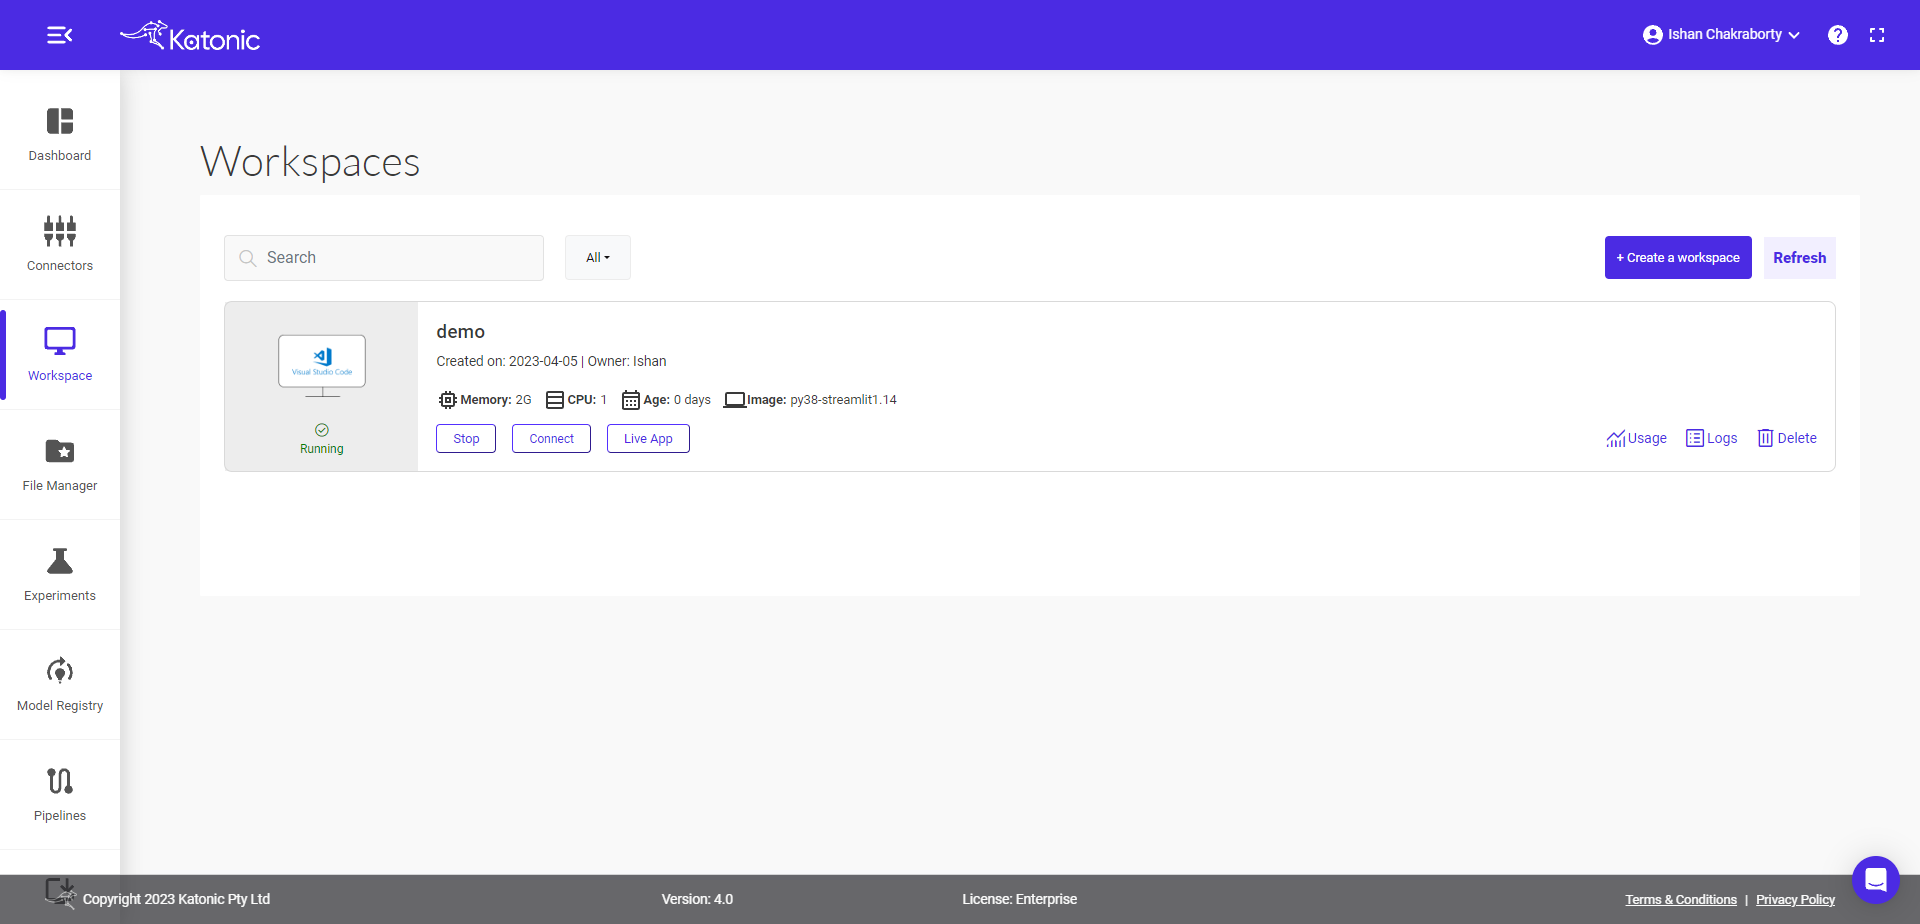
By following these steps, you will be able to connect to your workspace and proceed with building your app.
Start the App Development To begin developing your application, follow the steps below:
Open your preferred text editor or integrated development environment (IDE).
Create a new file and save it as app.py in your project directory.
Write your sample code for the Gradio application in the app.py file.
Alternatively, you can copy the provided sample code given below and paste it into your
app.pyfile:import os
import numpy as np
import gradio as gr
route = os.environ["ROUTE"]
def flip_text(x):
return x[::-1]
def flip_image(x):
return np.fliplr(x)
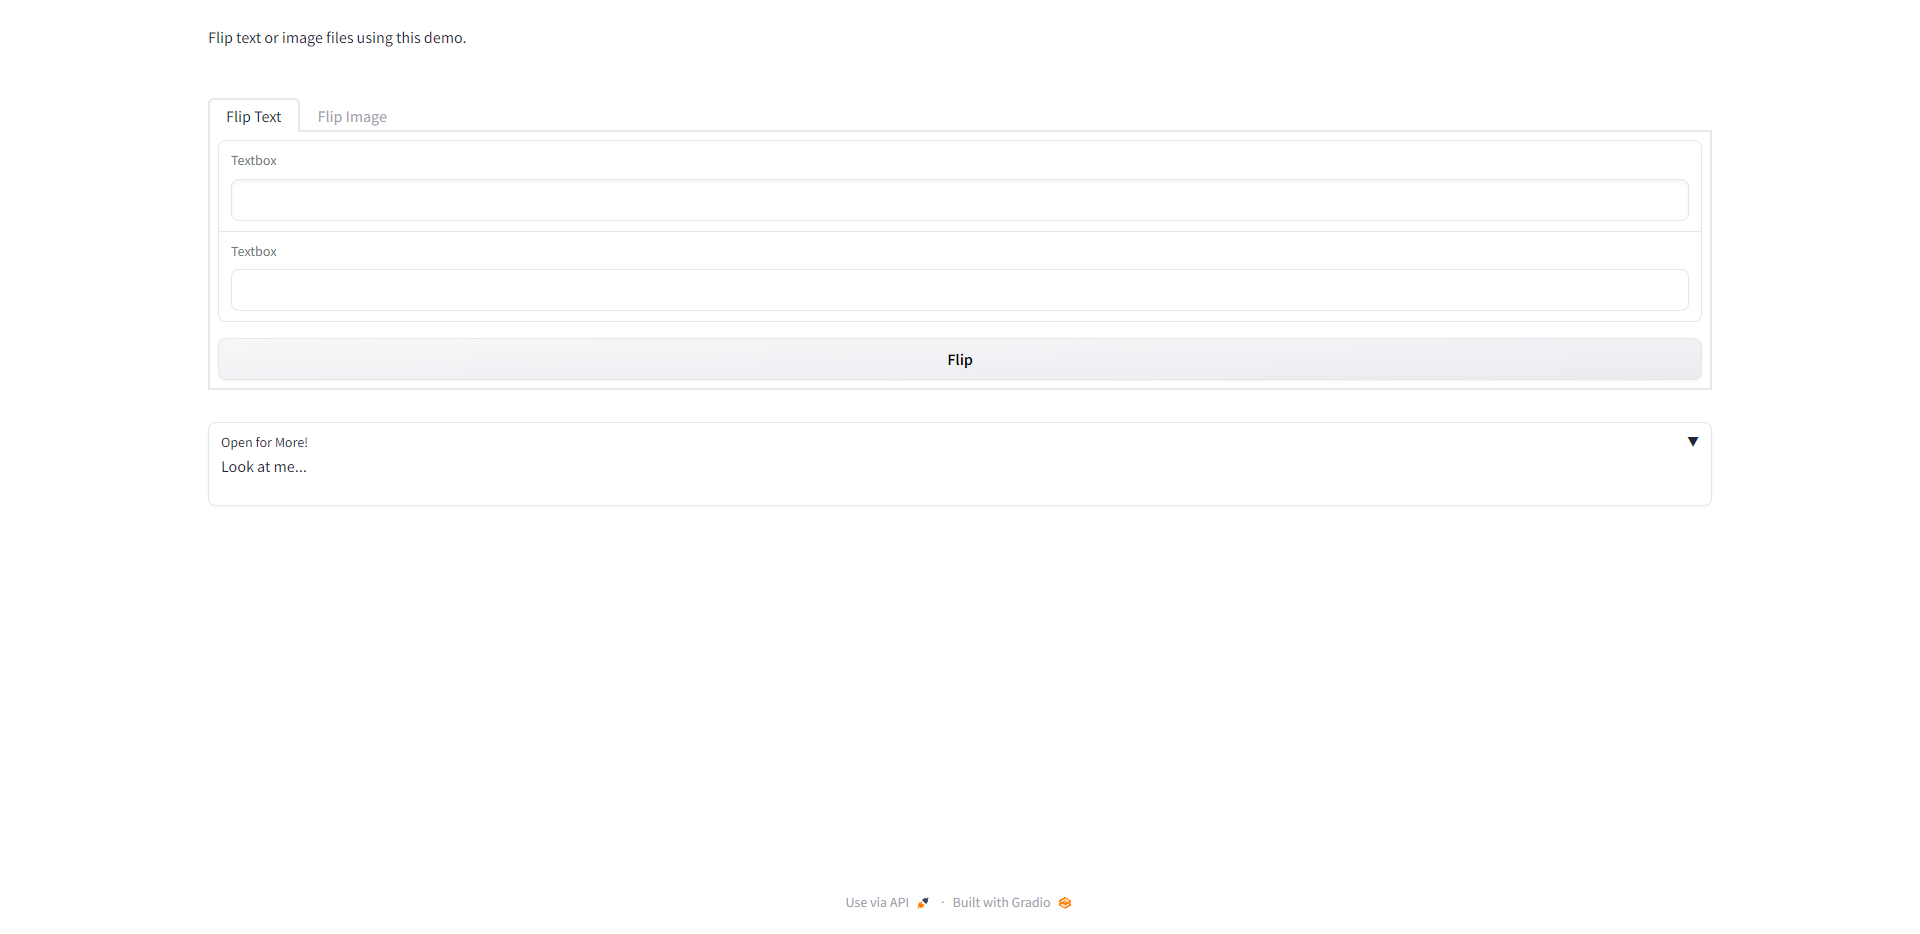
with gr.Blocks() as demo:
gr.Markdown("Flip text or image files using this demo.")
with gr.Tab("Flip Text"):
text_input = gr.Textbox()
text_output = gr.Textbox()
text_button = gr.Button("Flip")
with gr.Tab("Flip Image"):
with gr.Row():
image_input = gr.Image()
image_output = gr.Image()
image_button = gr.Button("Flip")
with gr.Accordion("Open for More!"):
gr.Markdown("Look at me...")
text_button.click(flip_text, inputs=text_input, outputs=text_output)
image_button.click(flip_image, inputs=image_input, outputs=image_output)
demo.launch(root_path=route, share=False, server_port=8050, server_name="0.0.0.0")Note: Always define the route as given in sample code, when defining app.
Test Your App
To test your app, please follow these steps:
Create a file named requirements.txt in your project directory. This file should contain all the required dependencies for your app like below:
gradio==3.18.0
numpy==1.21.1
Note: Make sure to execute the following commands in the terminal to install the dependencies and to run the application:
pip install -r requirements.txt
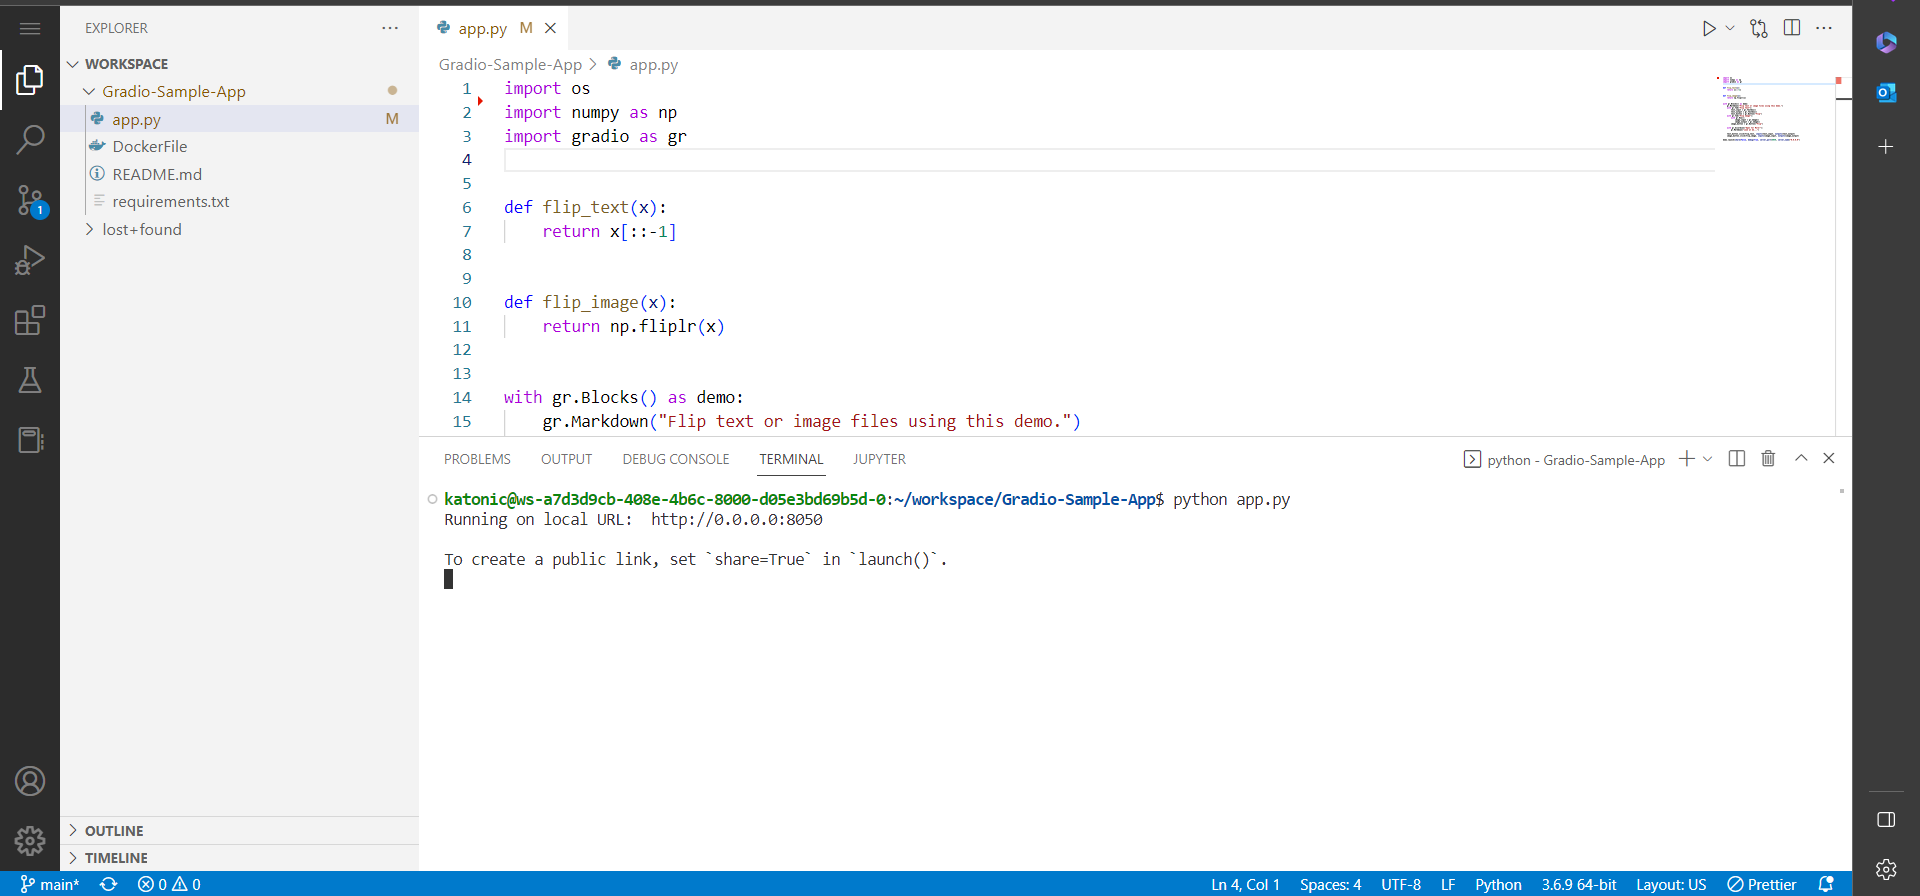
python app.py
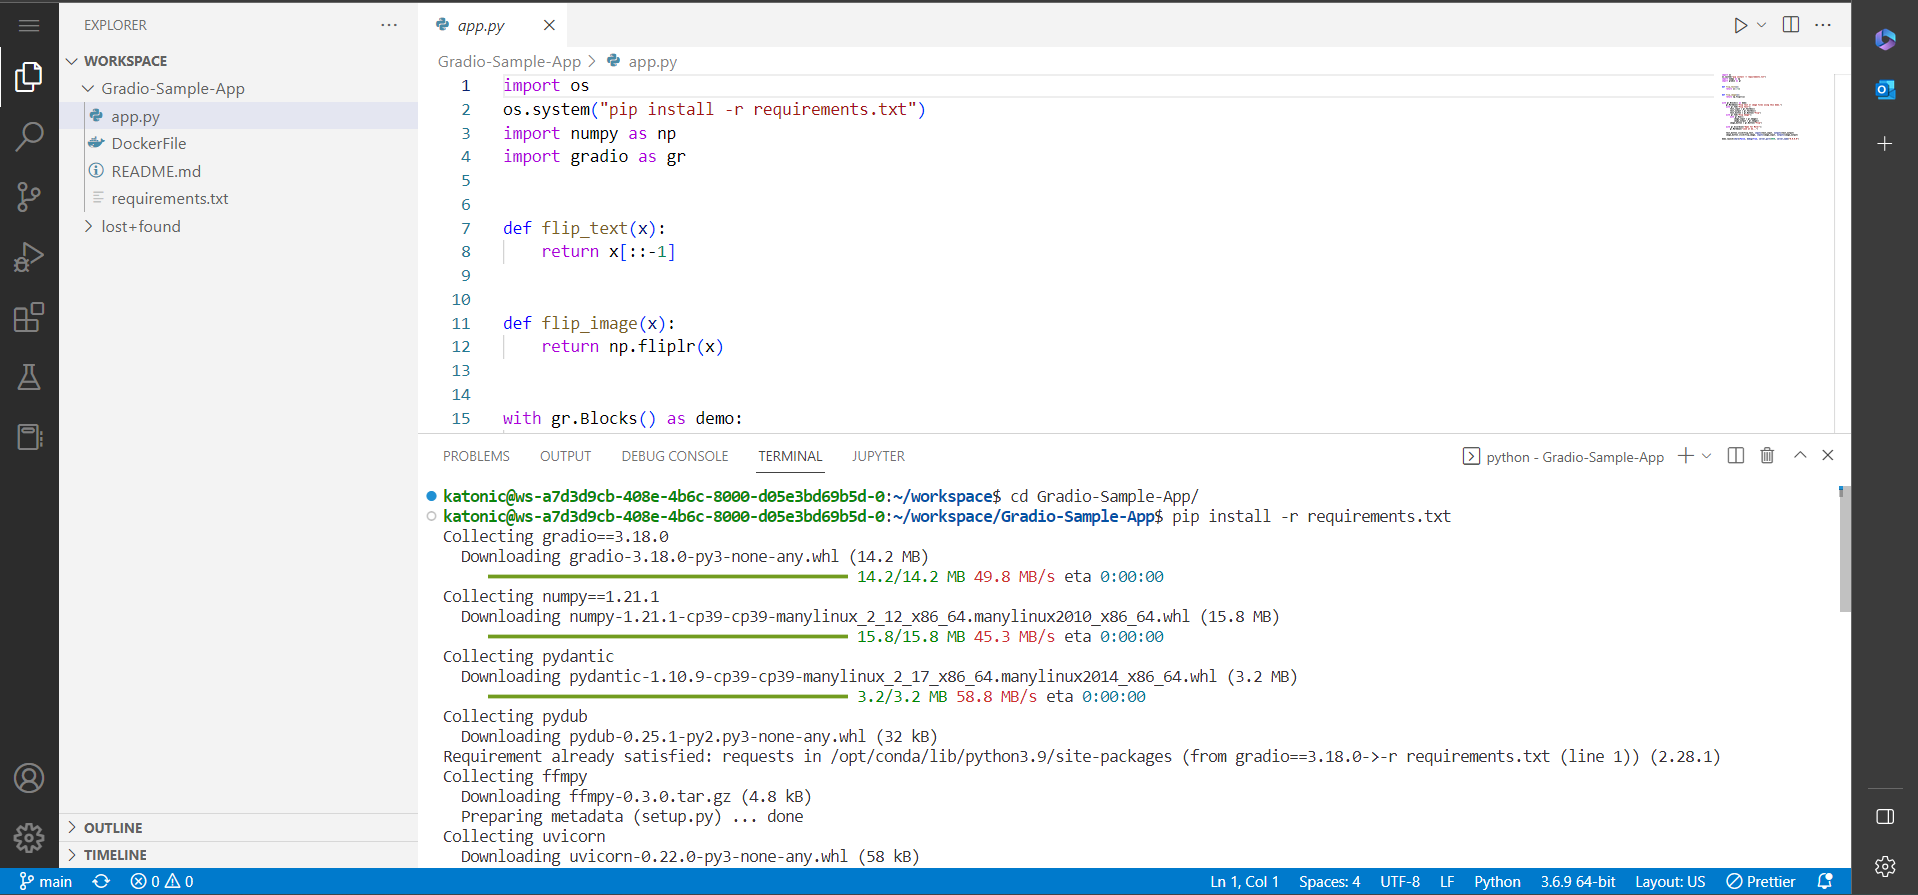
after installing the requirements run the second command.
Note: Make sure to replace the last line with the below line only for testing.
demo.launch(root_path=route, share=False, debug=True, server_port=8050, server_name="0.0.0.0")
Note: Make sure to adjust the file paths mentioned in the instructions above based on your folder structure. This ensures that the correct files are referenced for testing your app.
Push the code to Github.
Note: After testing your app, it is recommended to push the entire code, including the
app.pyfile and therequirements.txtfile, to your GitHub repository. This will facilitate deployment and version control of your application.
Once you have completed the testing phase, return to the Workspaces page.
Click on the Live app button to launch and observe your app in action.
By following these steps, you will have successfully tested your app and can proceed with deploying it.
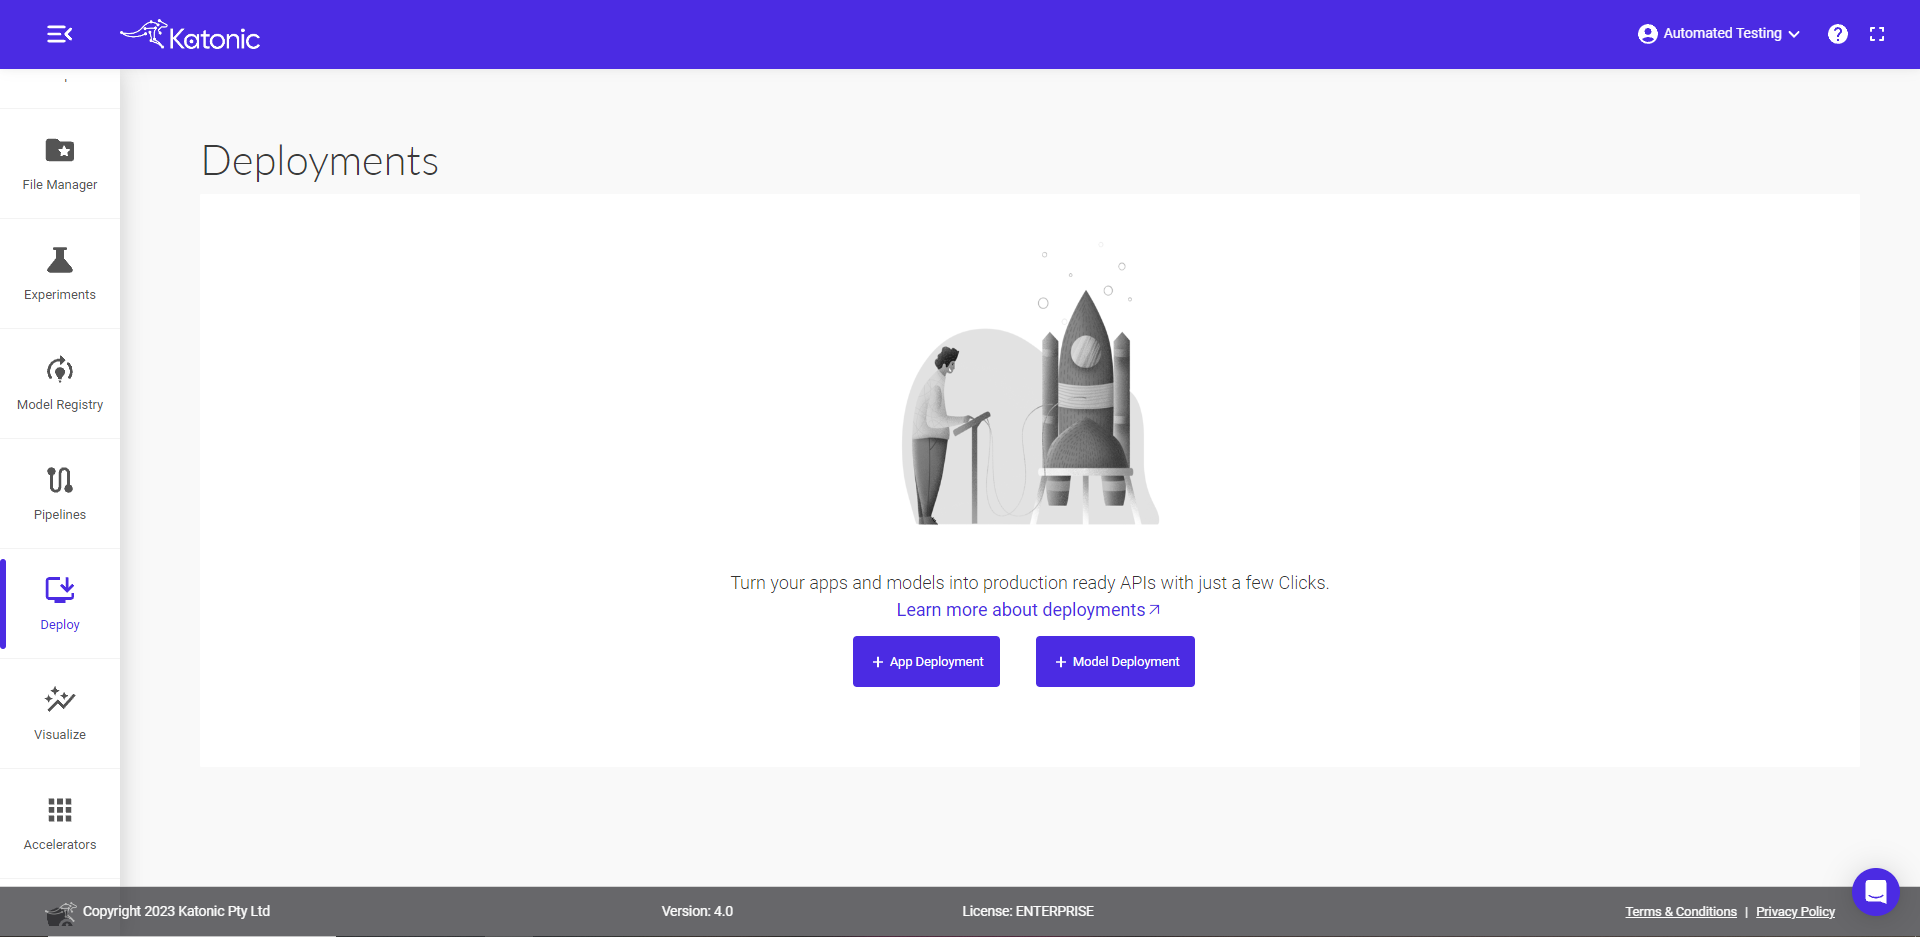
Deploy your App
- To deploy your app, go to the Deploy tab and click on the + App Deployment button.
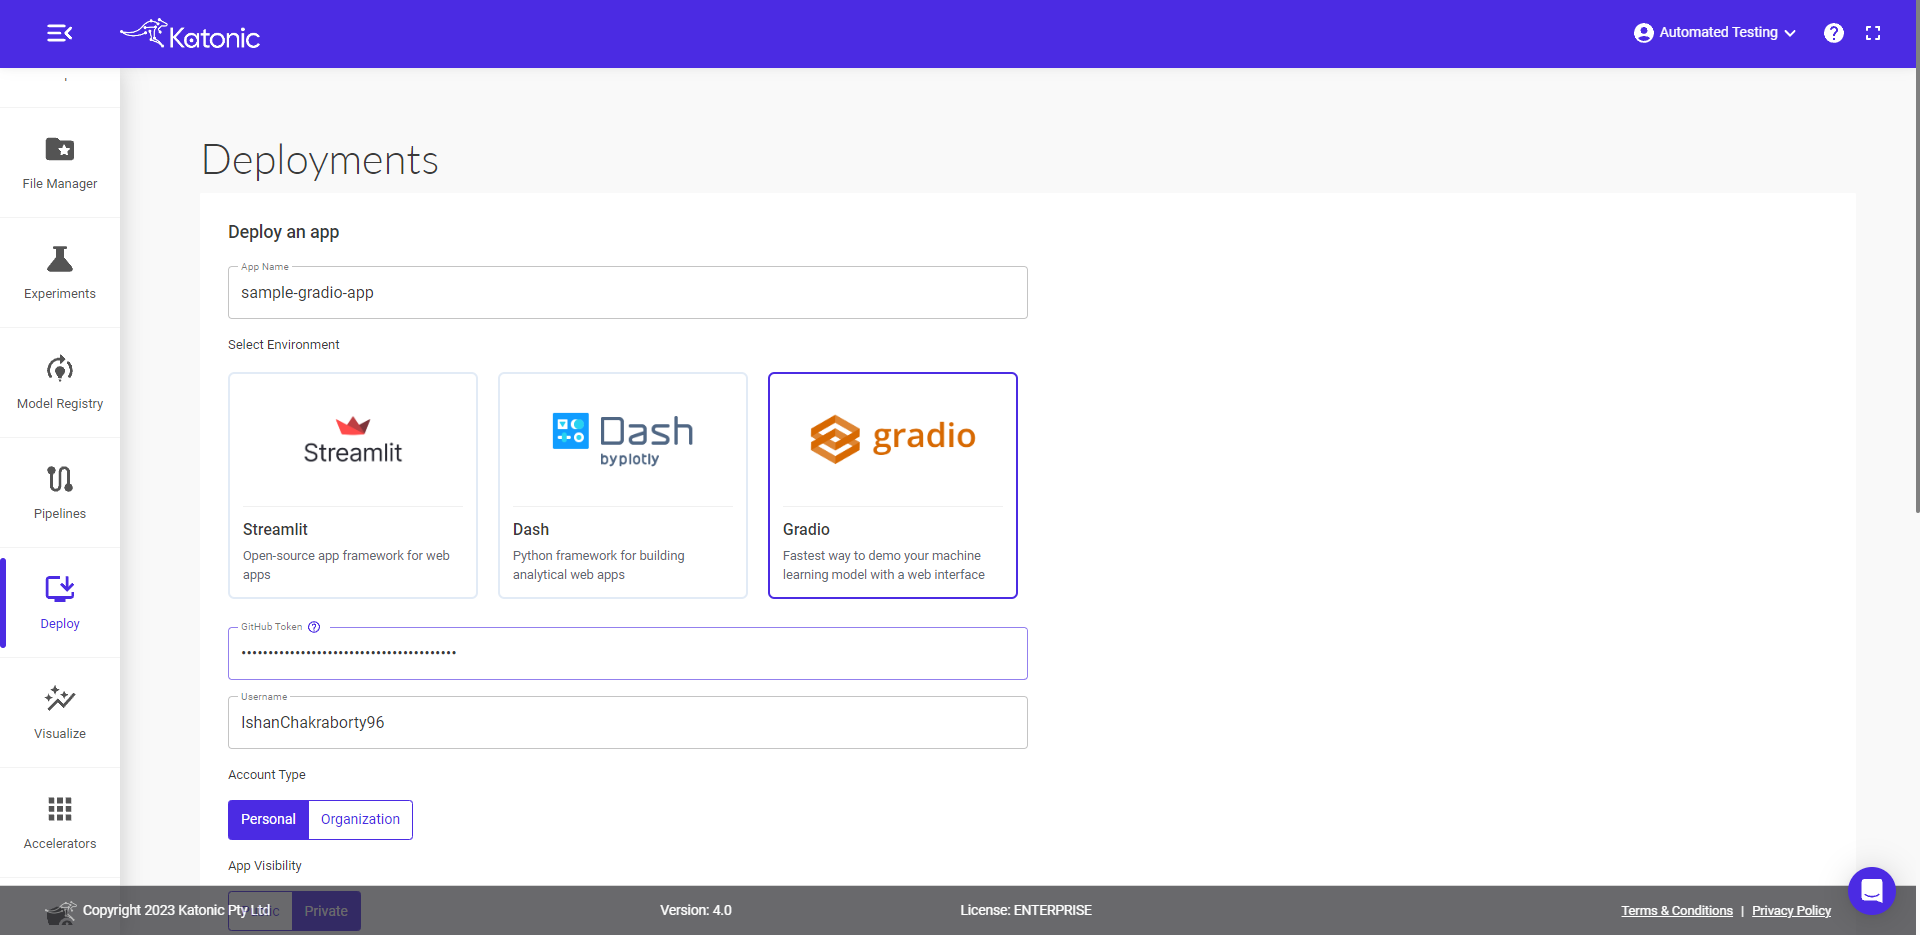
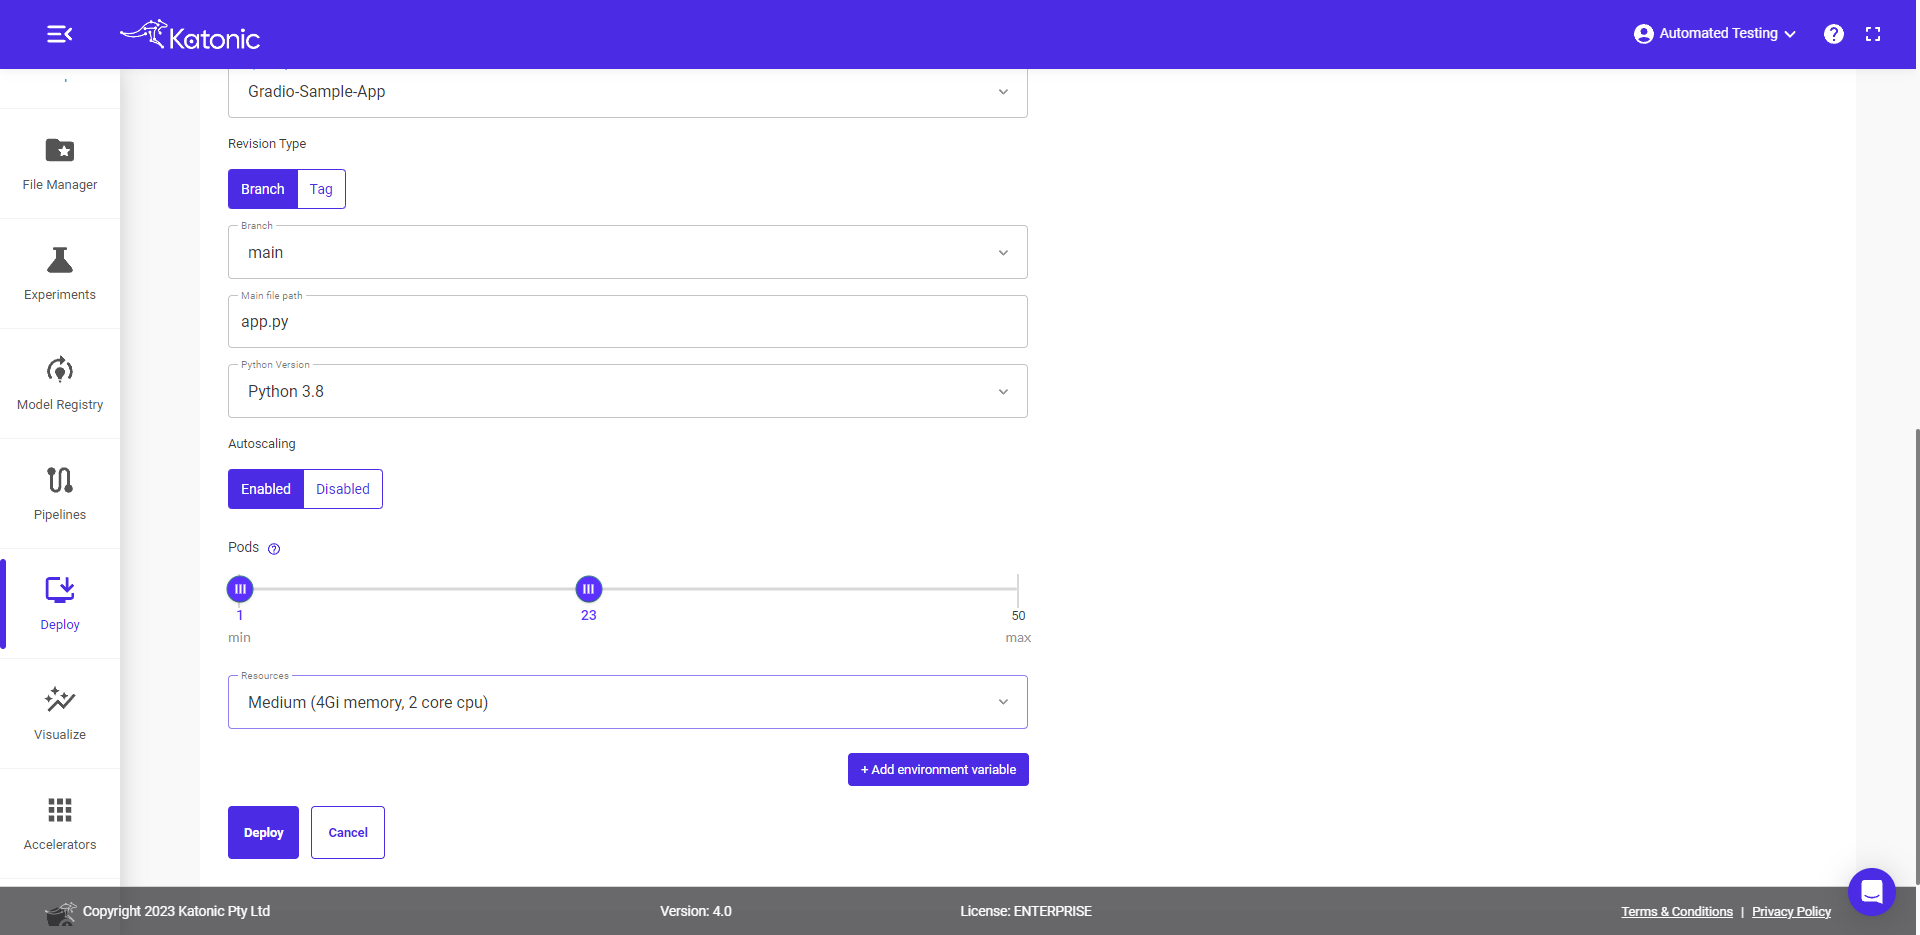
- Fill the details as follow:
- Select Environment: Gradio (This is the environment in which your app will be deployed and run)
Username: Your GitHub account username (e.g., "johnsmith")
Note your Username will appear automatically, Once the github token gets verified.
Account Type: Personal/Organization (Choose the appropriate account type based on whether your app is associated with your personal account or an organization account)
Branch or Tag: Master (Select the master branch or the desired branch/tag from the dropdown. This determines which version of the code will be deployed)
Main file path: Path to your app file with the appropriate extension (e.g., "app.py")
Python Version: Choose the desired Python version for your app (e.g., "3.9")
Autoscaling: Set the minimum and maximum number of pods for autoscaling (e.g., minimum: 1, maximum: 10). This determines the scaling behavior of your app based on the workload.
Resources: Choose the desired compute resources for your app. Specify the CPU and memory resources required for your app to run efficiently (e.g., CPU: 1, Memory: 2Gi).
- Click on the Deploy button , it will take you to the Deploy window again.
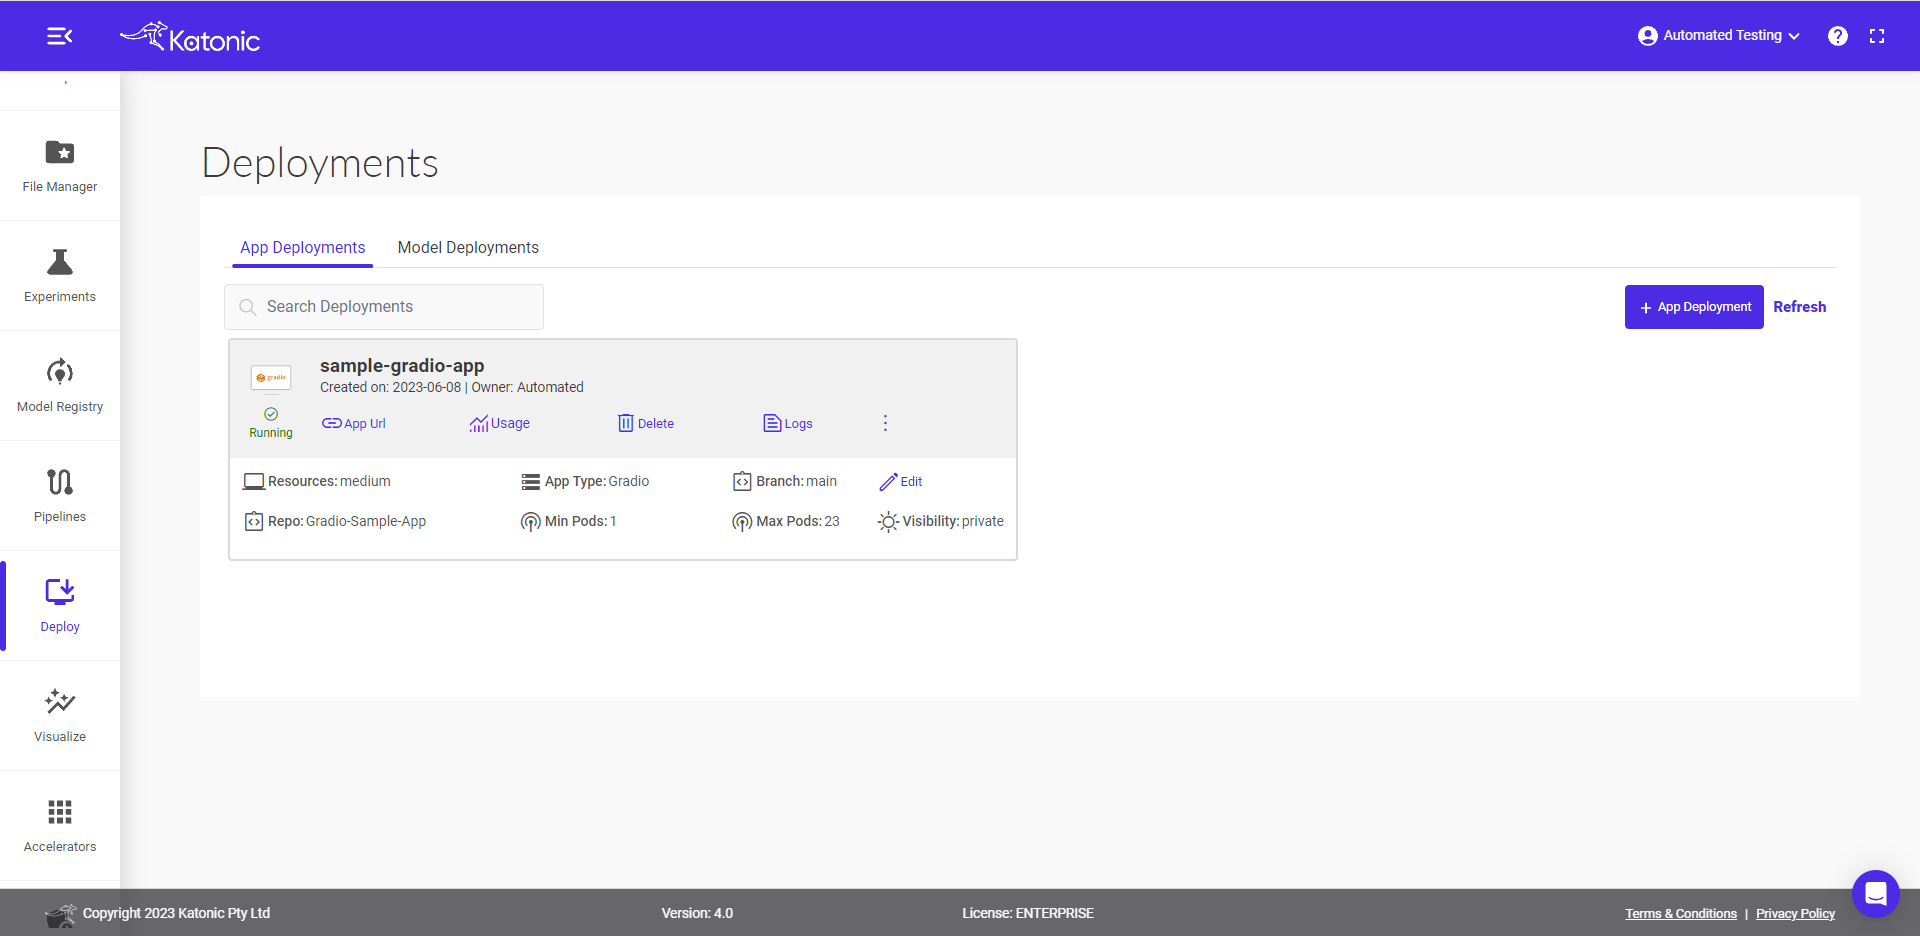
Once you click on the Live app button, you will see the deployment status of your app as
processing. This indicates that the deployment process is underway.After a few minutes, the deployment status should change to
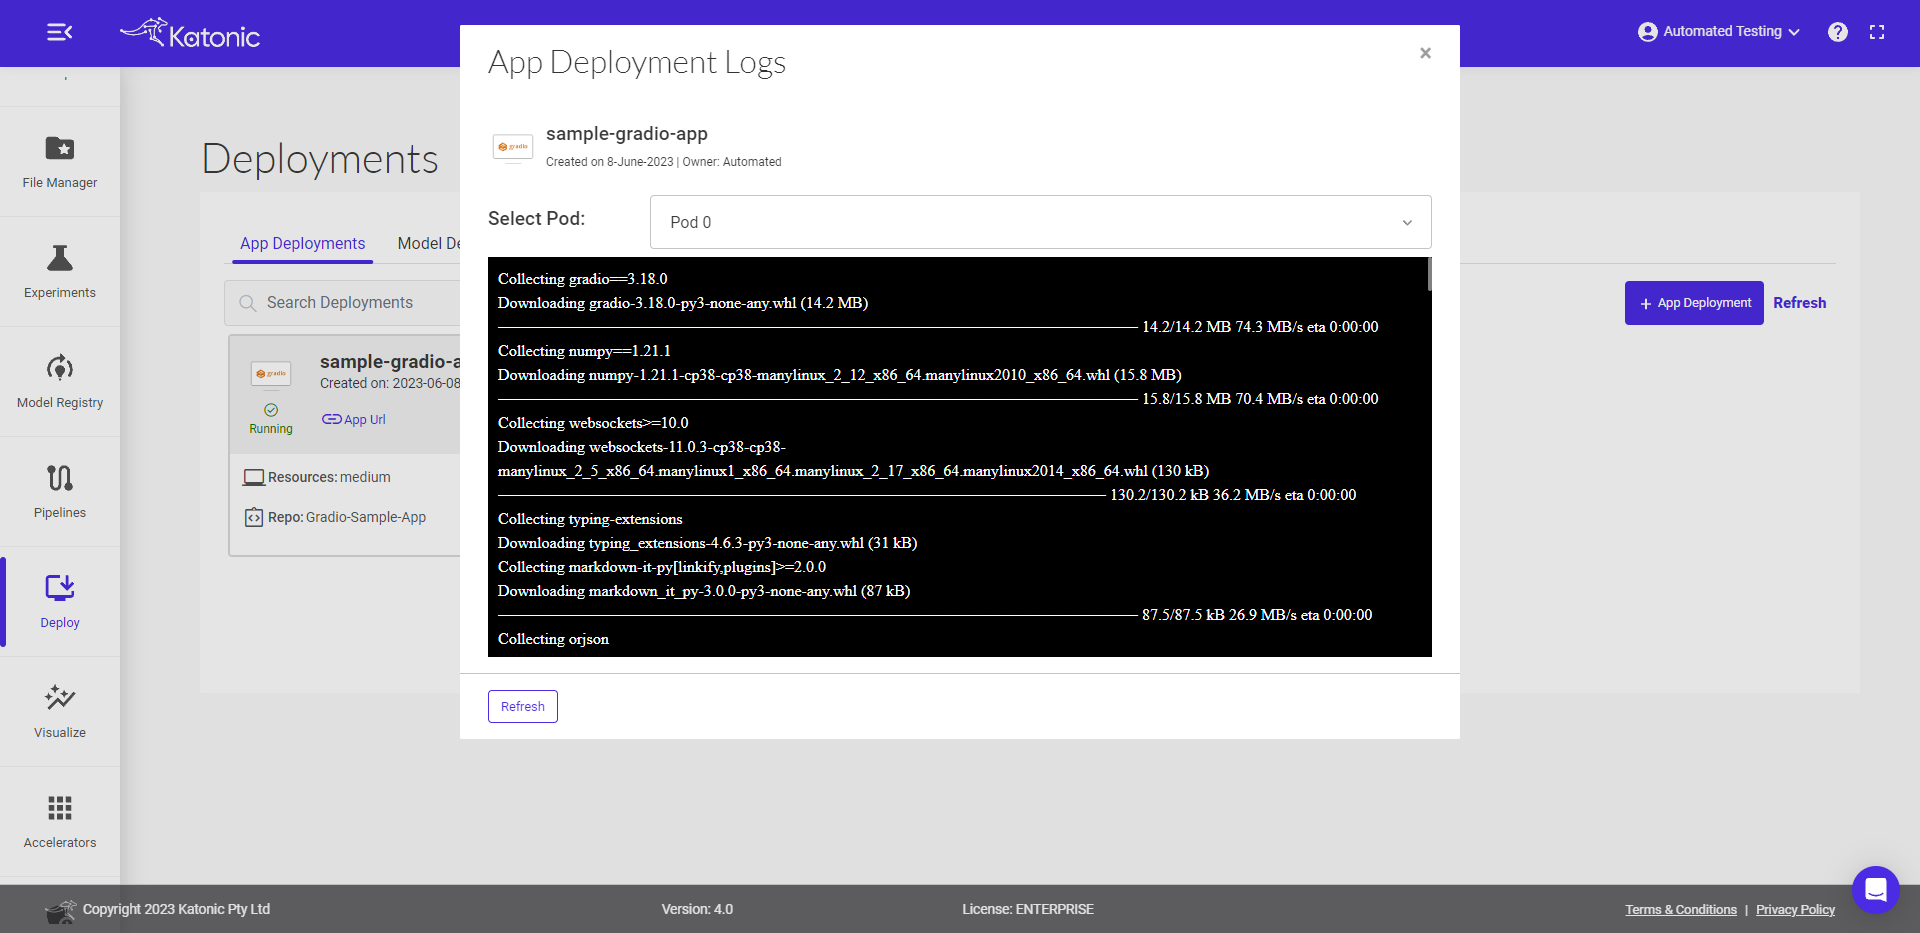
running, indicating that your app is now successfully deployed andrunning.To check the logs of your app, you can navigate to the logs section. This will provide you with information about the app's runtime behavior, any errors or warnings, and other relevant details.
By following these steps, you can monitor the deployment status of your app and access the logs to troubleshoot any issues if needed.
You can view the current status of your deployed app. This status will indicate if the app is ready to be launched or if there are any issues that need to be resolved.
To launch your app, click on the
App URLprovided. This will open your app in a web browser, allowing you to interact with it and test its functionality.
By following these steps, you can view the status of your deployed app and launch it to start using and testing its features.
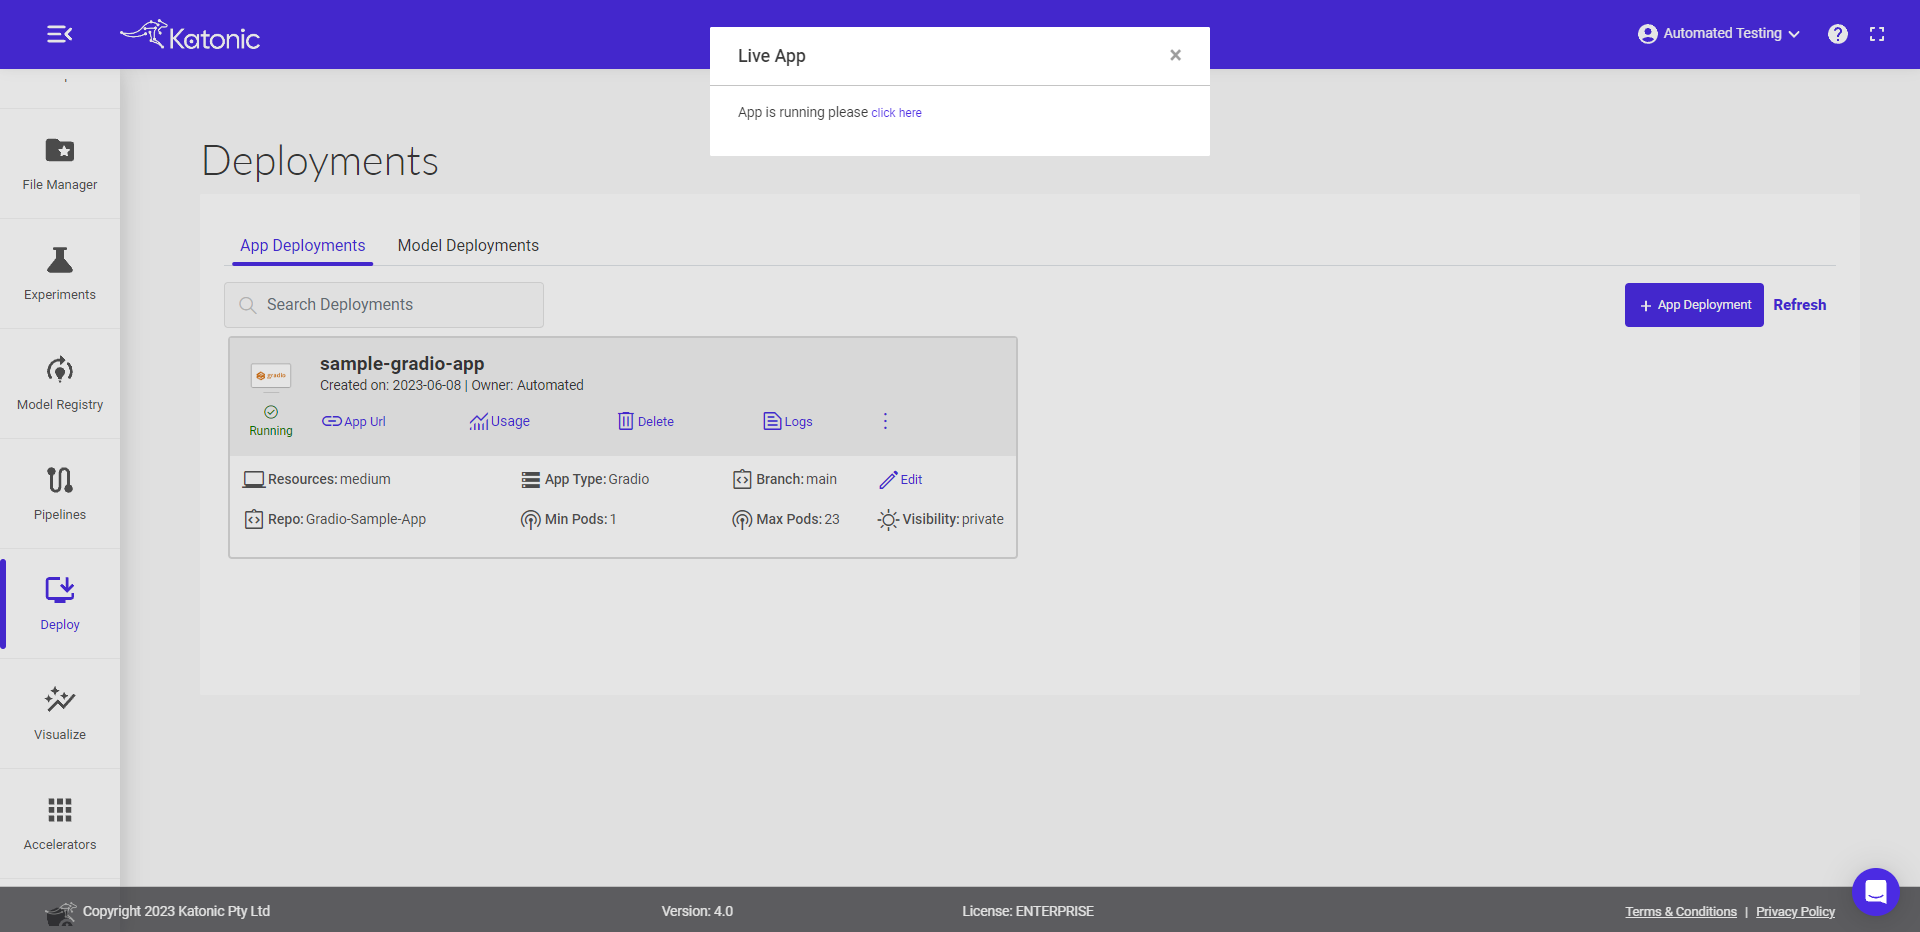
- The app will launch in a new tab.
You can share the App URL to showcase your work.