Getting Started with R-Notebook
1. Get Started
R-Notebook is a popular IDE for R-programming language. It comes up with a console, syntax-highlighting editor, through which one can directly execute the code. It comprises of different tools for plotting, debugging, history and workspace management. It is open-source and also available as commercial editions. It can run on desktop and even browsers.
Most of the developers struggle while installing the R-Notebook. If it is not properly installed then all your codes fail to execute. Even if it is installed successfully, it has issues of crashing. Sometimes it won't even start. But if you are using the R-studio available on Katonic's MLops Platform you will not come across such problems. Katonic platform provides a one-stop solution to all the data scientists' problems. It comes with integrated tools that are very popular and most frequently used for Data Science Life Cycle. Since everything runs on the cloud so you don't have to worry about your system spaces being utilized by such heavy tools.
This tutorial will guide you to use the R-Notebook on the platform for writing R-scripts.
1.1 Sign In
Open the login page to try the Katonic platform.

Enter Email and Password and click on the “Sign In” button to sign in to the Katonic platform.
1.2 Orient yourself to the Katonic platform
When you first log in, you will find yourself in the Dashboard section of Katonic. You can use the left sidebar to navigate to other sections of Katonic Platform.
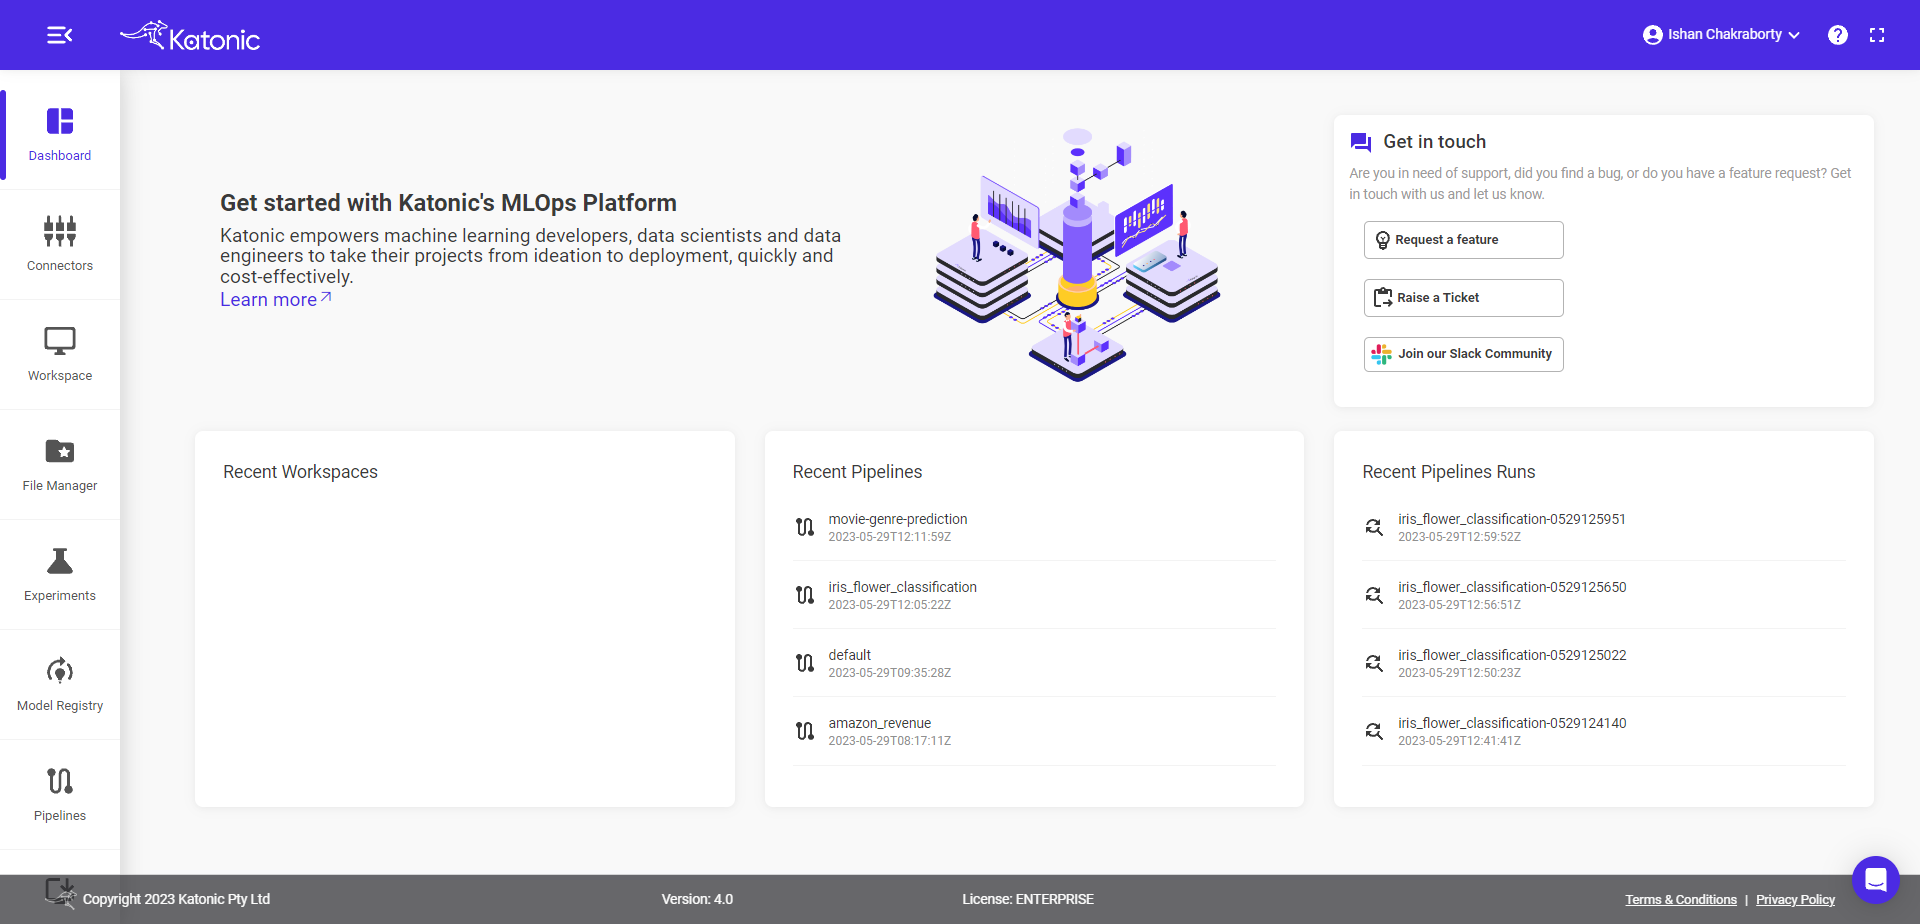
To view the platform in full screen click on the “full-screen mode“ on the top right of the page.
If you would like to search the Katonic documentation for help, click on the “?” icon on the top right of the page.
To send a question to a member of the Katonic support staff, use the Support button on the bottom right of the page.
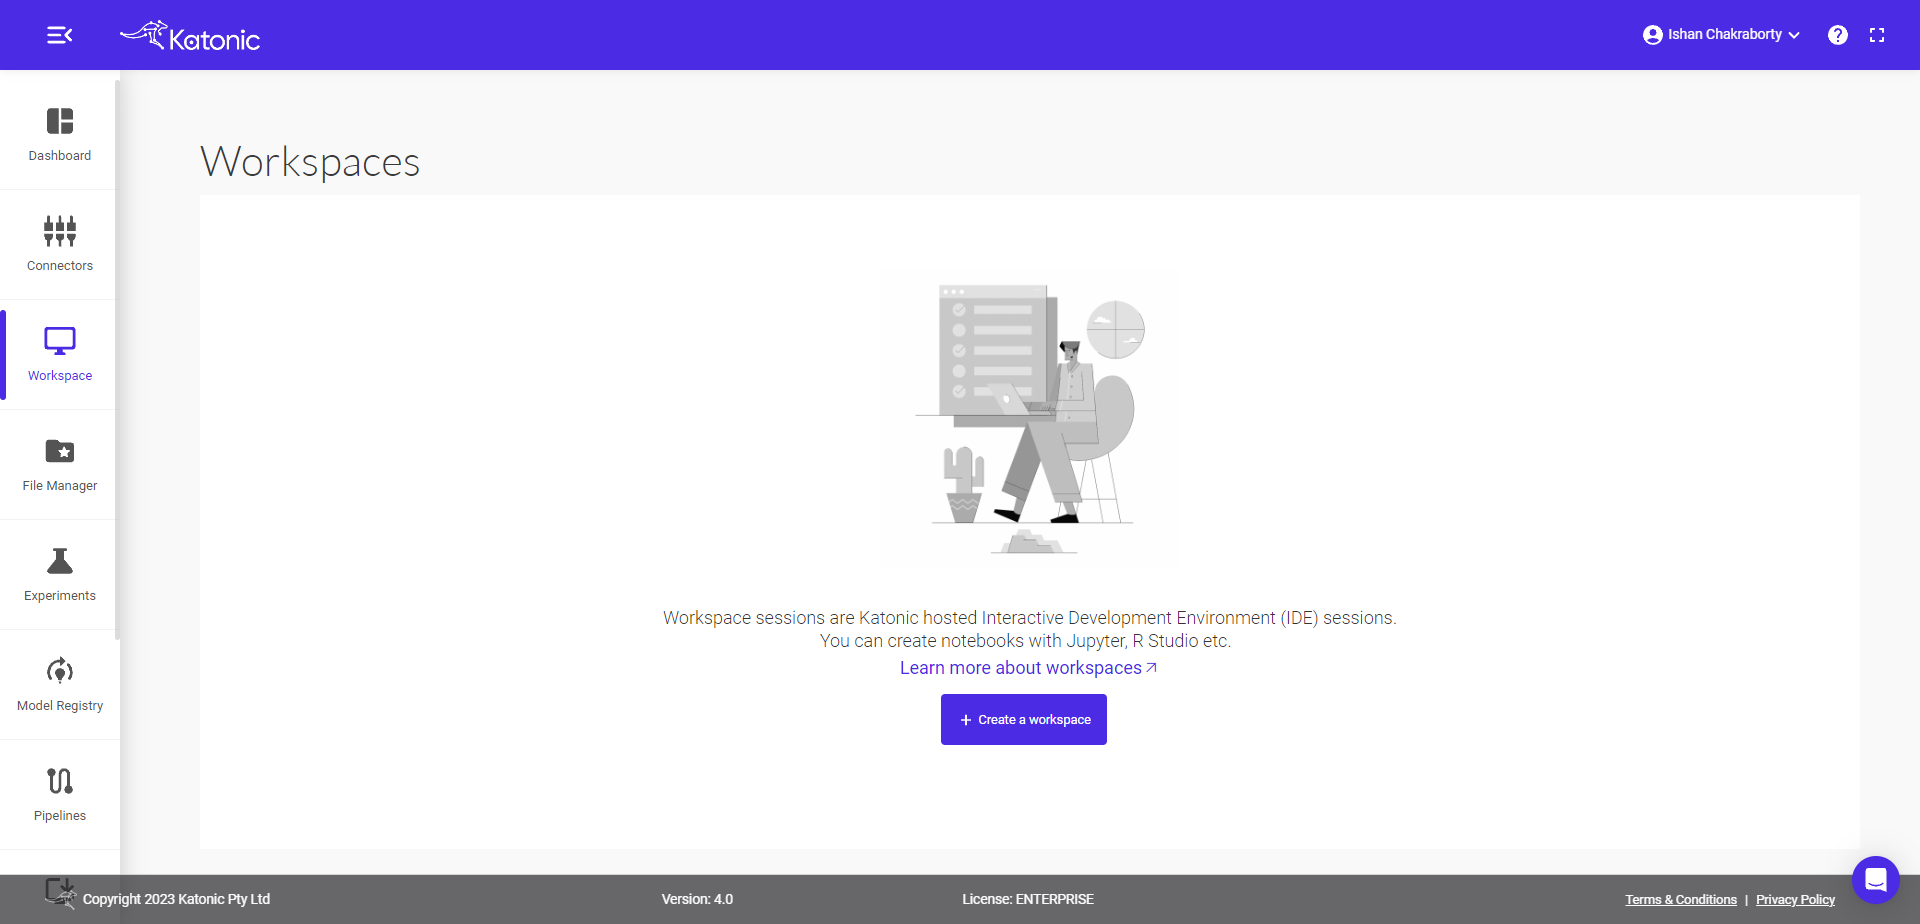
1.3 Create your workspace
From the Workspace on the left panel, Click on ‘Create Workspace’ in the top right side of the page.
Fill in the following details.
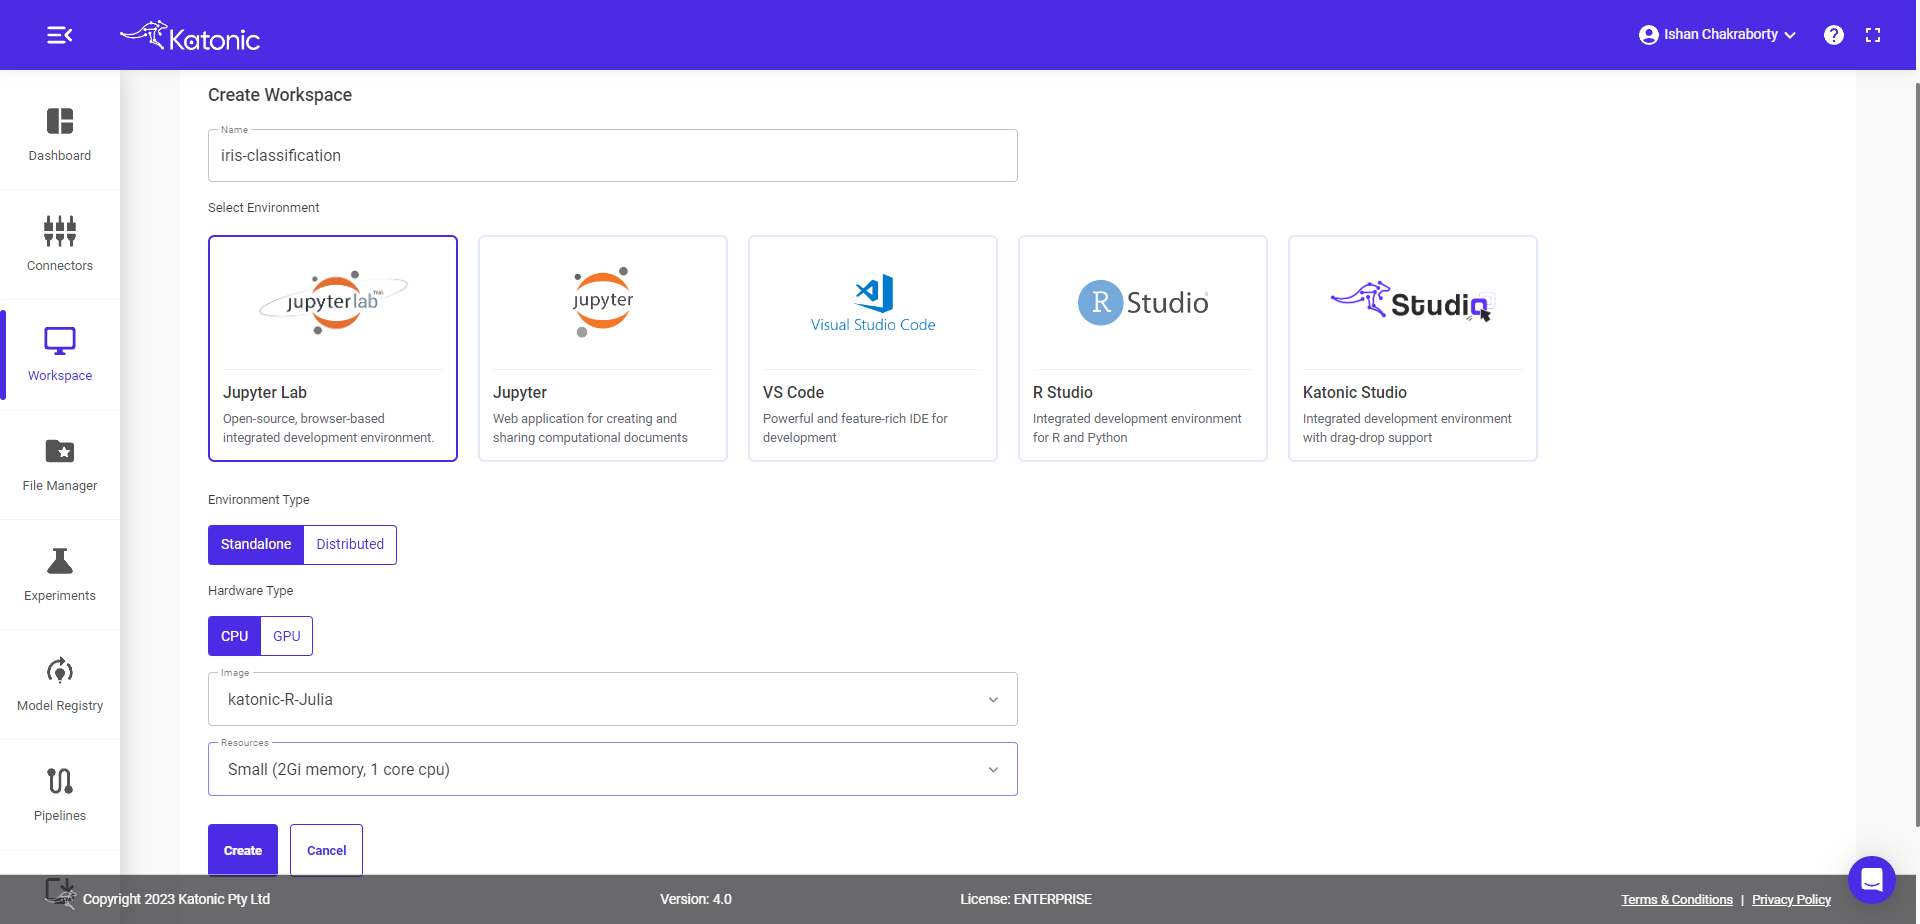
Give your Workspace an informative name .
Note : Workspace name should contain only lowercase(a-z), numbers(0-9) and hyphen(-).
Select Environment as JupyterLab.
Select Environment Type as Standalone/Distributed
Select Hardware Type as Hardware/Software
Select Image as Katonic-R-Julia.
Select the Number of CPUs and the memory you want to allocate to Notebook then click on Create.
1.4 Start Workspace
Once you create a workspace you could see it will be in 'Processing' state.
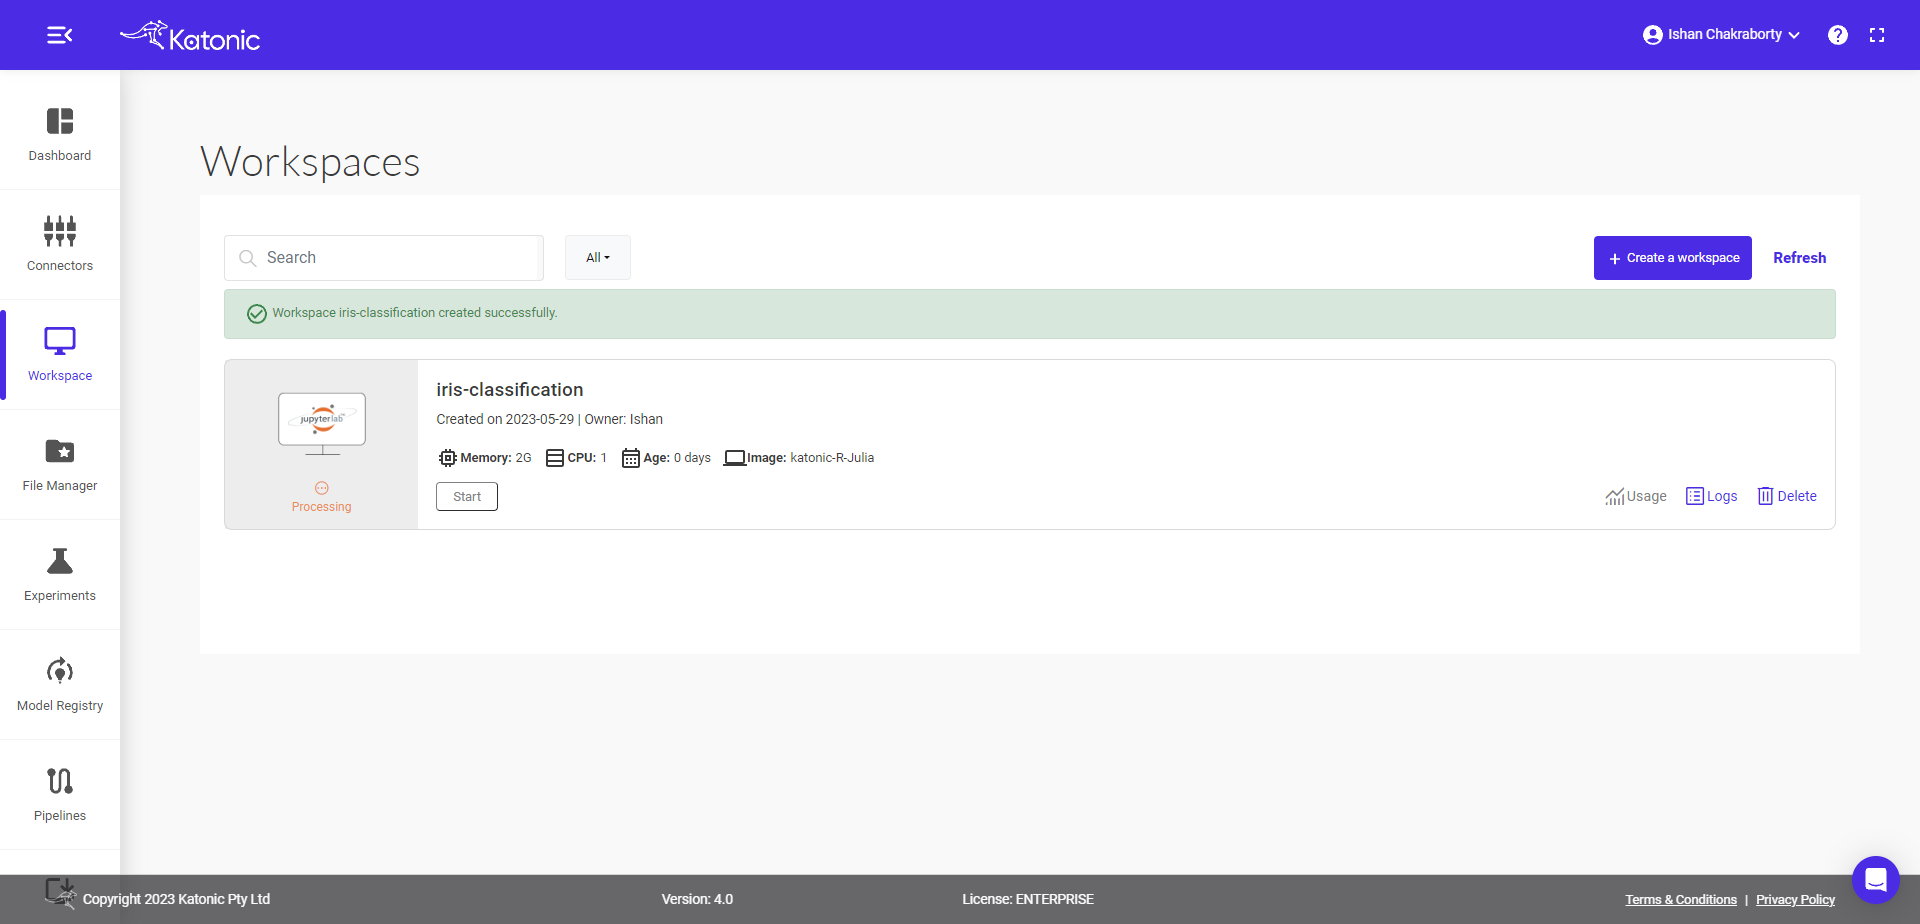
Once the Workspace has started it will show the connect button with which you can connect to the R-Studio.

When you connect, a new session is created on a machine and your browser is automatically redirected to the Notebook UI.
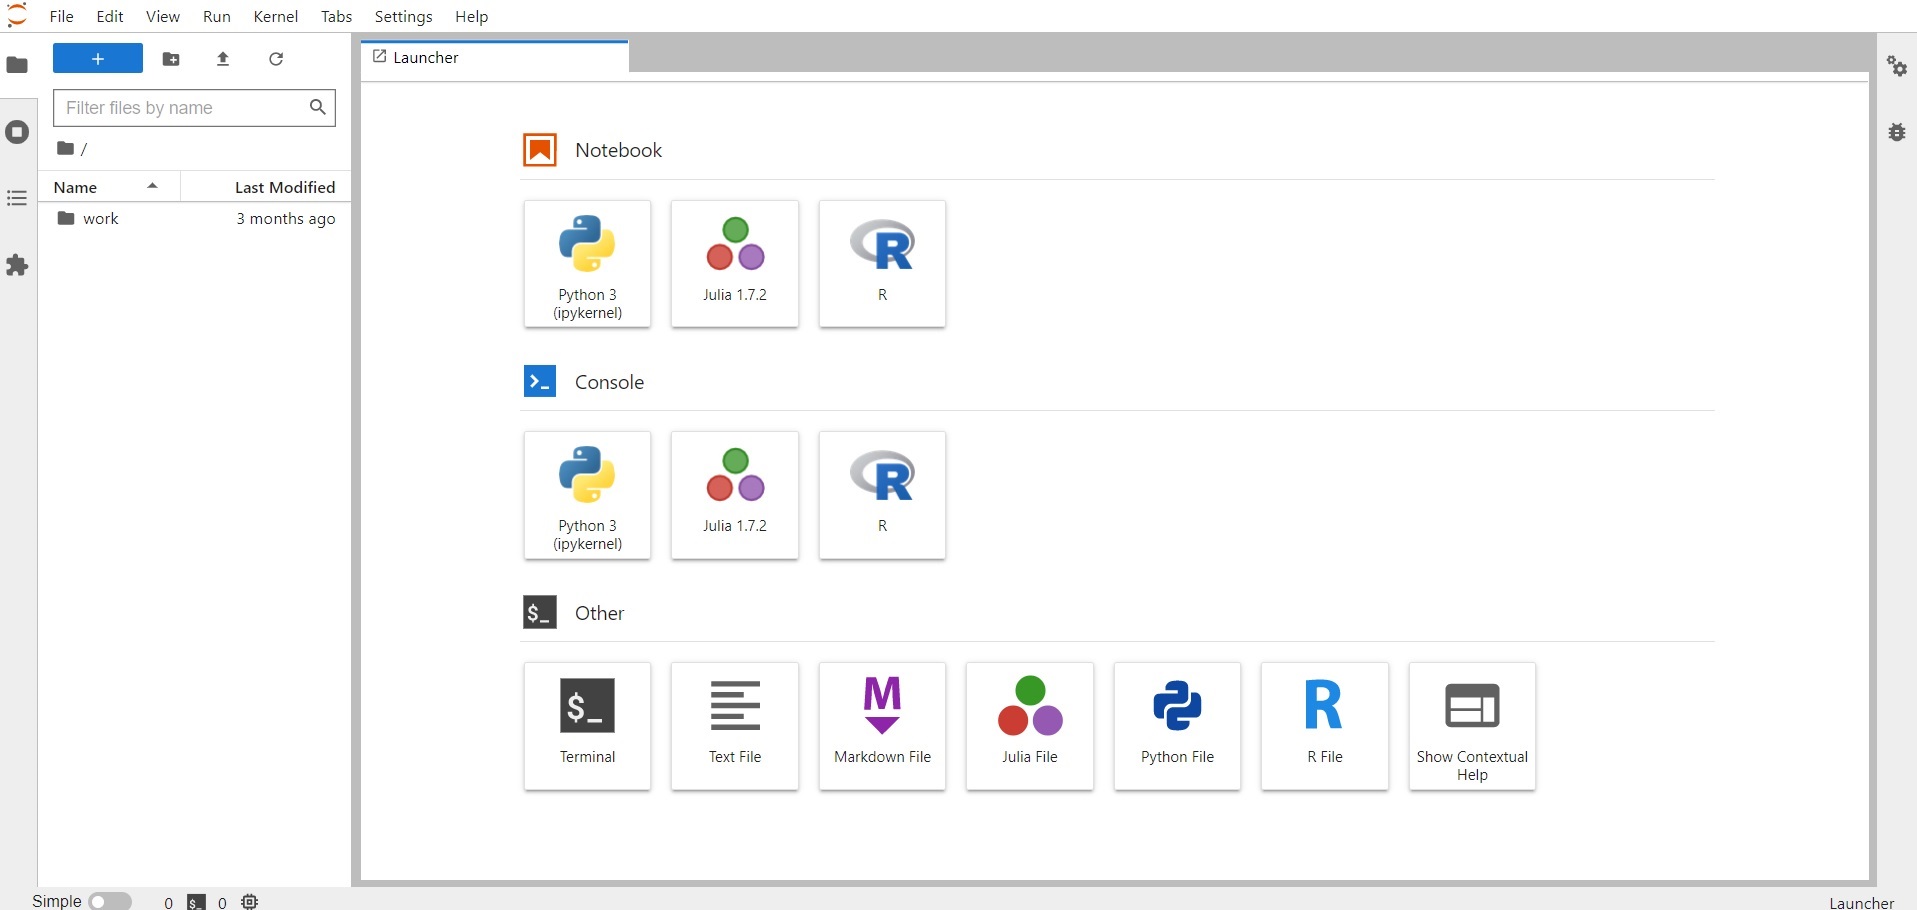
Once your Workspace is up and running, you will see a fresh interface.
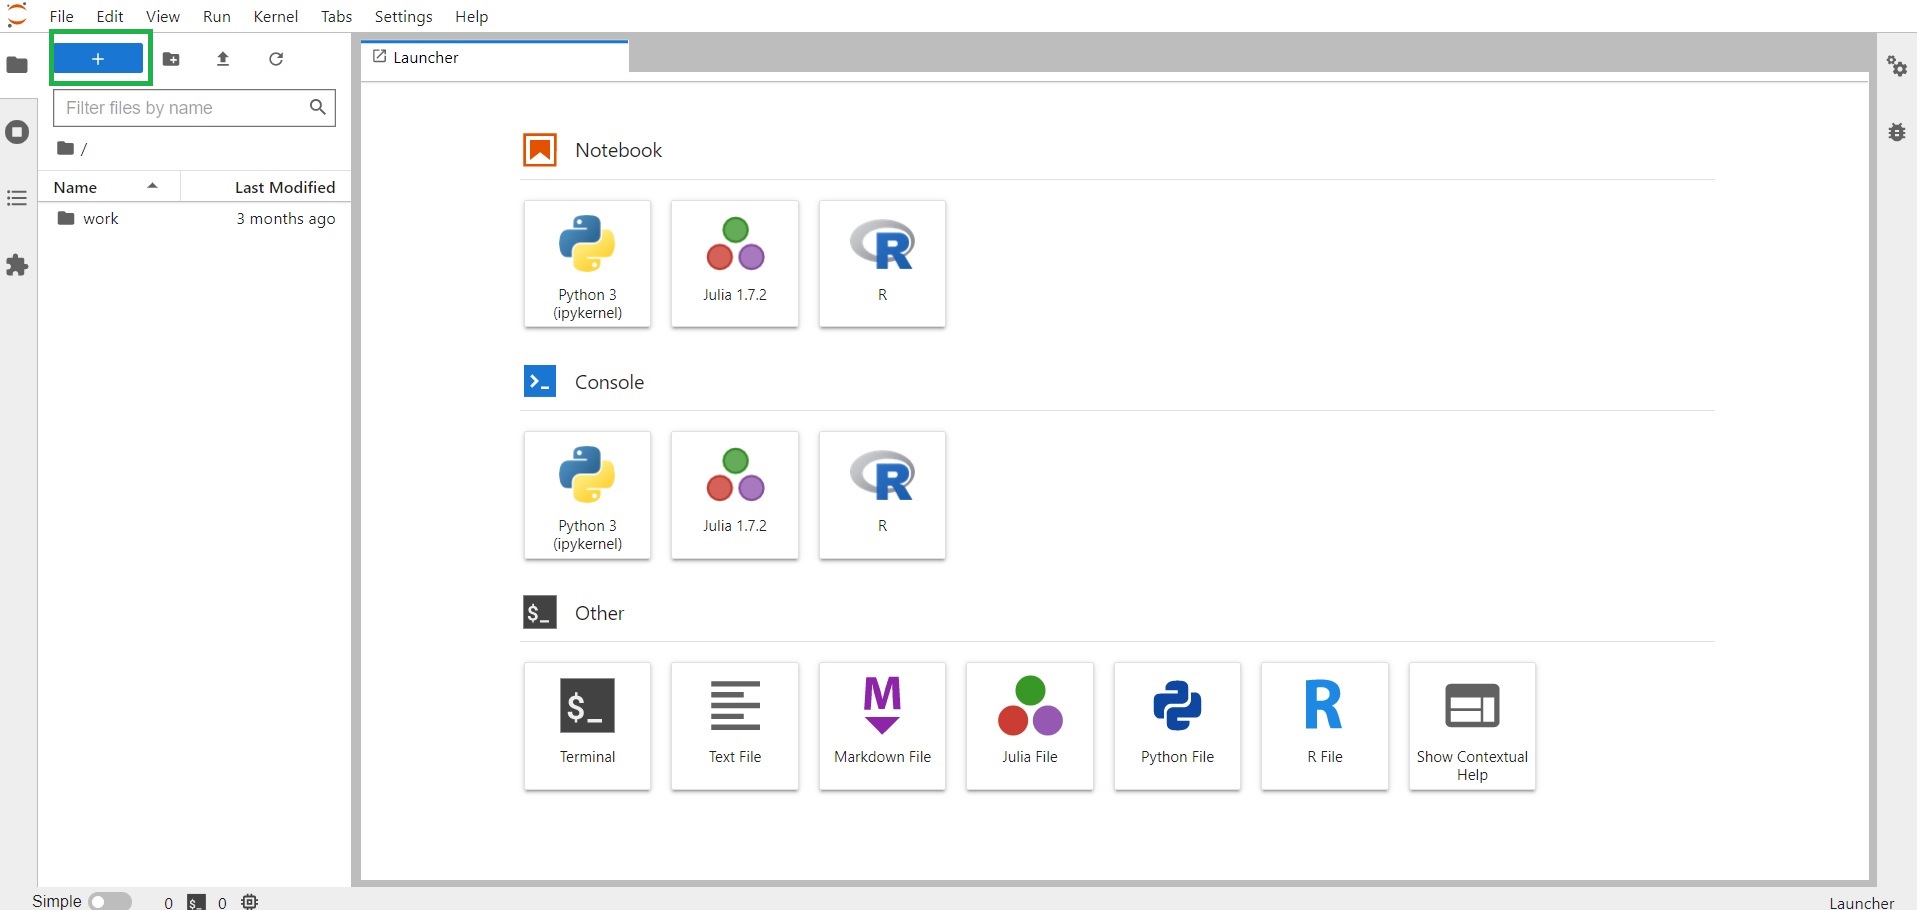
Click on the "+" icon from the top left of the page.
Select the R in Notebook option to open a blank R Notebook page.
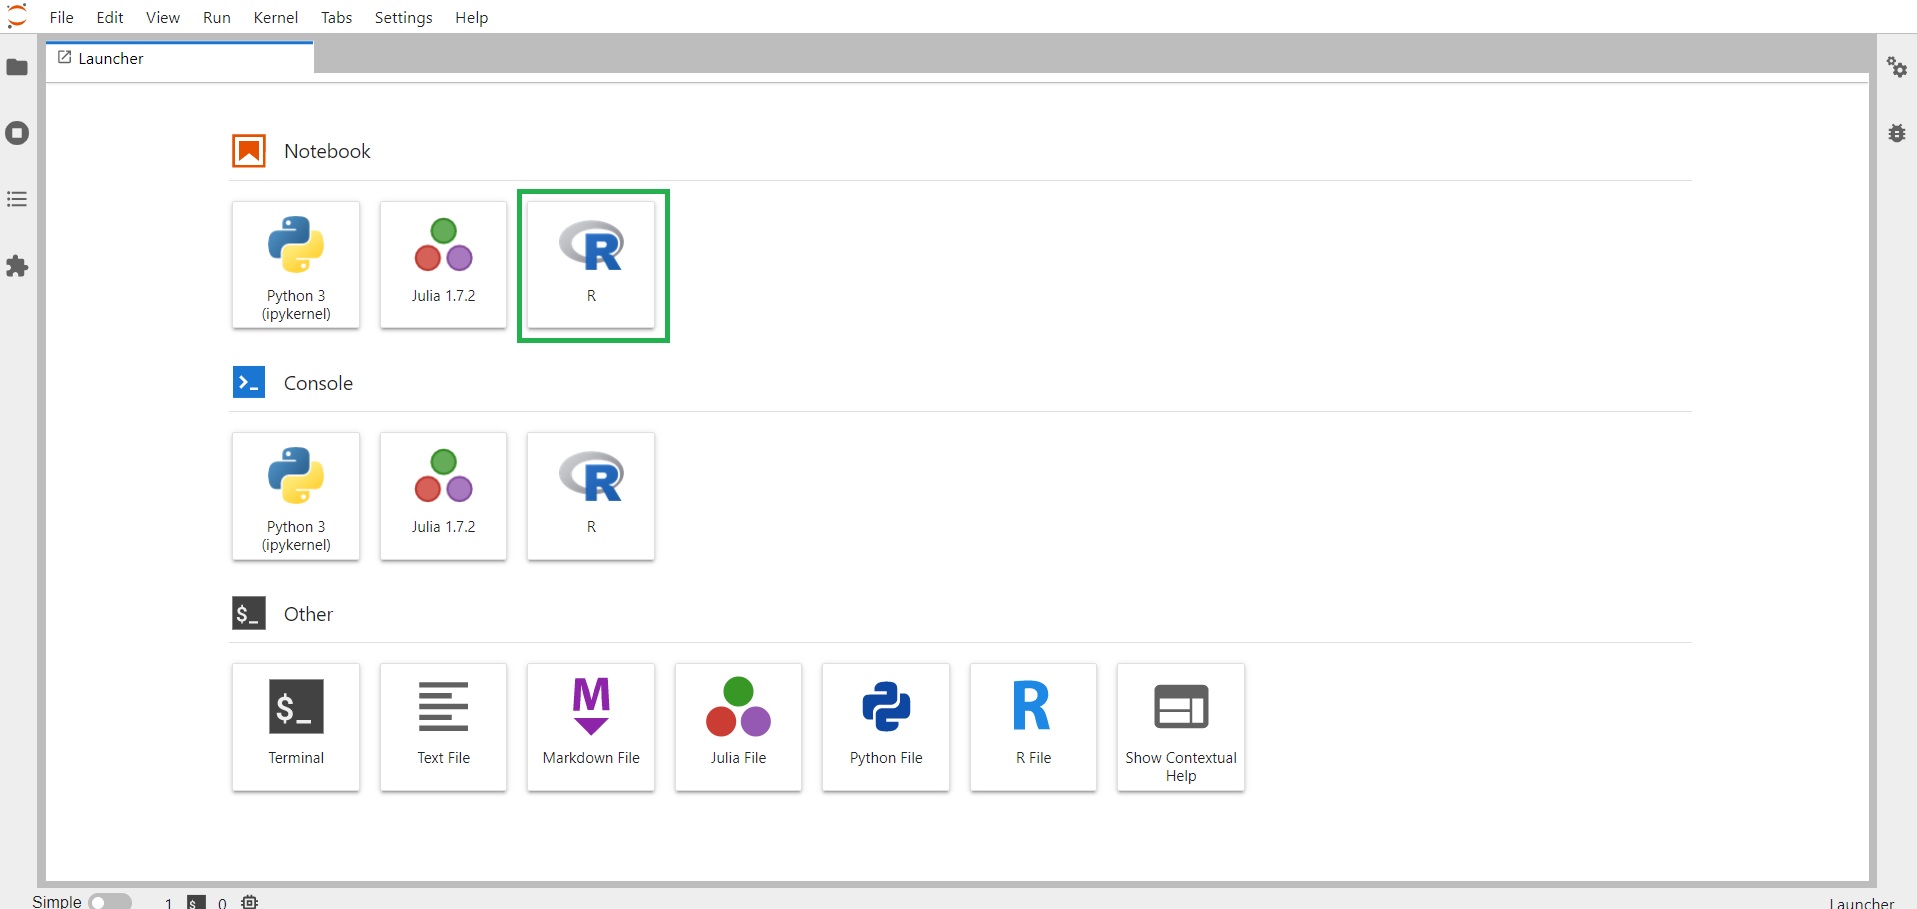
You can write your R code into the R Notebook created in the step 6.
1.5 Get your Files and Data
Files and Data can be created in the same environment or can be cloned from GitHub. In this section, we will be showing you how can you clone data and files from our open-source examples available on GitHub.
Click here for Katonic use cases repository
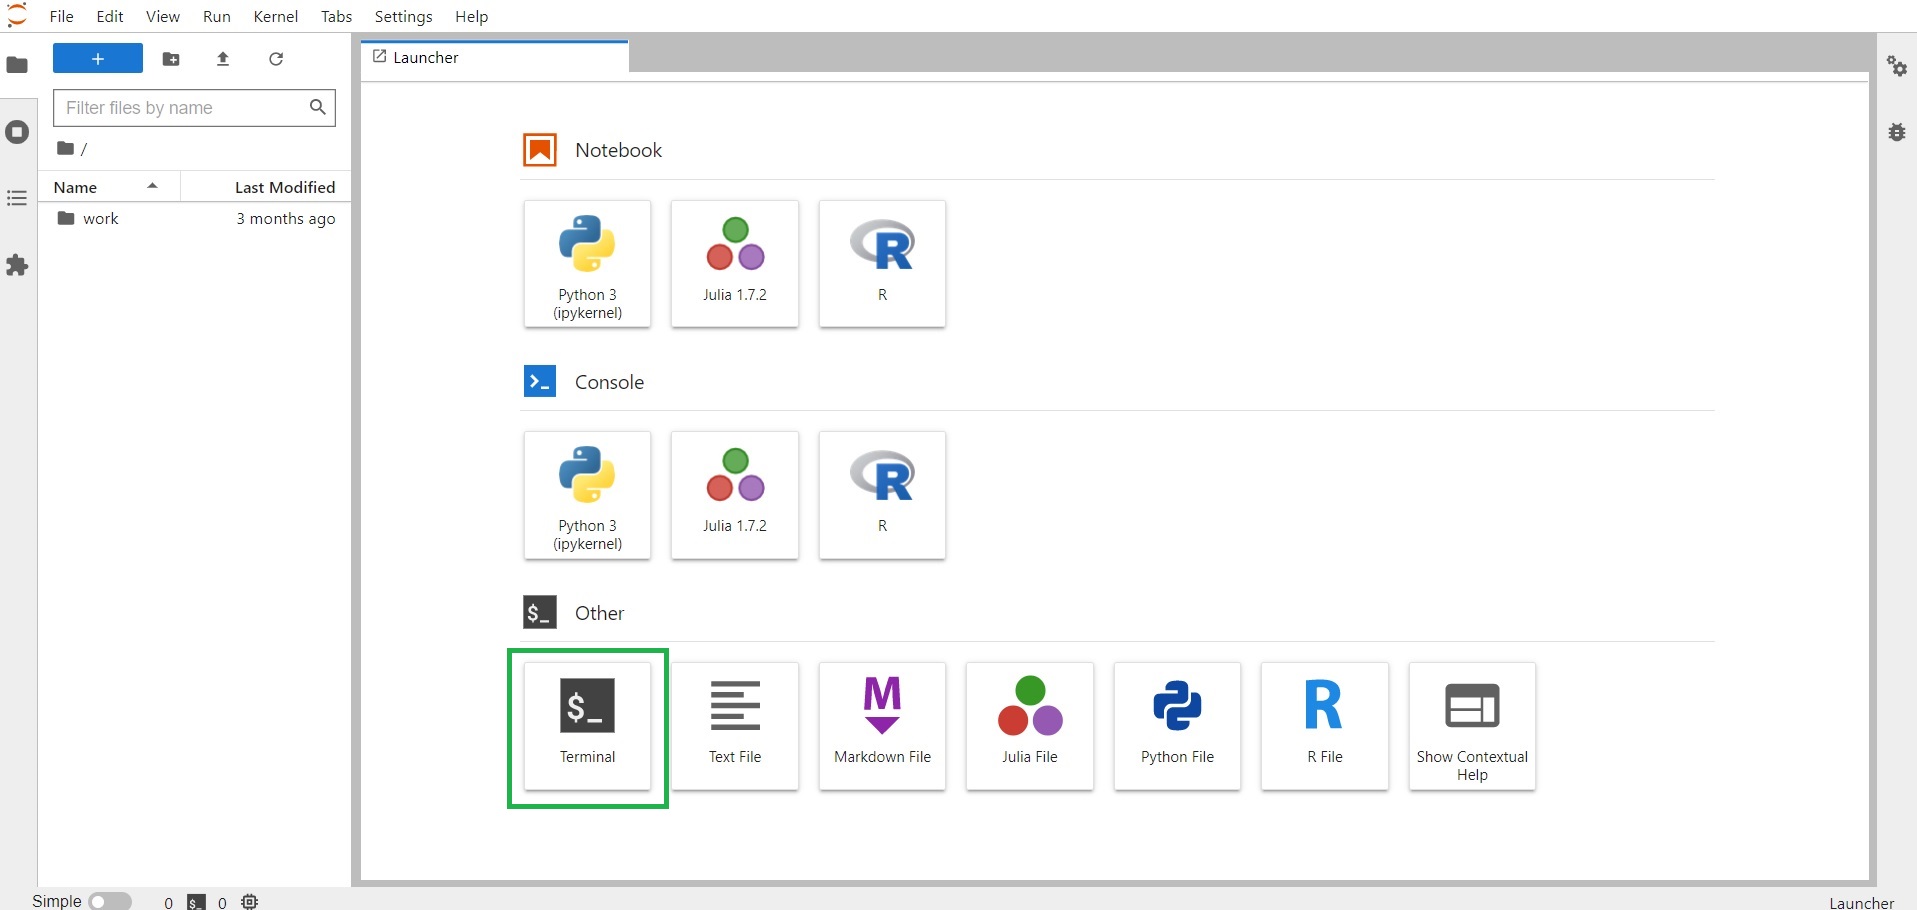
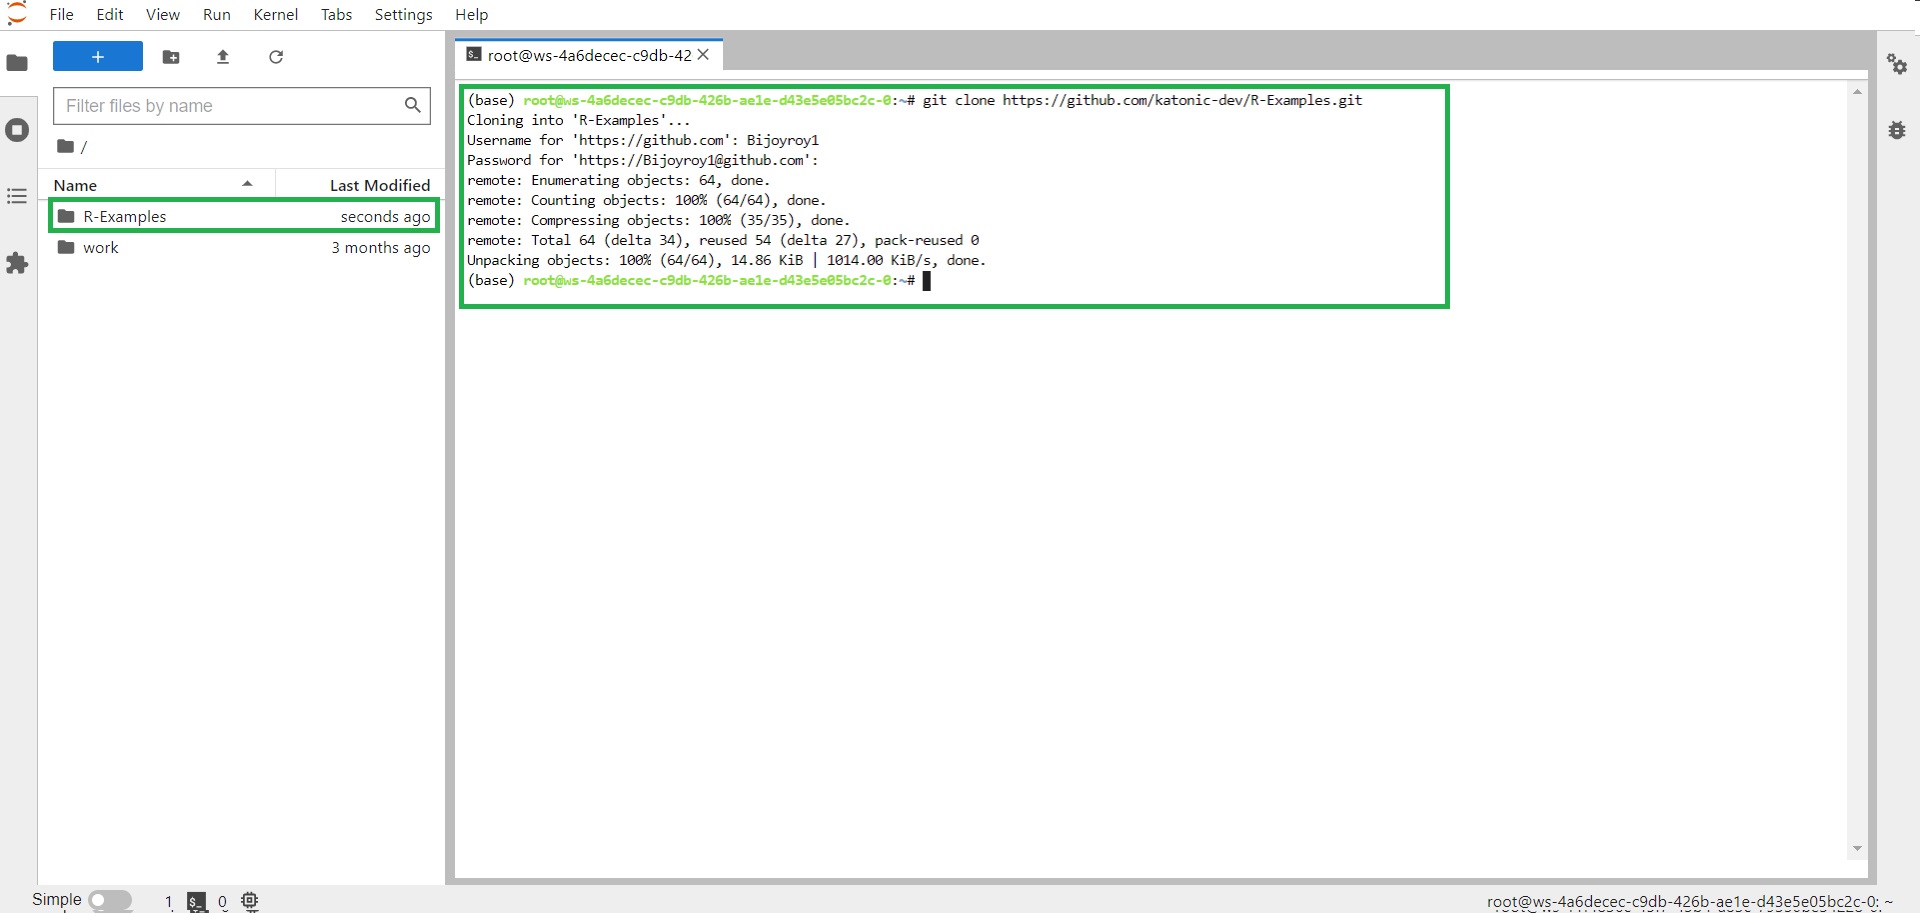
- From a New Launcher tab open Terminal.
Once you open the terminal clone the repo URI Link that is available in GitHub Repository using below command.
git clone https://github.com/katonic-dev/R-ExamplesGo to “File Manager” in the left bar.
Go to location “/R-Examples/iris_notebooks/”.
Open .ipynb file to run. For Example open read_data.ipynb.
You can run your script clicking Run button.
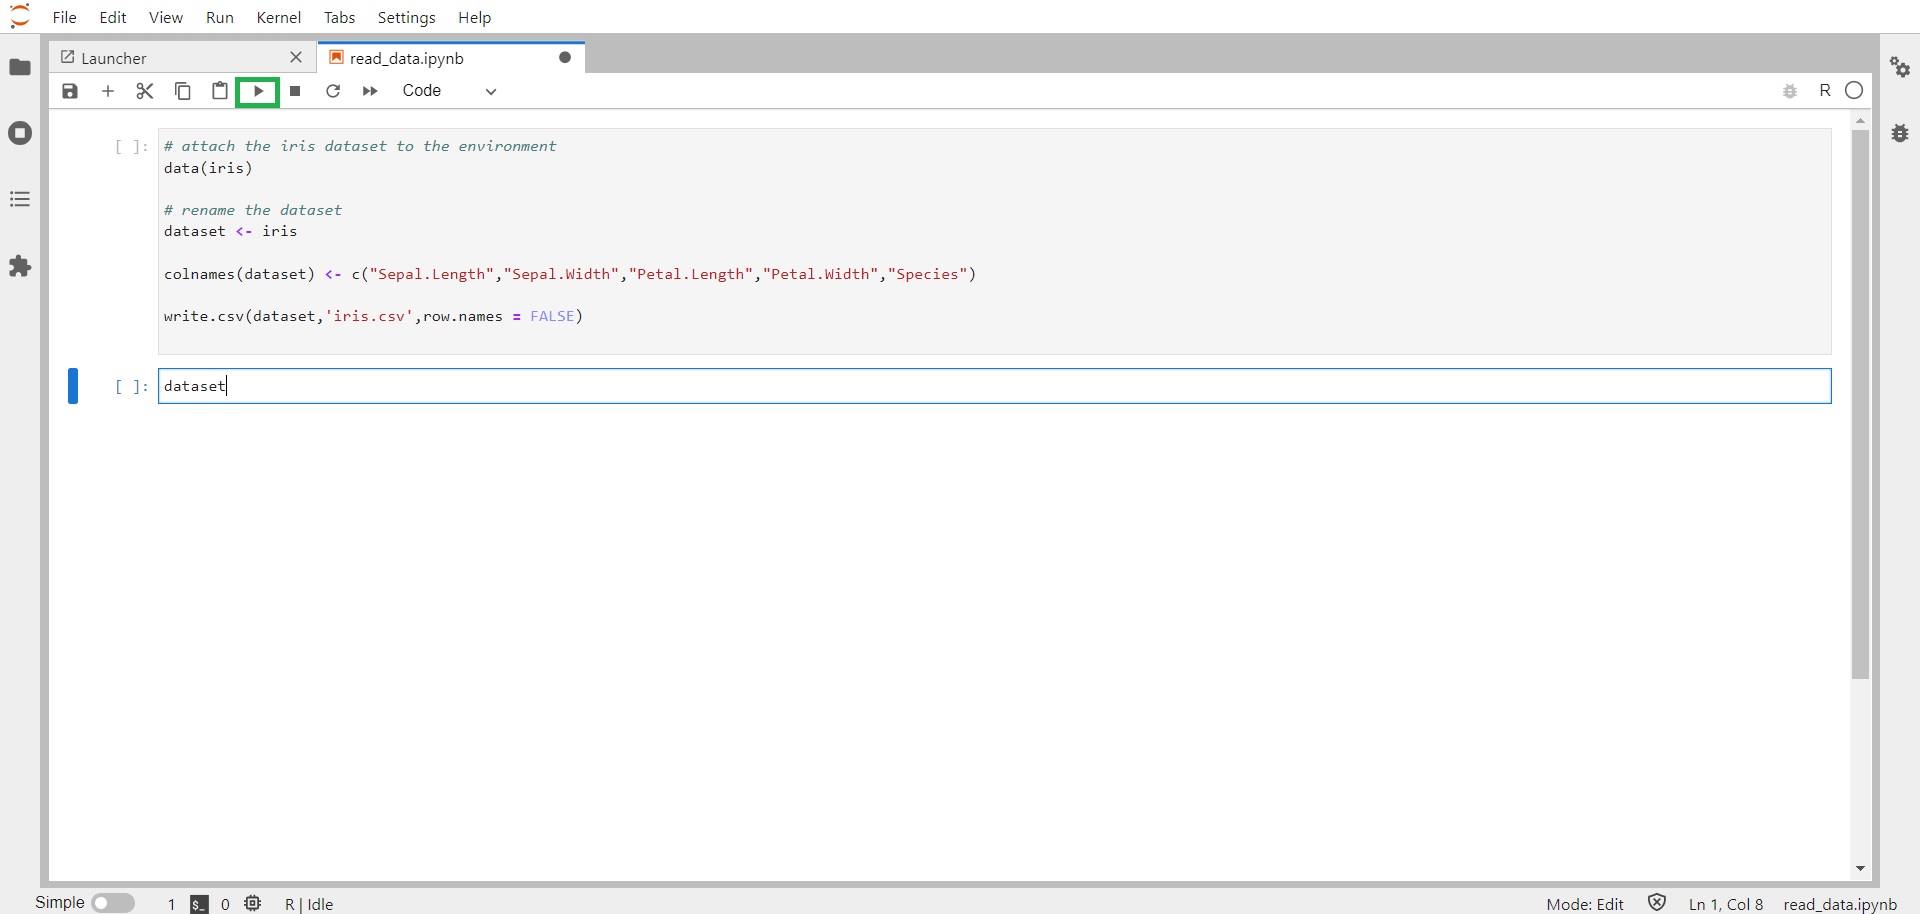
Once you run your code you will be able to see your results just below the cell.

Note: All the development work can be performed here. Single script could be broken down into multiple smaller scripts each defining a specific task, where in the result of one script can be saved in the file so that it can be used by further downstream scripts.
Once these scripts are ready we can download them and upload to Katonic Studio Workspace if you want to convert these scripts to pipeline.
It is good practice to upload your scripts to GitHub for maintaining control over it's versions. So once you have made changes to any file do not forget to commit those changes and push it back to GitHub.
Follow the instructions of the documentation to convert your scripts into pipeline.