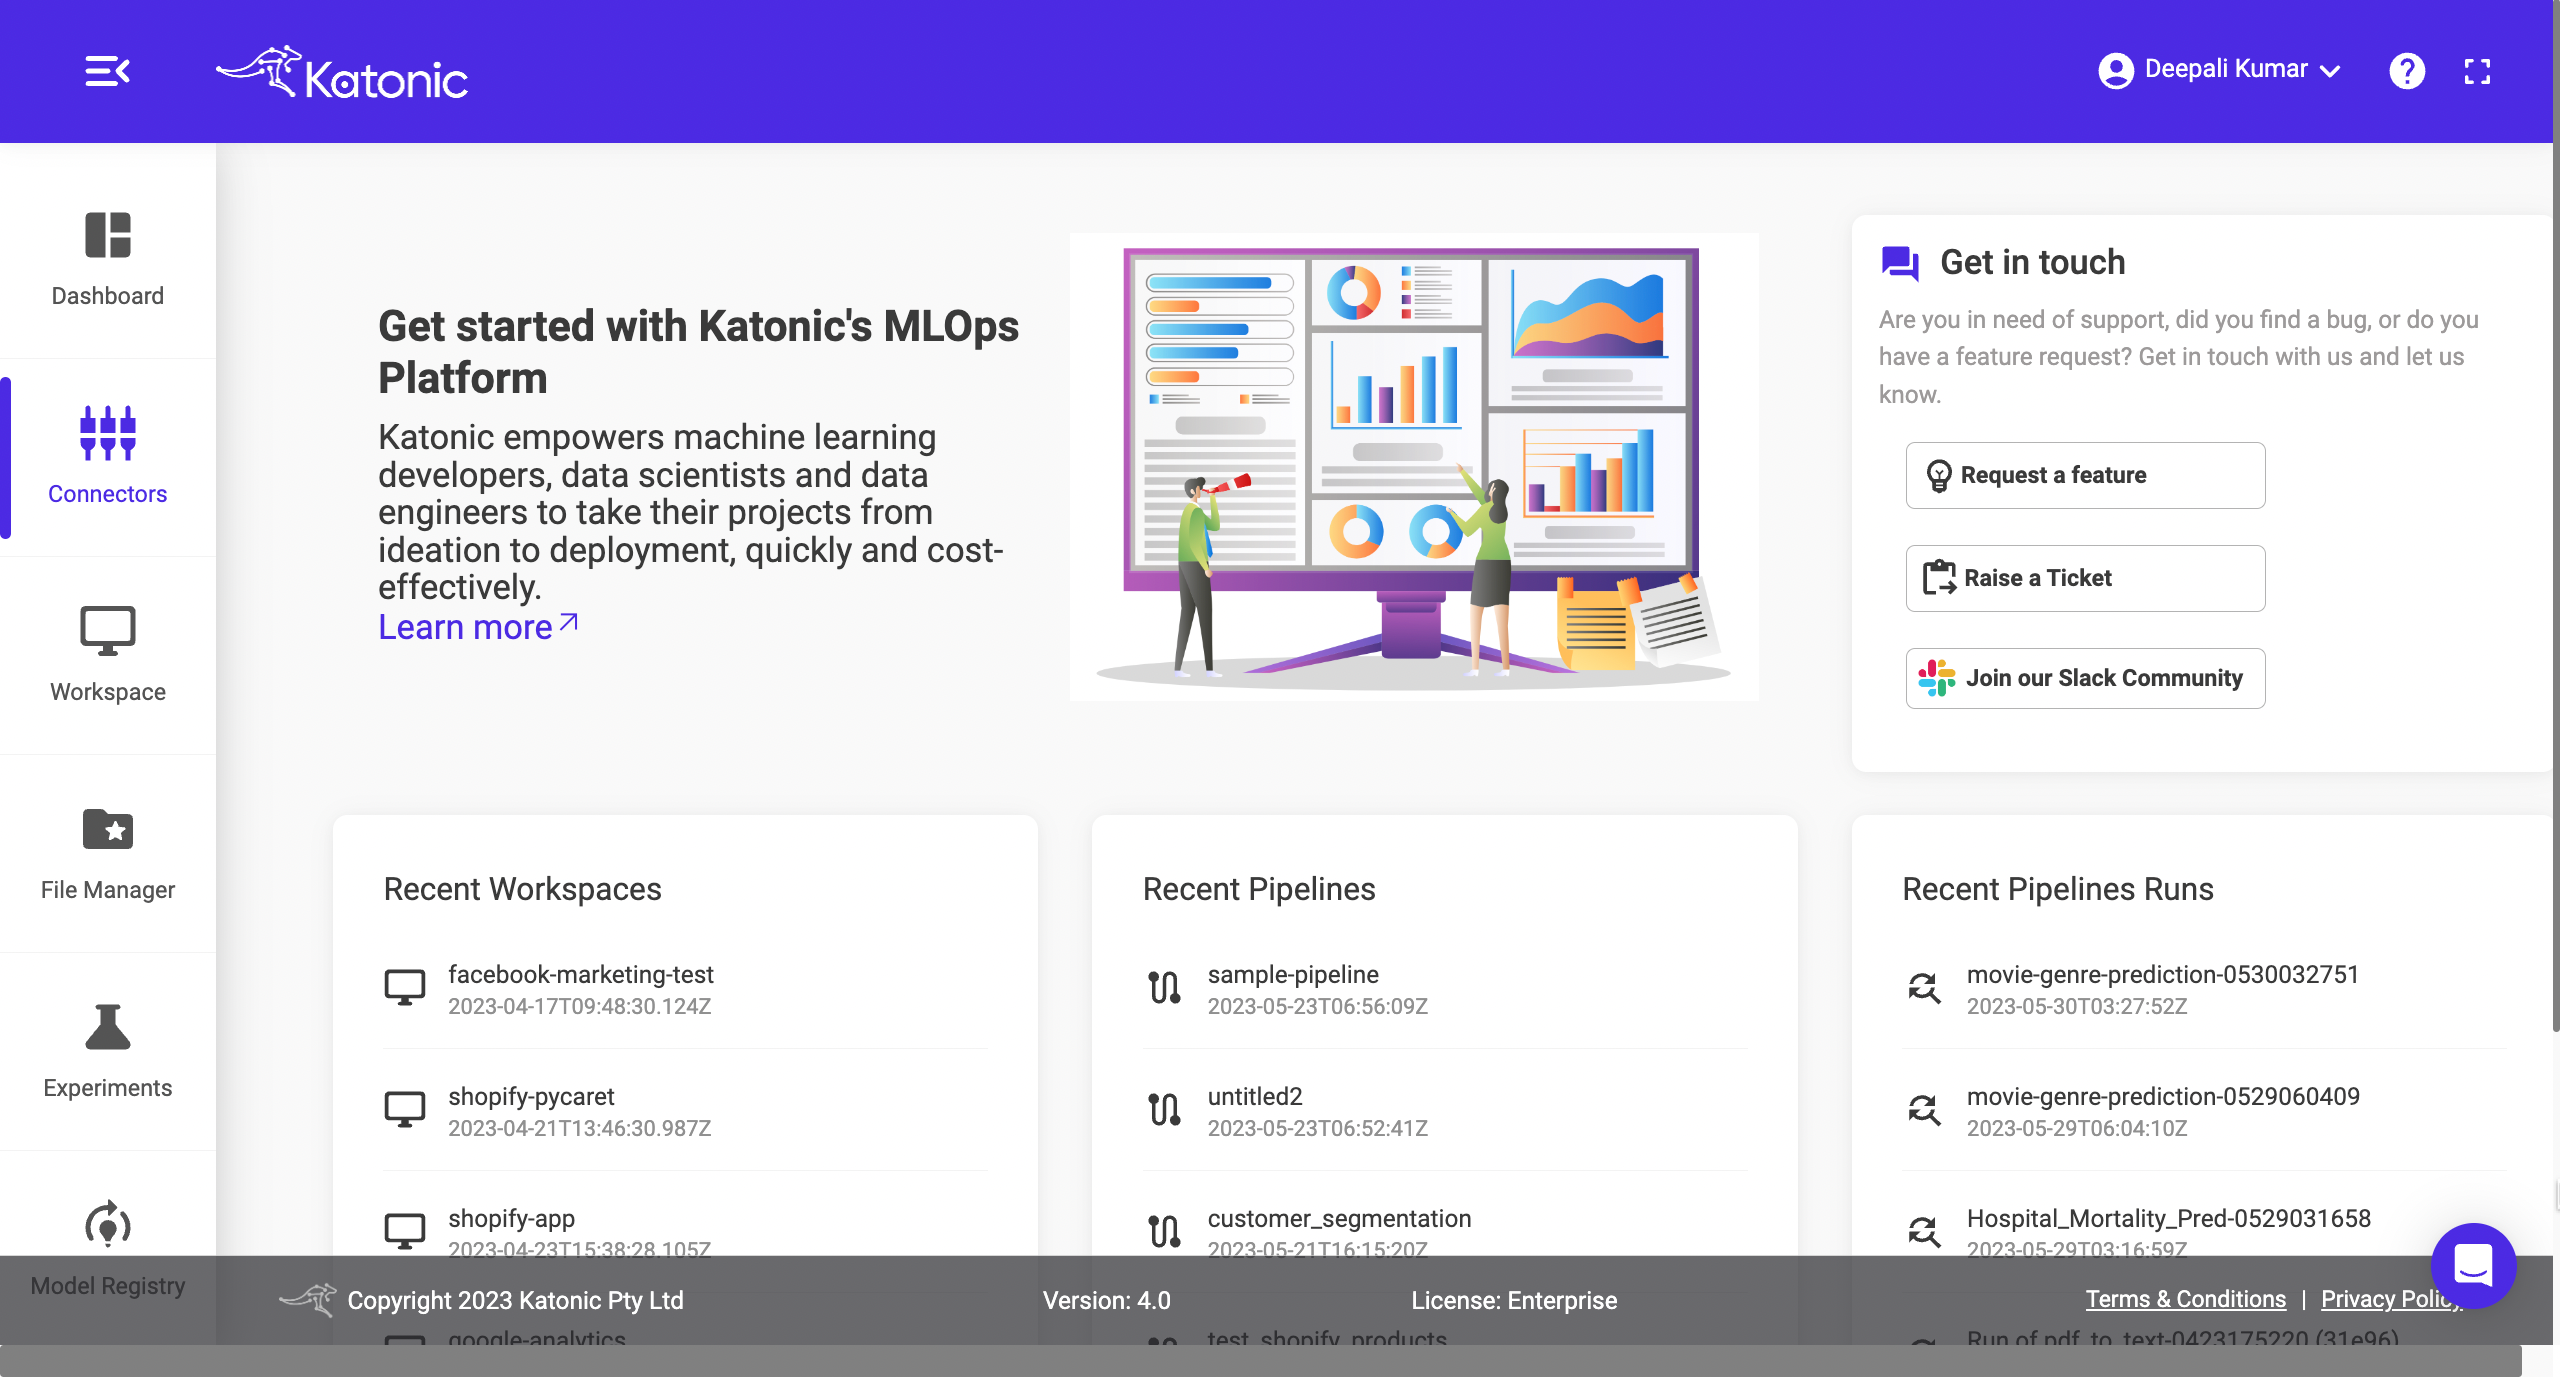
Connectors
A typical AI model life cycle begins with loading data into your workspace and analyzing it for useful insights. Connectors is a component which pulls data from the source or pushes data to destination.
Katonic provides over 75 Connectors to help you connect data from any cloud, on-premises, or proprietary system. This will make disparate data assets accessible and available for model development.
Get Started with Connectors
From the platform, navigate to Connectors.
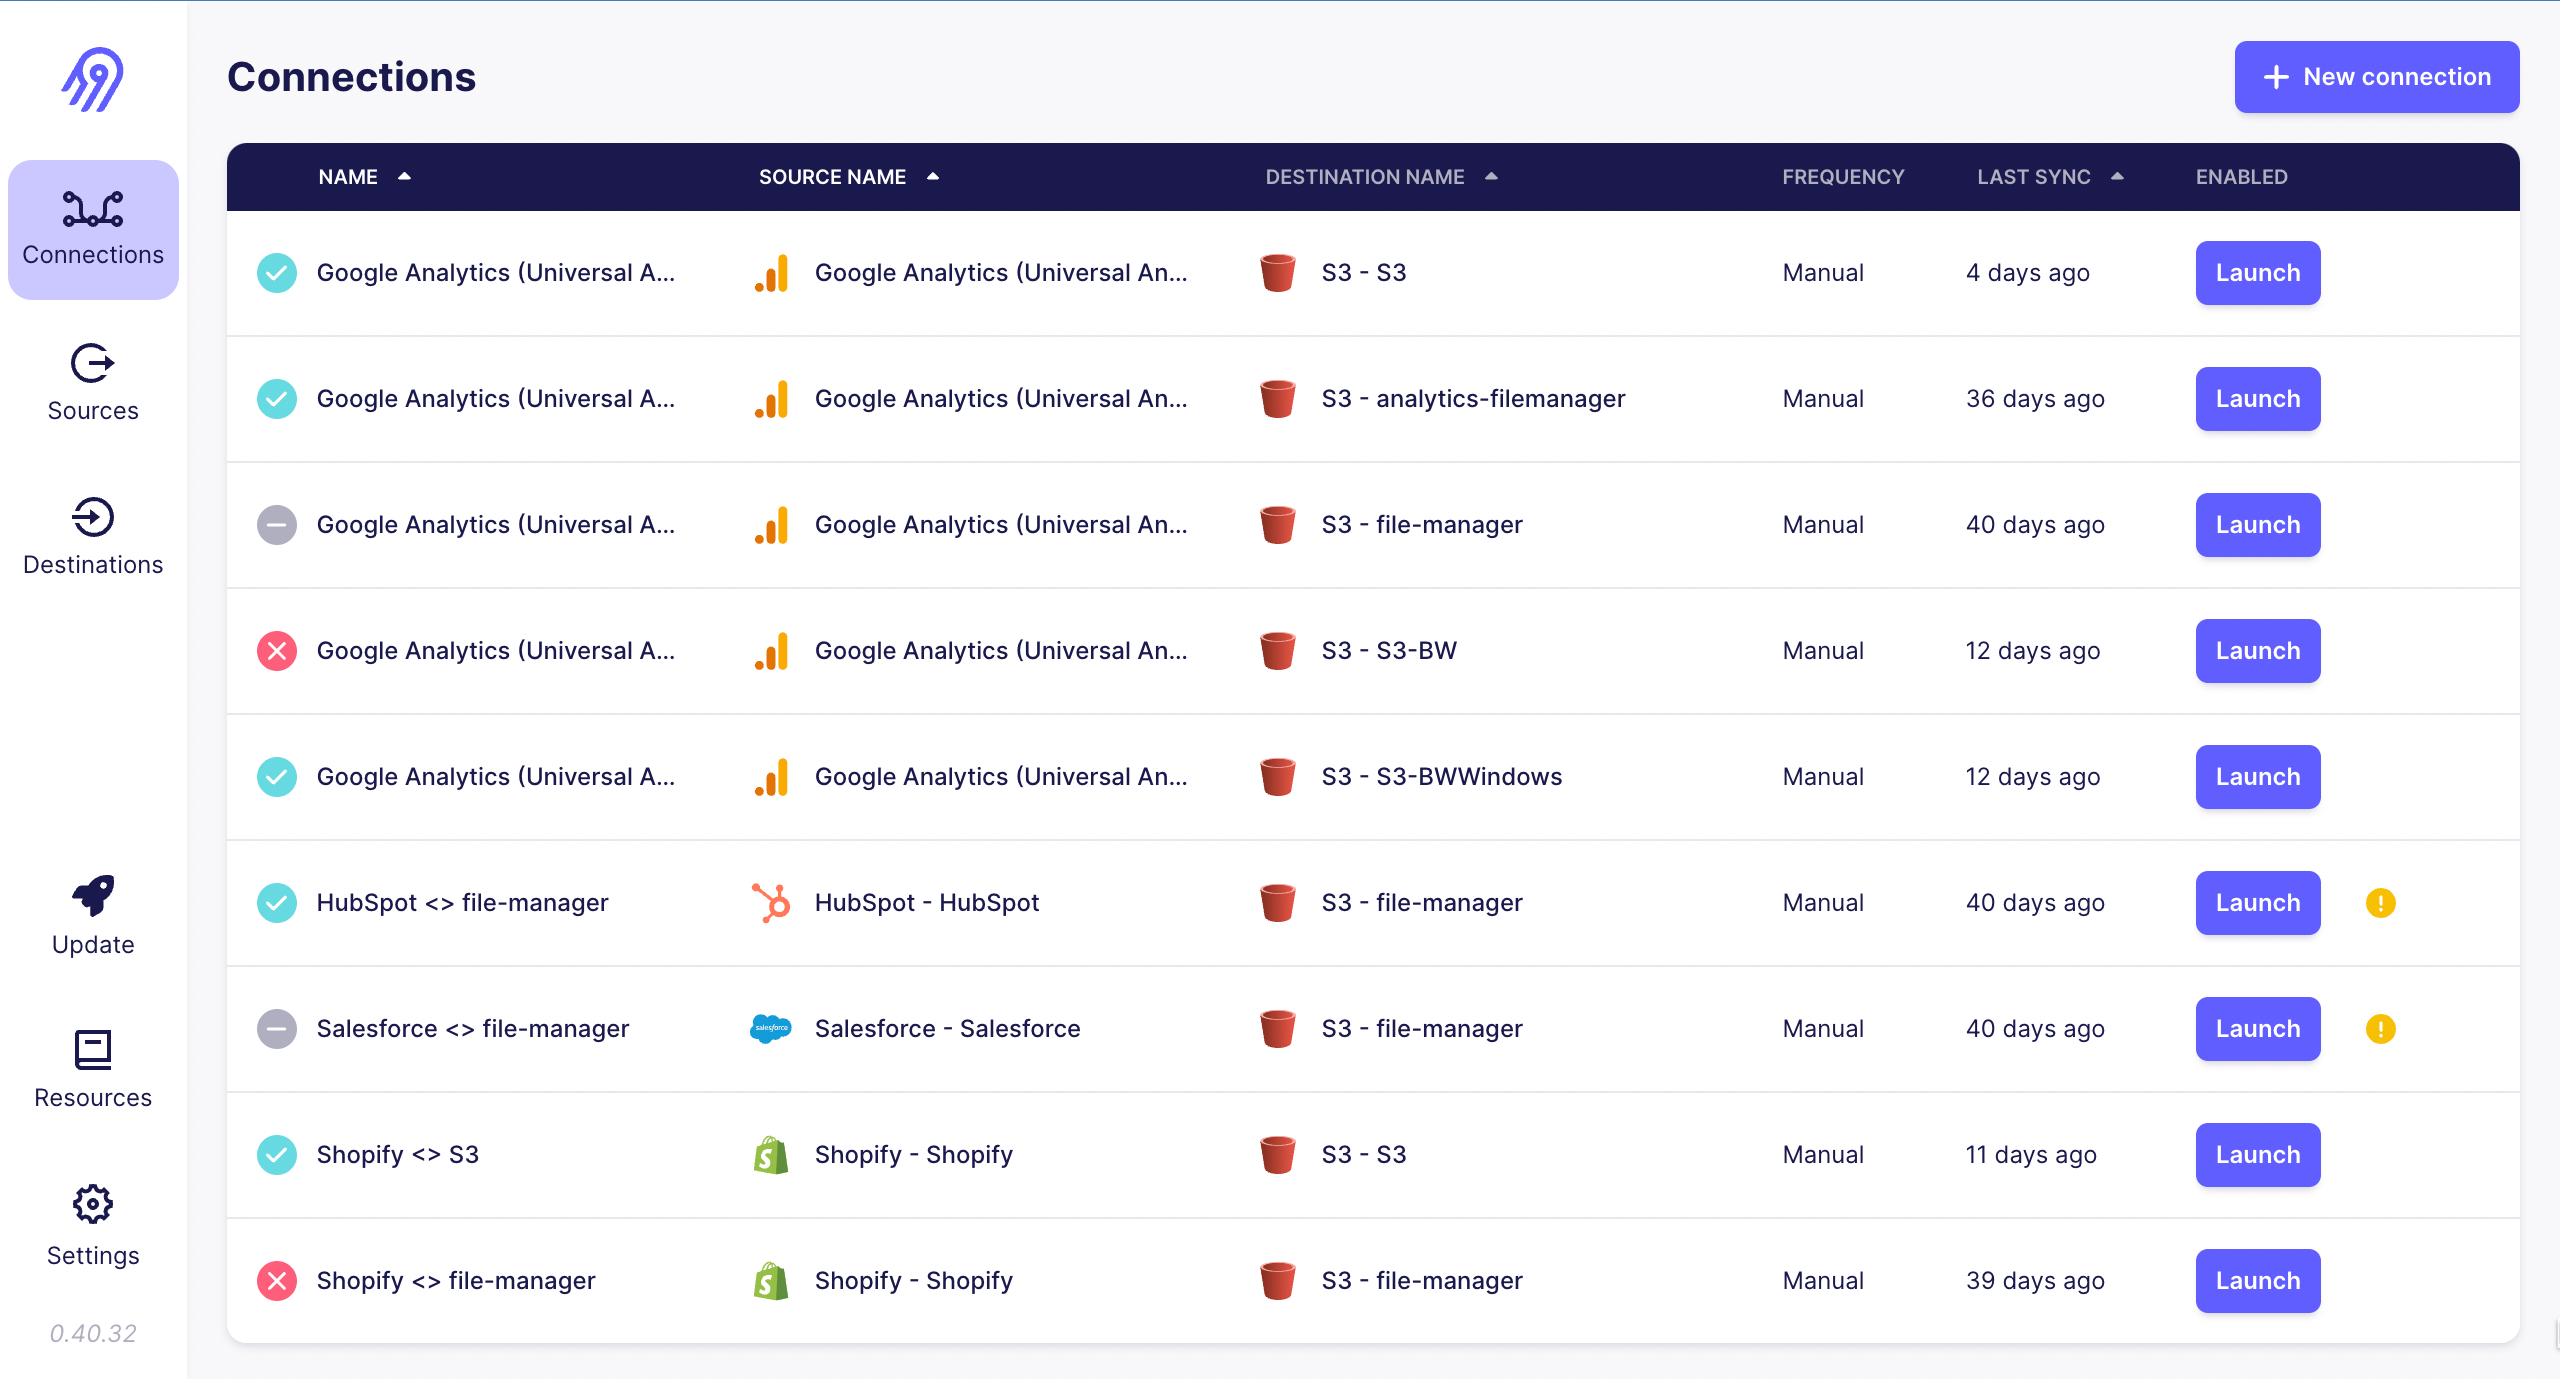
It will open to a new page, there are different options available,
Connections
Sources
Destinations
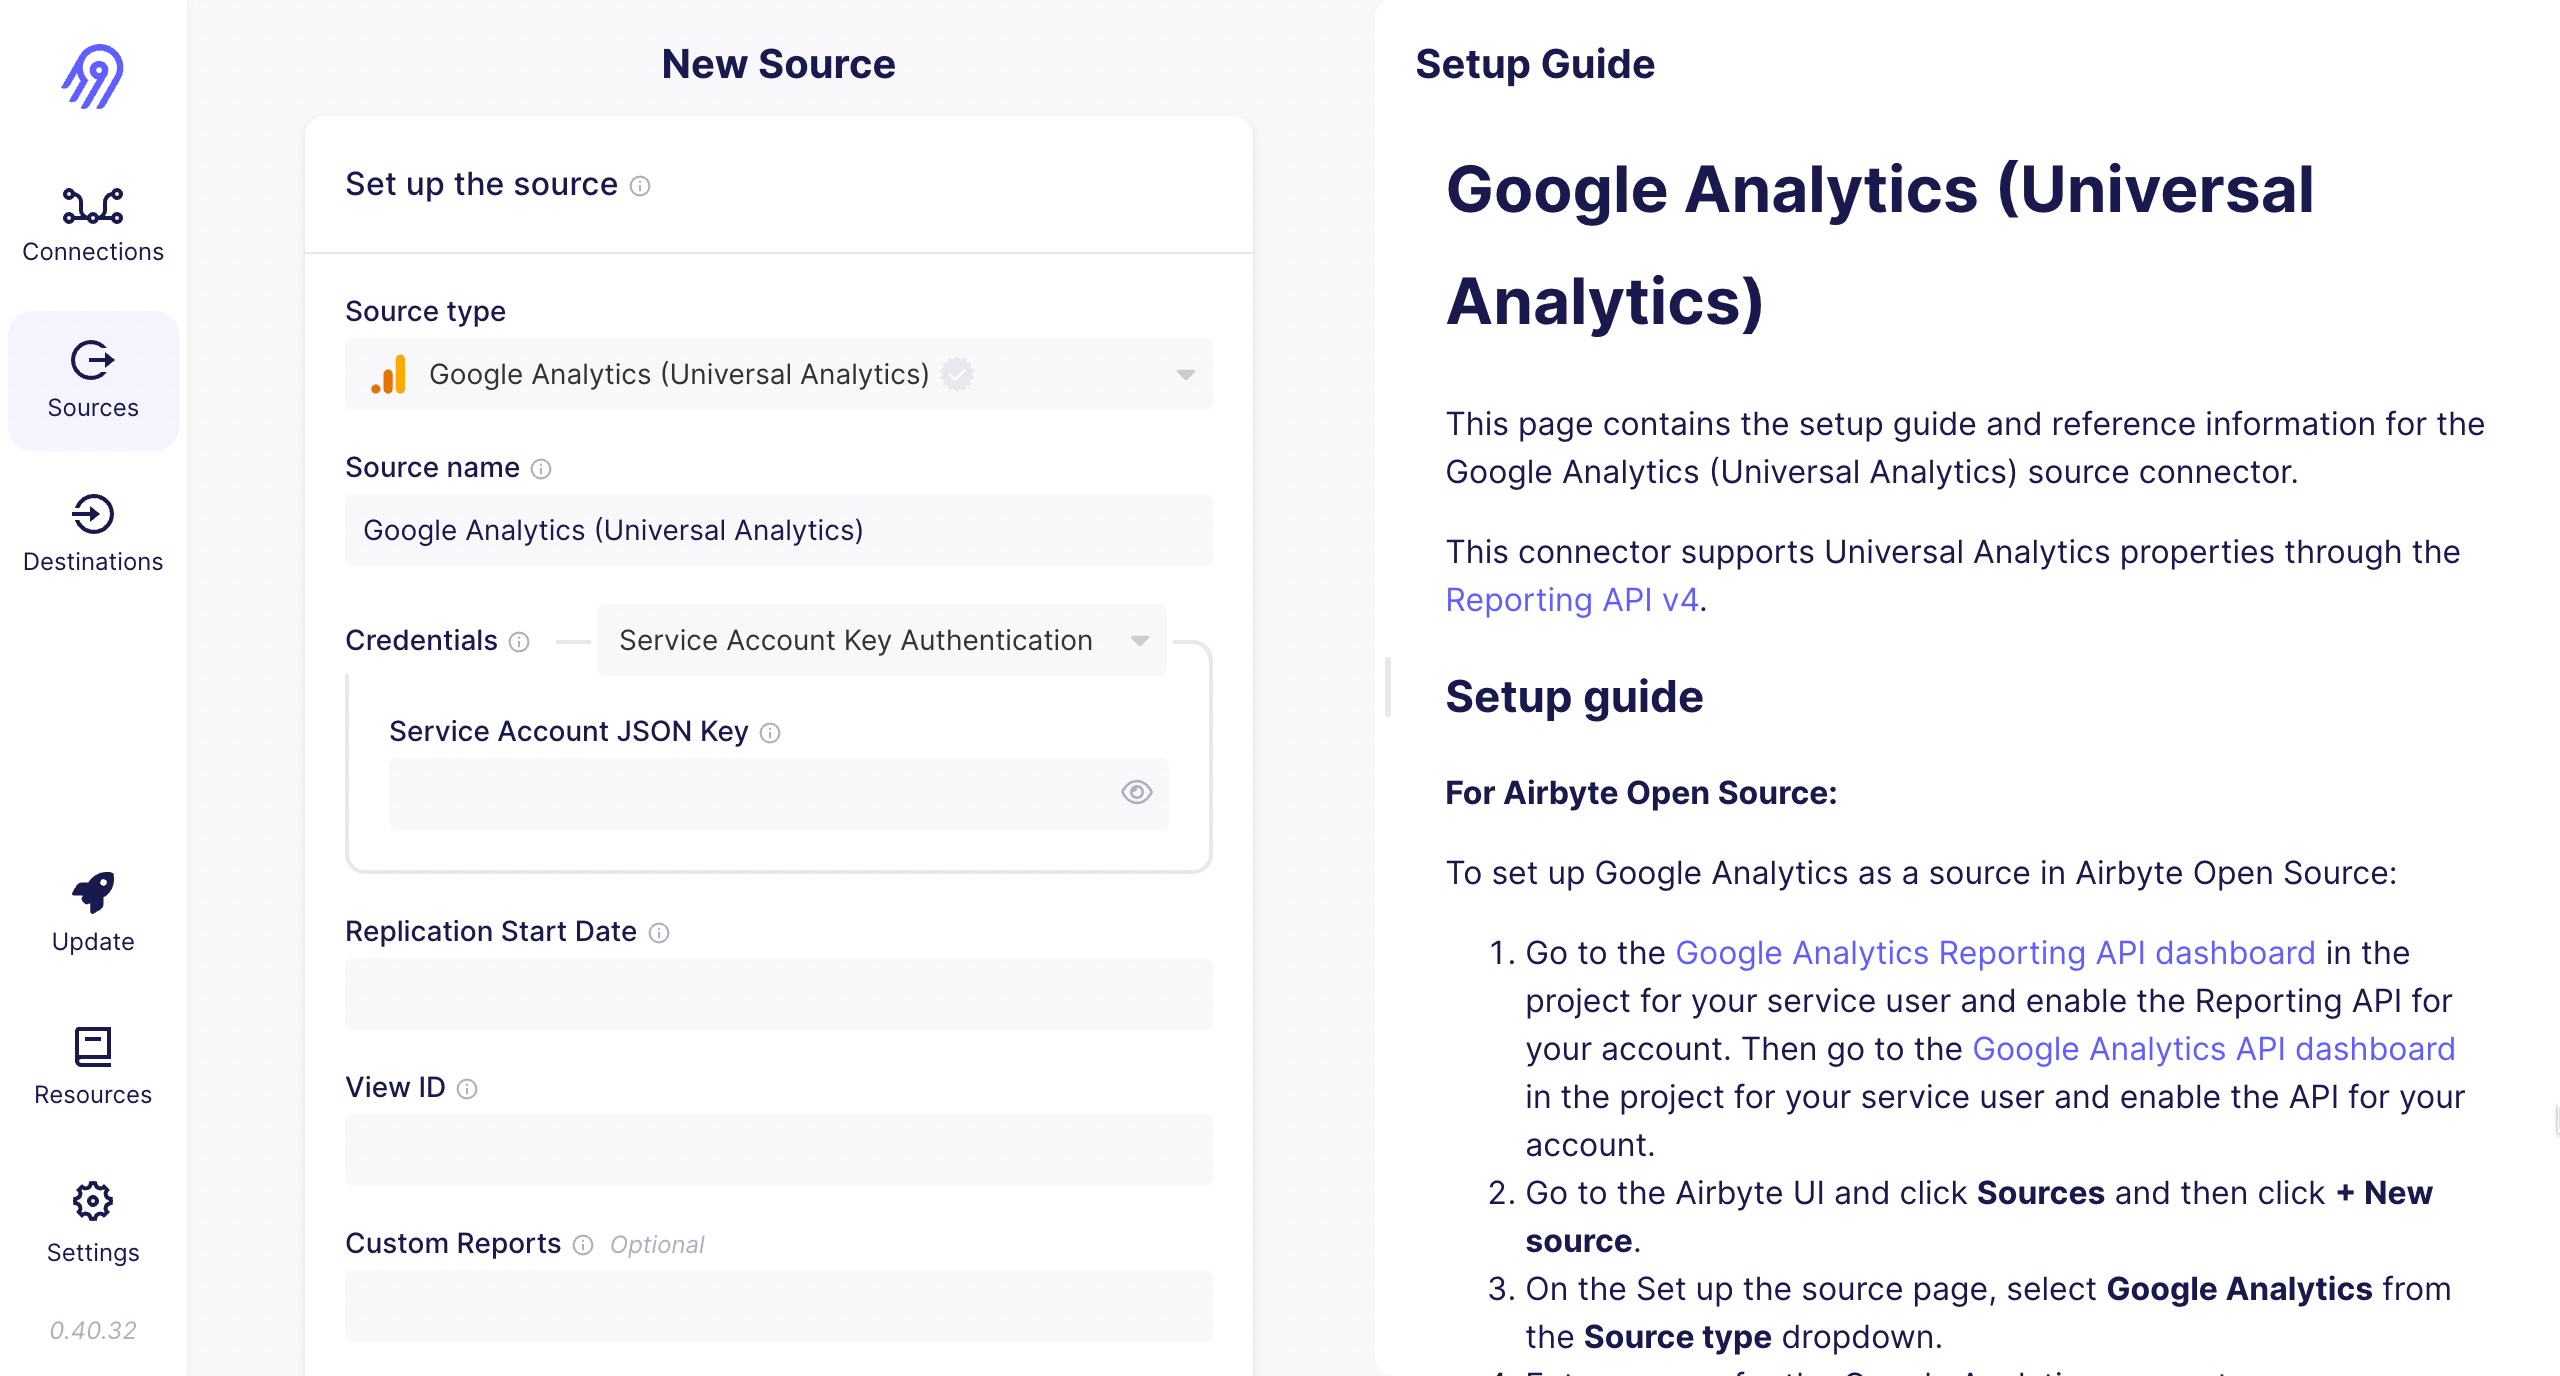
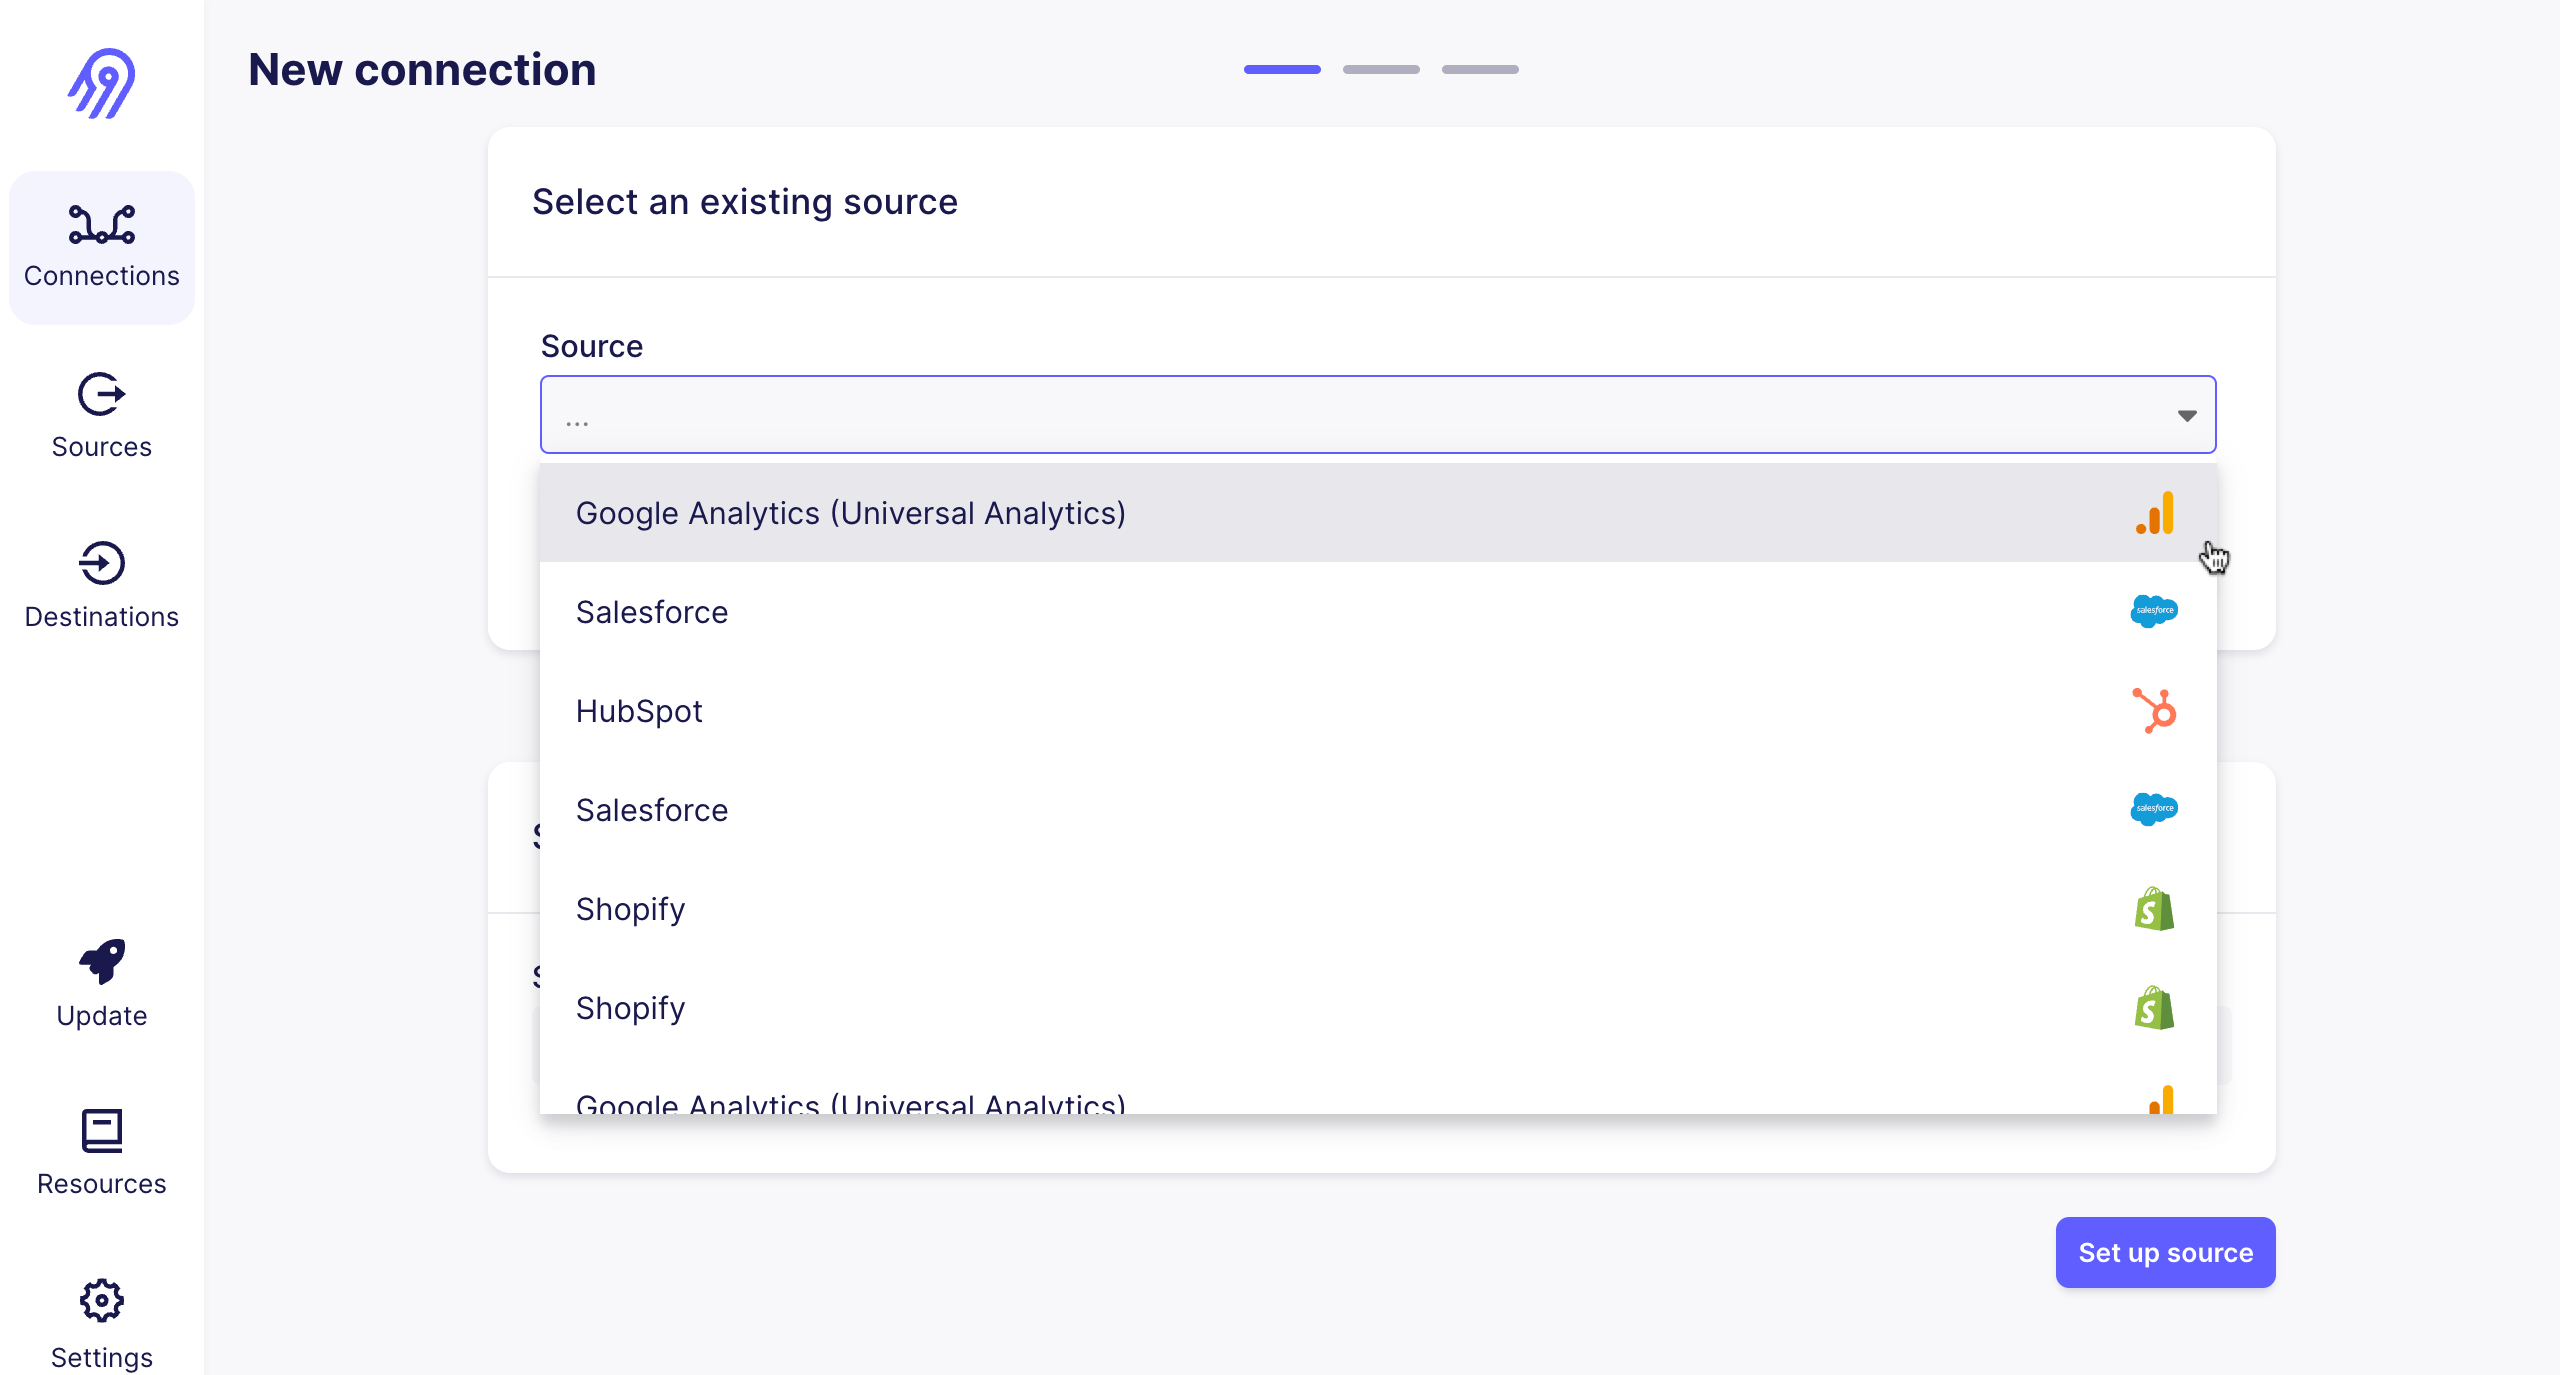
To create a connection, first you need to add a source from which you want to pull data. On the screen, navigate to Sources and click on New Source.
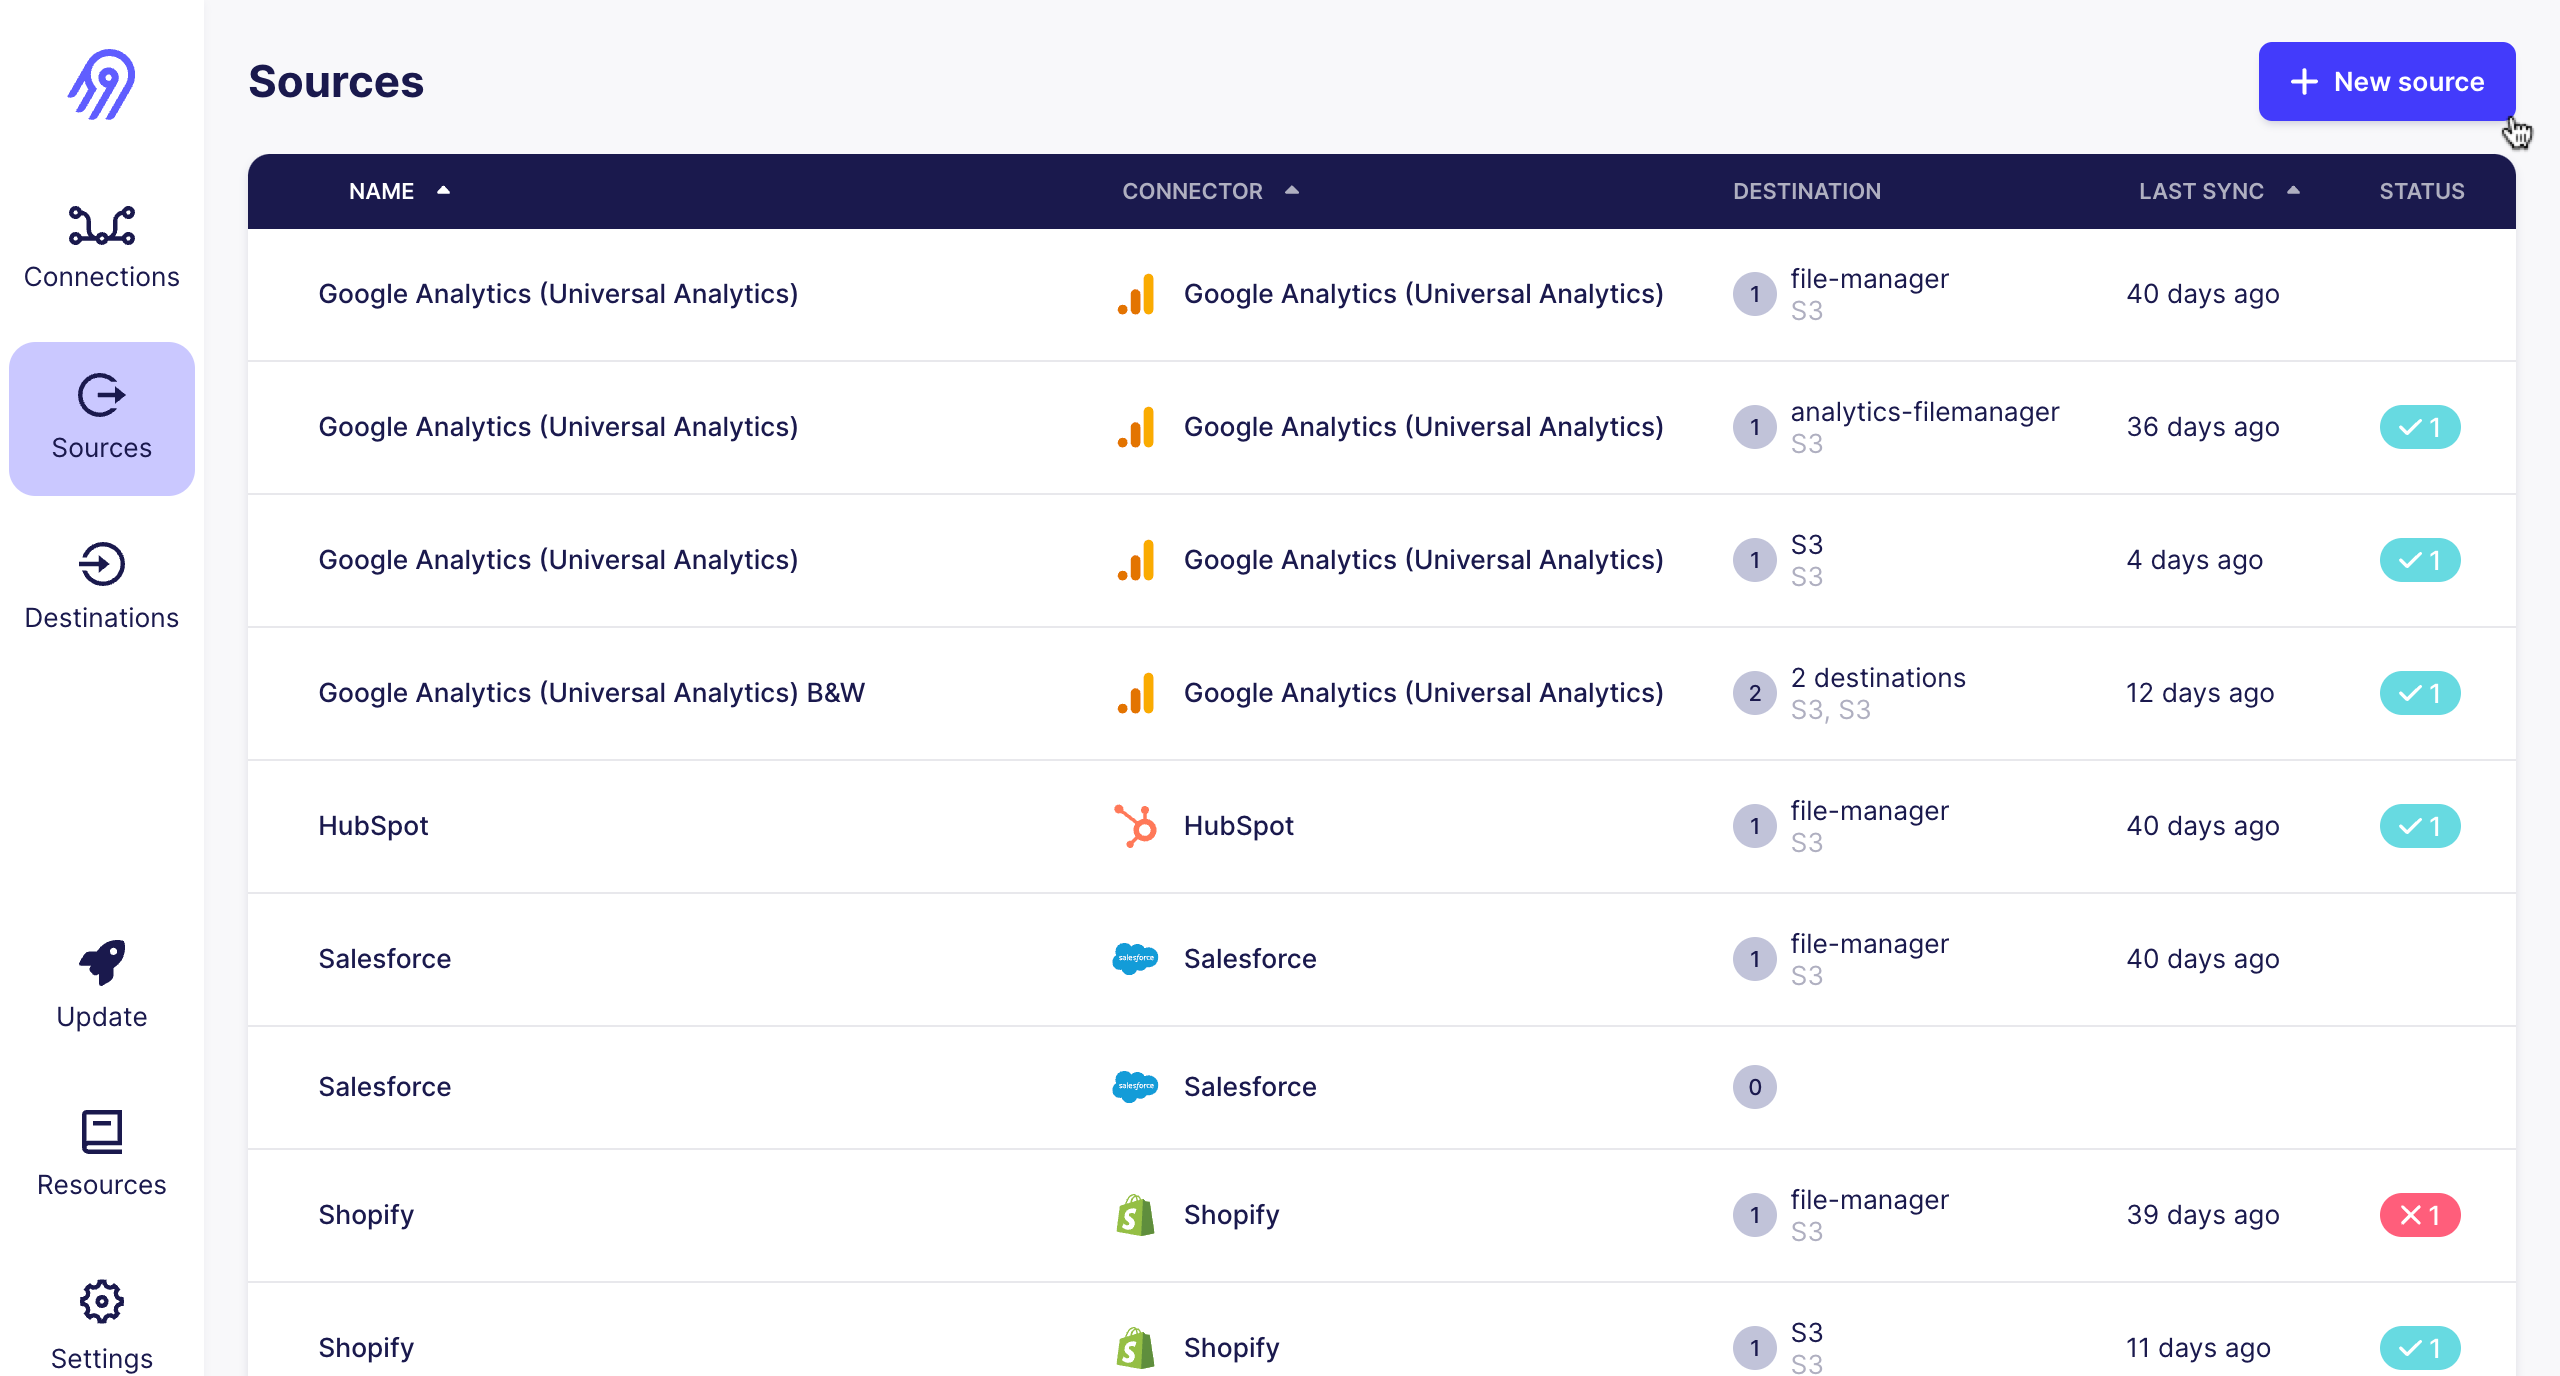
There are number of sources available, you can choose anyone based on your requirements.
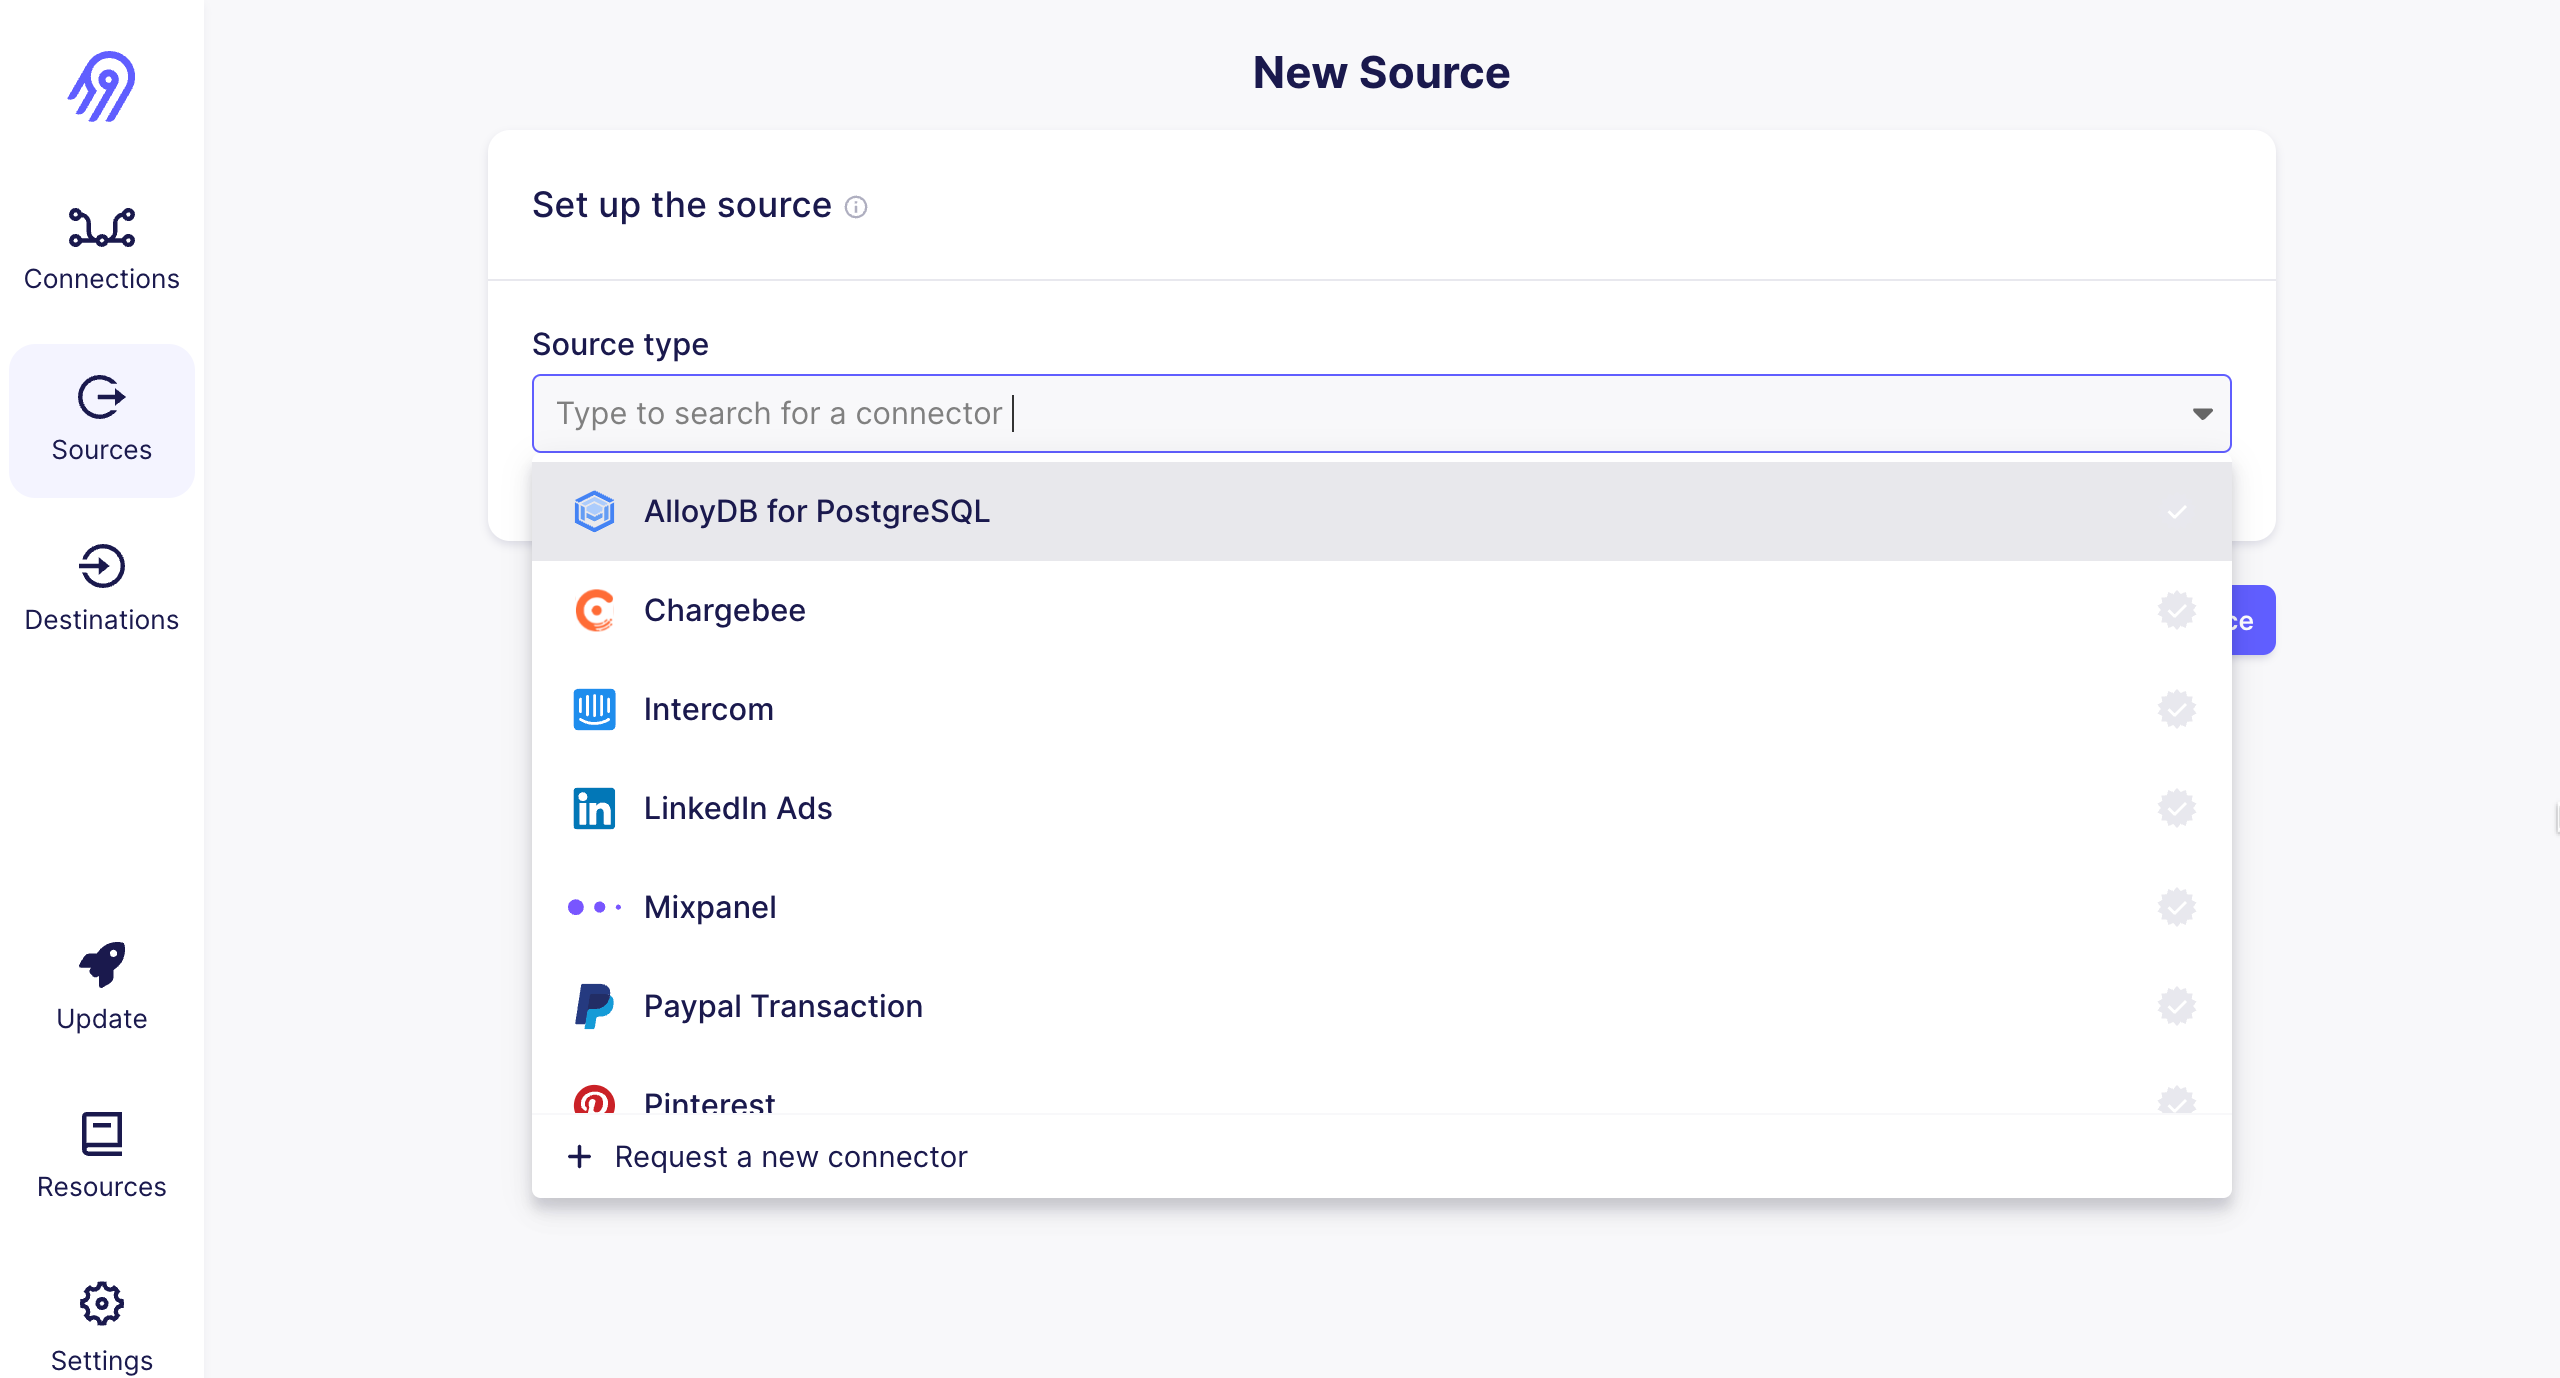
A screen will open with some required fields. You need to add the credentials in these fields. There is an documentation from AirByte on the right hand side. You can refer that documentaion to create your credentials.
- For Example : If you choose Google Analytics as your source, then you need to add the Service Account key, Replication date and View ID as they are required fields.
After filling all the details in the Source you have selected. You can now test the source, when test is completed successfully. Click on set up source.
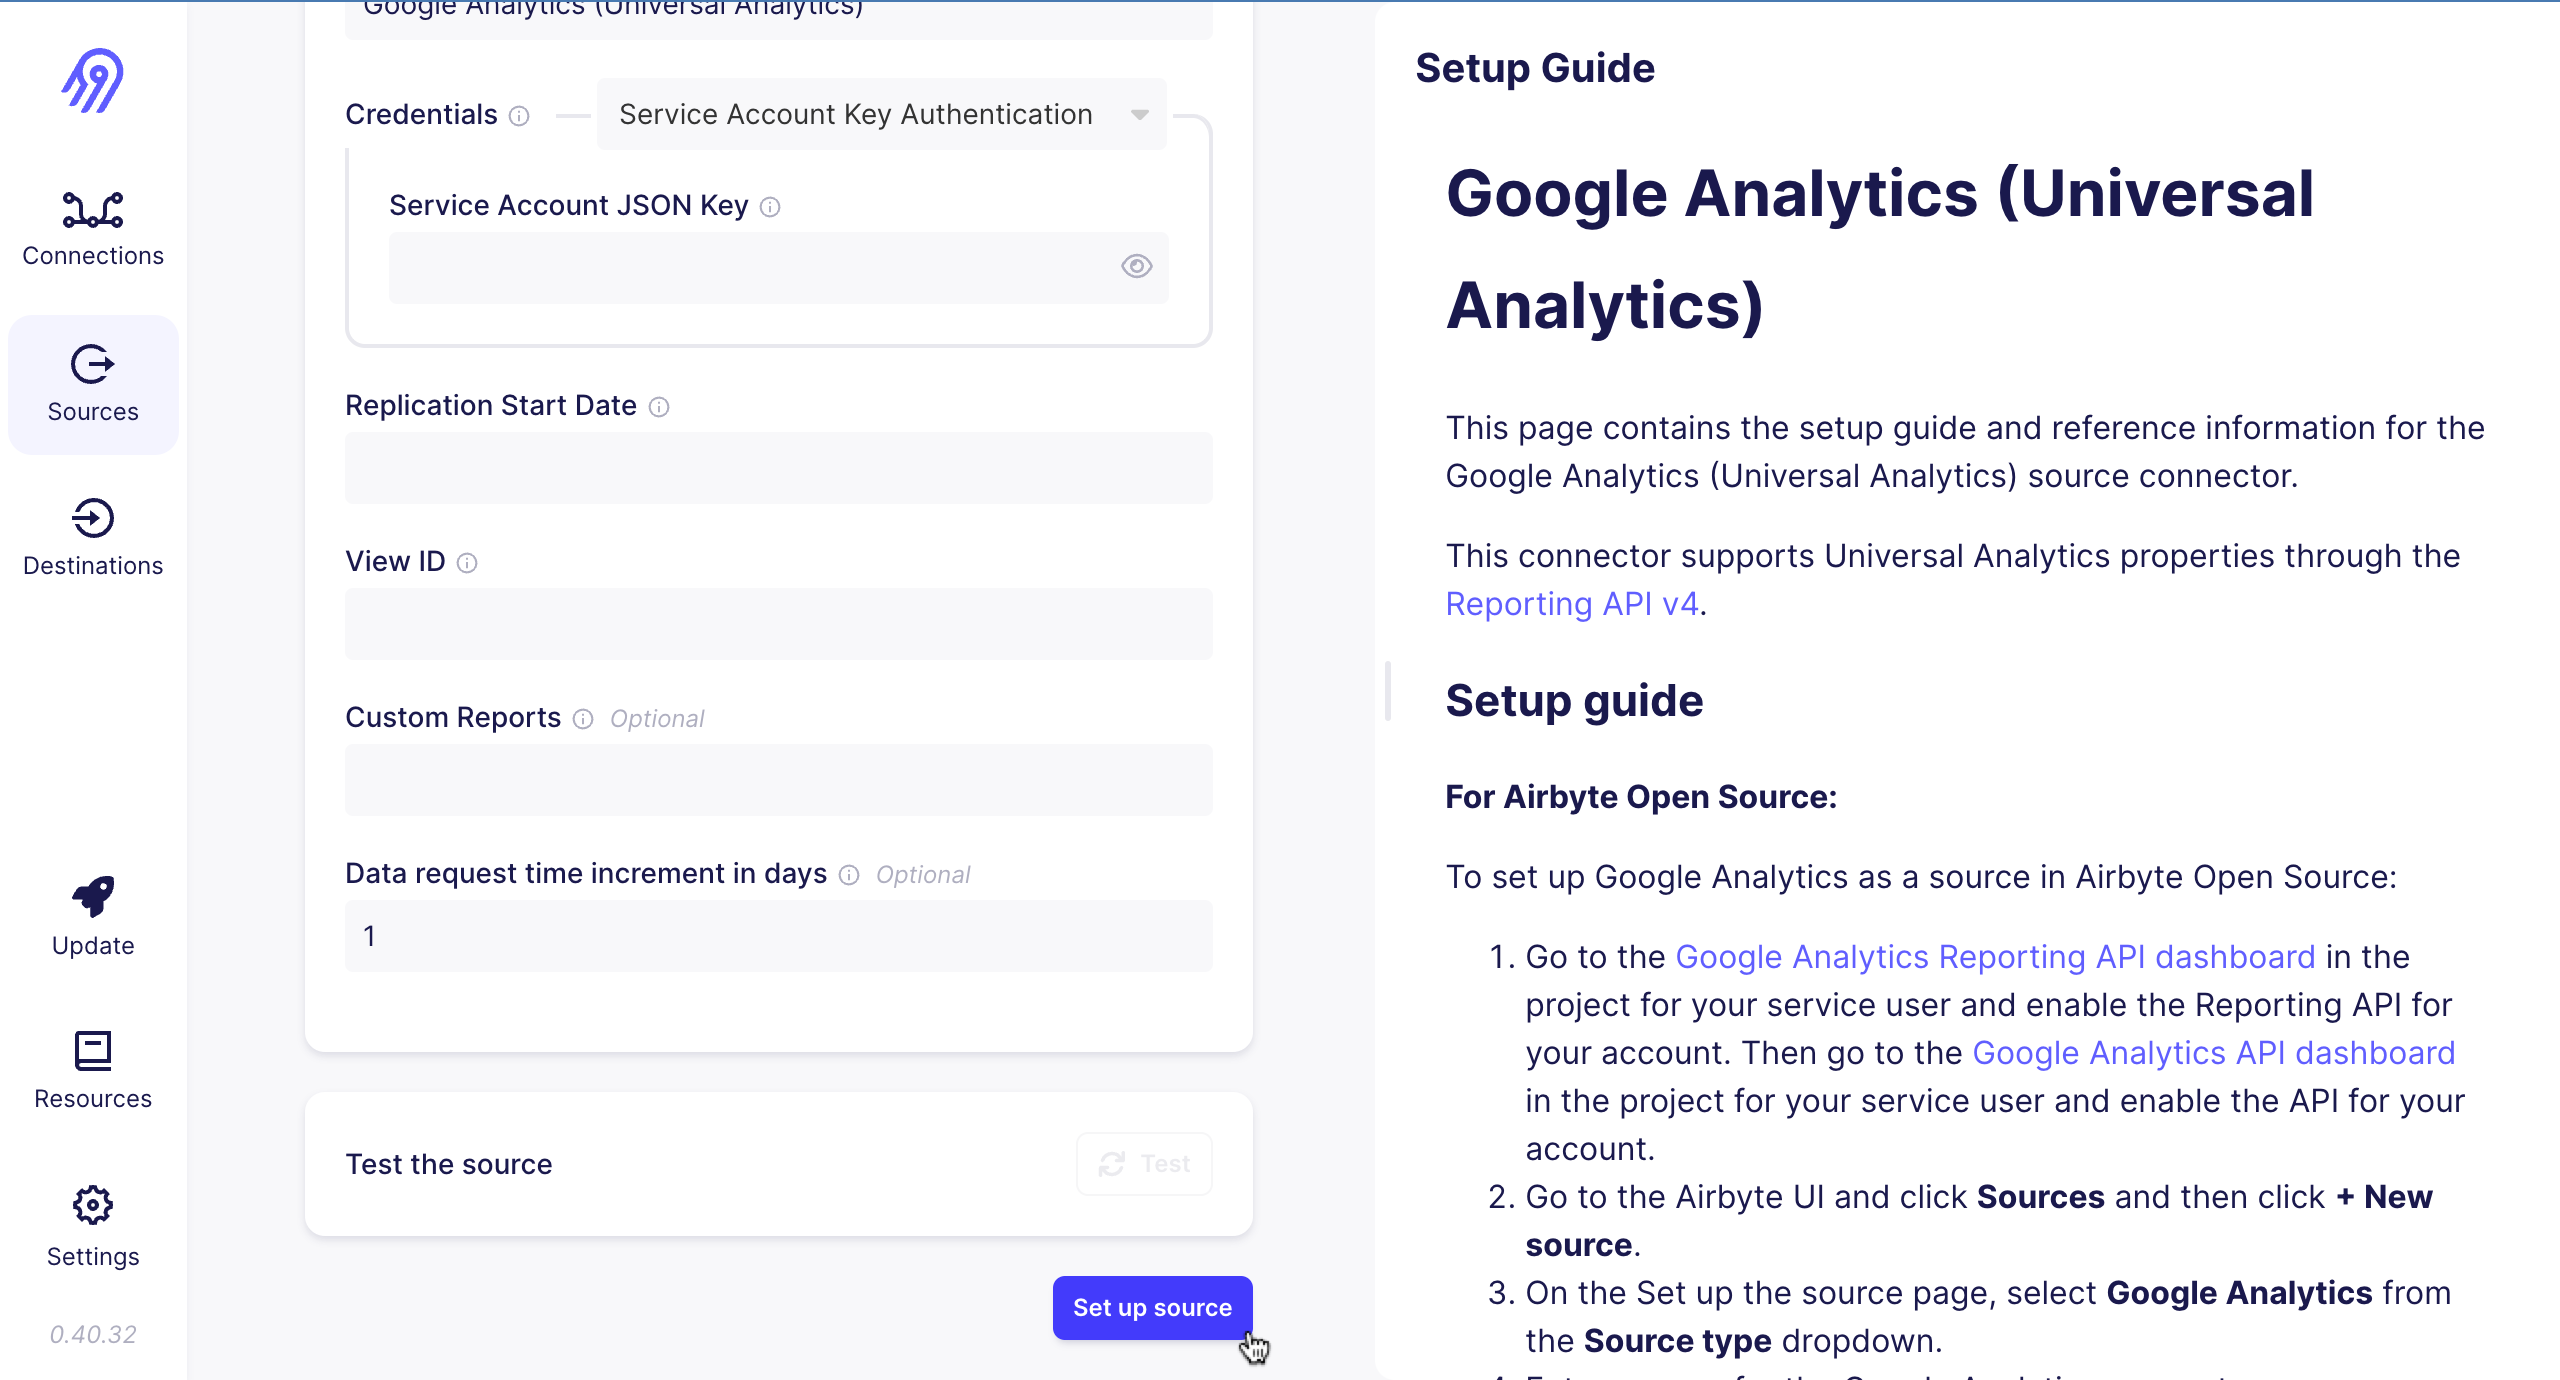
Hurrah! You have created a source successfully. Now you have a source which pulled your data.
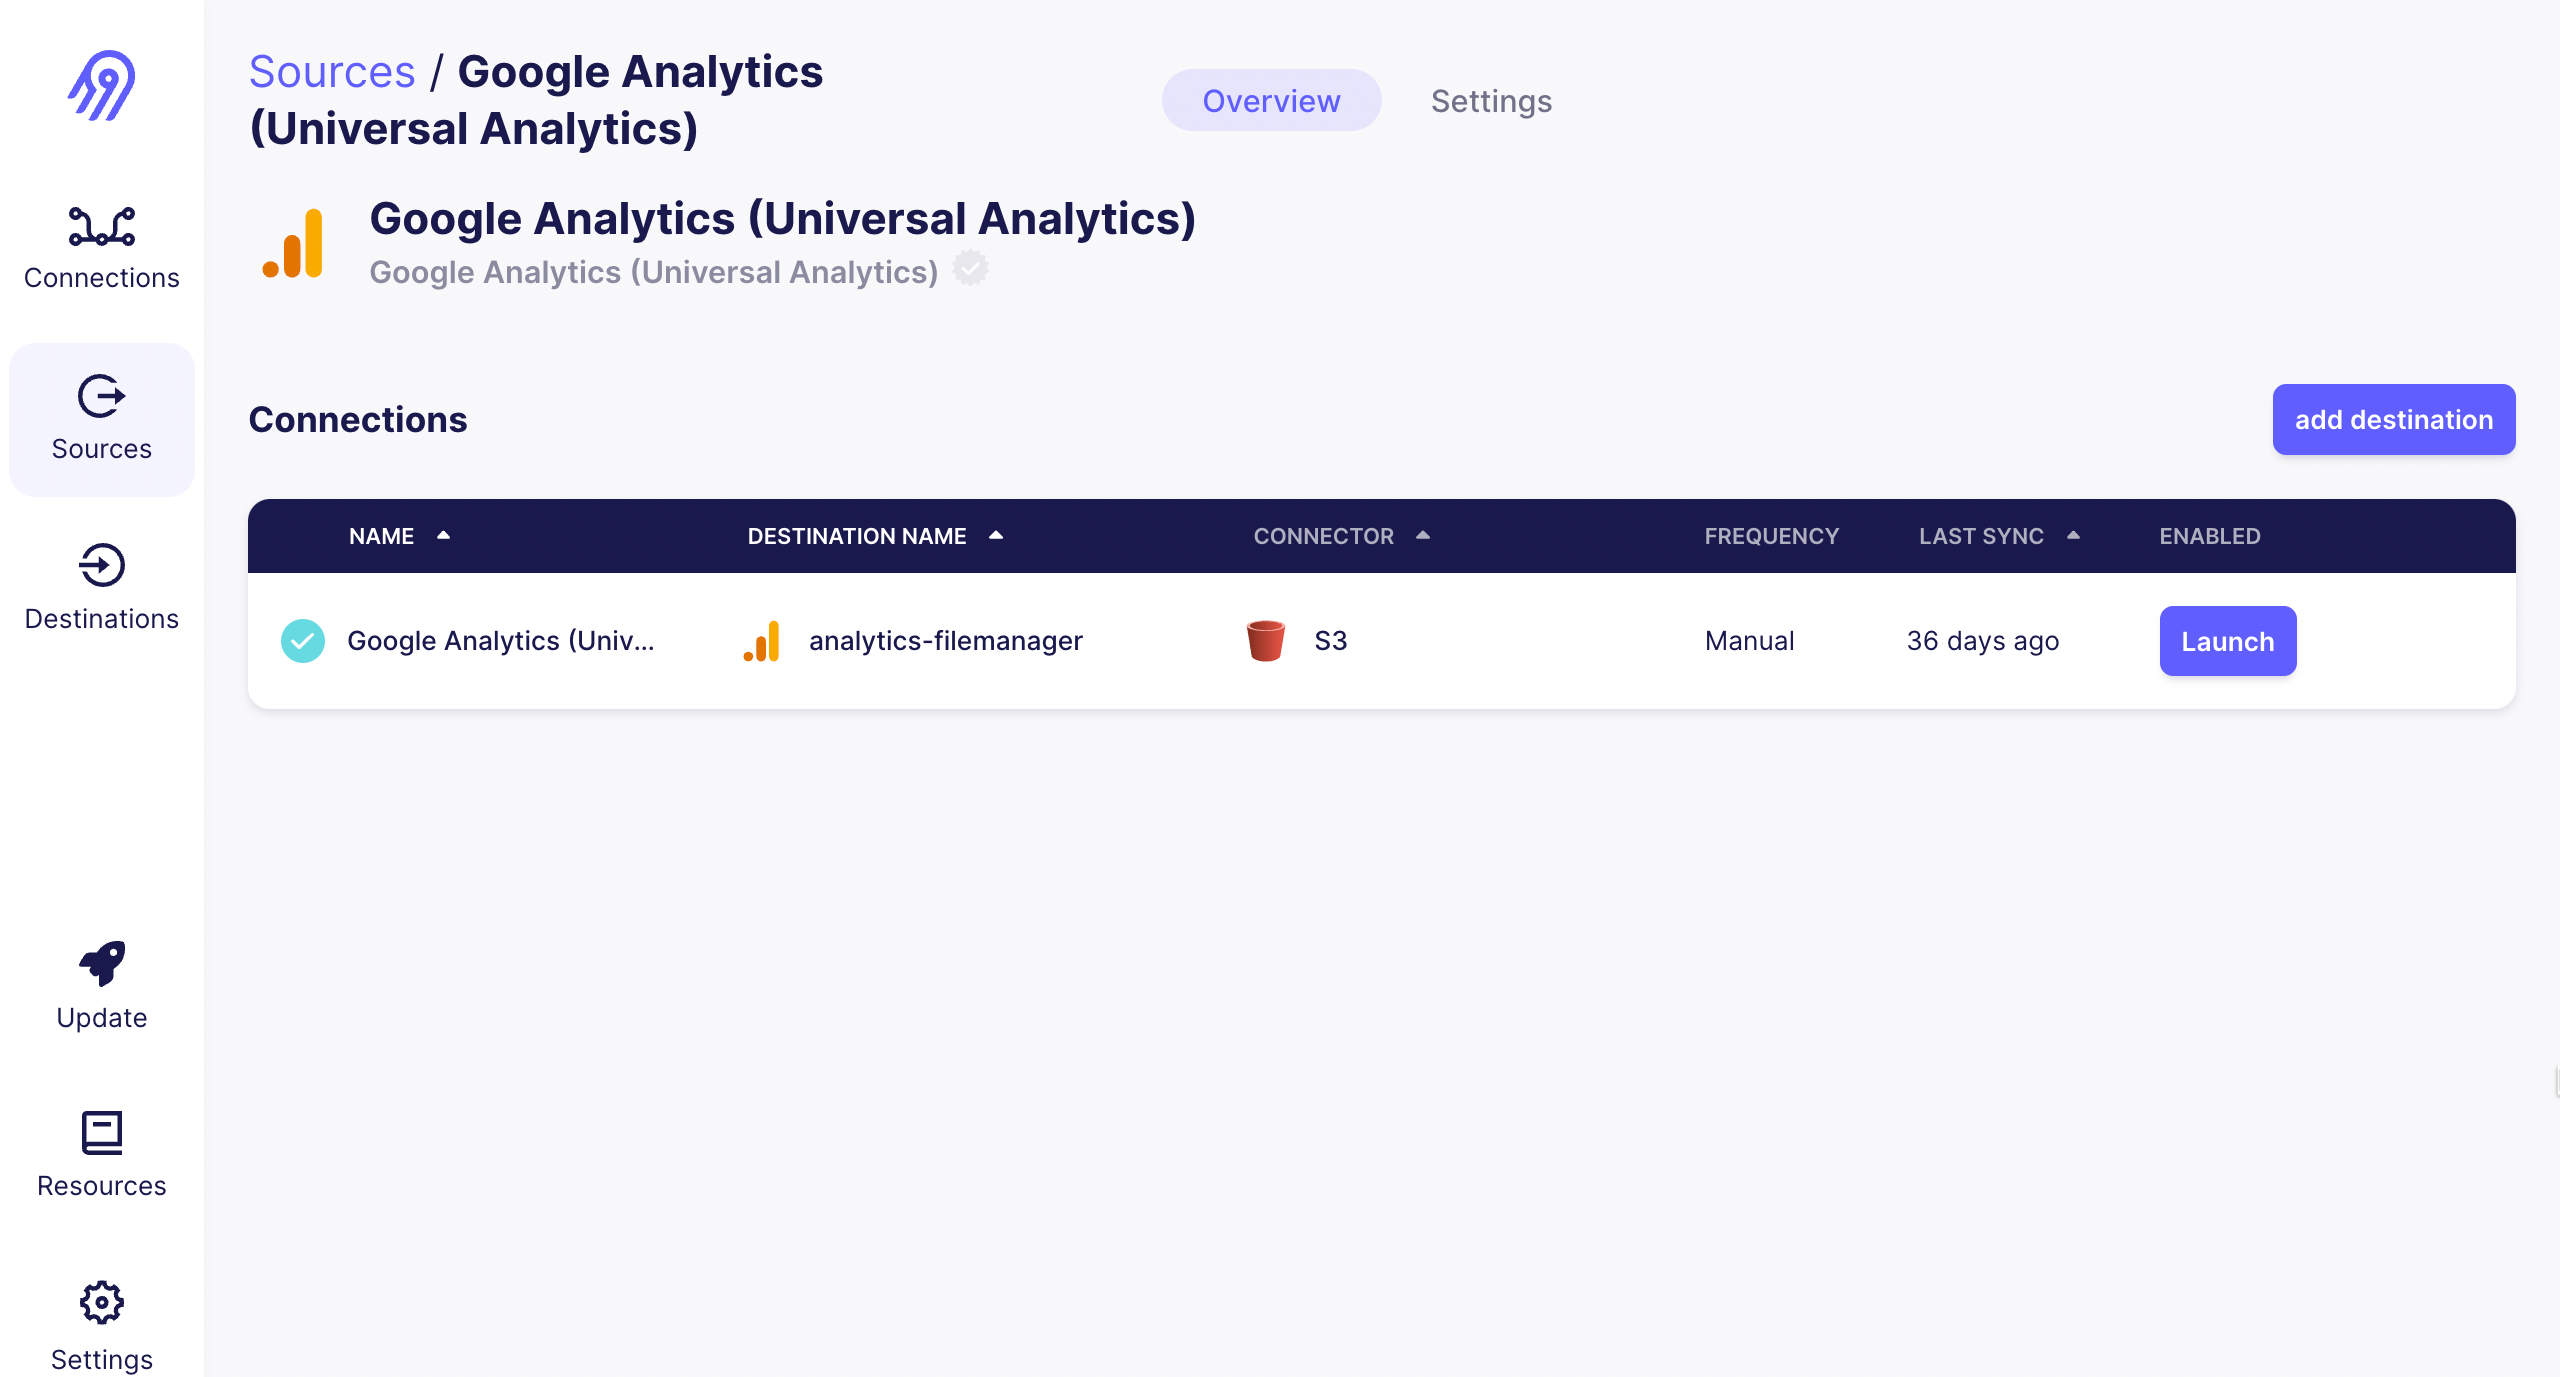
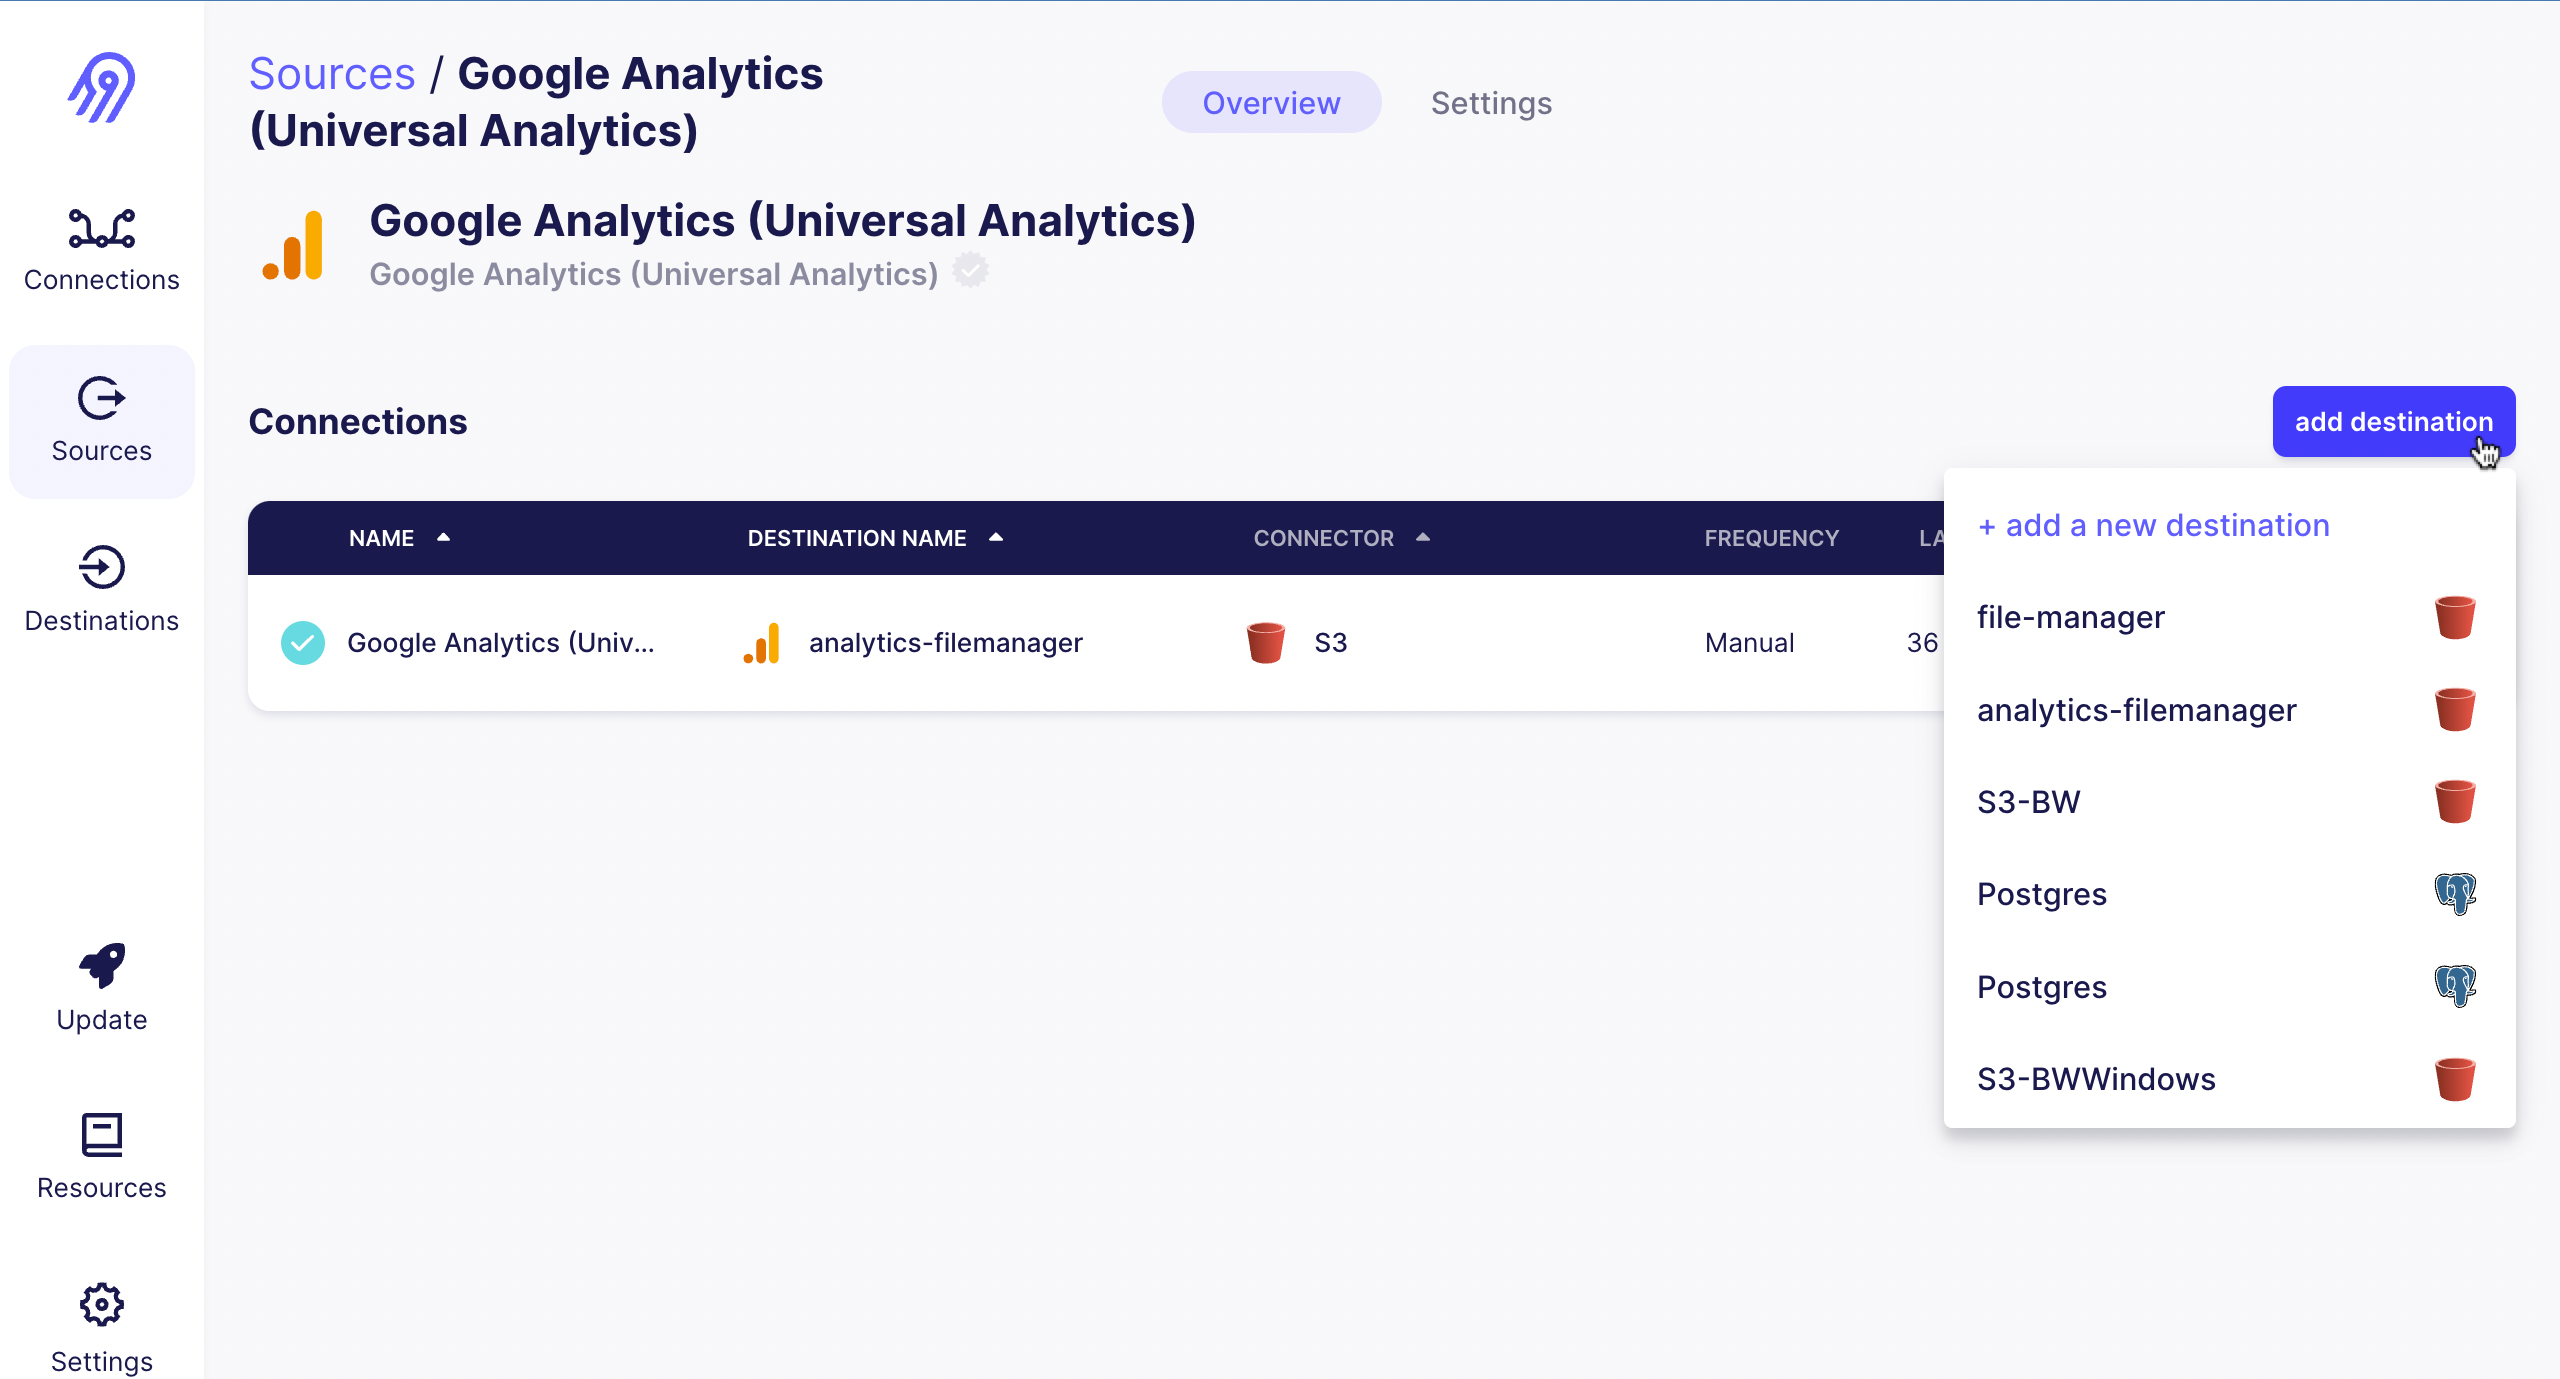
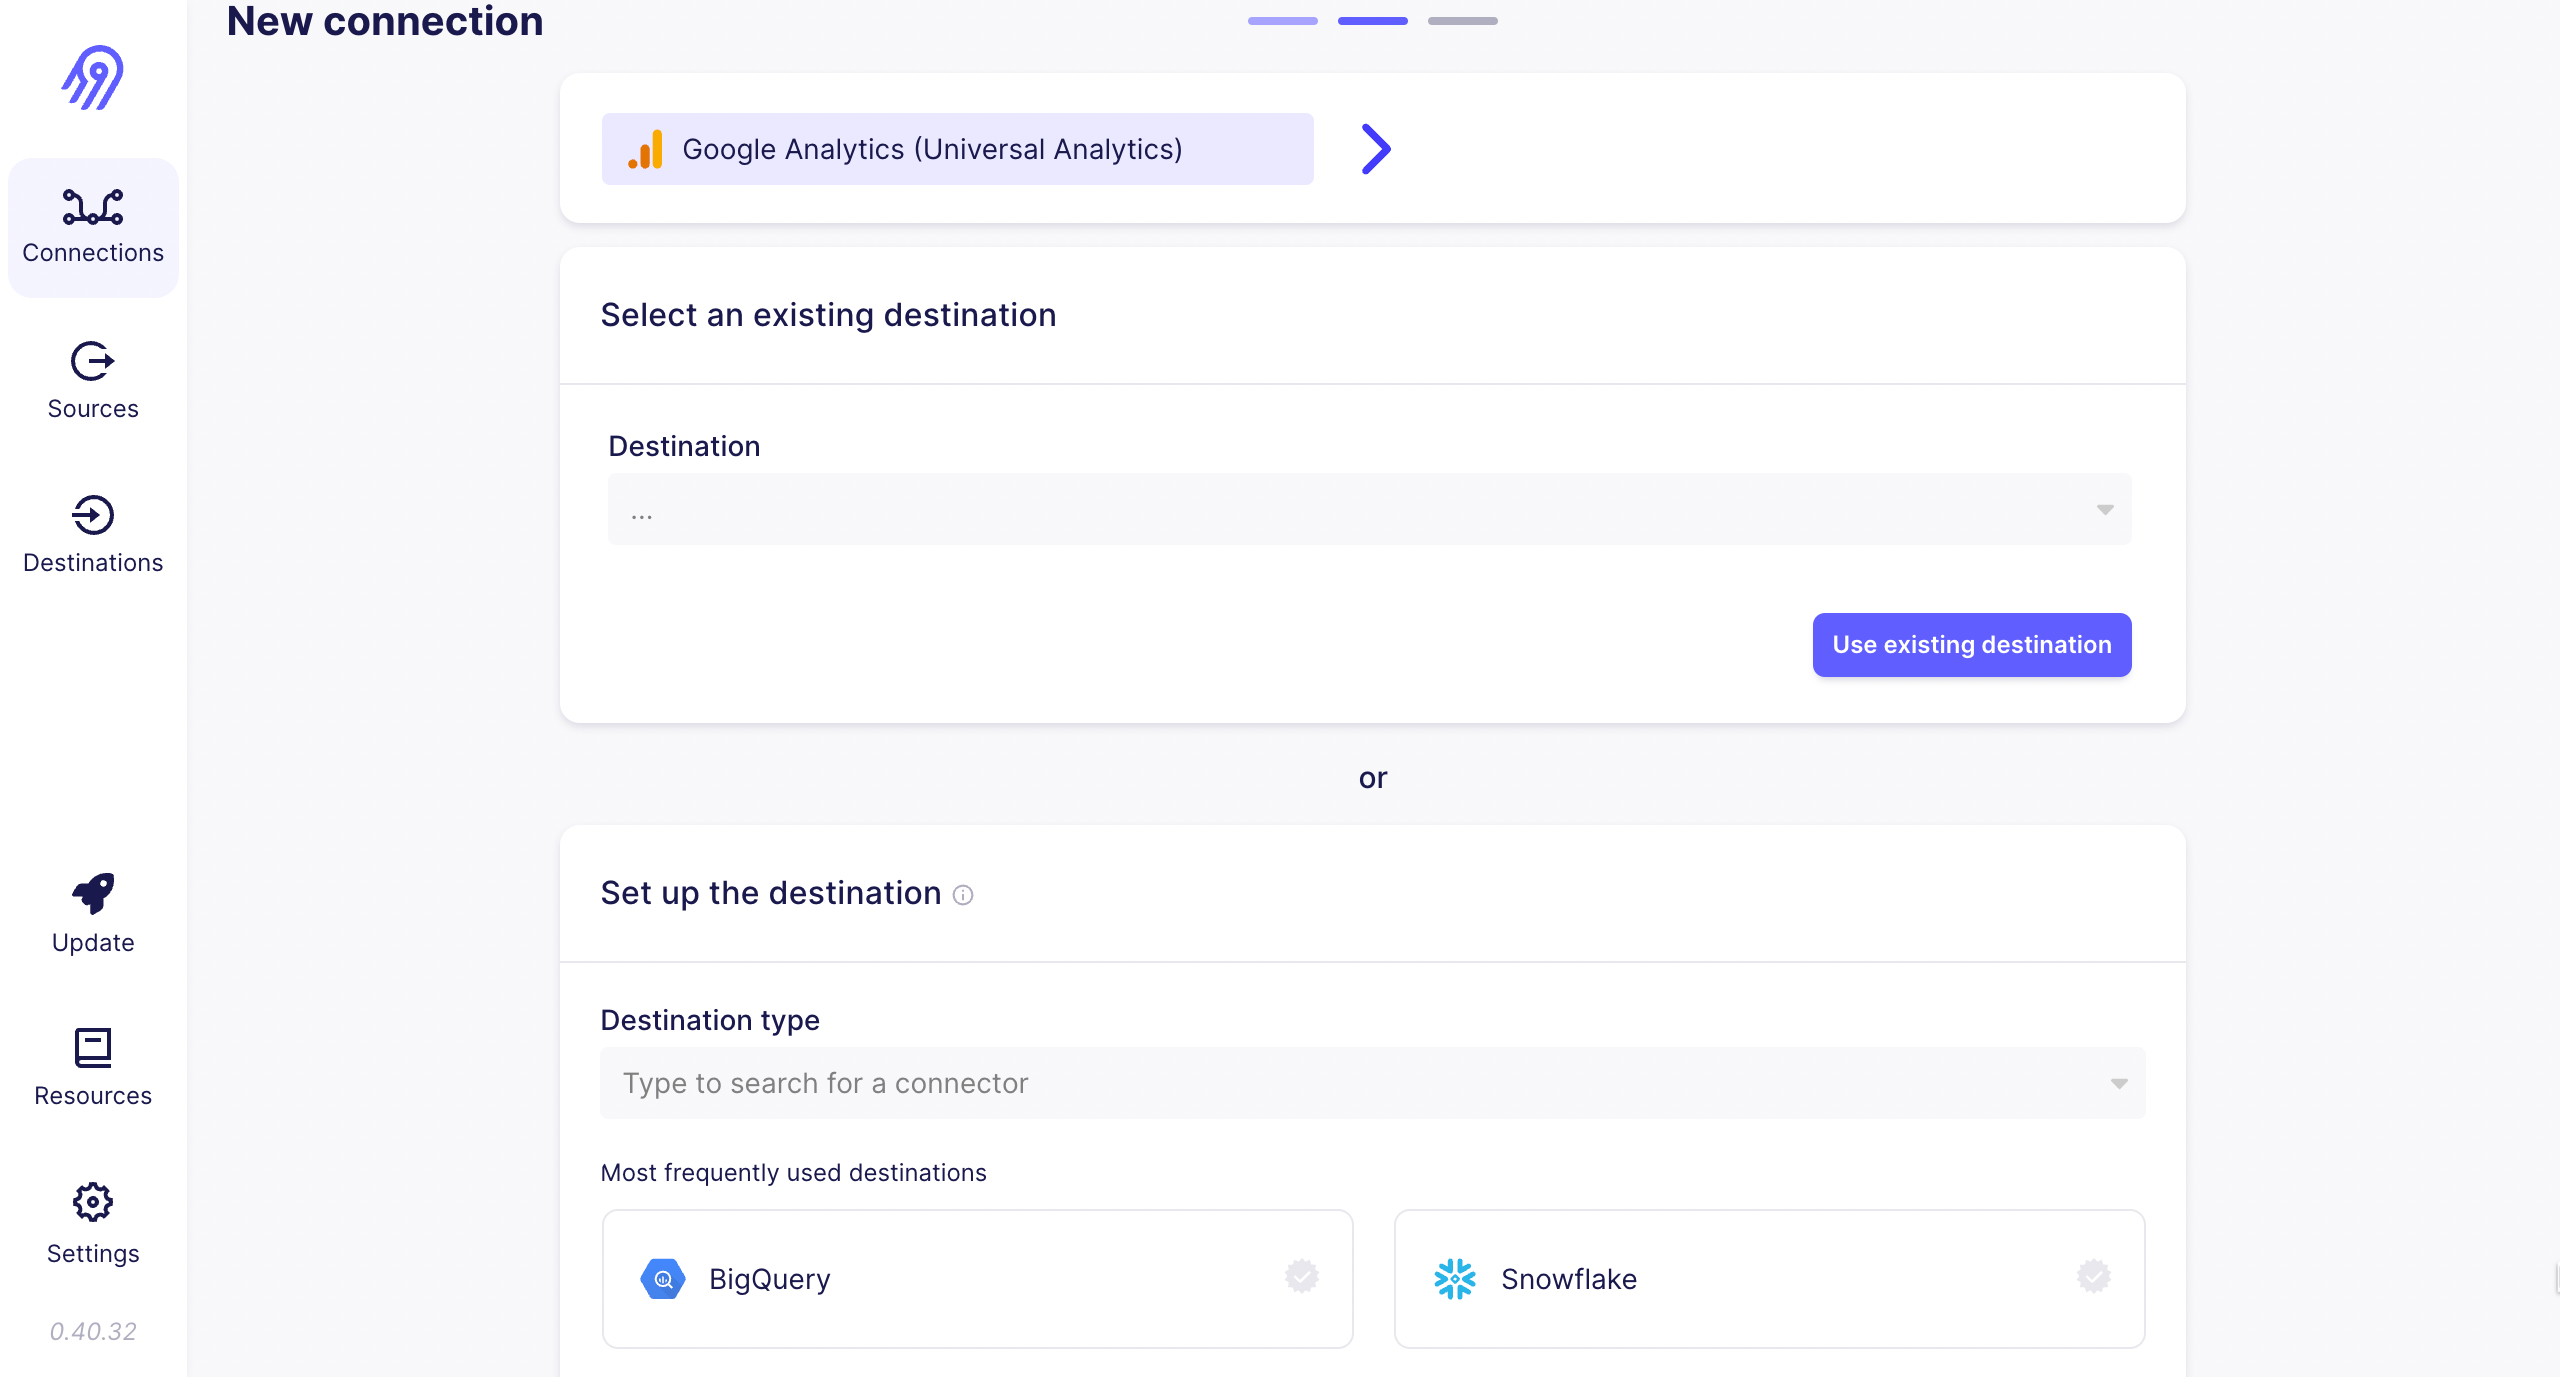
After creating a source, now you need a Destination where you want to put your fetched data. You can add a destination via two methods,
- By clicking on add destination and select the already created destination or add a new destination.
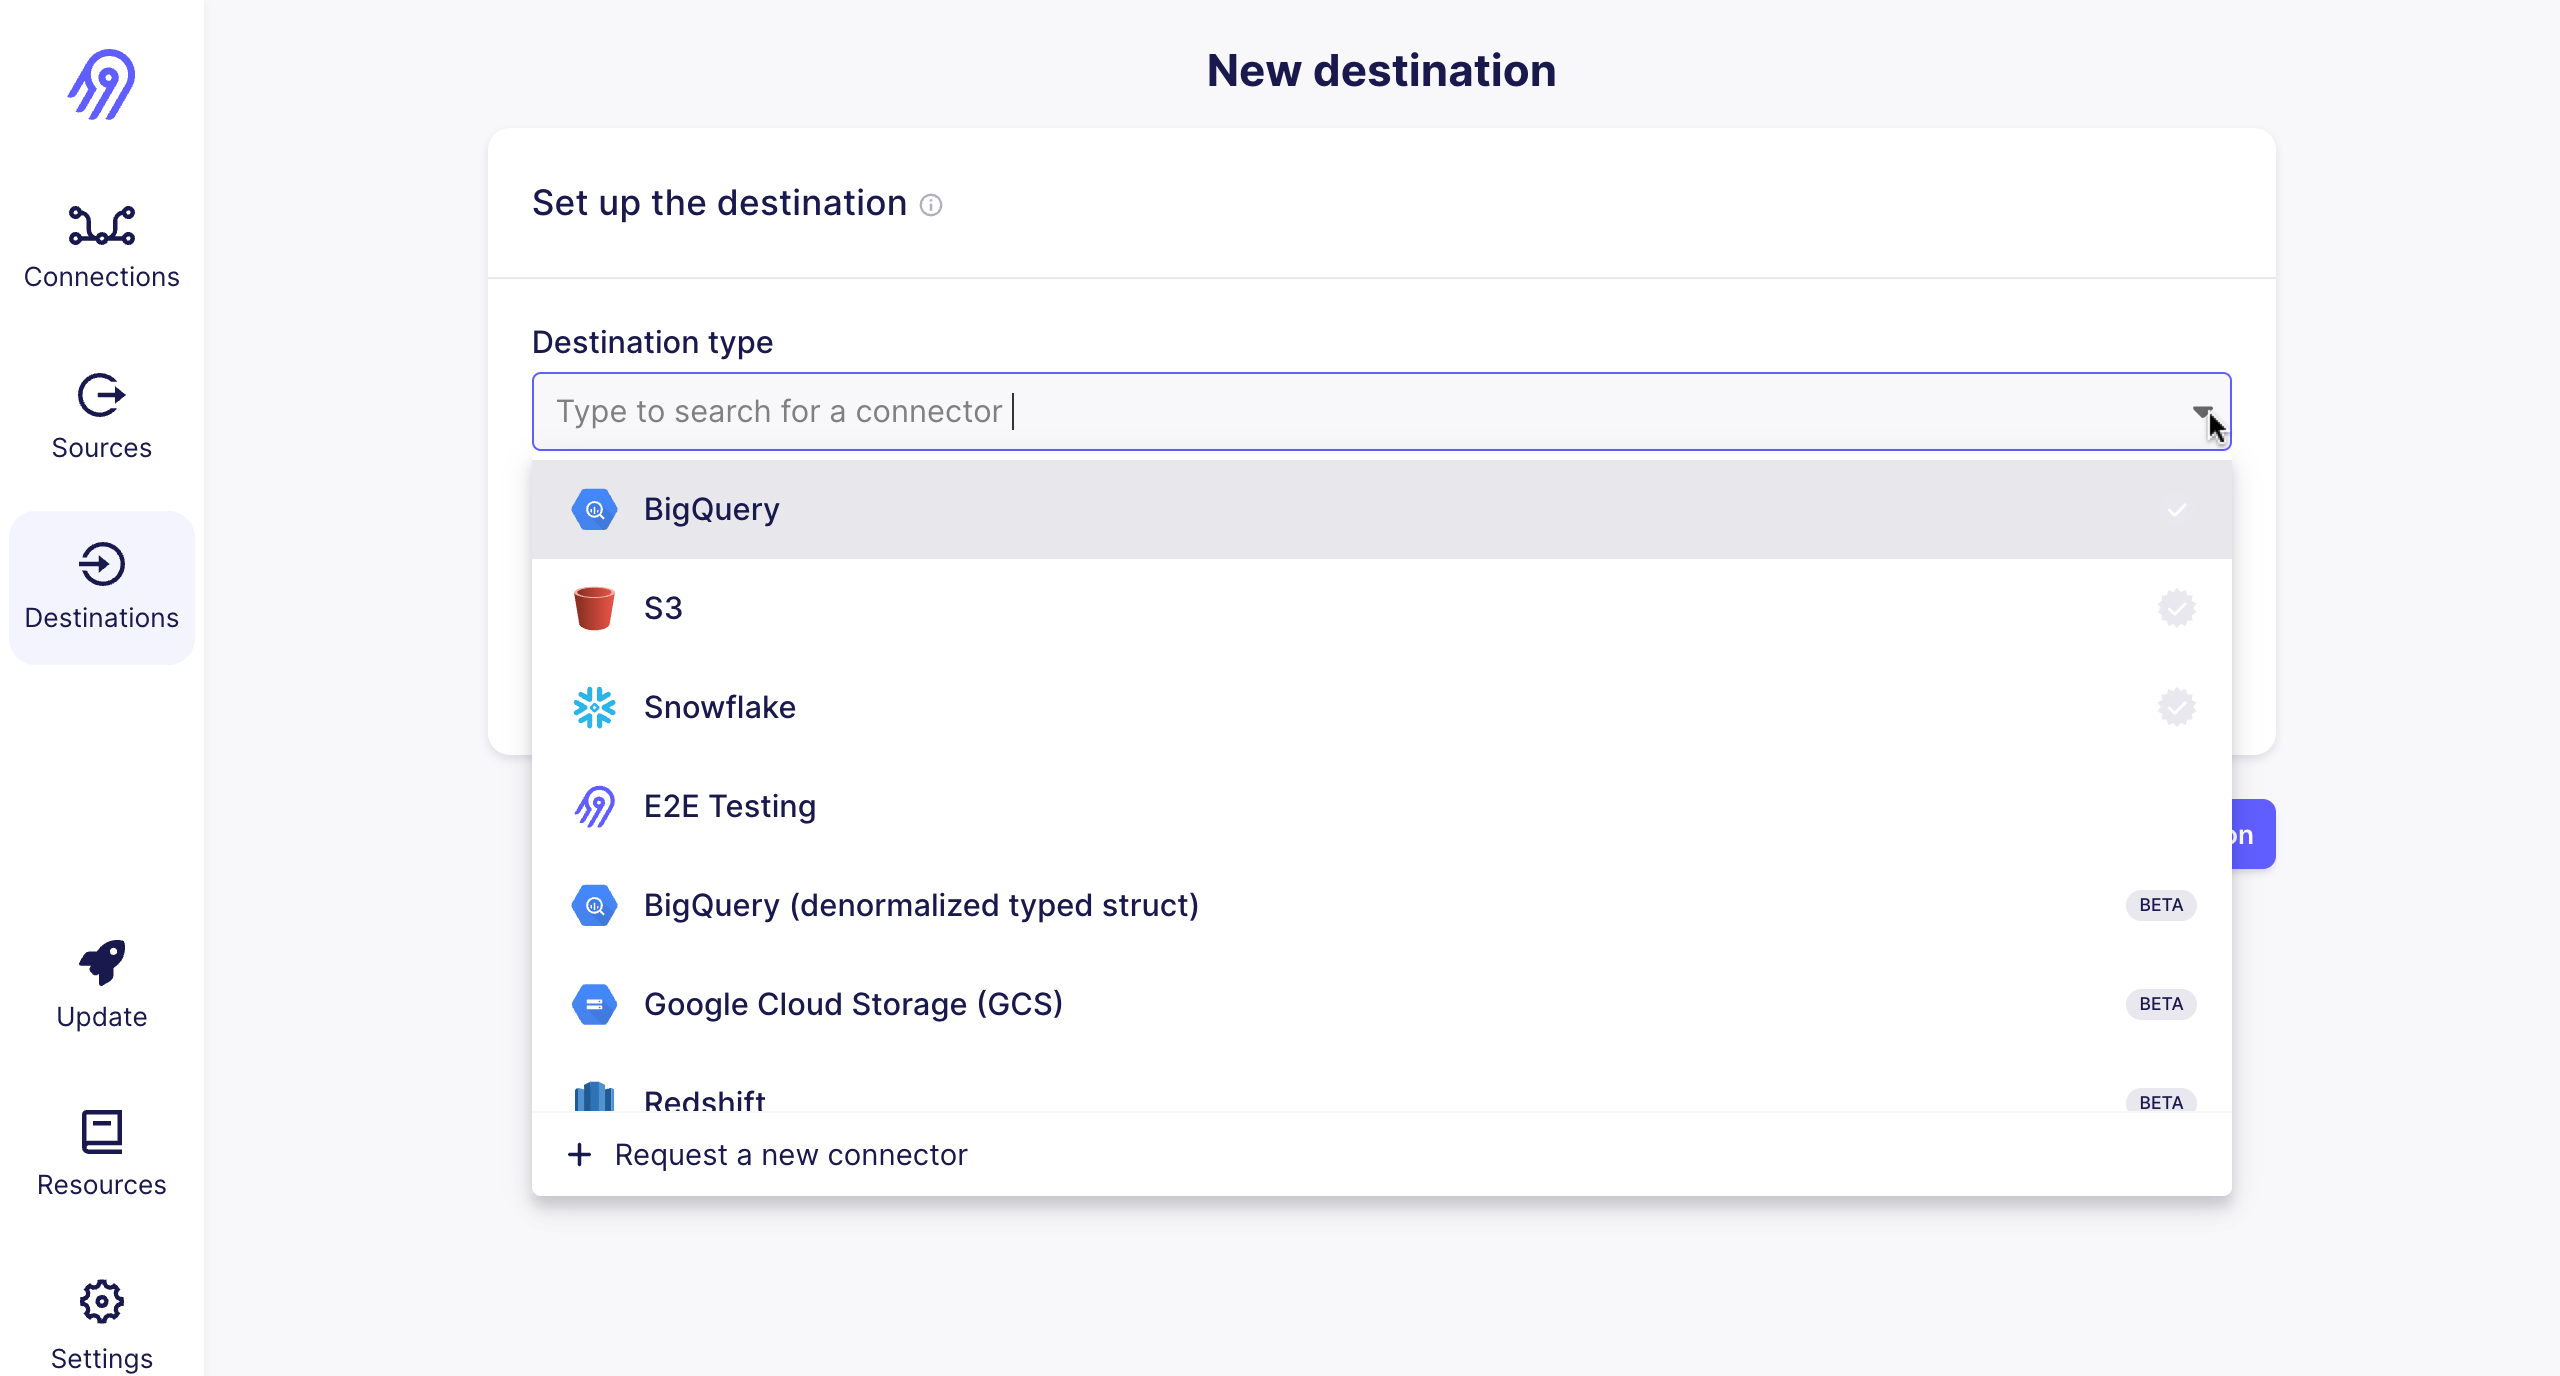
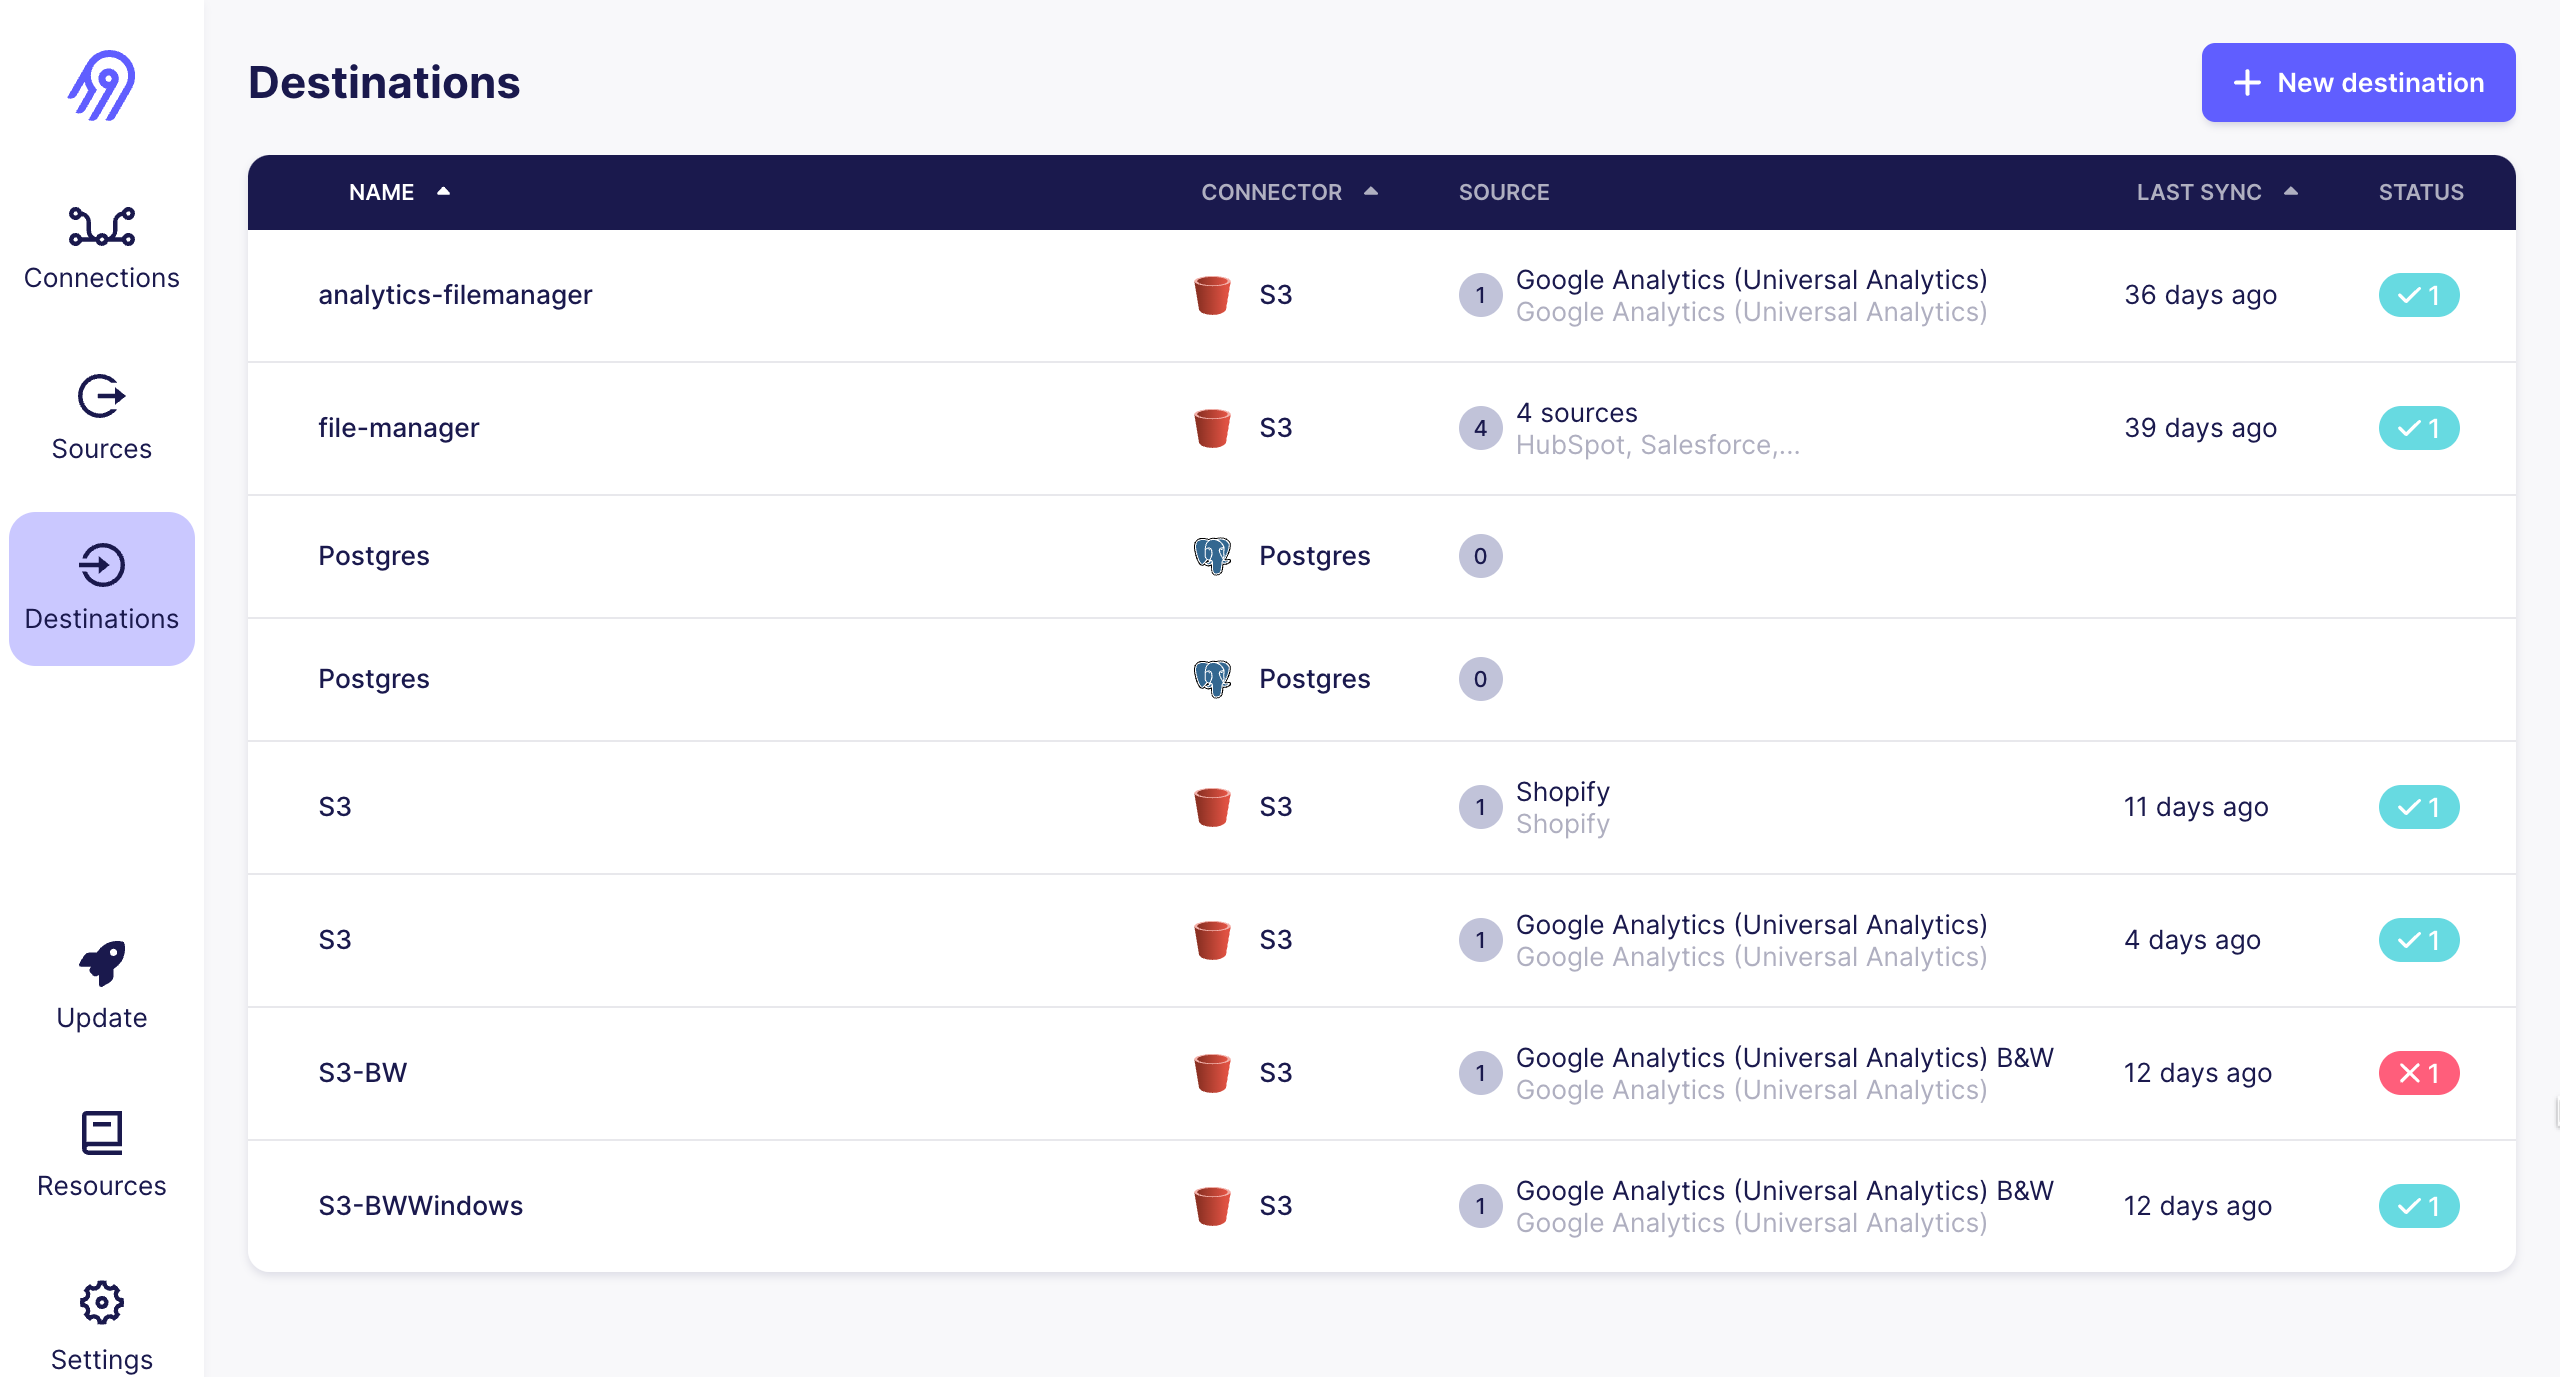
- Navigate to the Destinations and create a new one.
If you are creating a new Destination, a page will open where you can choose a destination based on your requirement.
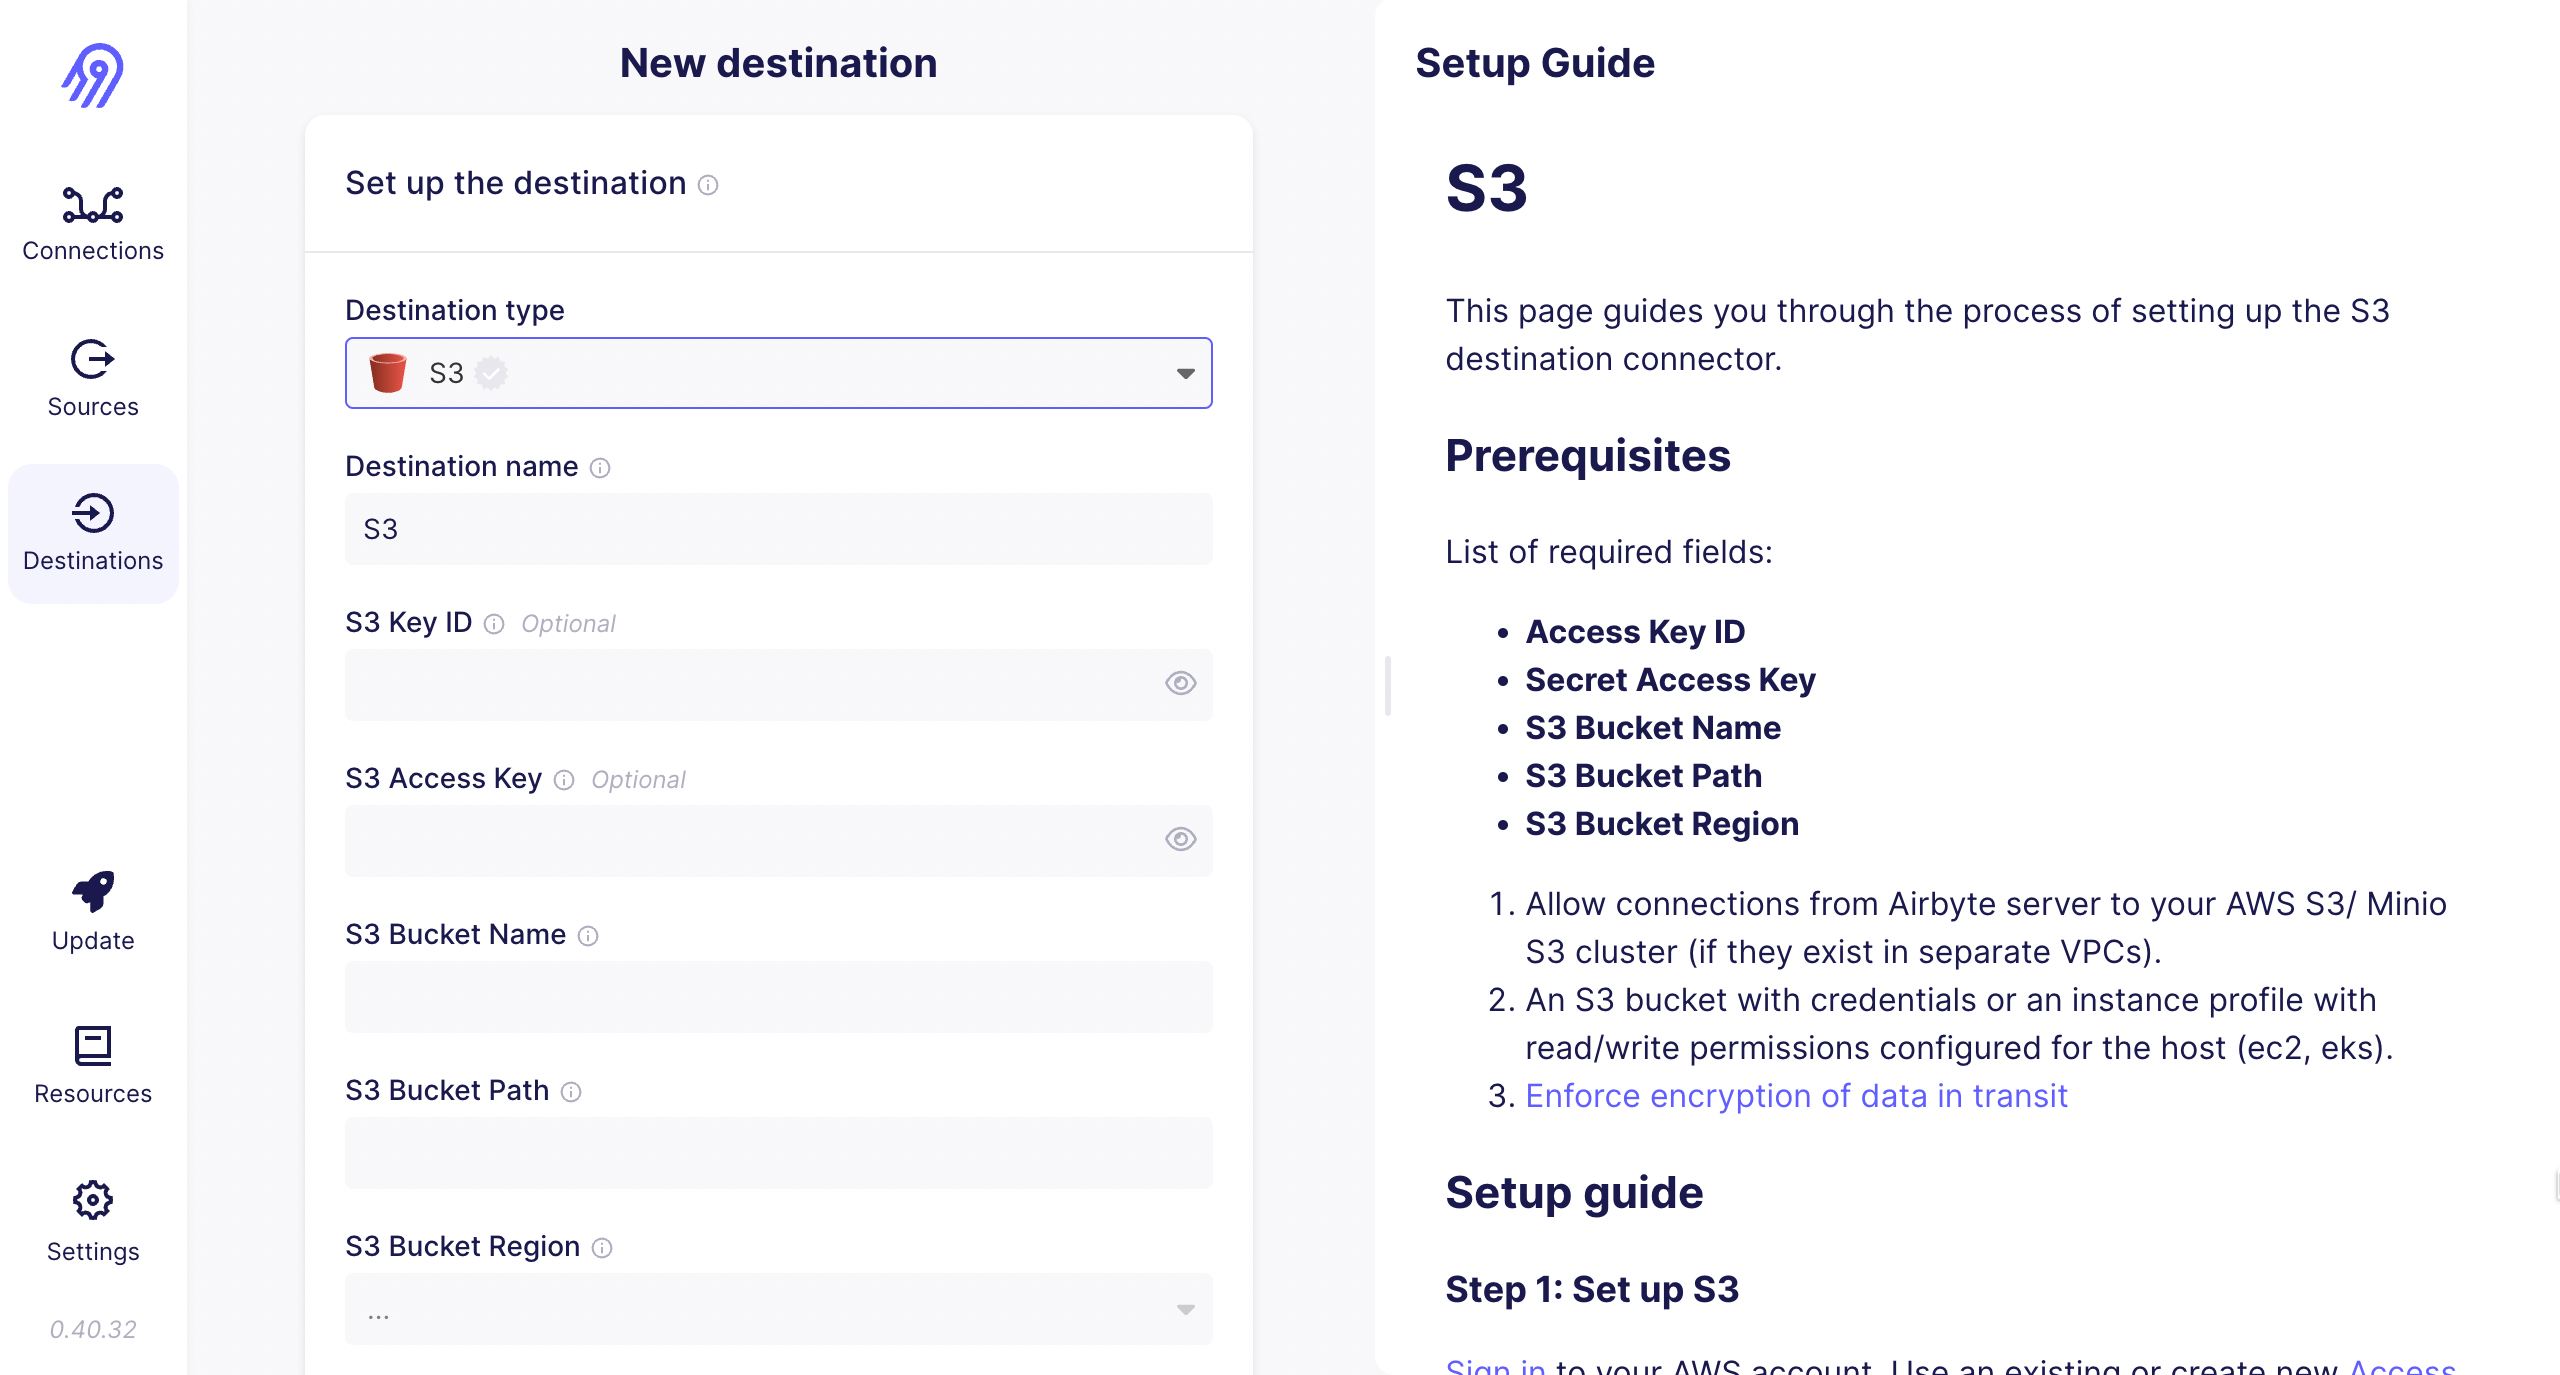
After clicked on Set up destination, a page will open with required fields. You need to add the credentials in these fields. There is an documentation from AirByte on the right hand side. You can refer that documentaion to create your credentials.
- For Example : If you choose S3 as your destination, you need to add details like,
- Access Key ID
- Secret Access Key
- S3 Bucket Name
- S3 Bucket Path
- S3 Bucket Region
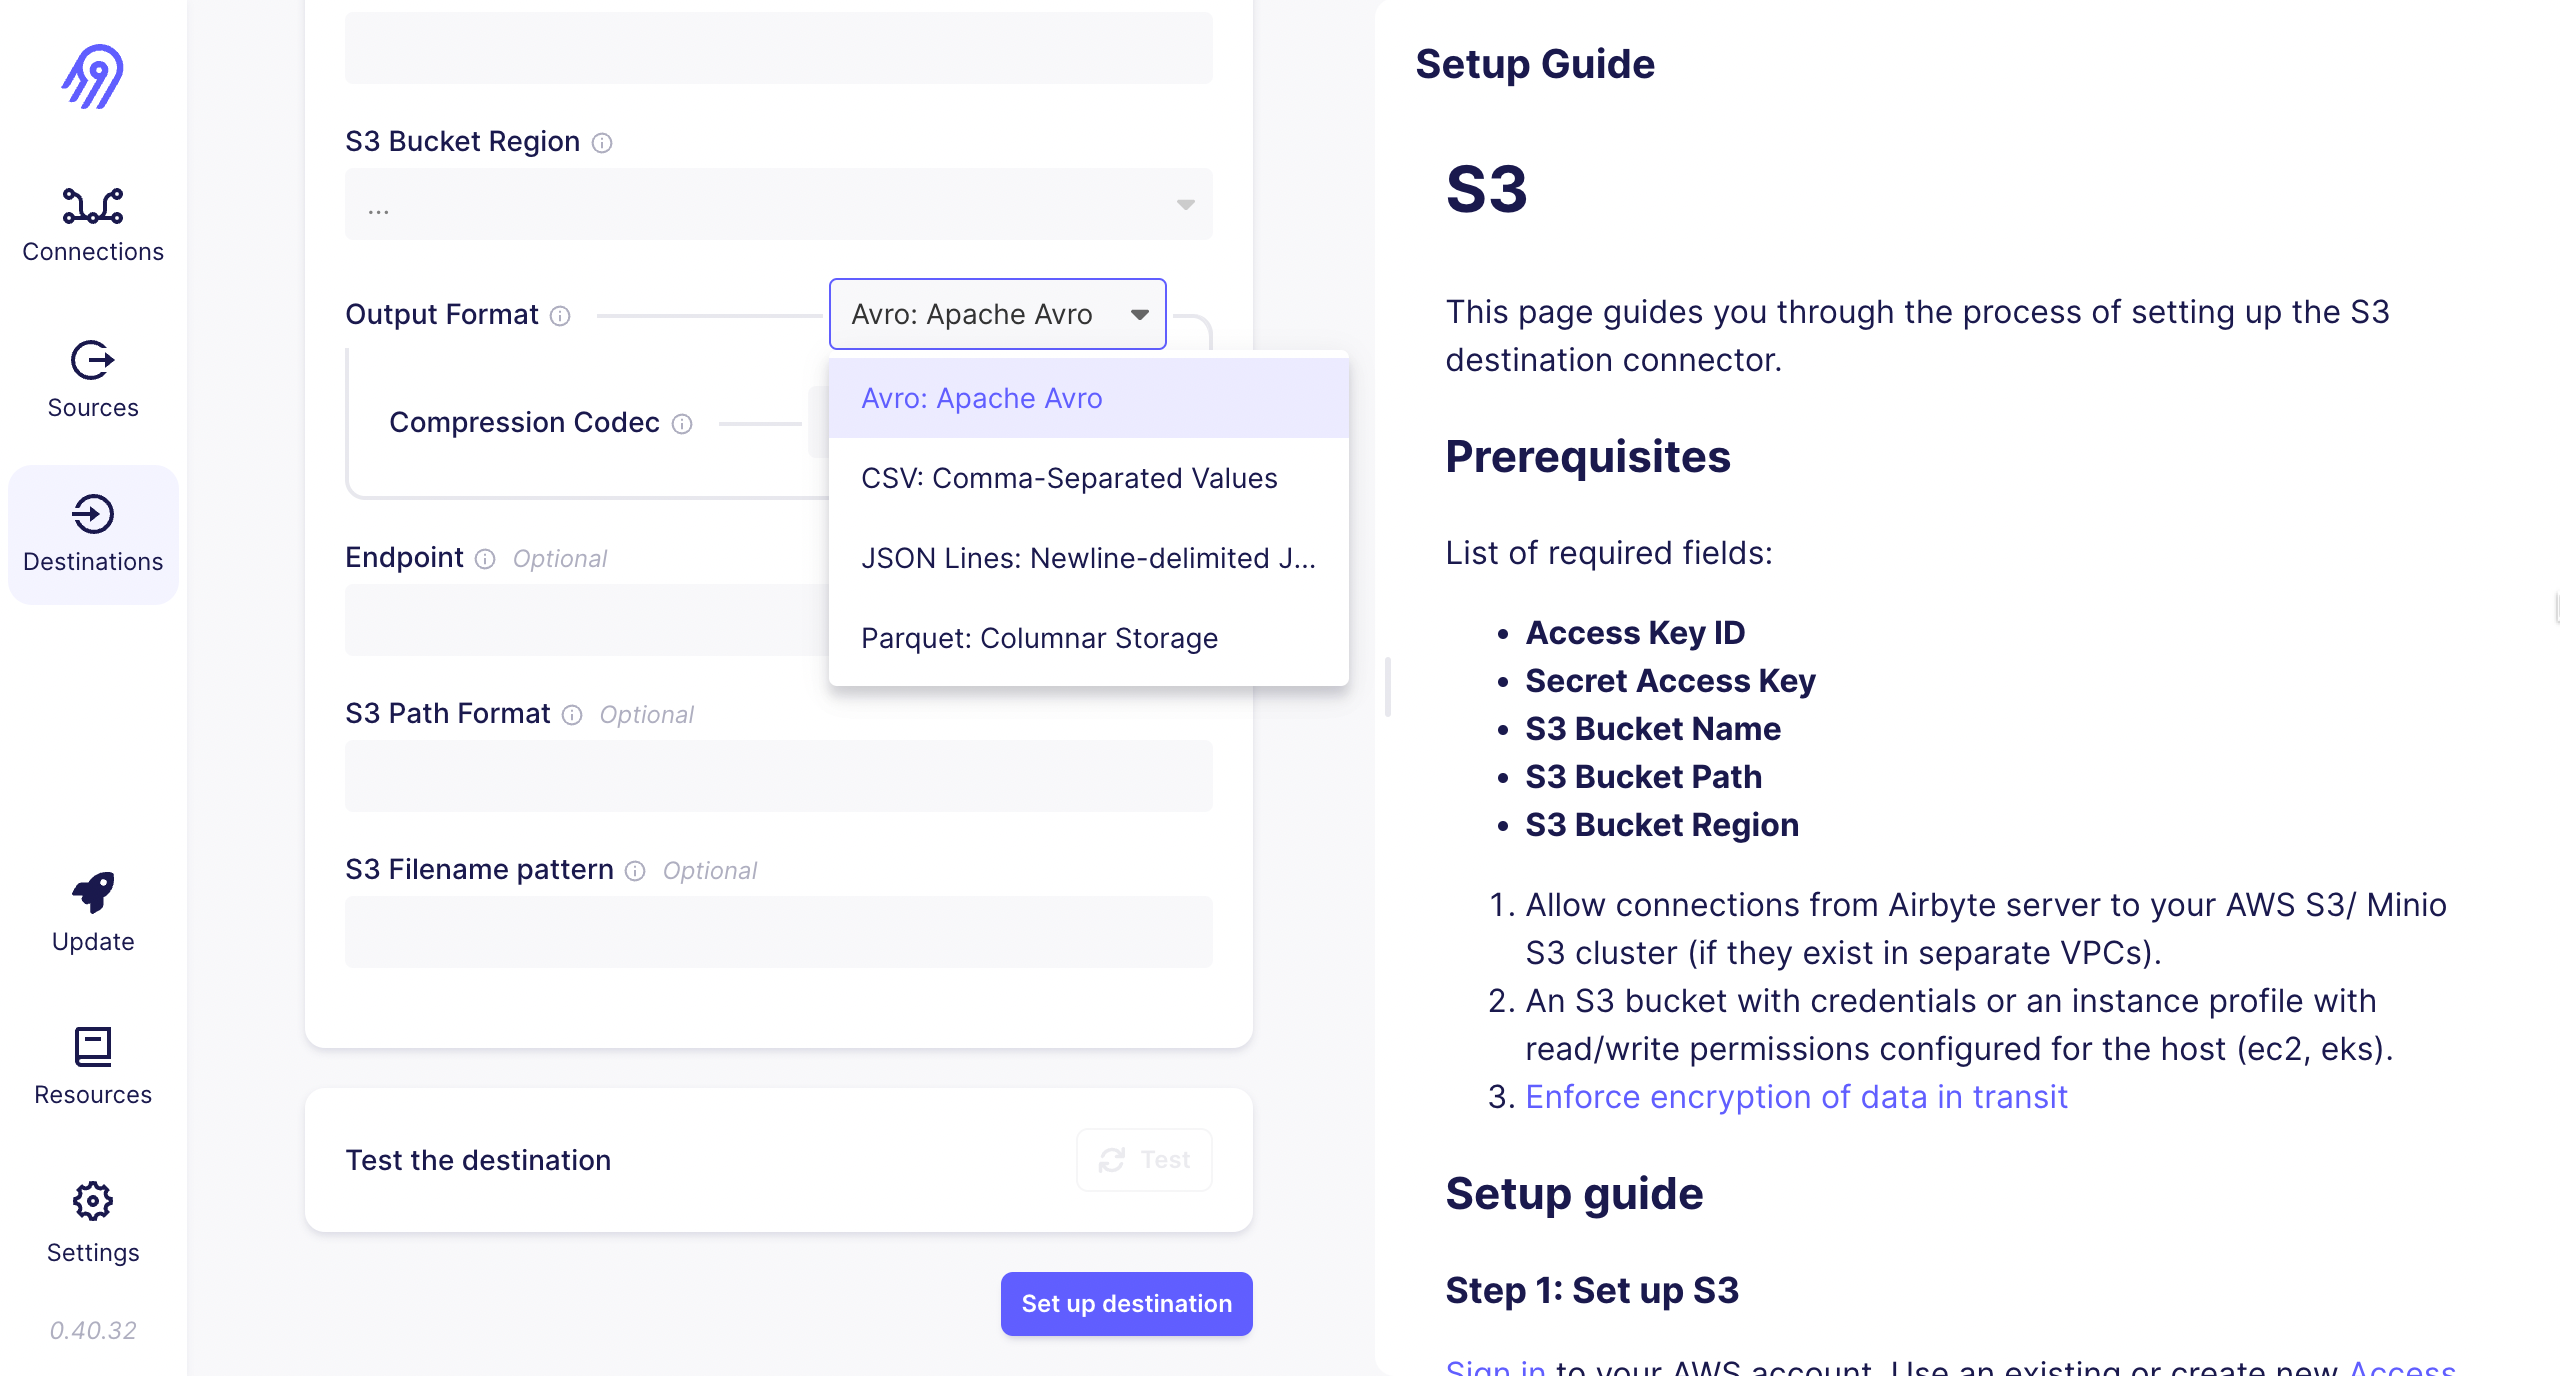
You can select the Output Format in which you want your data to be pushed. There are four different options available,
- Avro: Apache Avro
- CSV: Comma-Separated Values
- JSON Lines: Newline-delimited JSON
- Parquet: Columnar Storage
You can select any output format based on your requirements.
For Example: If you have selected the CSV format, then you have two sub options,
Normalization(Flattening)
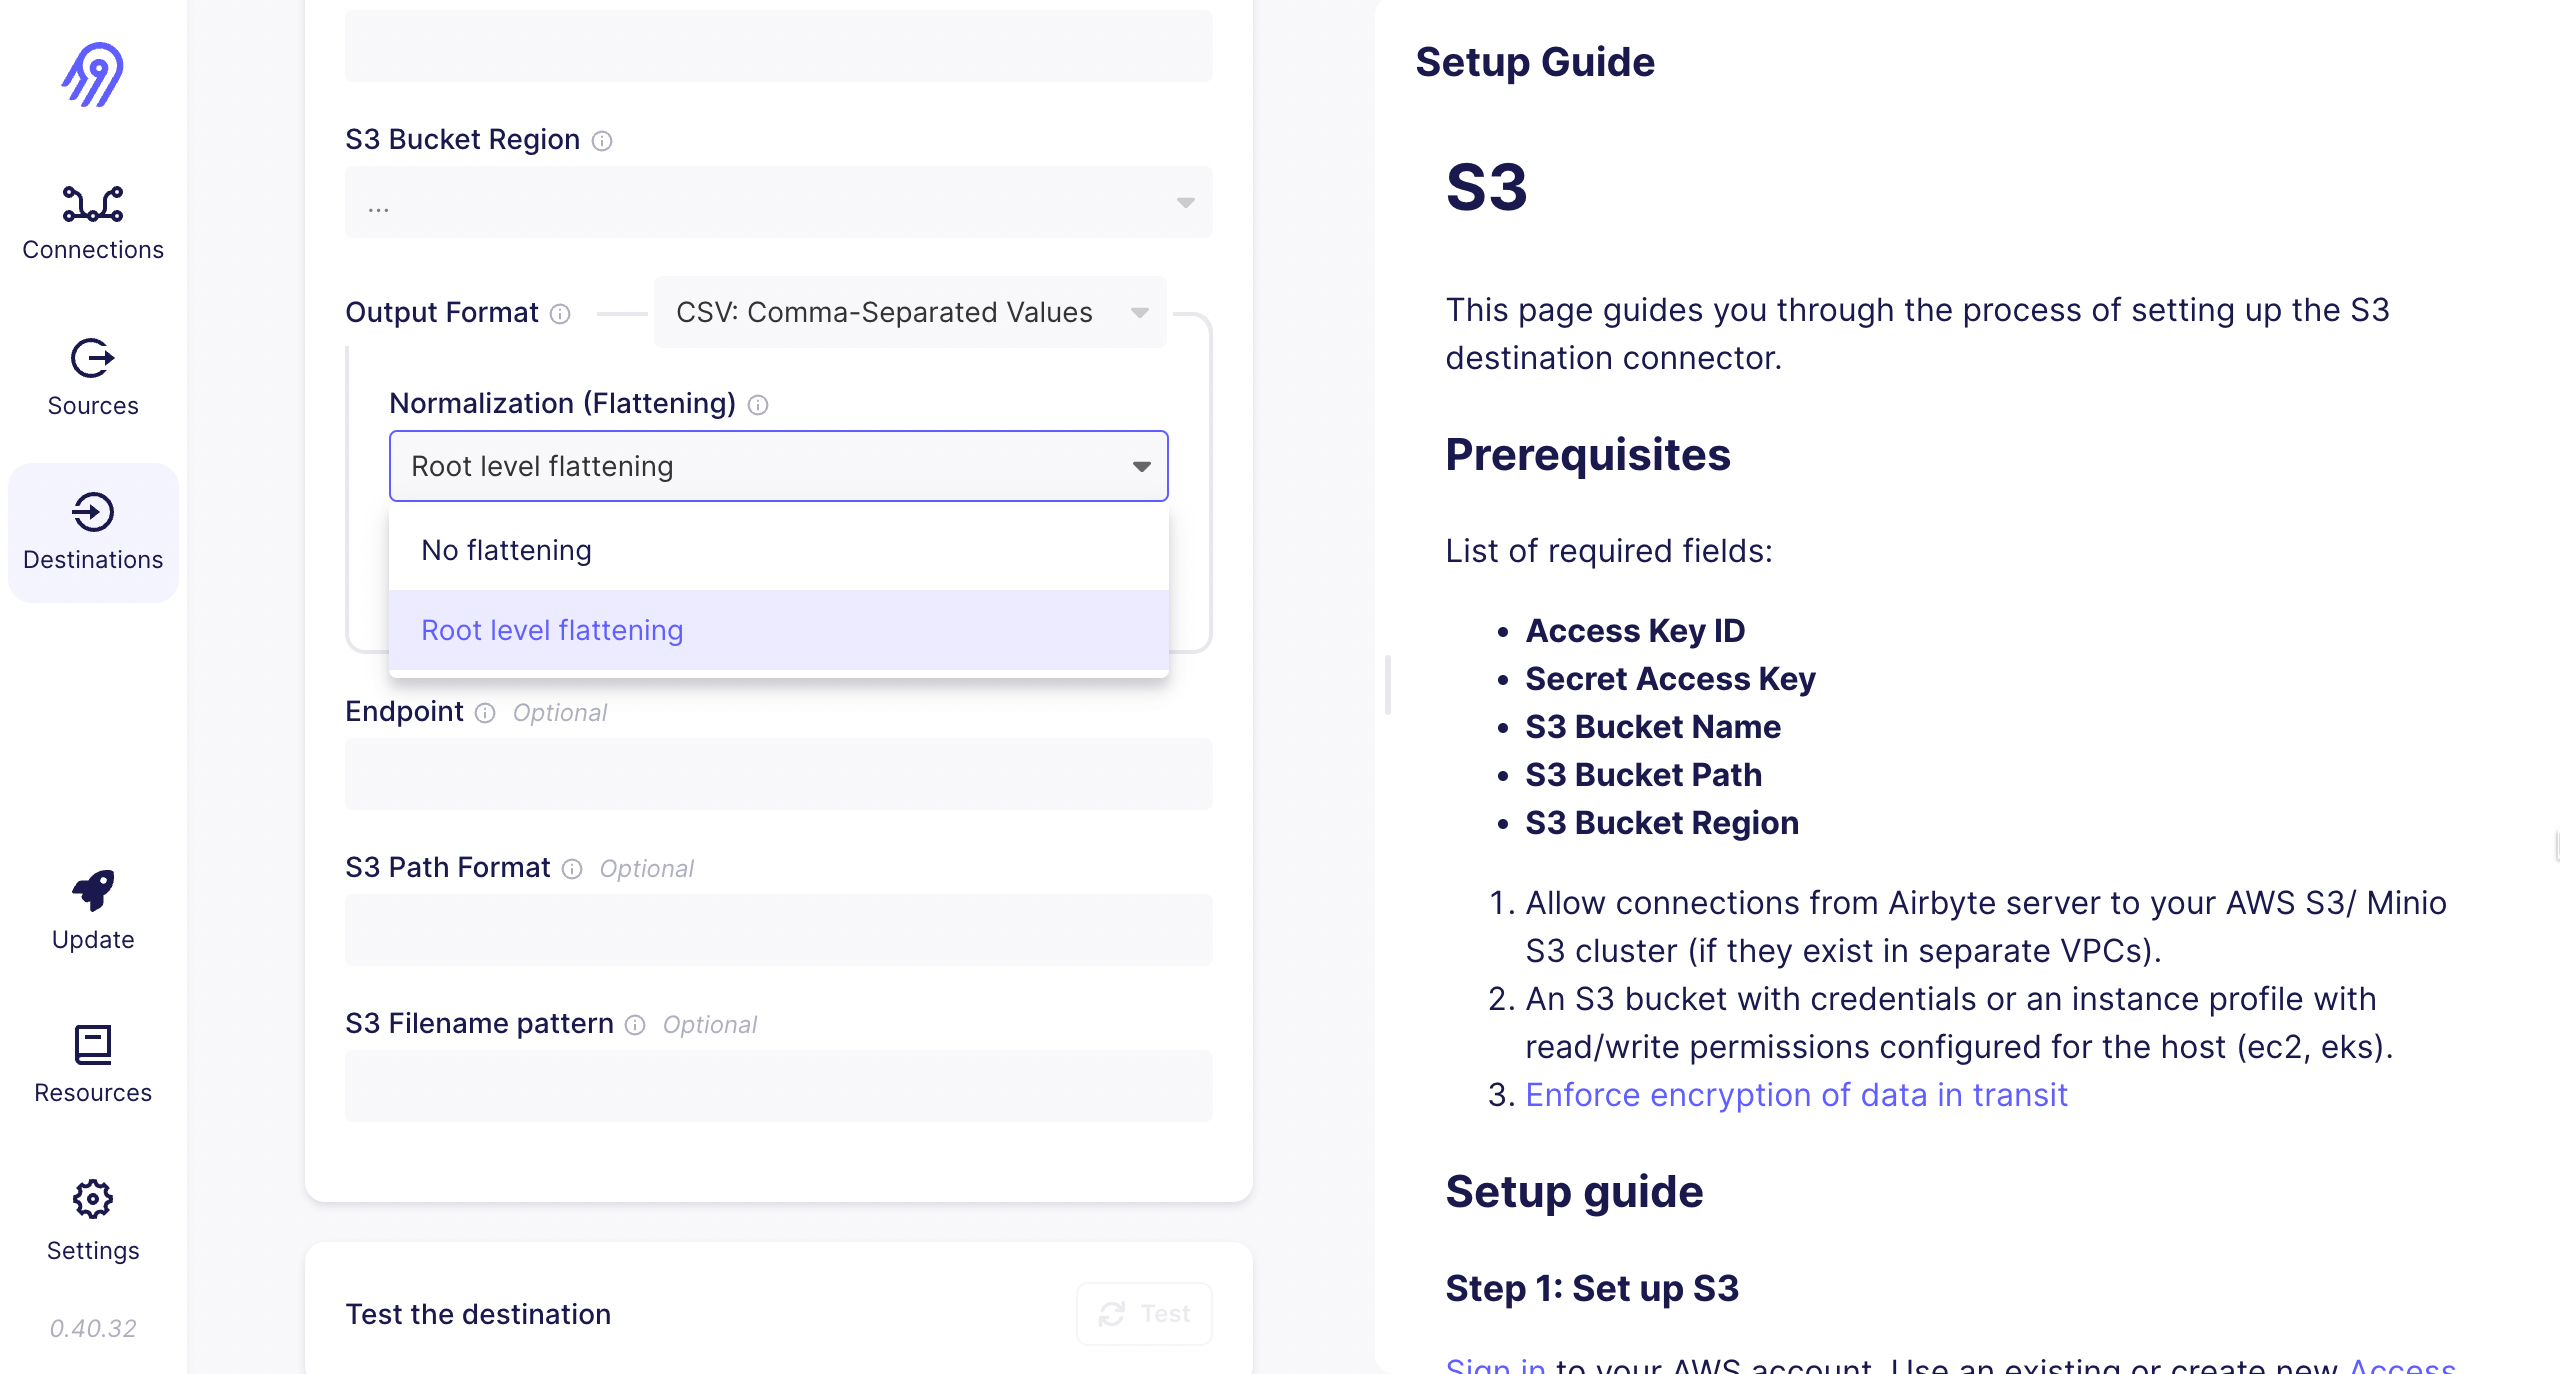
Compression
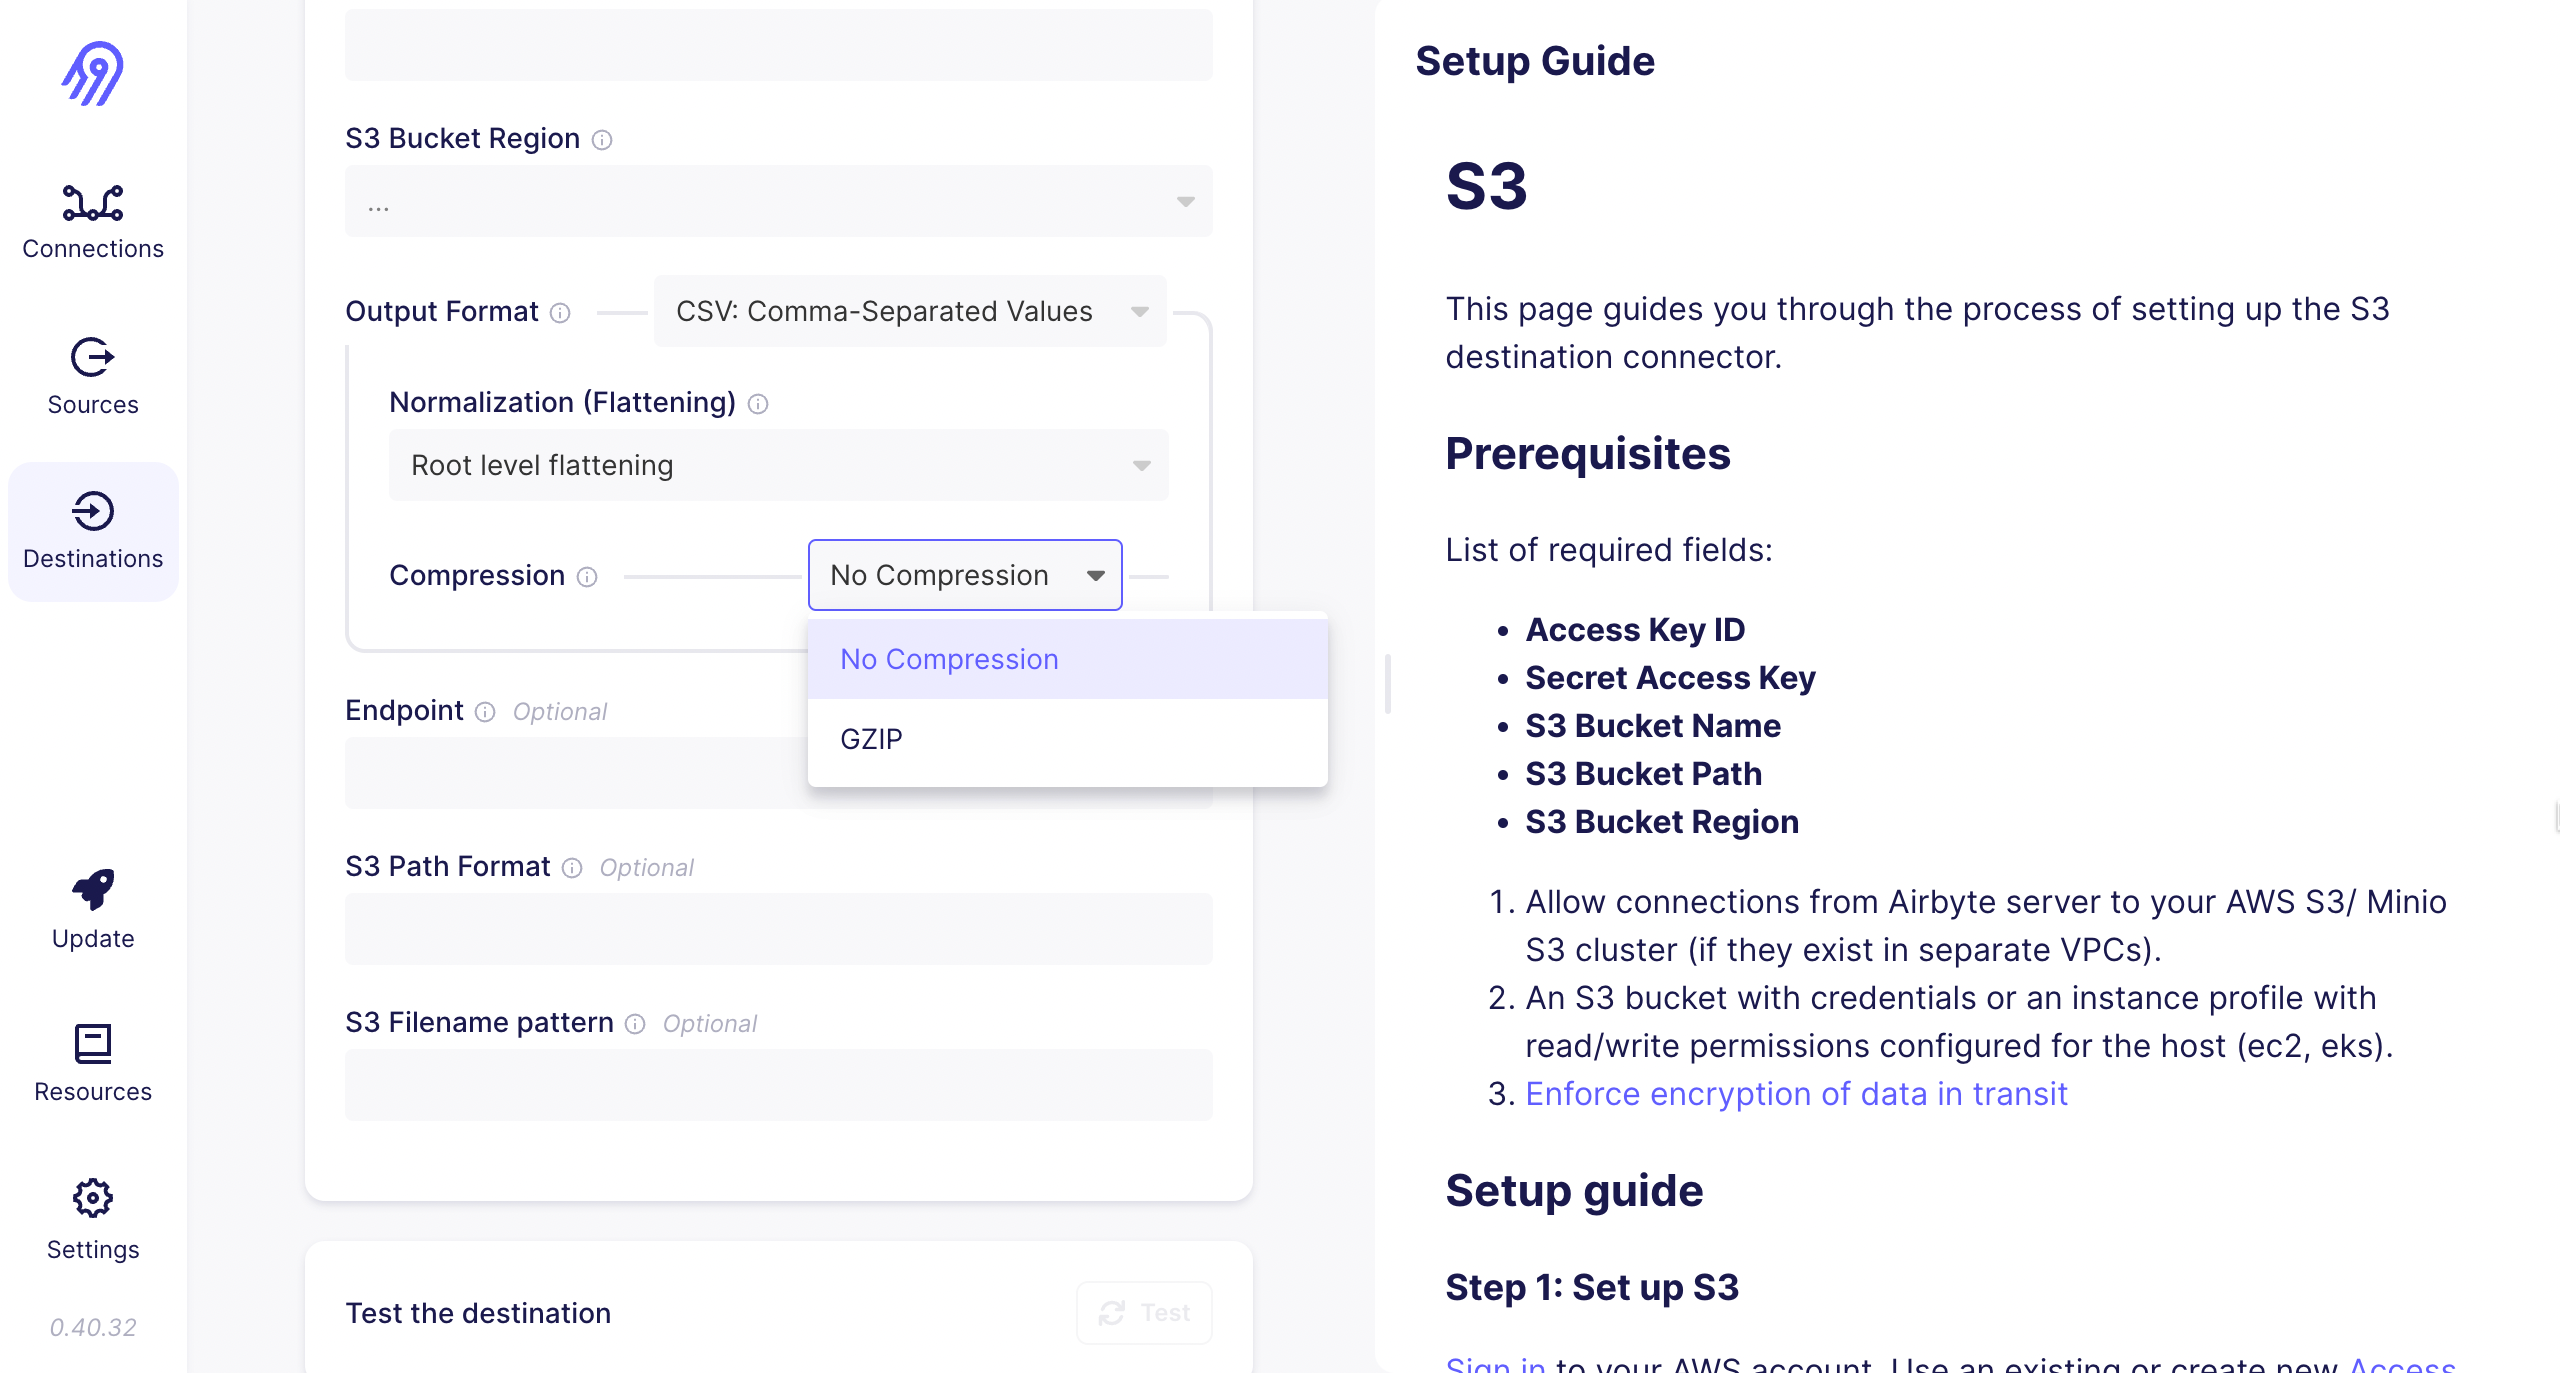
You can select these options by refering the documentation given in the right hand side on the screen.
- For Example : If you choose S3 as your destination, you need to add details like,
After filling all the details, you can Test the destination, if it will shows the successfull then you can Set up destination.
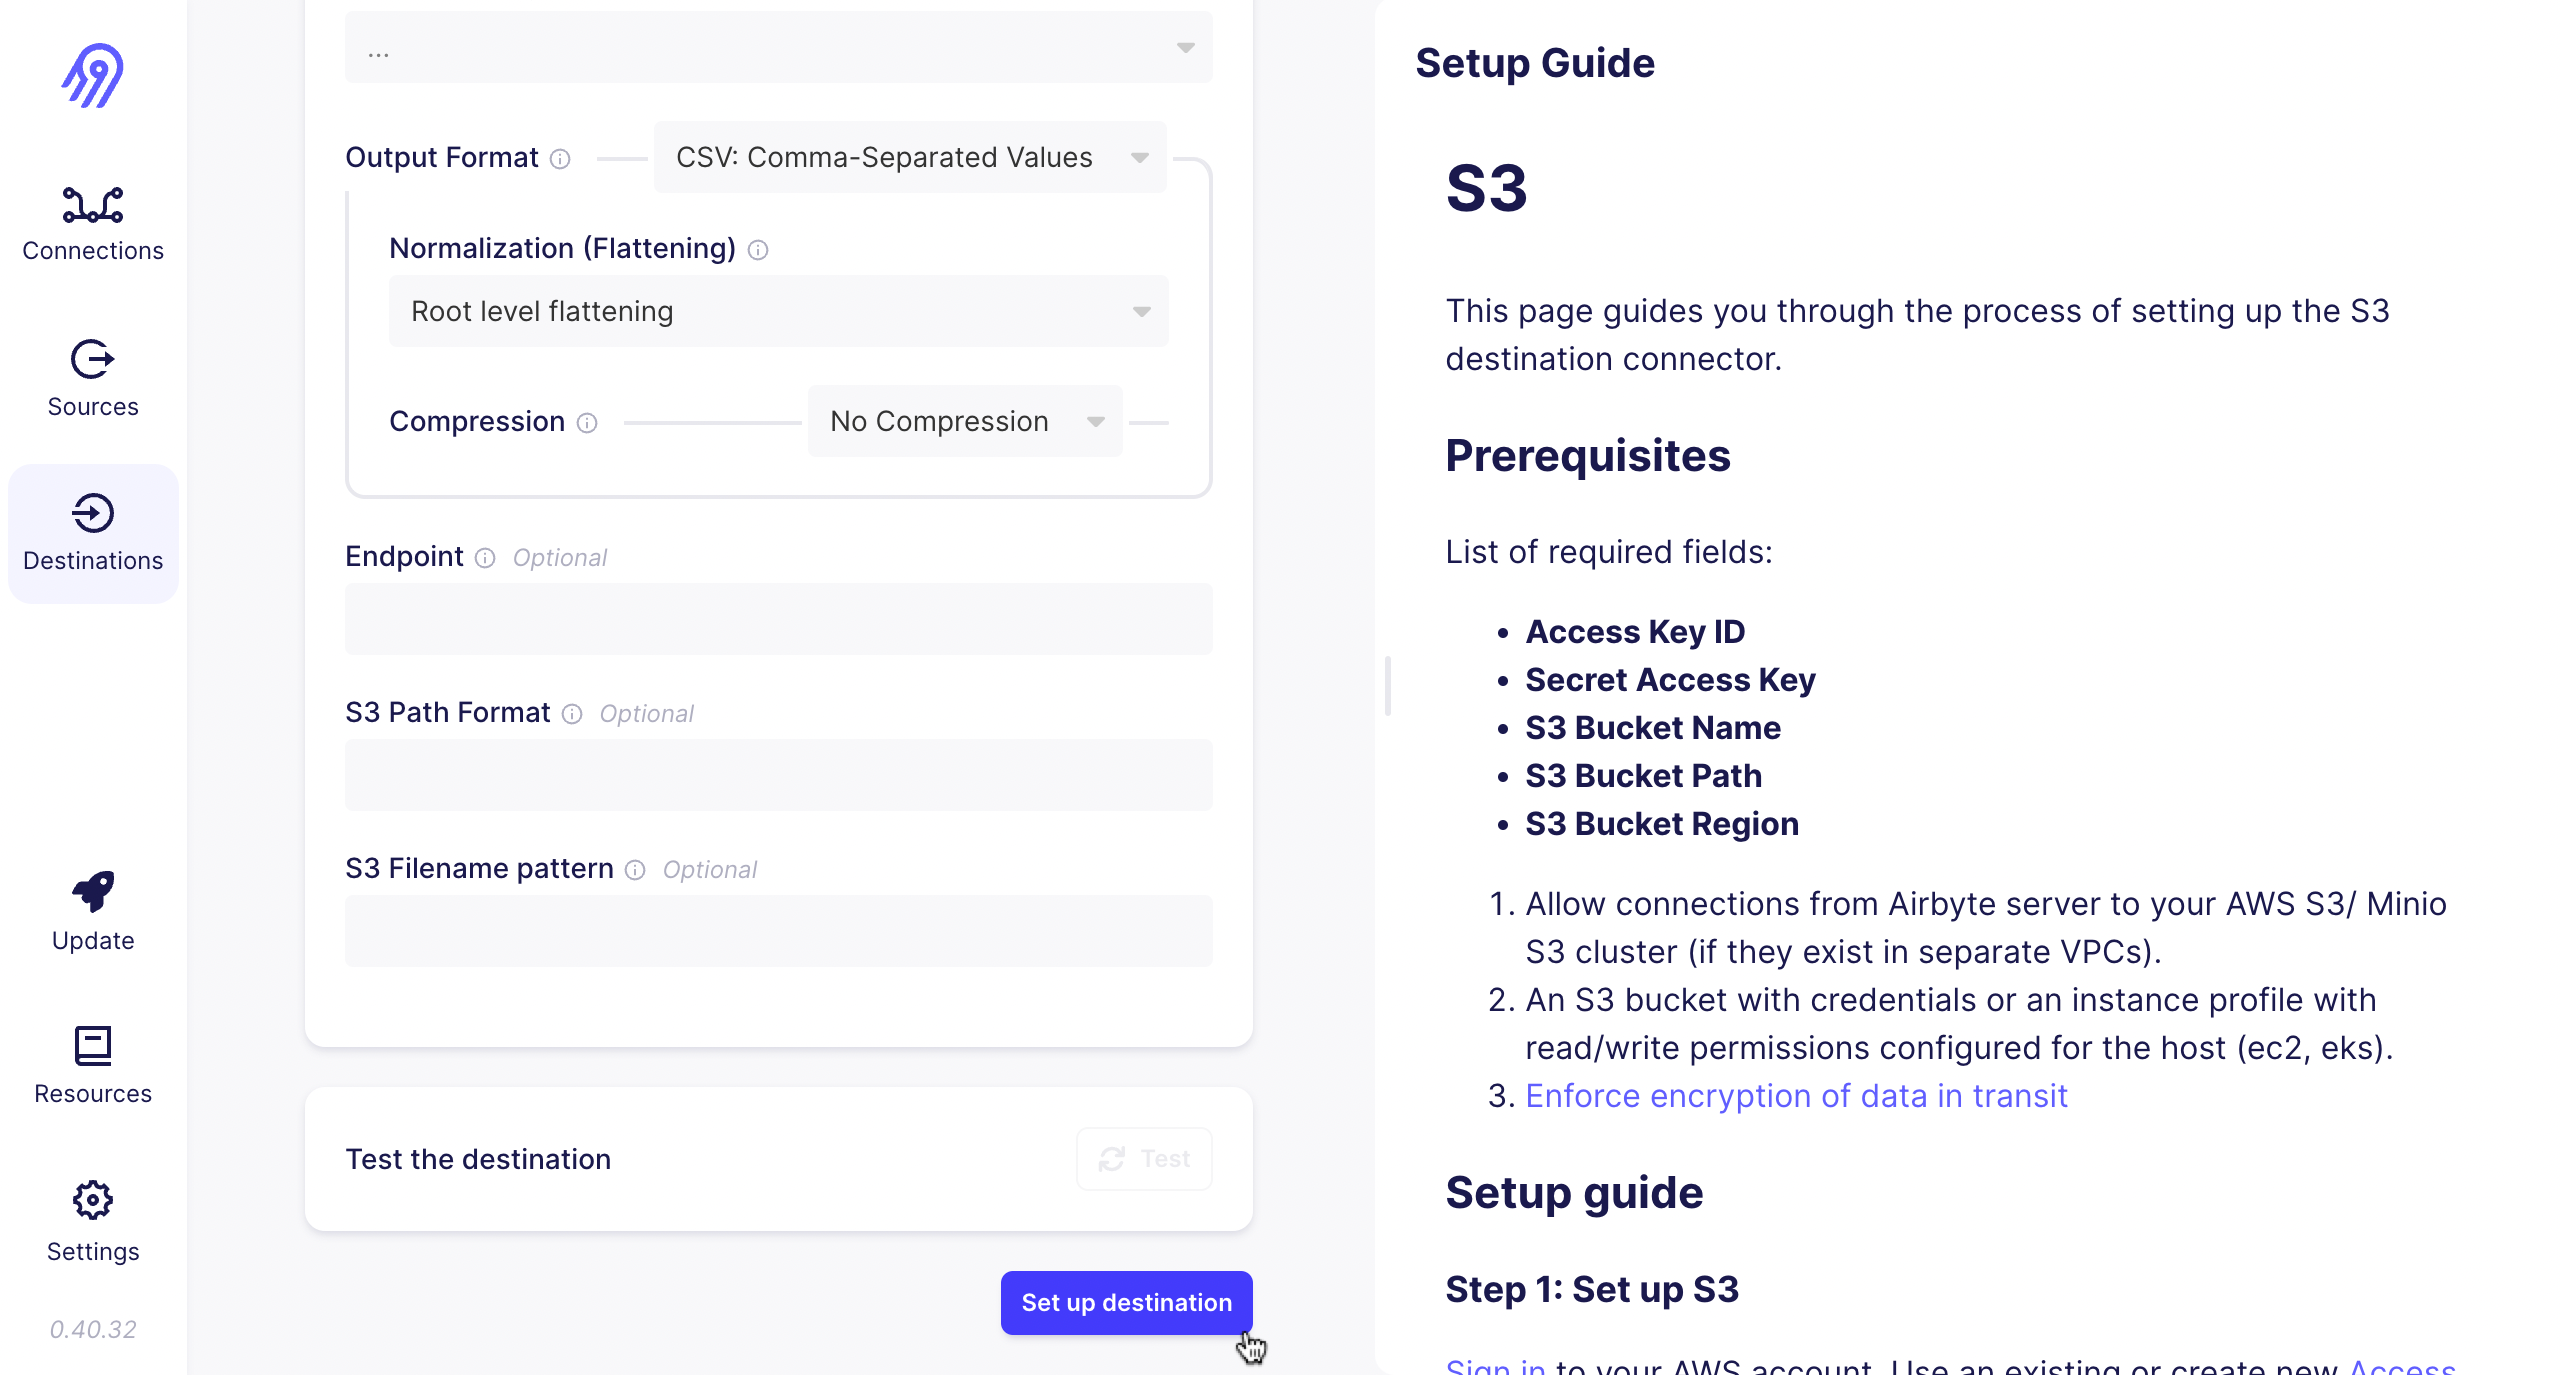
You can check your set up destination in the Destination part.
Now you have a Source and a Destination. You have to connect both so that your data will move from source to destination.
Navigate to Connections.
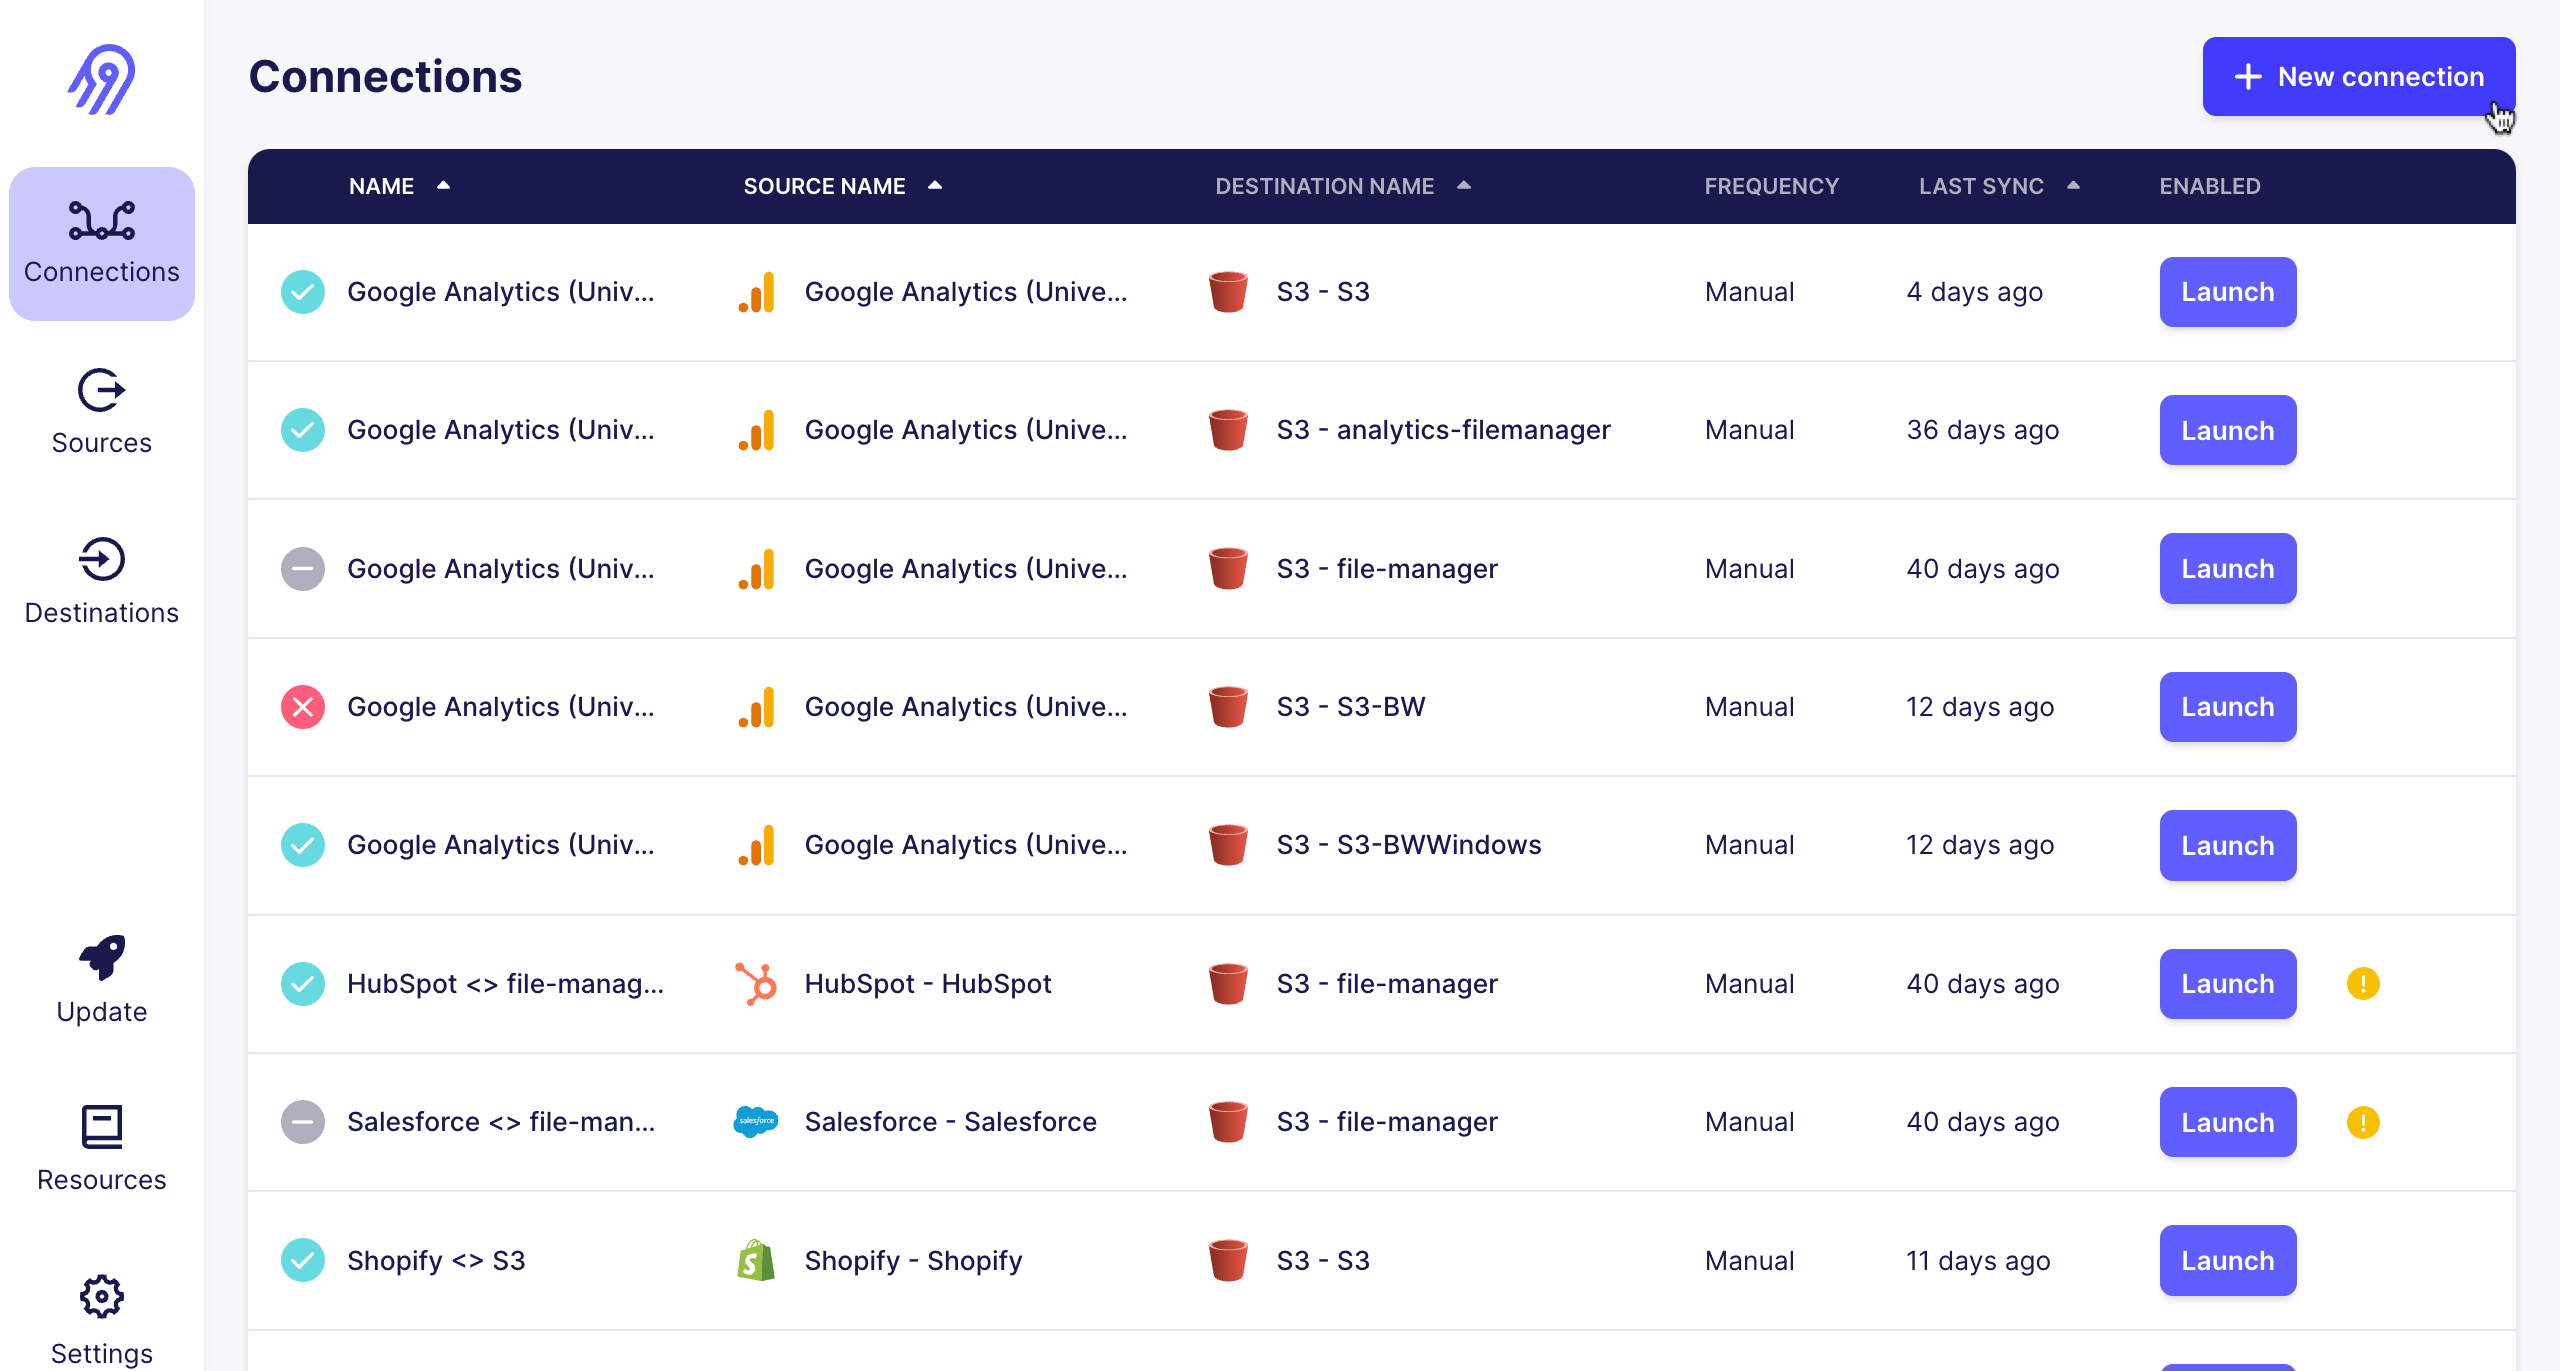
Click on New connection.
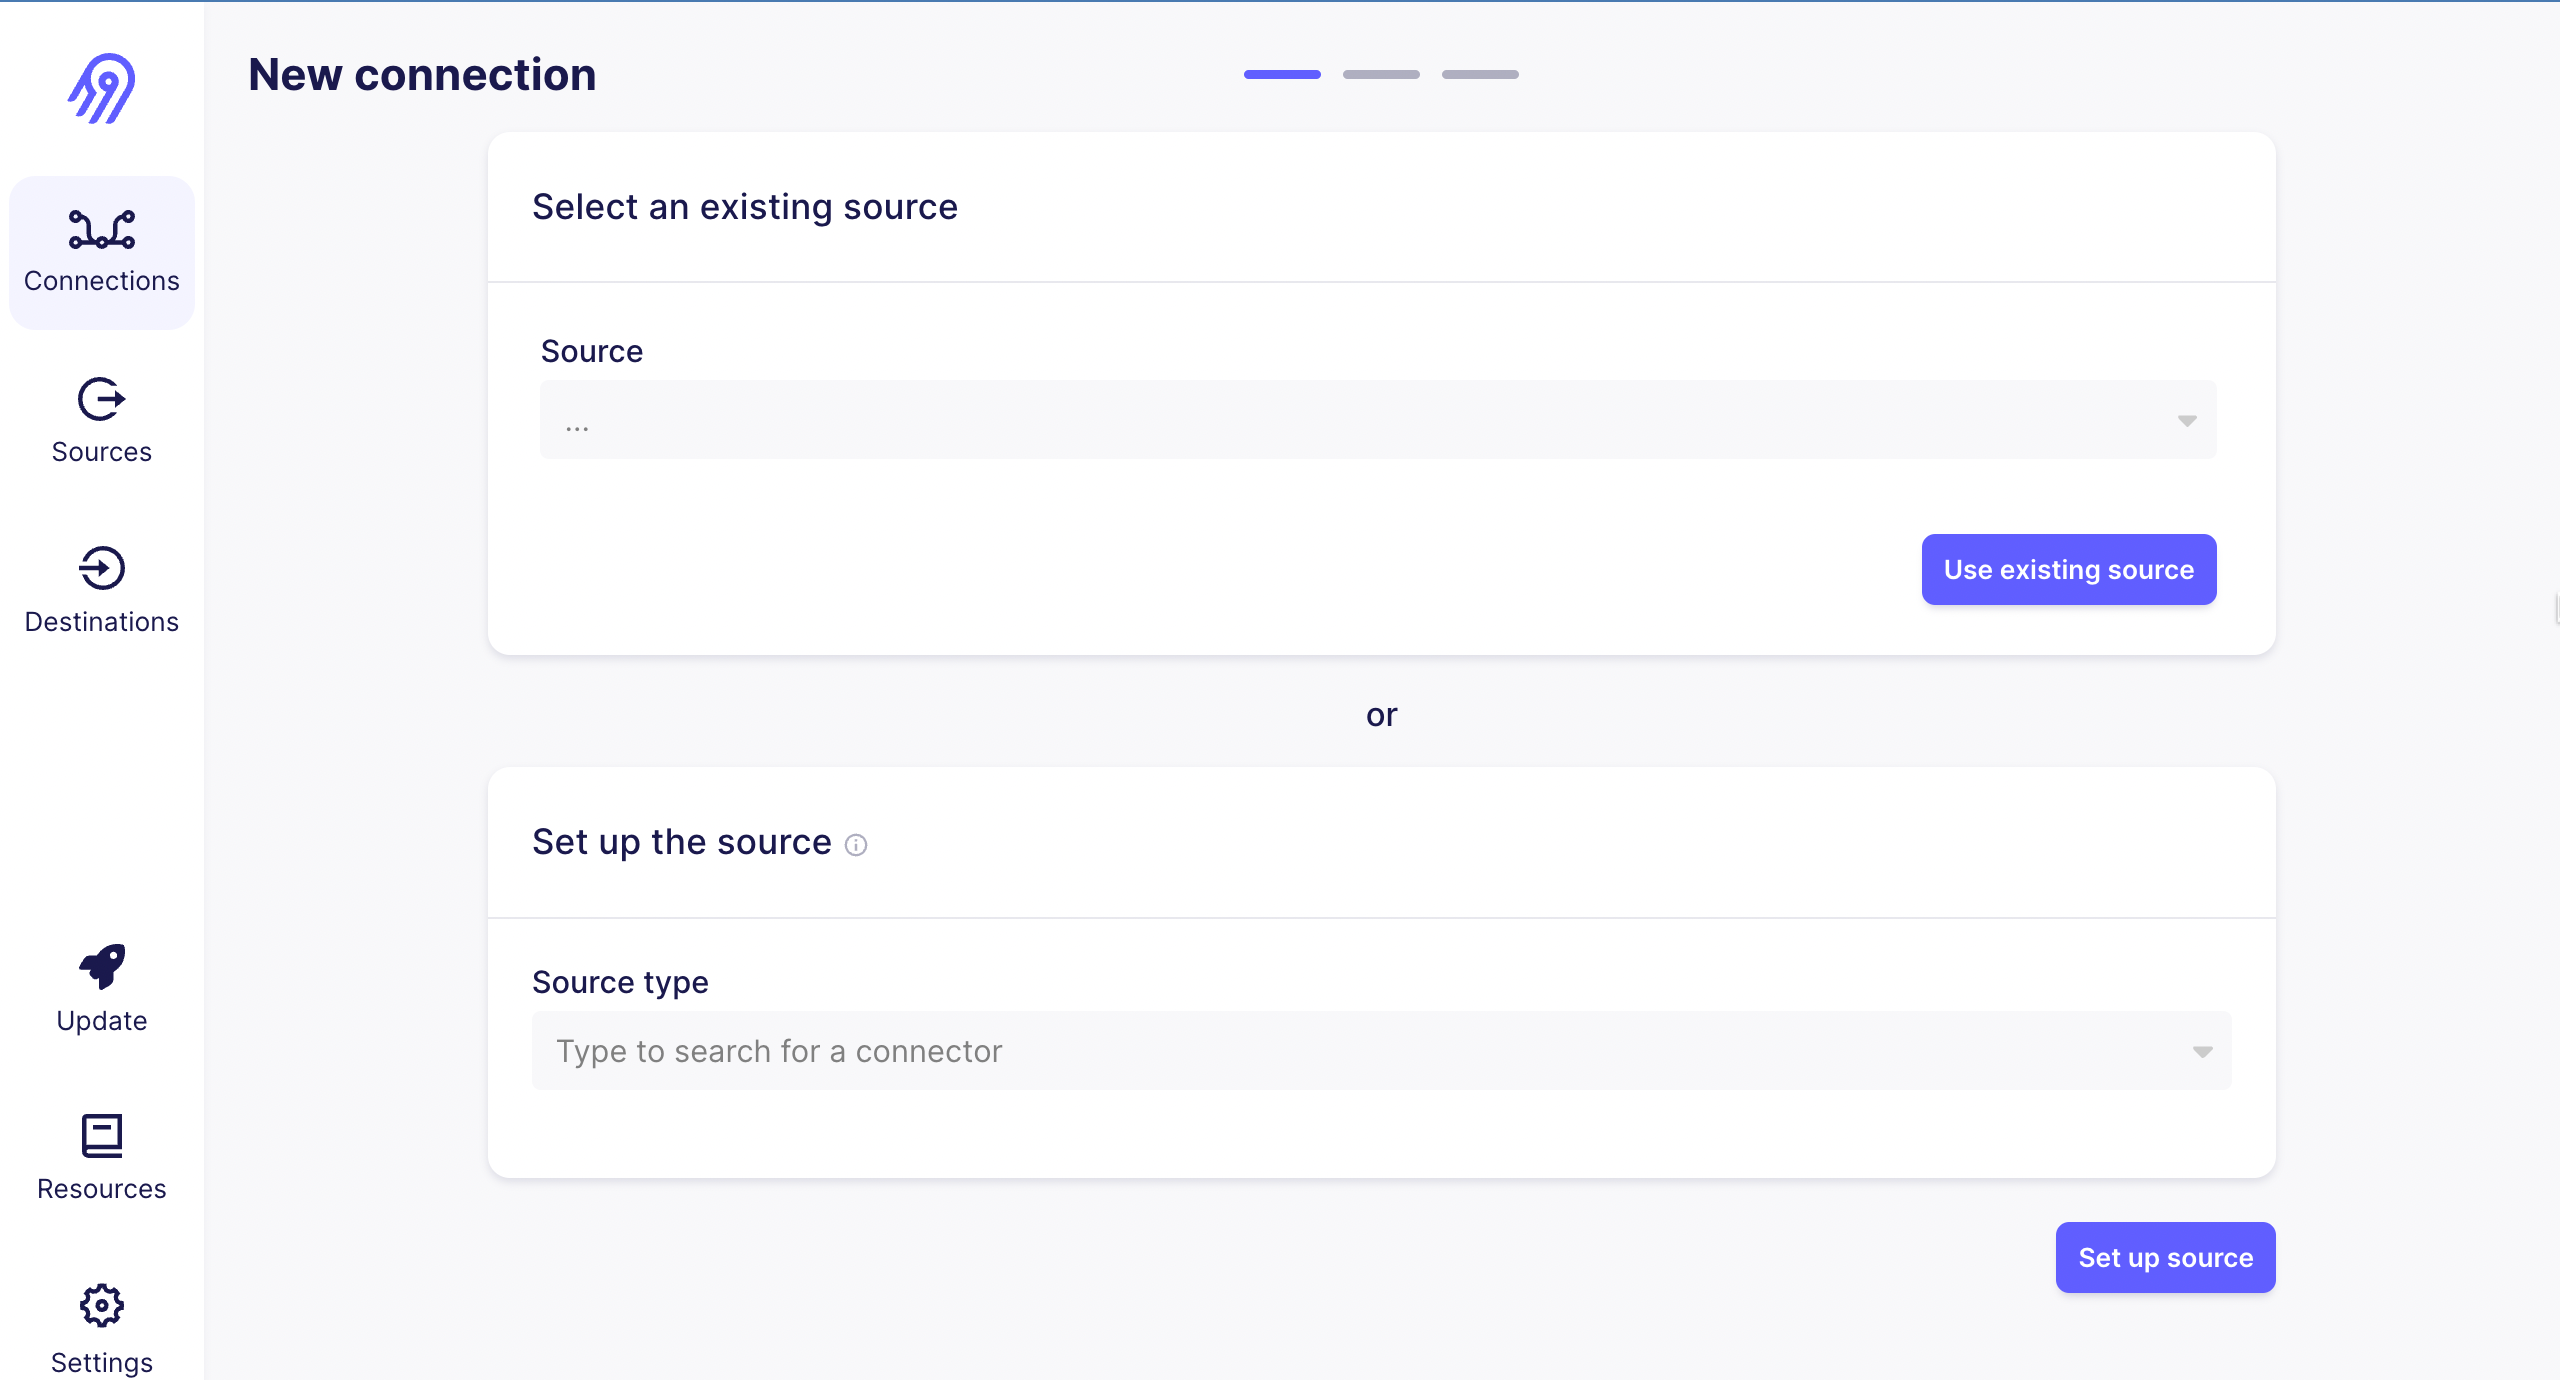
Select an existing source(source you have created).
Select an existing destination(destination you have created).
Set up the connection. You can check your created connection on the Connections part.

If you select your created connection, a page will open with these details,
- Status: Shows the status of the connection.
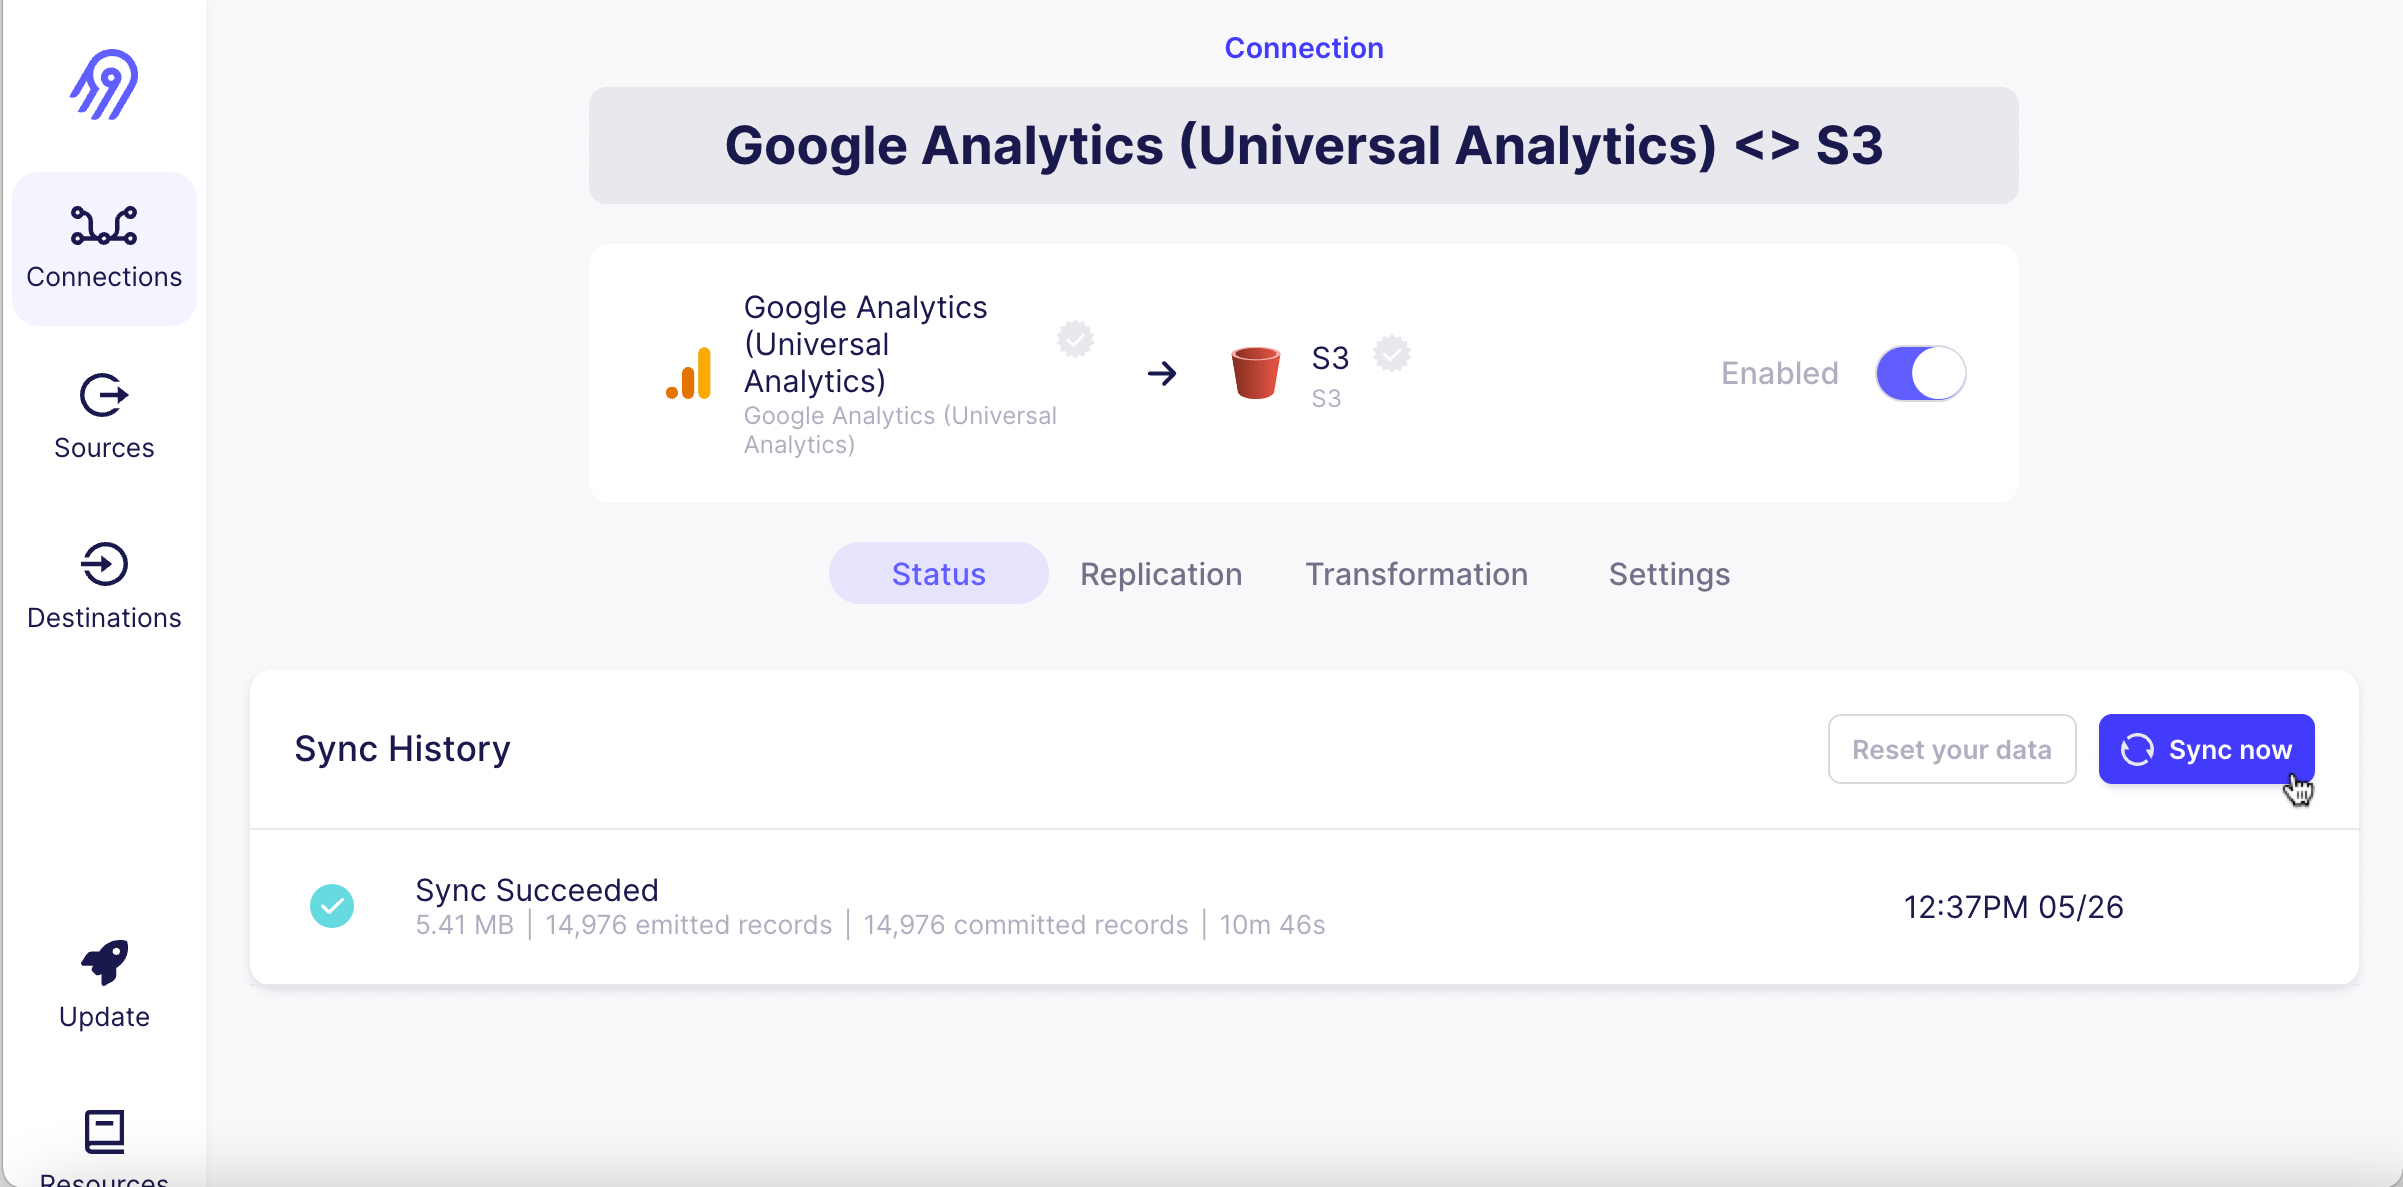
- Replication: You can select the replication frequency.
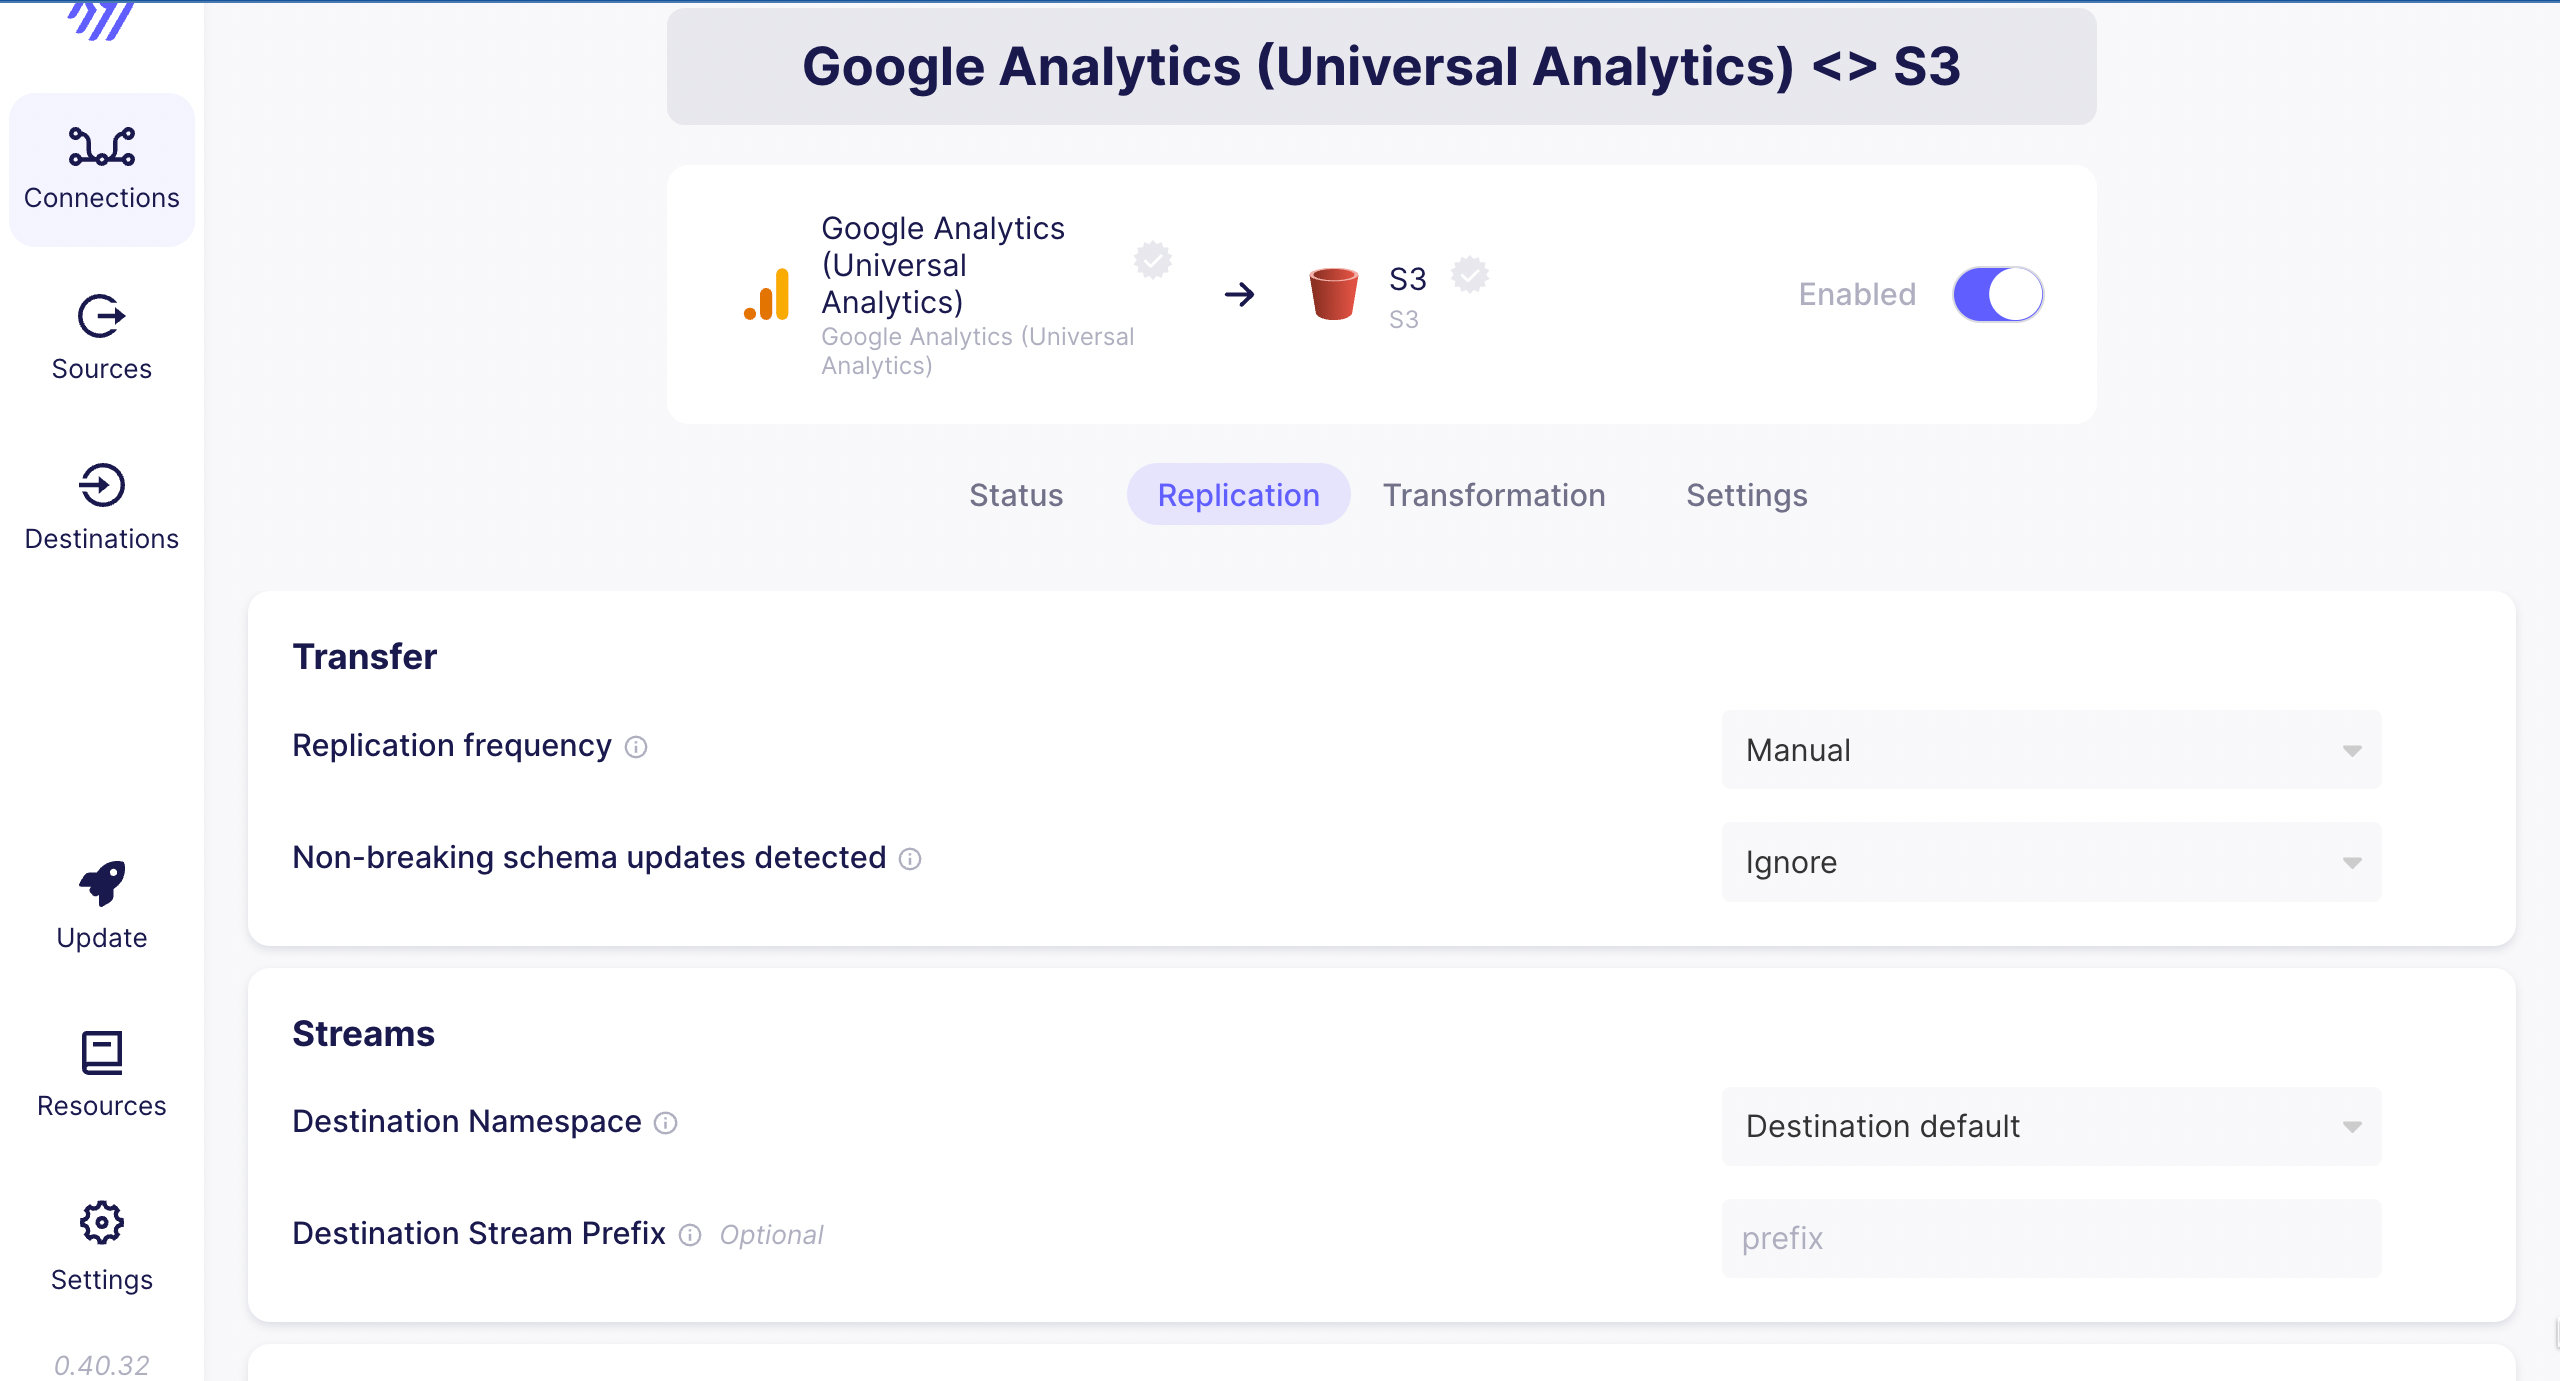
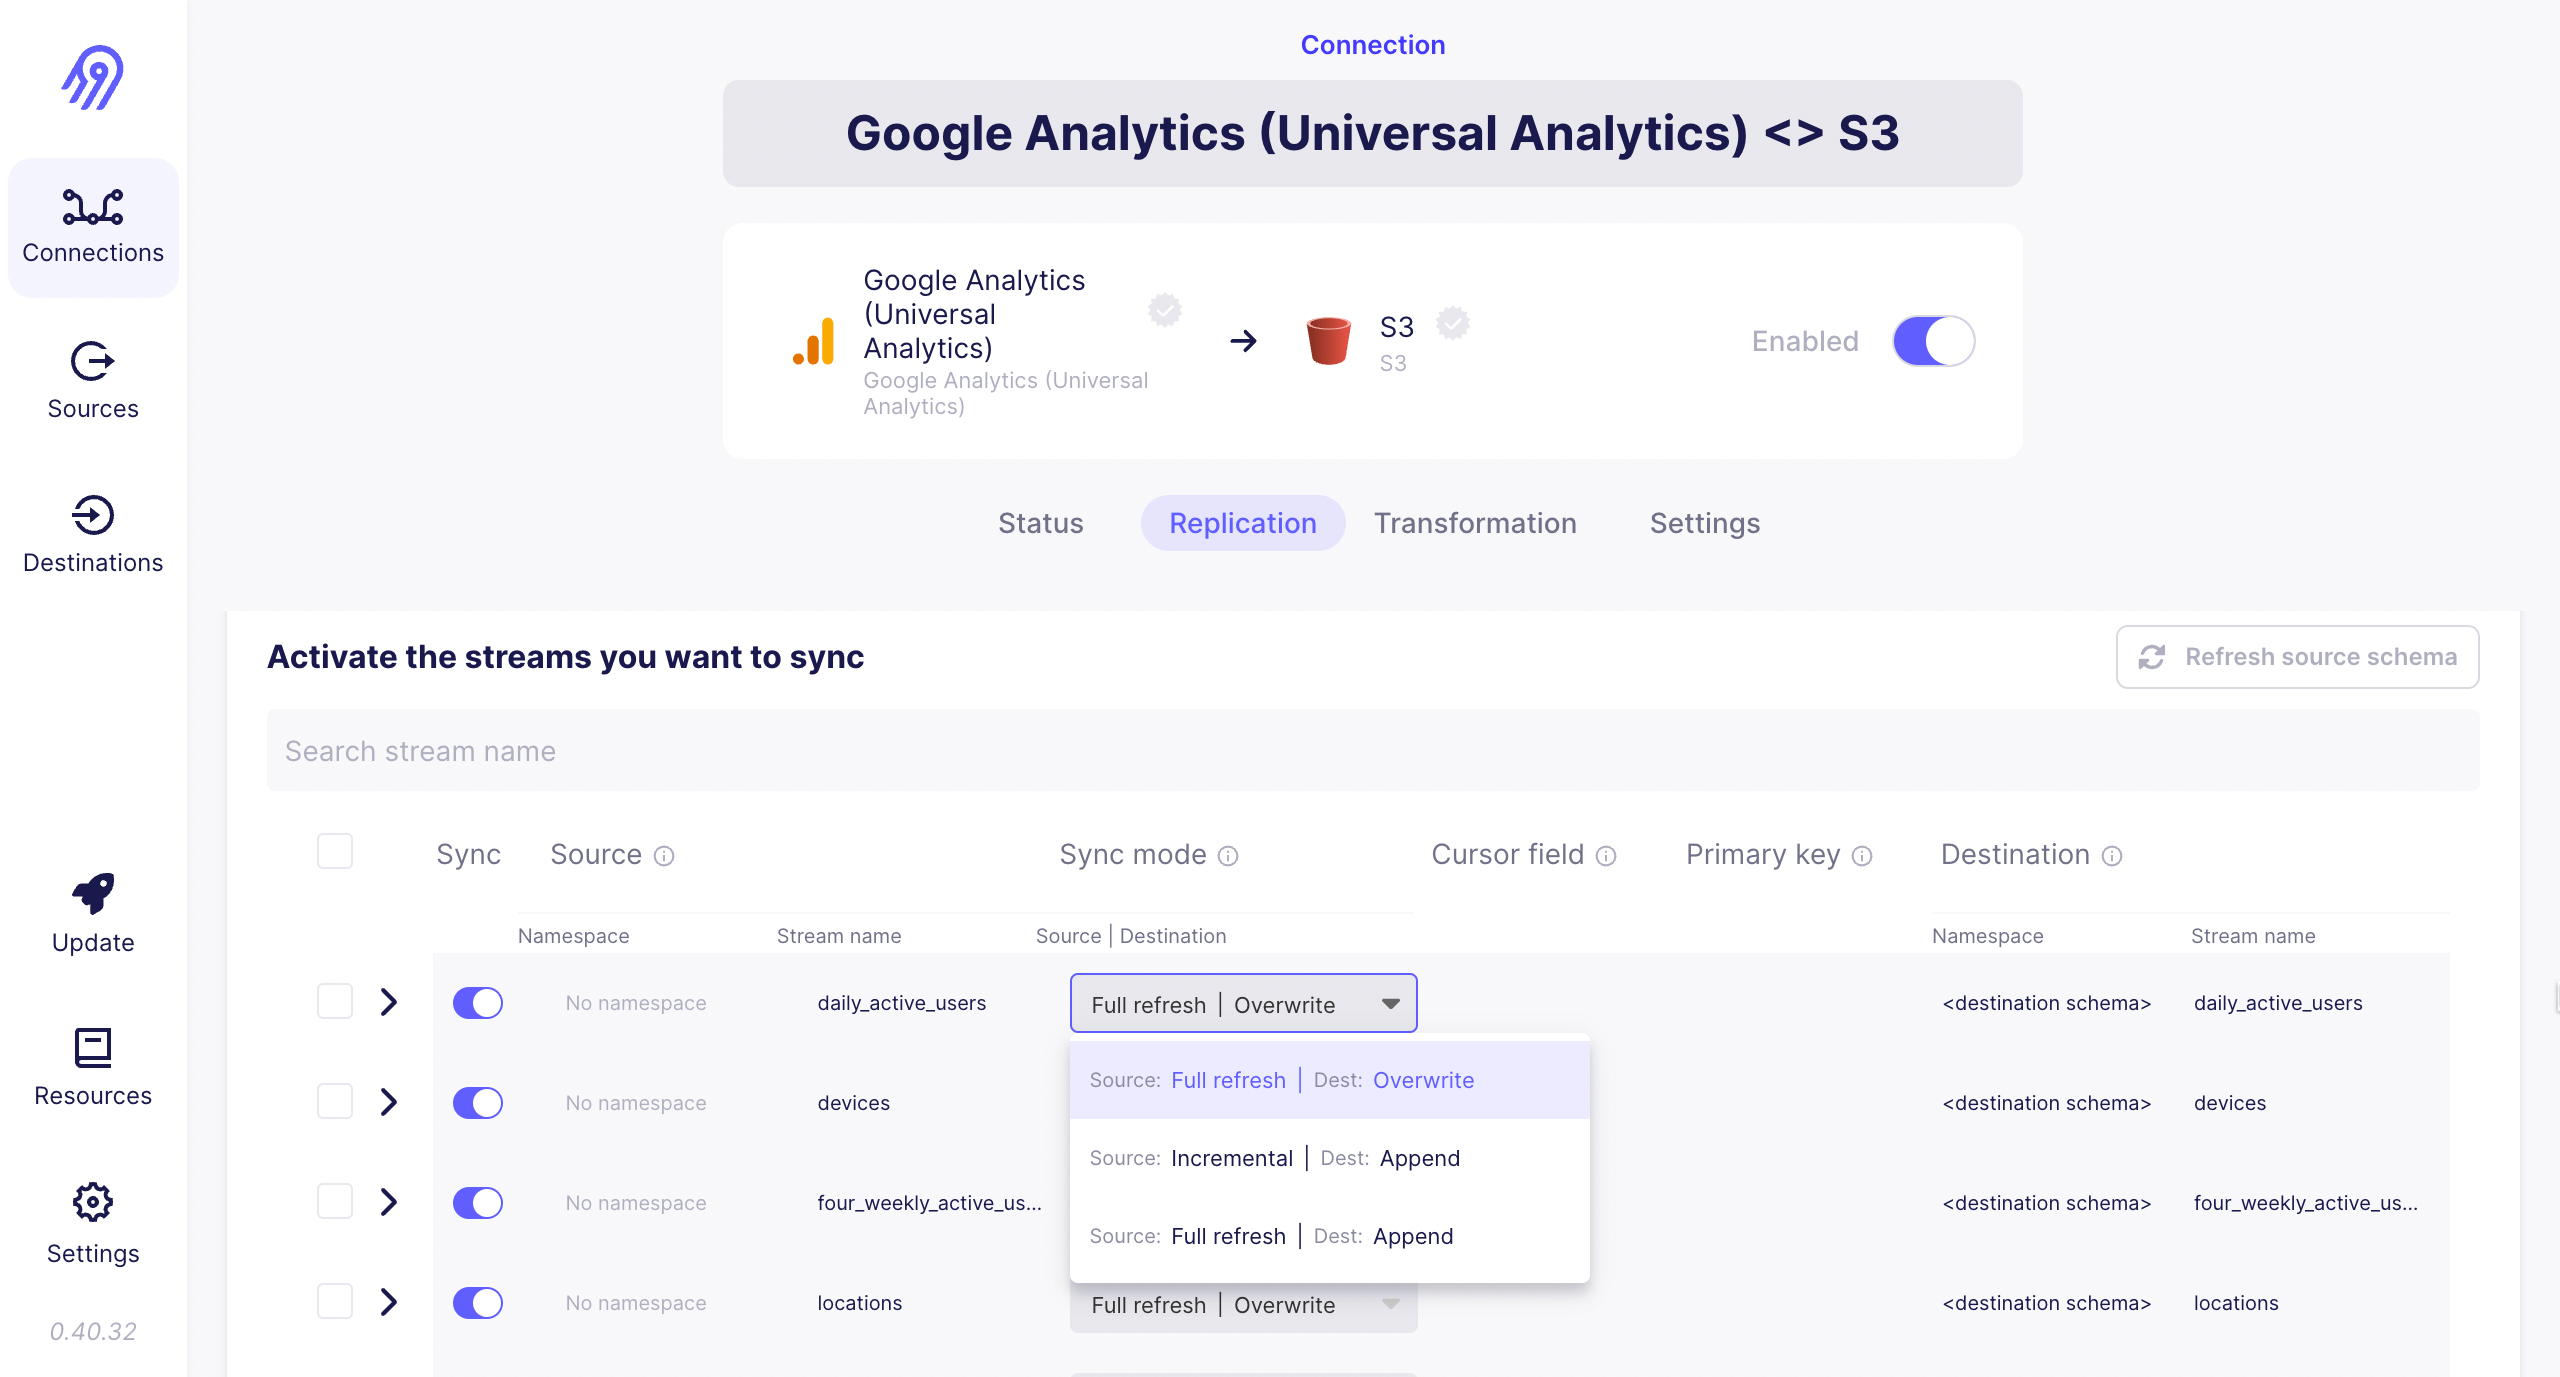
- You can select the tables you want in your destination folder.
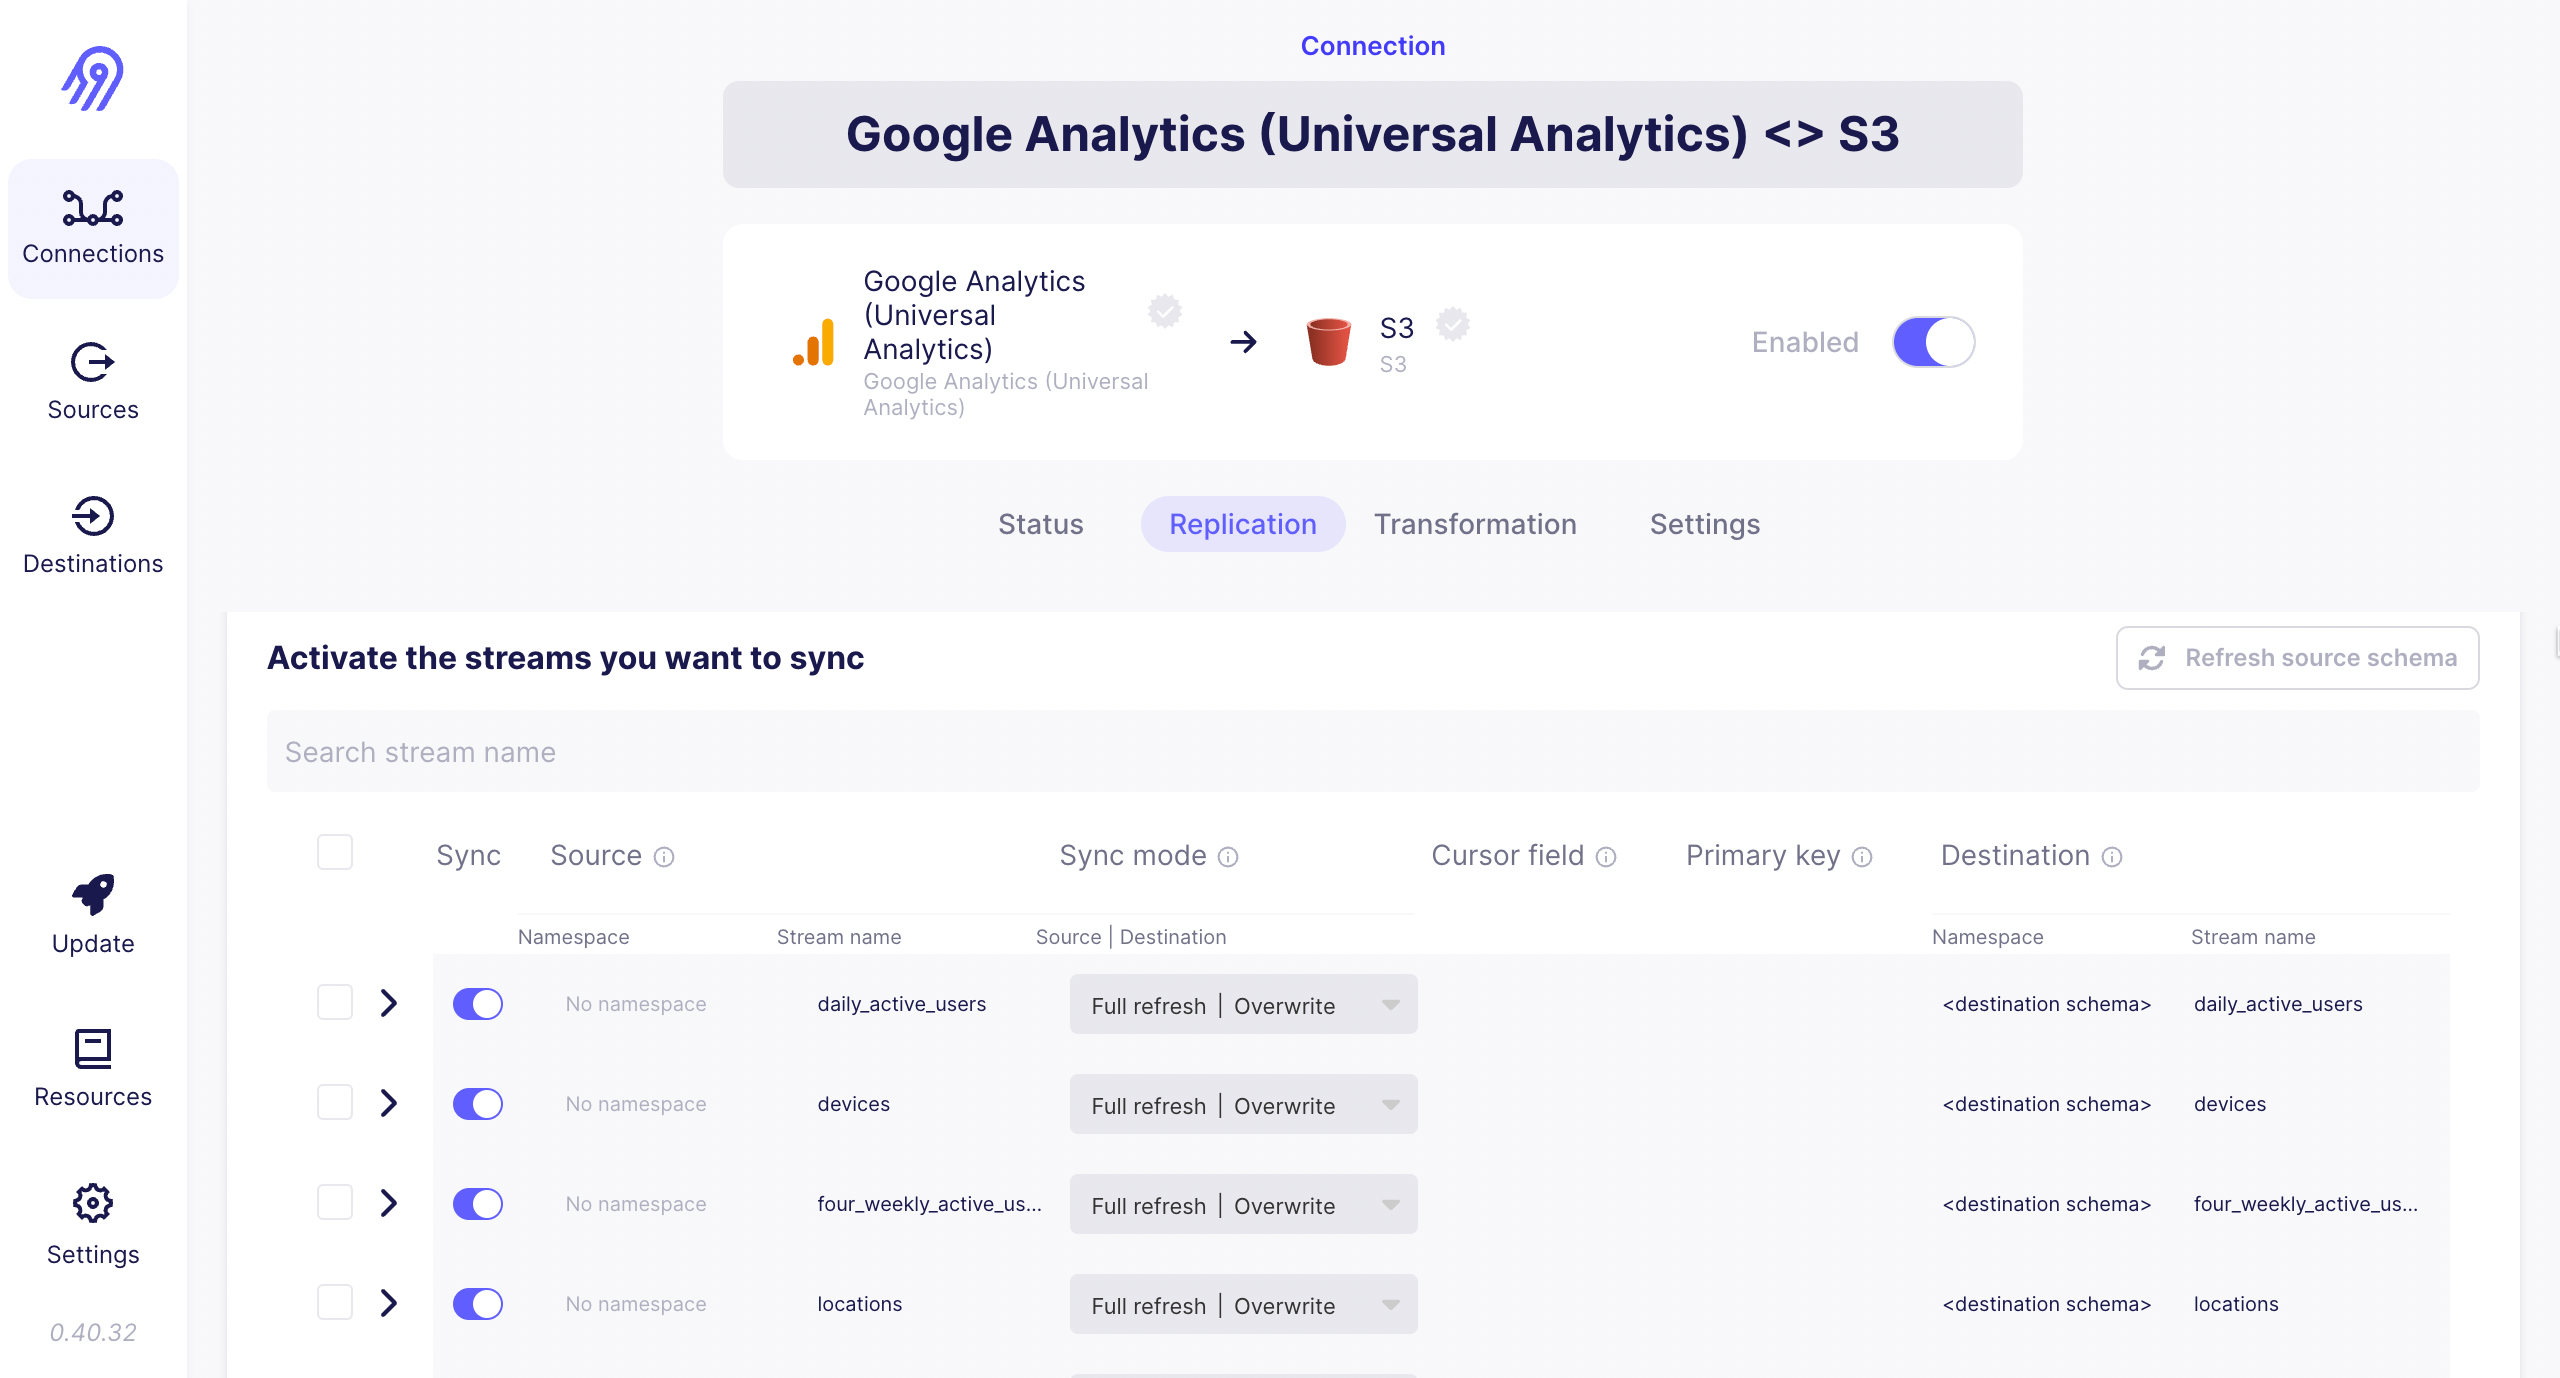
- You can select the tables you want in your destination folder.
- Transformation:This option is available for some connections only.
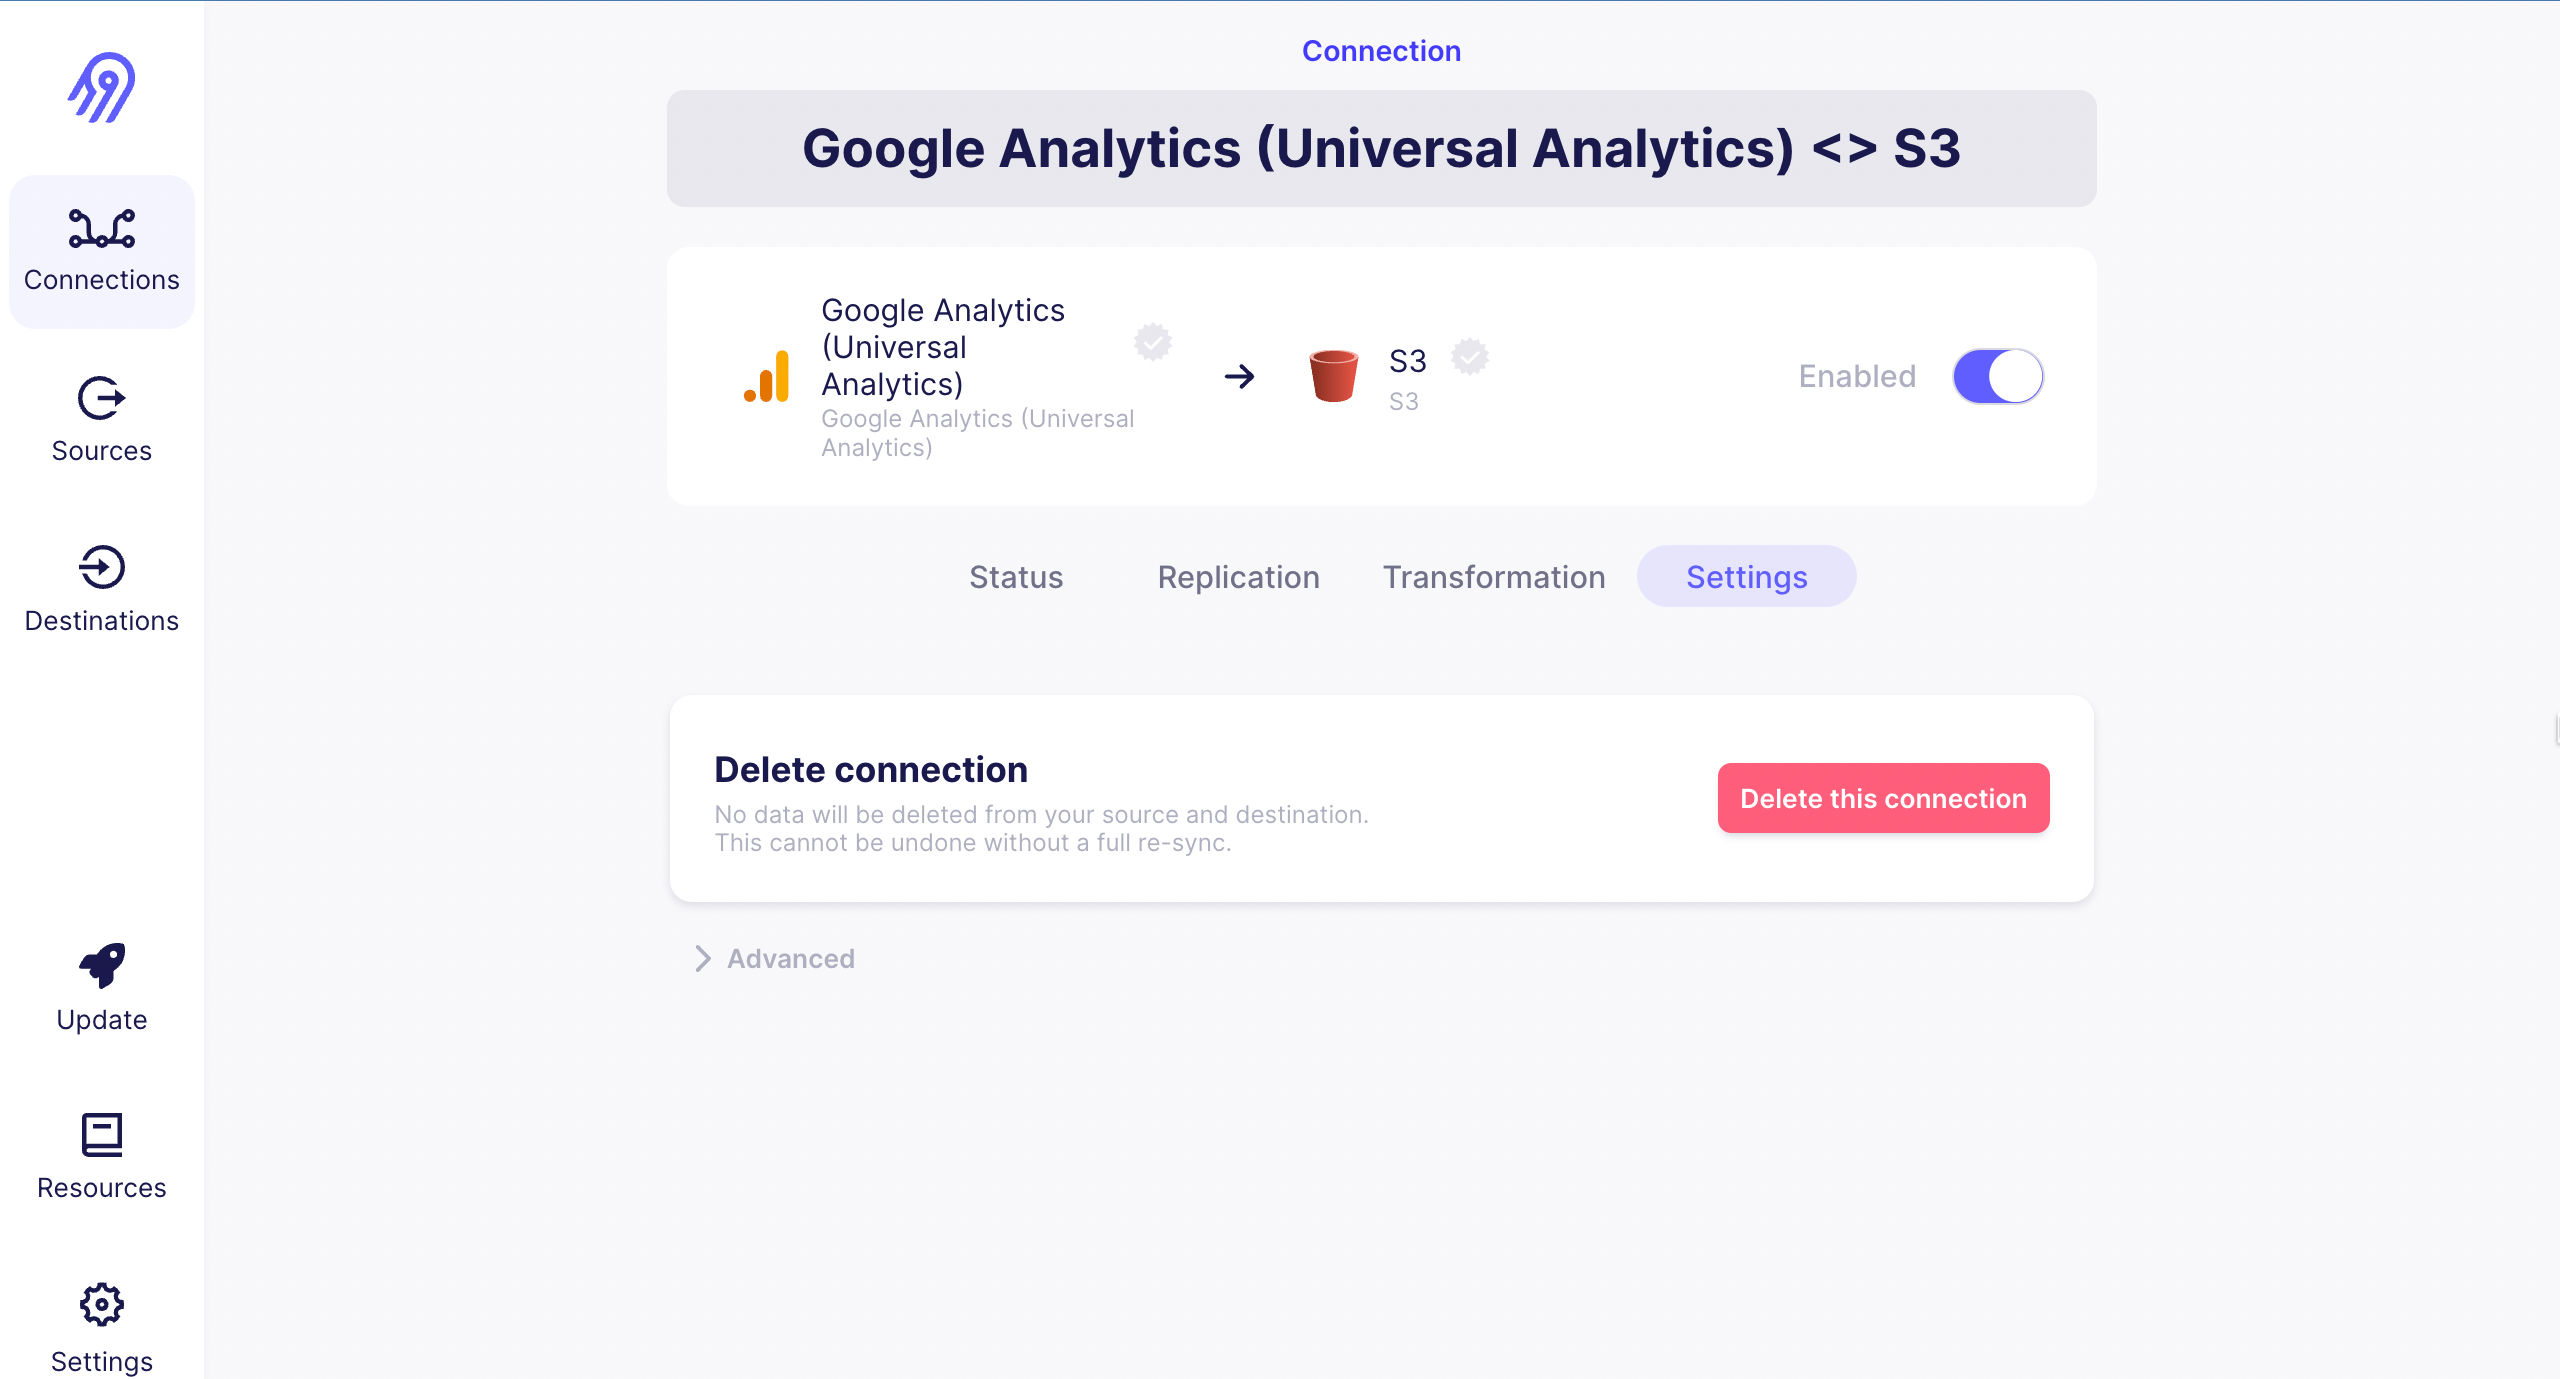
- Settings: You can delete the connection from here.
- Status: Shows the status of the connection.
You can also check the documentation and tutorials by navigate to the Resources.
