File Manager
File Manager
Katonic provide File Manager section that displays all the buckets and objects to which the authenticated user has access.
Here you can search and browse your Buckets/Objects or upload new Objects.You can also get your object information with the option to download or delete.
Get Started with File Manager
From the platform, click on File Manager.
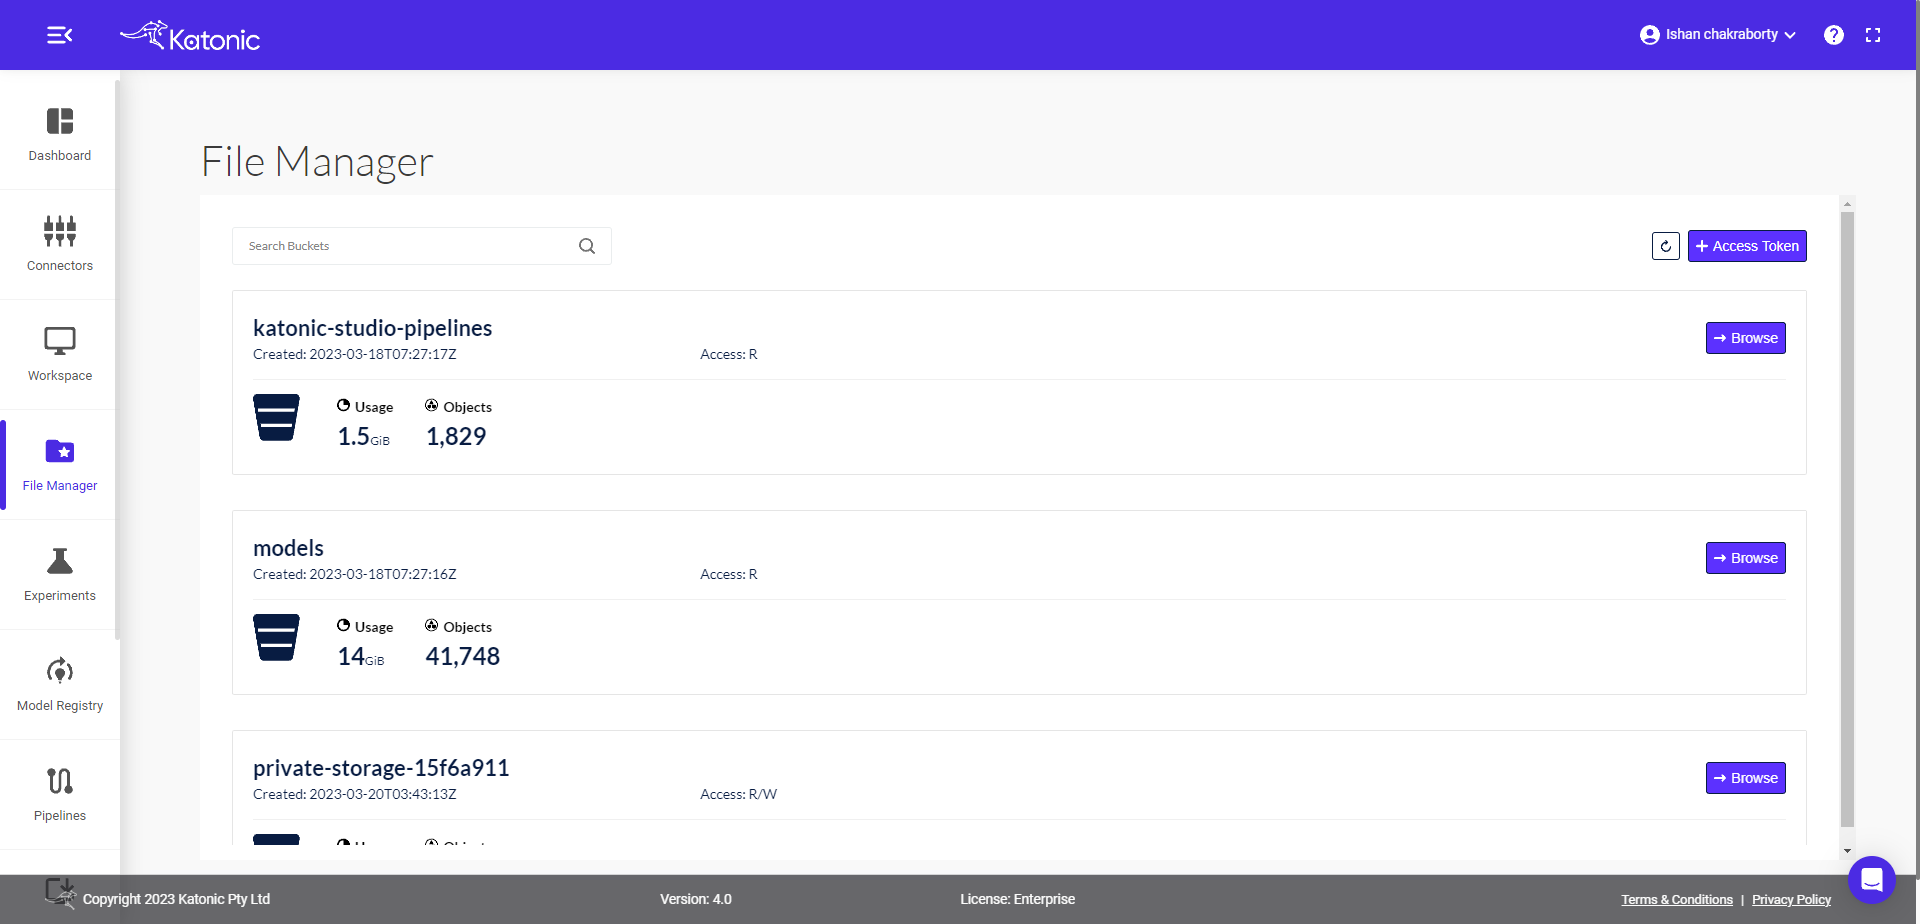
Under File Manager, there are four storage buckets available,
katonic-studio-pipelines
Models
private-storage
shared-storage
You can perform following operations using File Manager UI:
Browse: You can browse the buckets by clicking on the Browse button.
Search: Use the box to search your file or bucket.
Refresh: It will refresh the buckets to update the latest bucket size and other details.
Select Multiple Buckets: It will help to select multiple buckets.
Access Token+: It will take you to the Service Accounts and let you create the access token.
Browse Bucket
Browse button will take you inside the bucket.You can implement the following functionalities.
By clicking on the Create New Path icon, you can create new path.
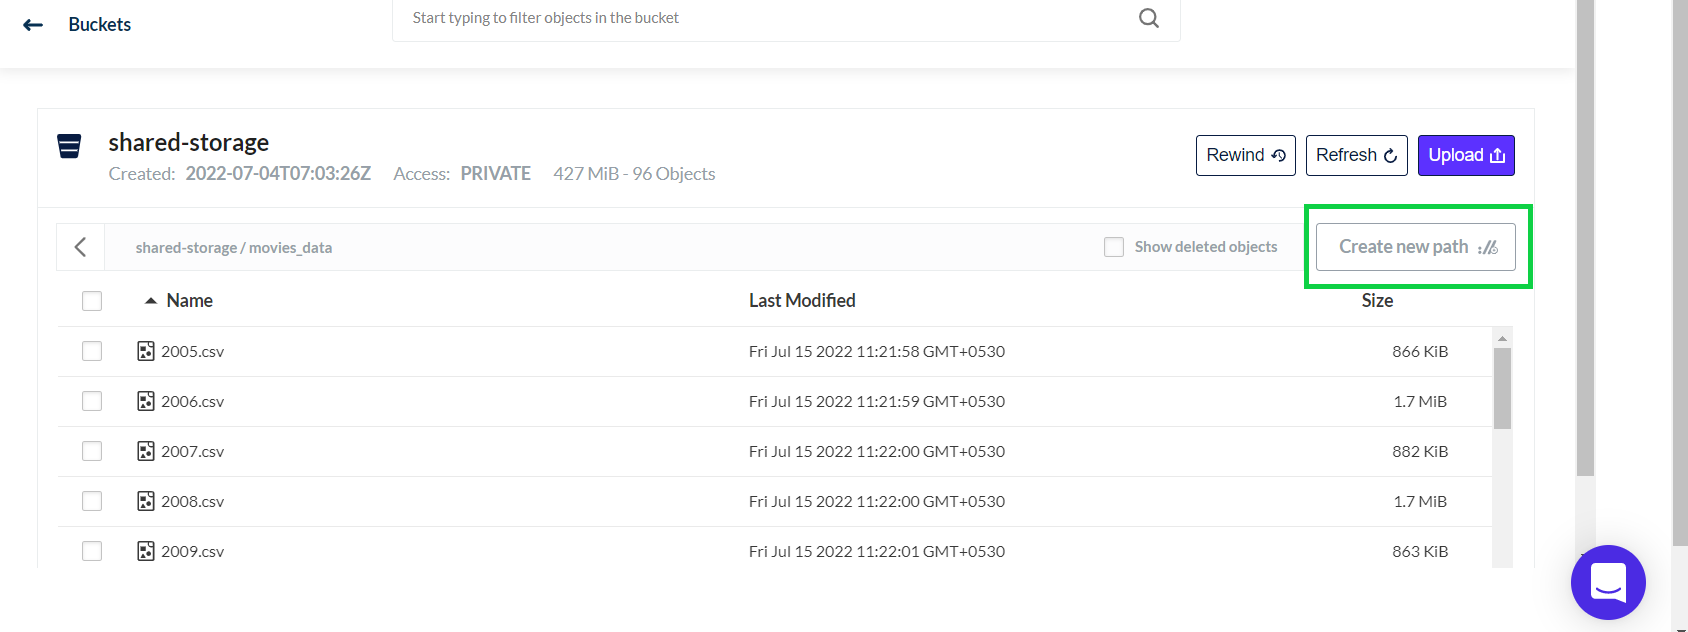
Note: To create a new path/folder, you must have atleast one file inside it otherwise your created folder will not be displayed.
By clicking on the Upload icon, you can upload any file inside the bucket or the folder(path) present in the bucket.
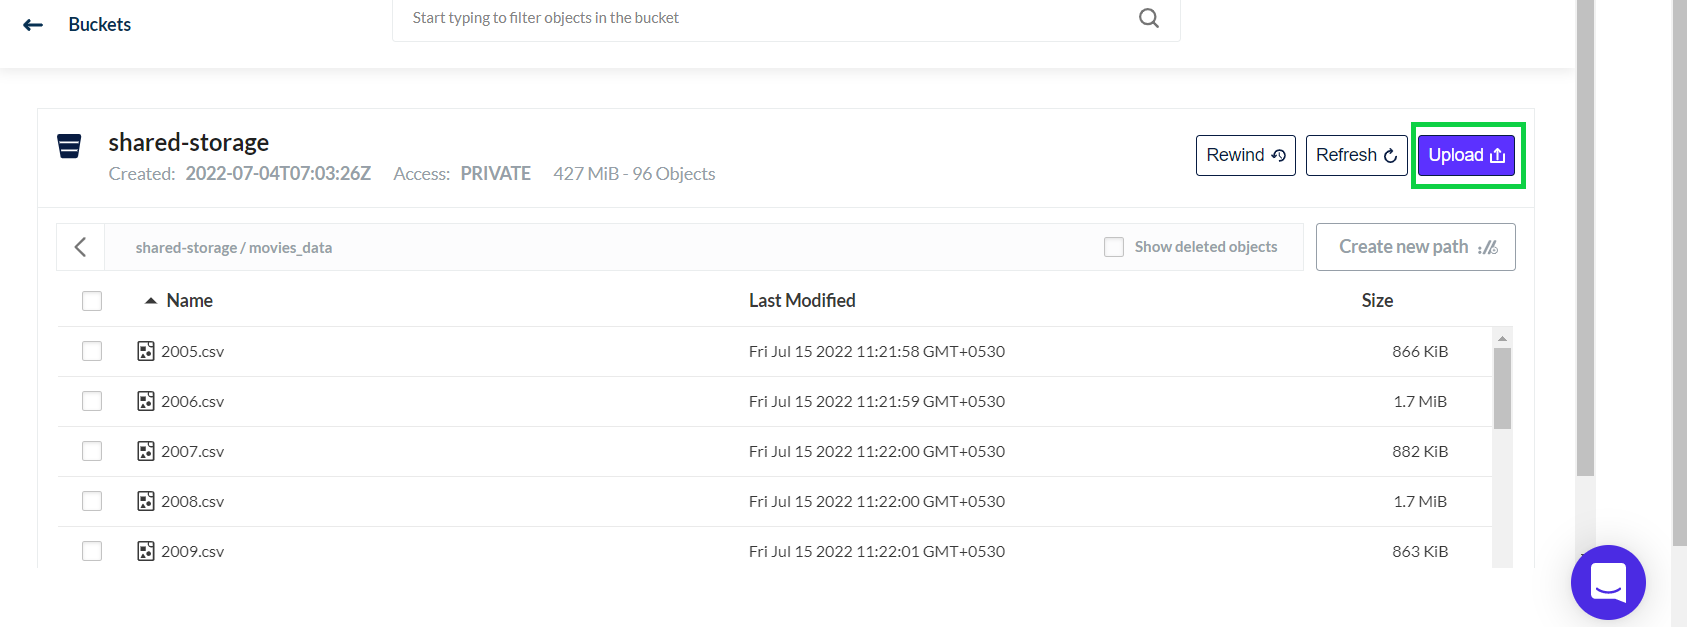
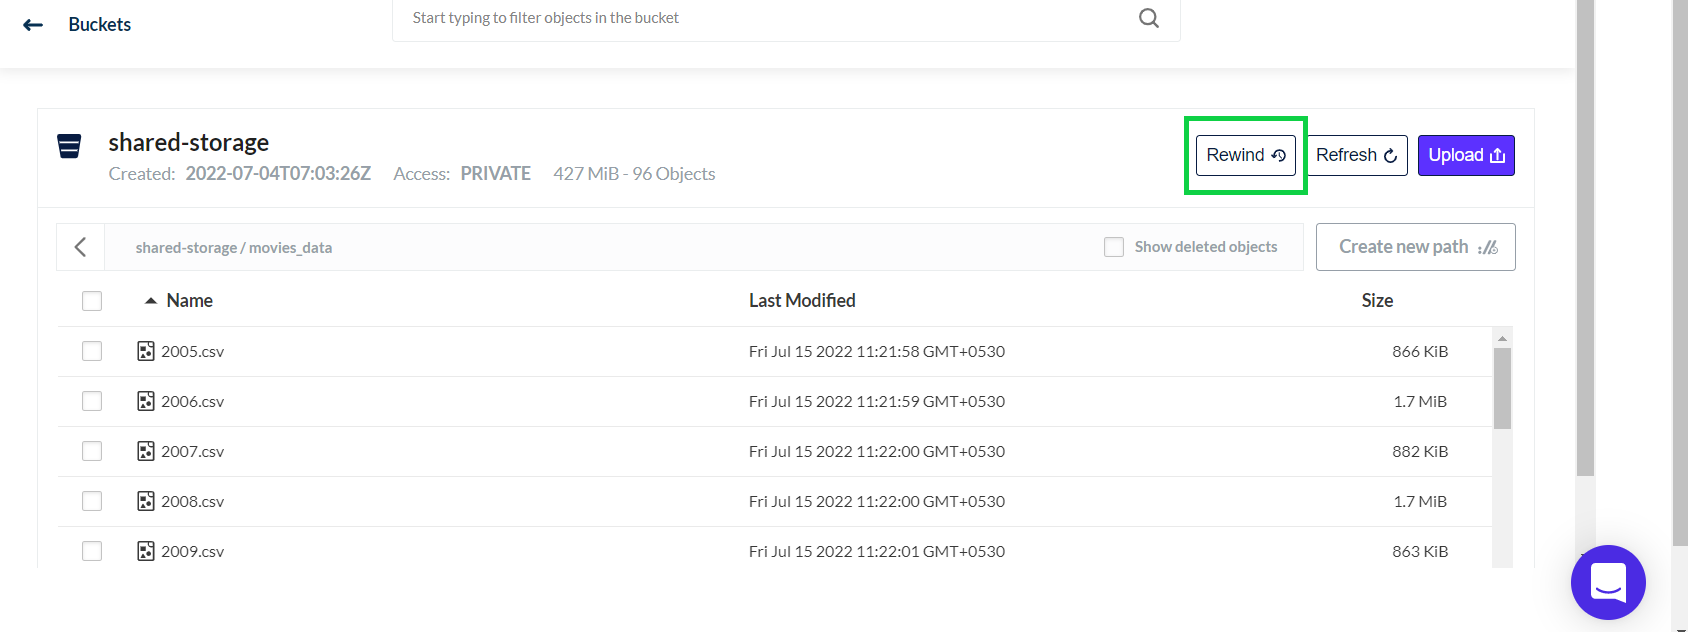
By clicking the Rewind icon, you can check the file history and you can see the file after it has been deleted.
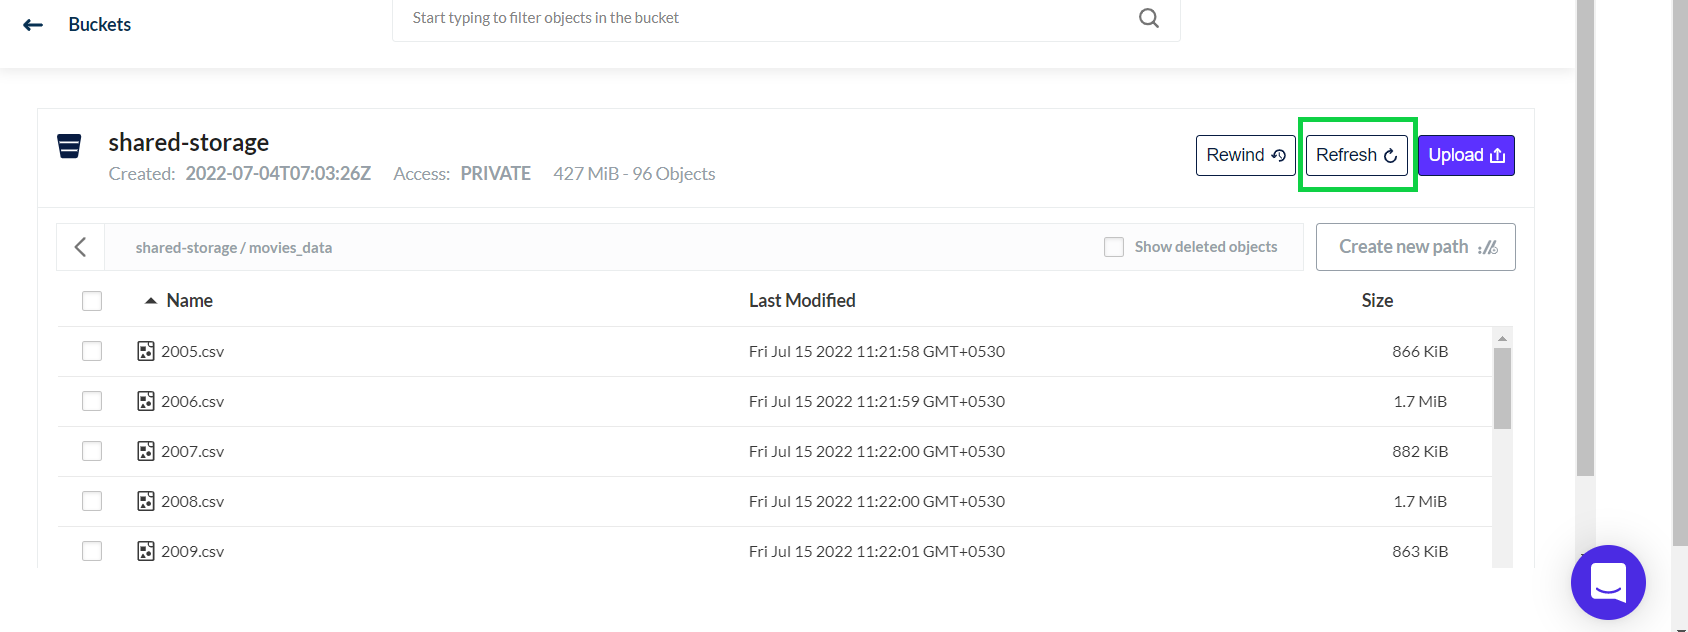
By clicking the Refresh button, you will refresh the File Manager overview or Bucket page.
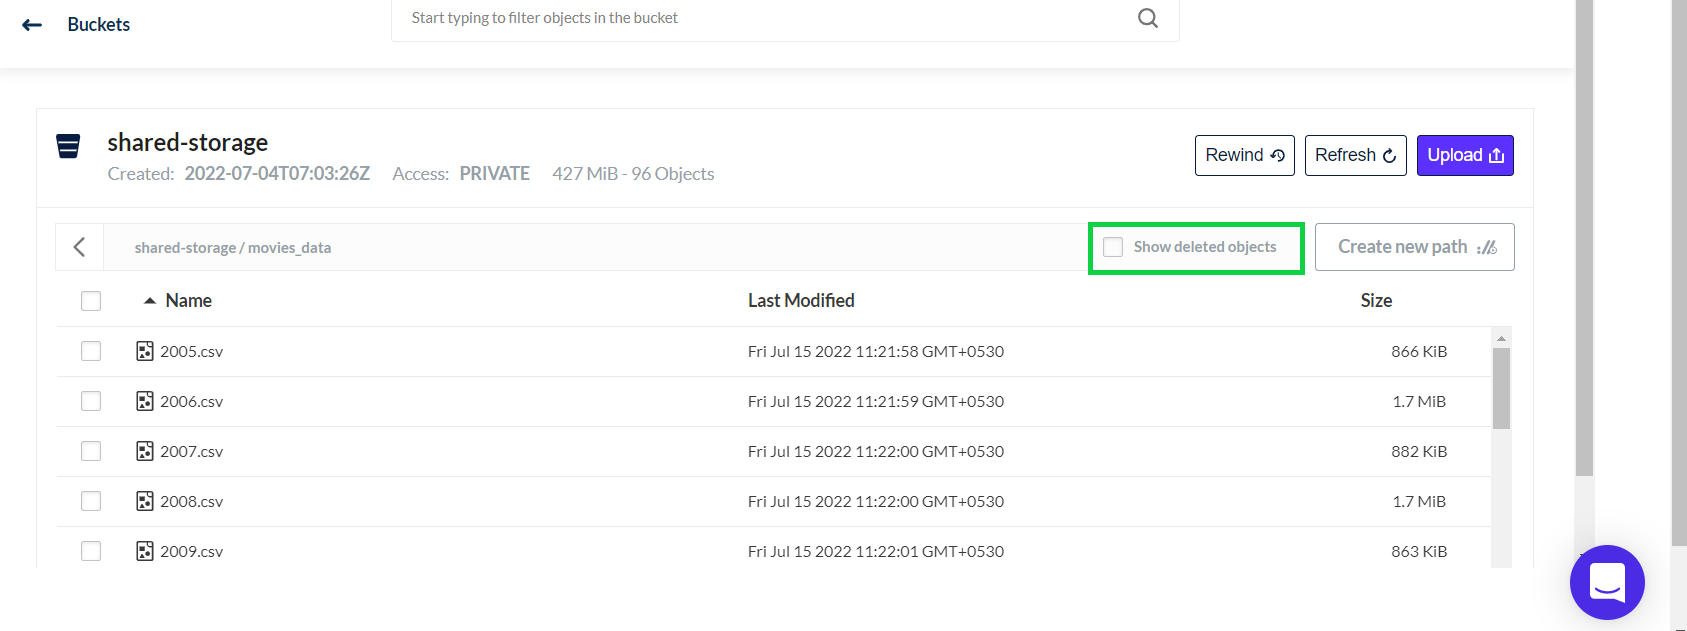
By selecting Show deleted objects you can see past deleted objects which were deleted by the user.
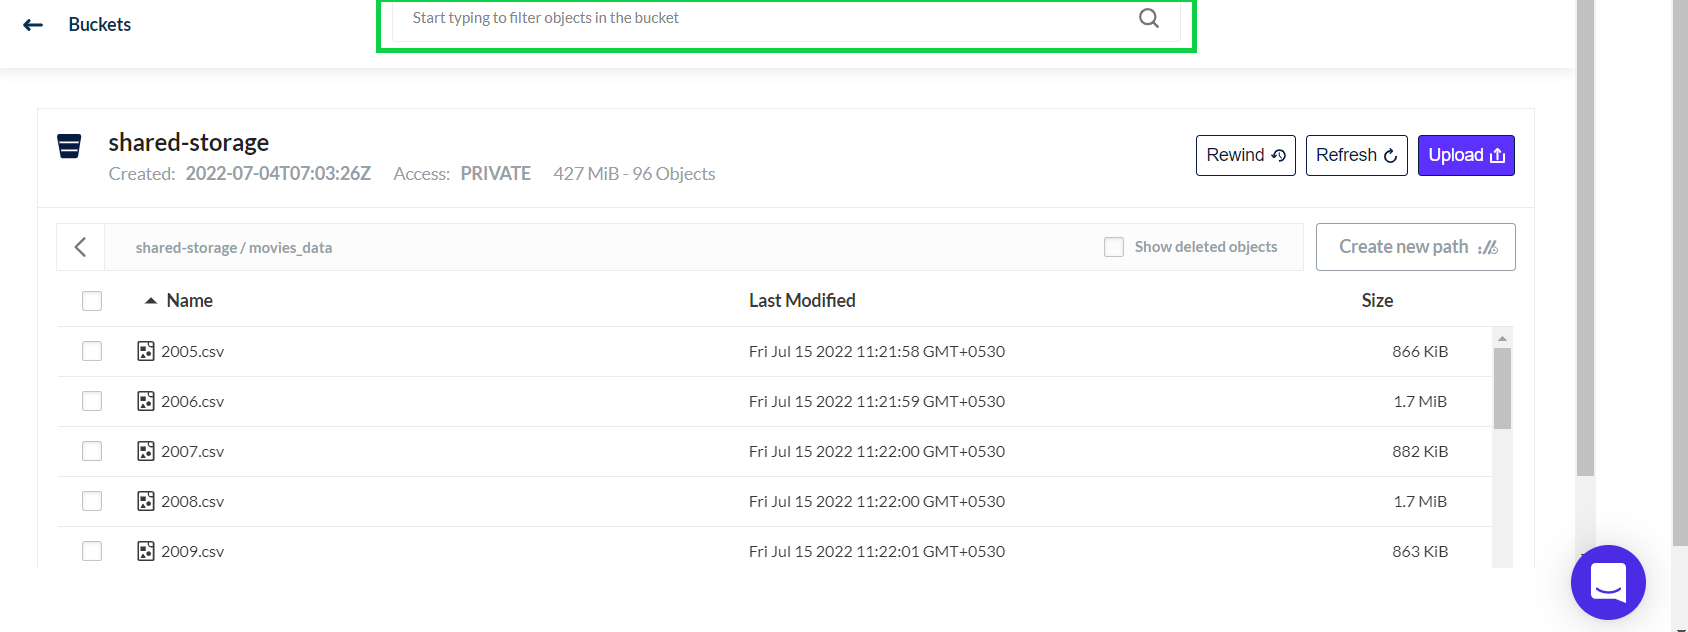
By using the Search bar you can search the objects to filter.
By Selecting any uploaded file or current file you will have following function Input:
Download: You can download the selected file from clicking on download.
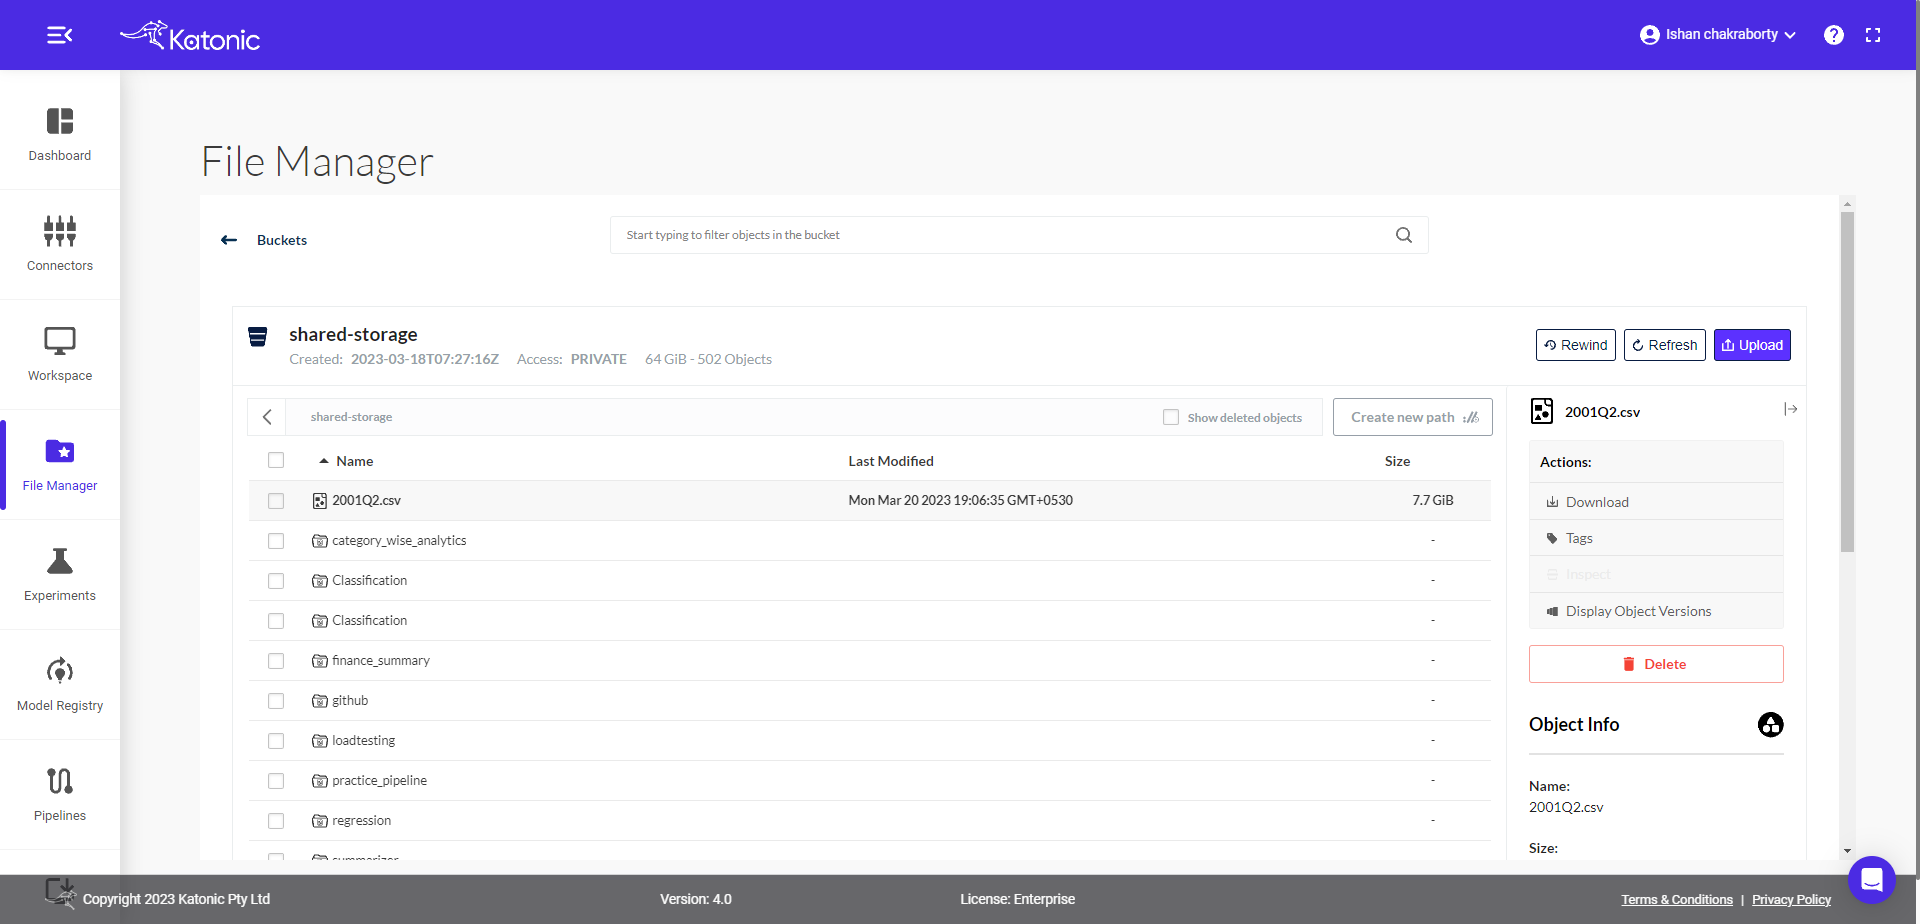
Tag : set new tag for your selected Object.
Add the Tag key and Tag Label and click on Set New Tag.
Delete: You can delete the selected file.
Delete pop-up will appear for confirmation to delete the object.
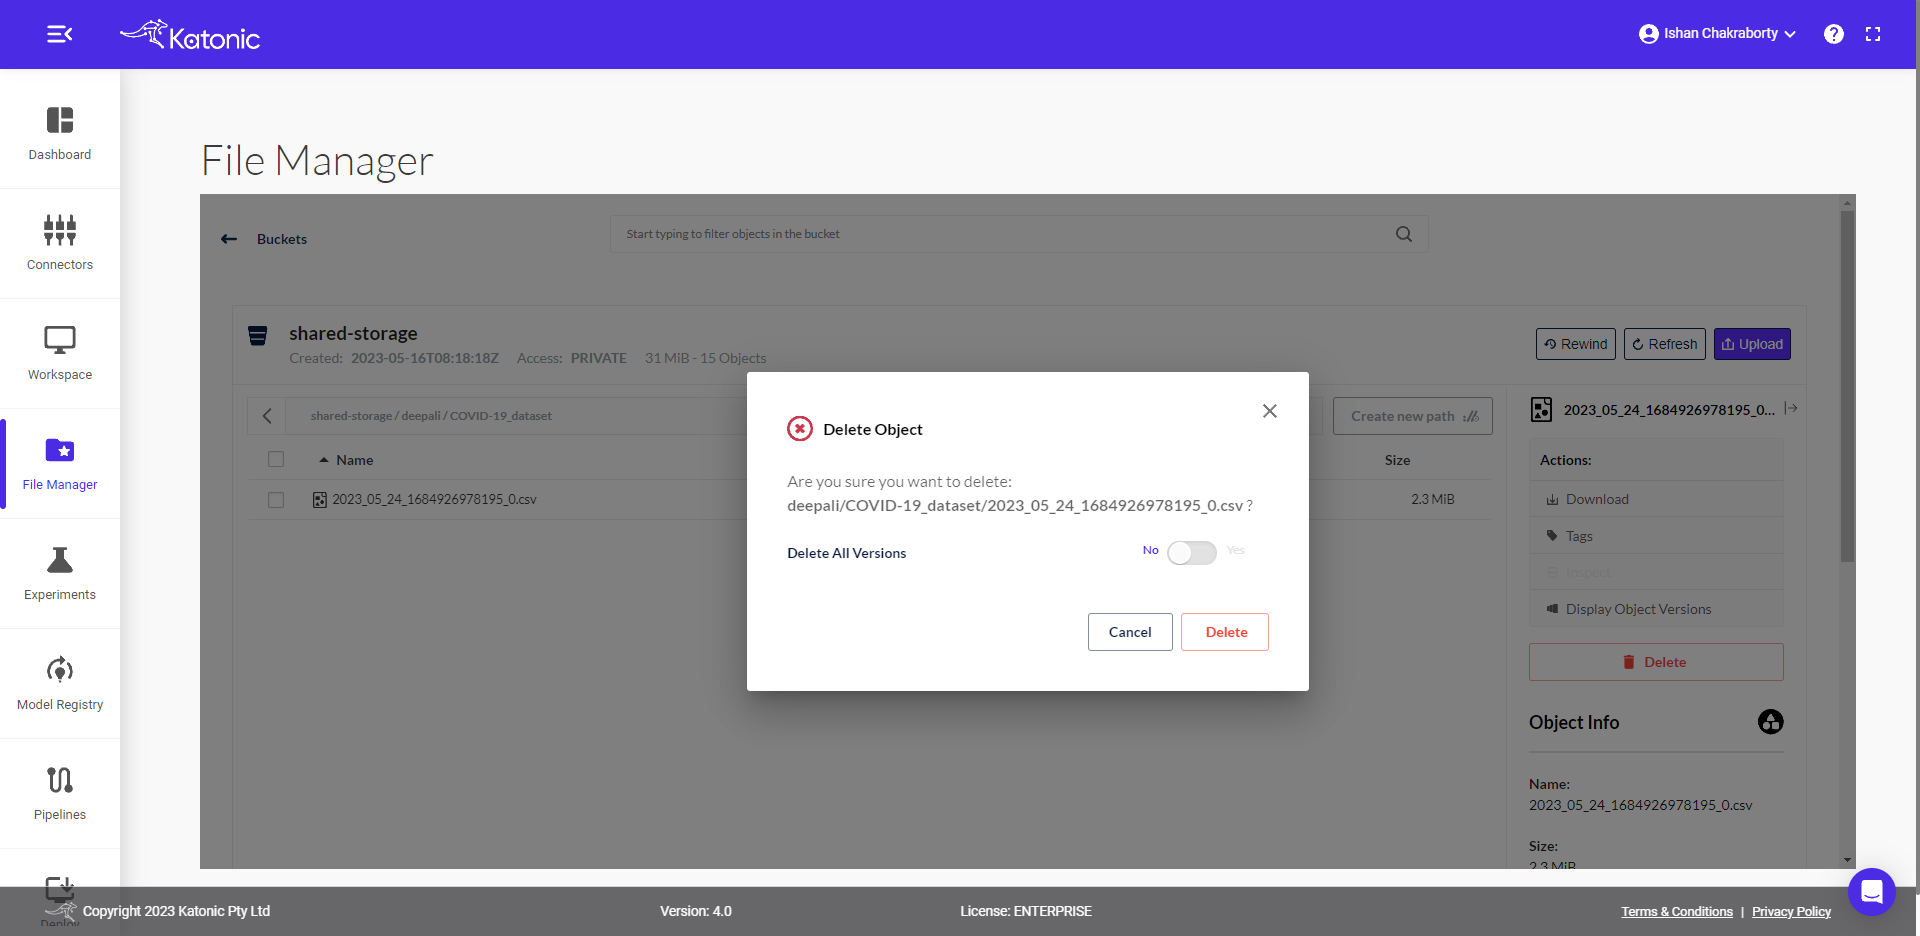
Note: You can NO or YES the slider selection to delete the version of the object.
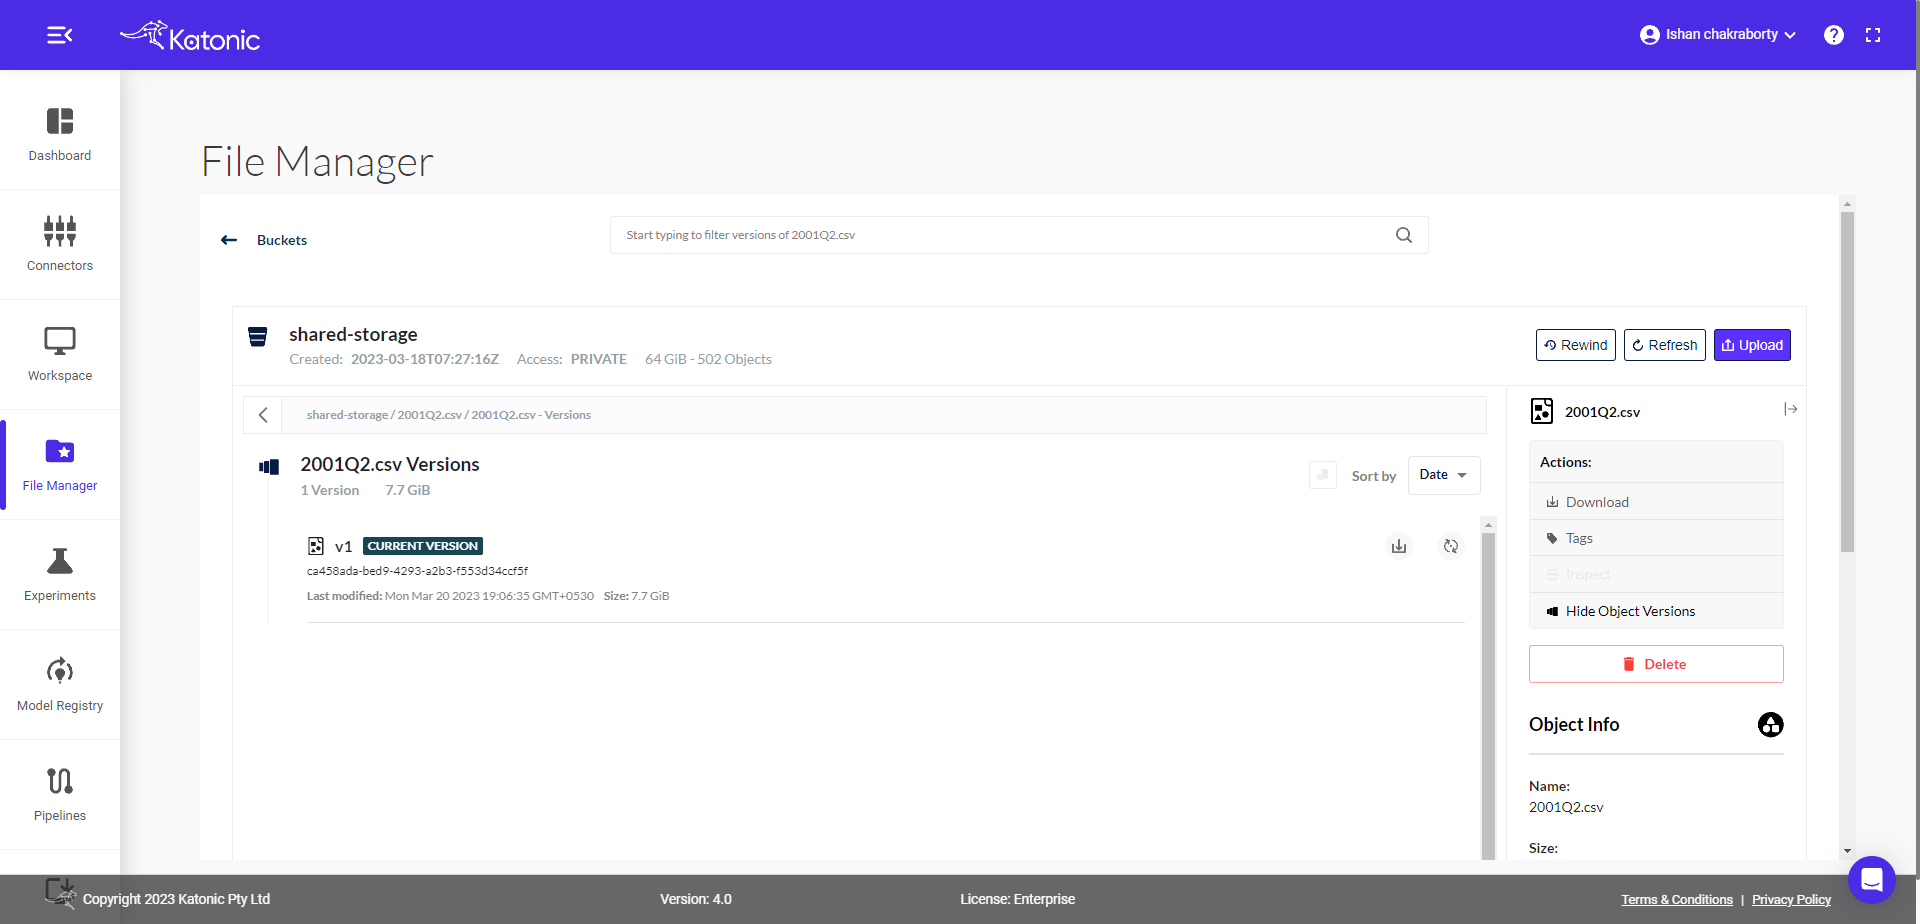
Object Versioning: You can see the version of the object or file by clicking on the object and then select Display Object Version.
Note: You need to click on the object/file to get the option for Display Object Version.
Access Token
To Create Access Token click on "Access Token+"
After clicking on Access Token+, you will be redirected to Service Accounts.
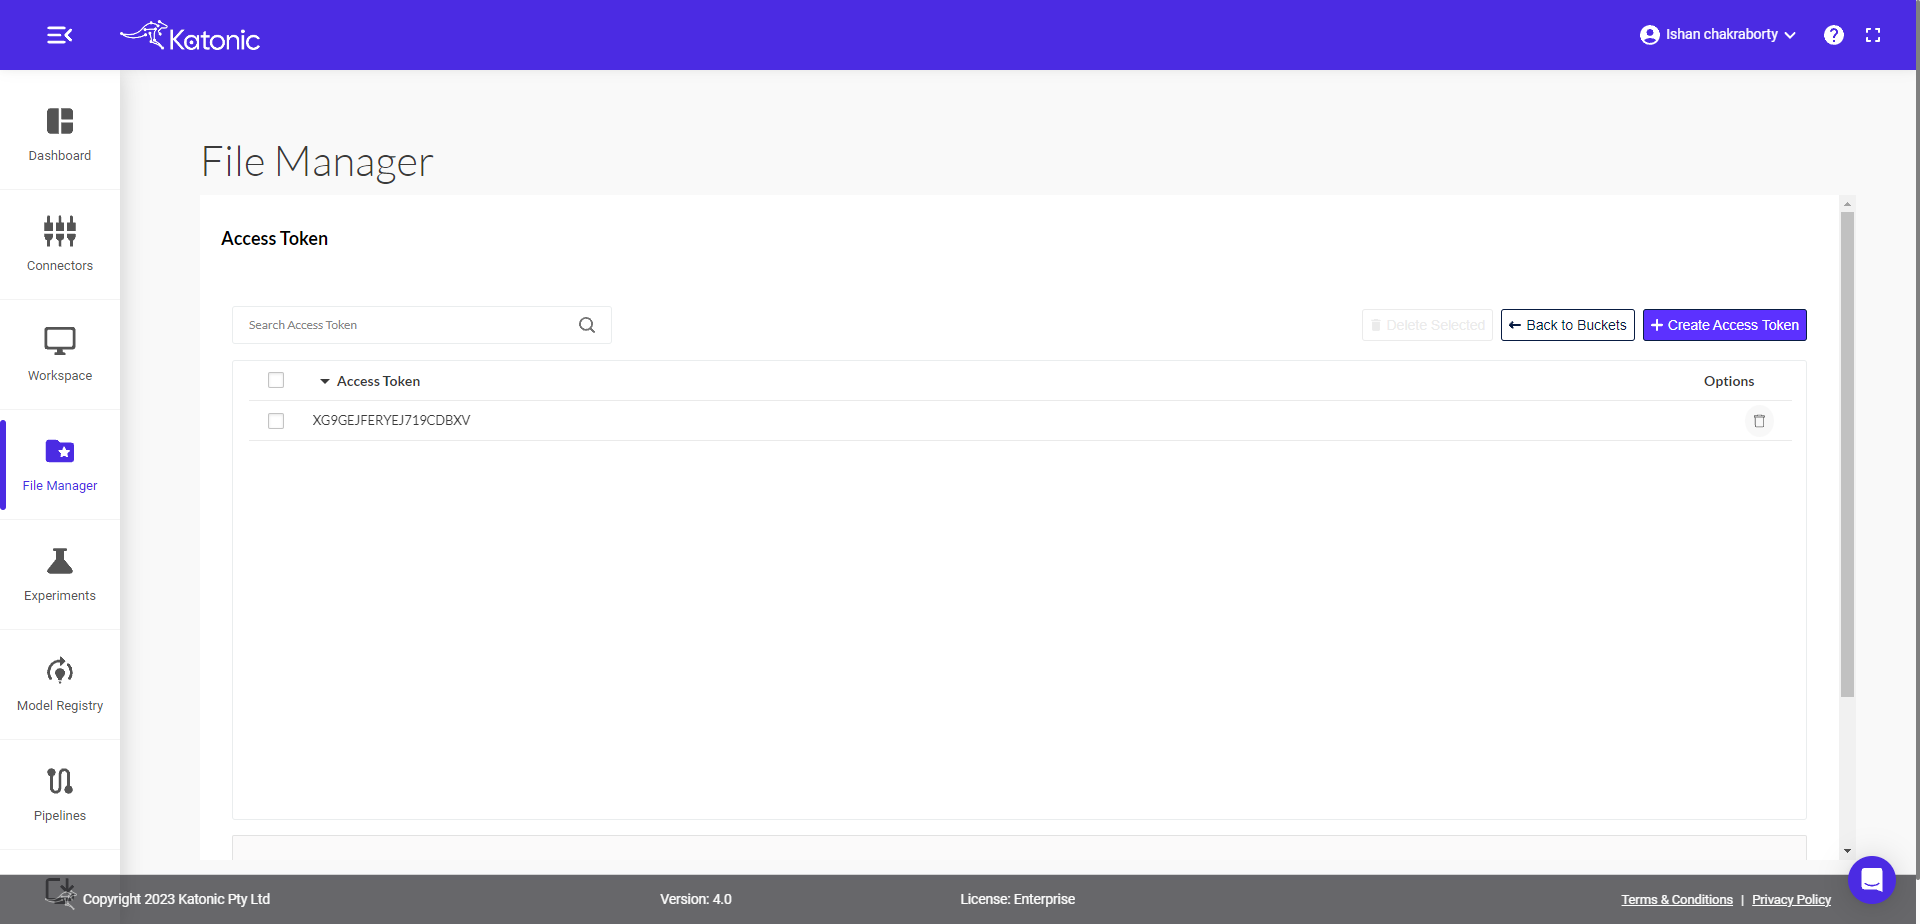
In Service Accounts you will get 2 options
- Back to Buckets
- Create Access Token+
Click on Create Access Token+ to create your access token.
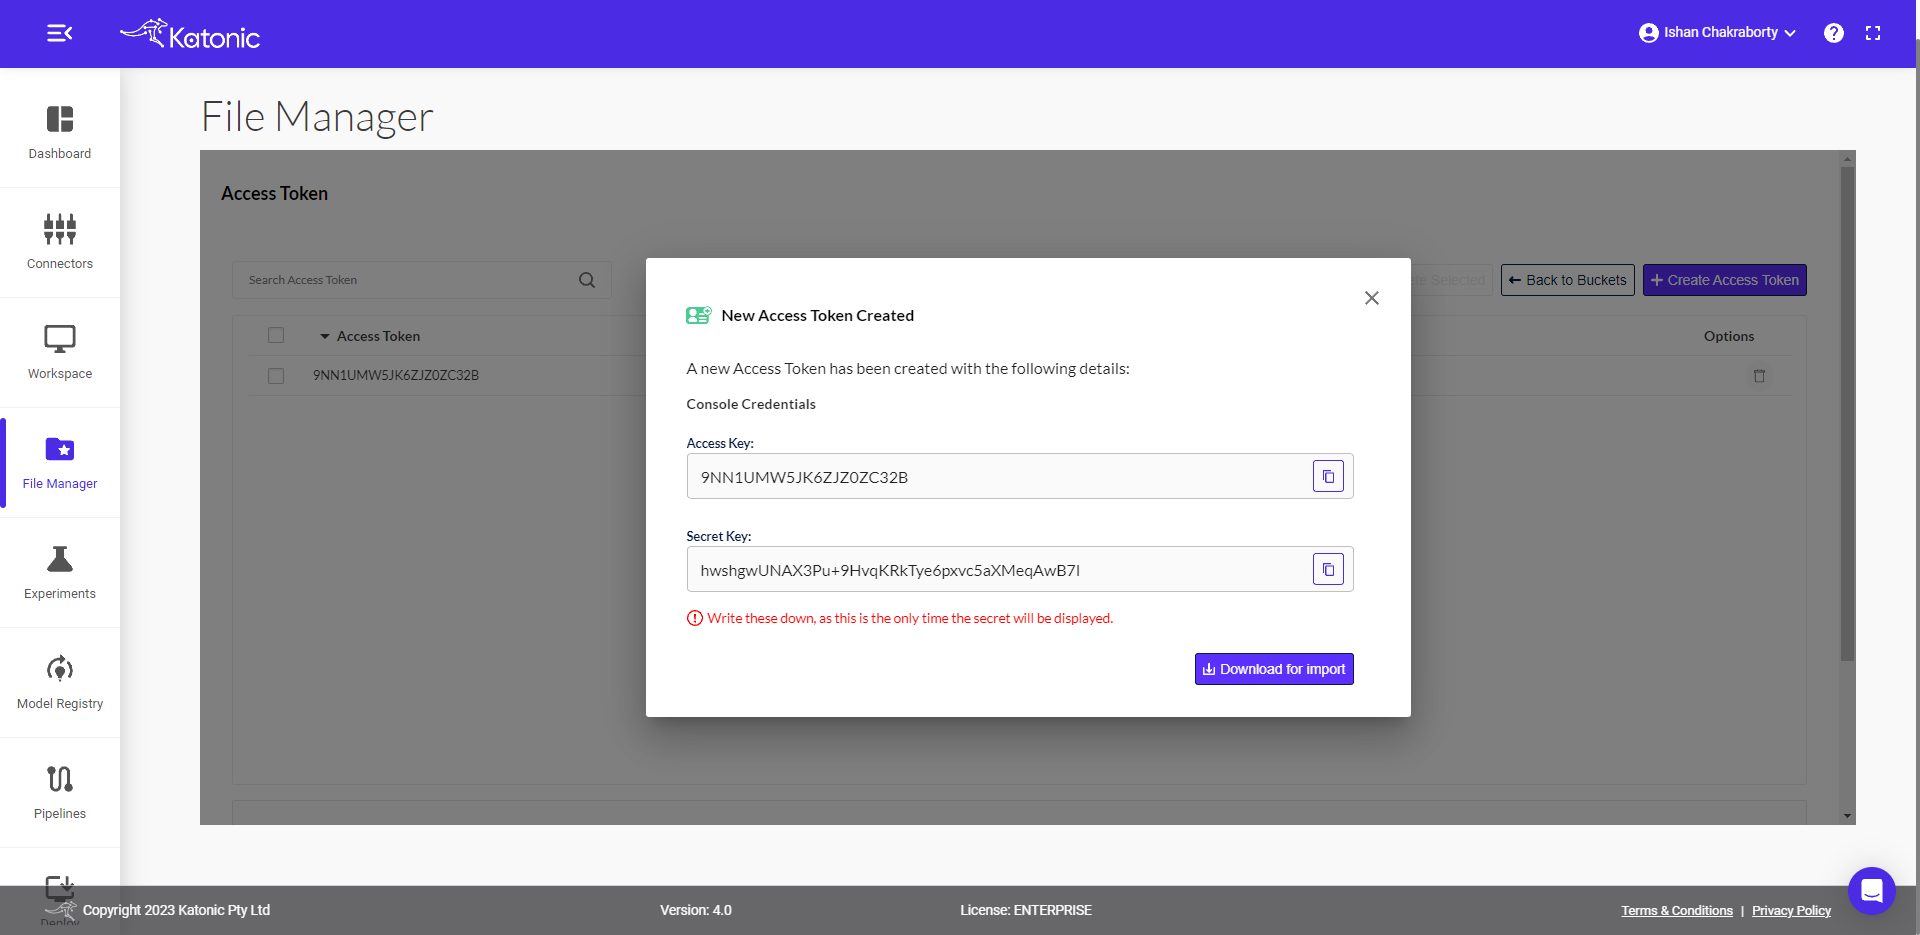
Once you are on your Create Service Account pop-up select "Create" to get the access token.

After Selecting Create it will show New Service Account Created with your "Access Key" and "Secret key", you can also download it for import by selecting "Download for import"