Katonic Studio
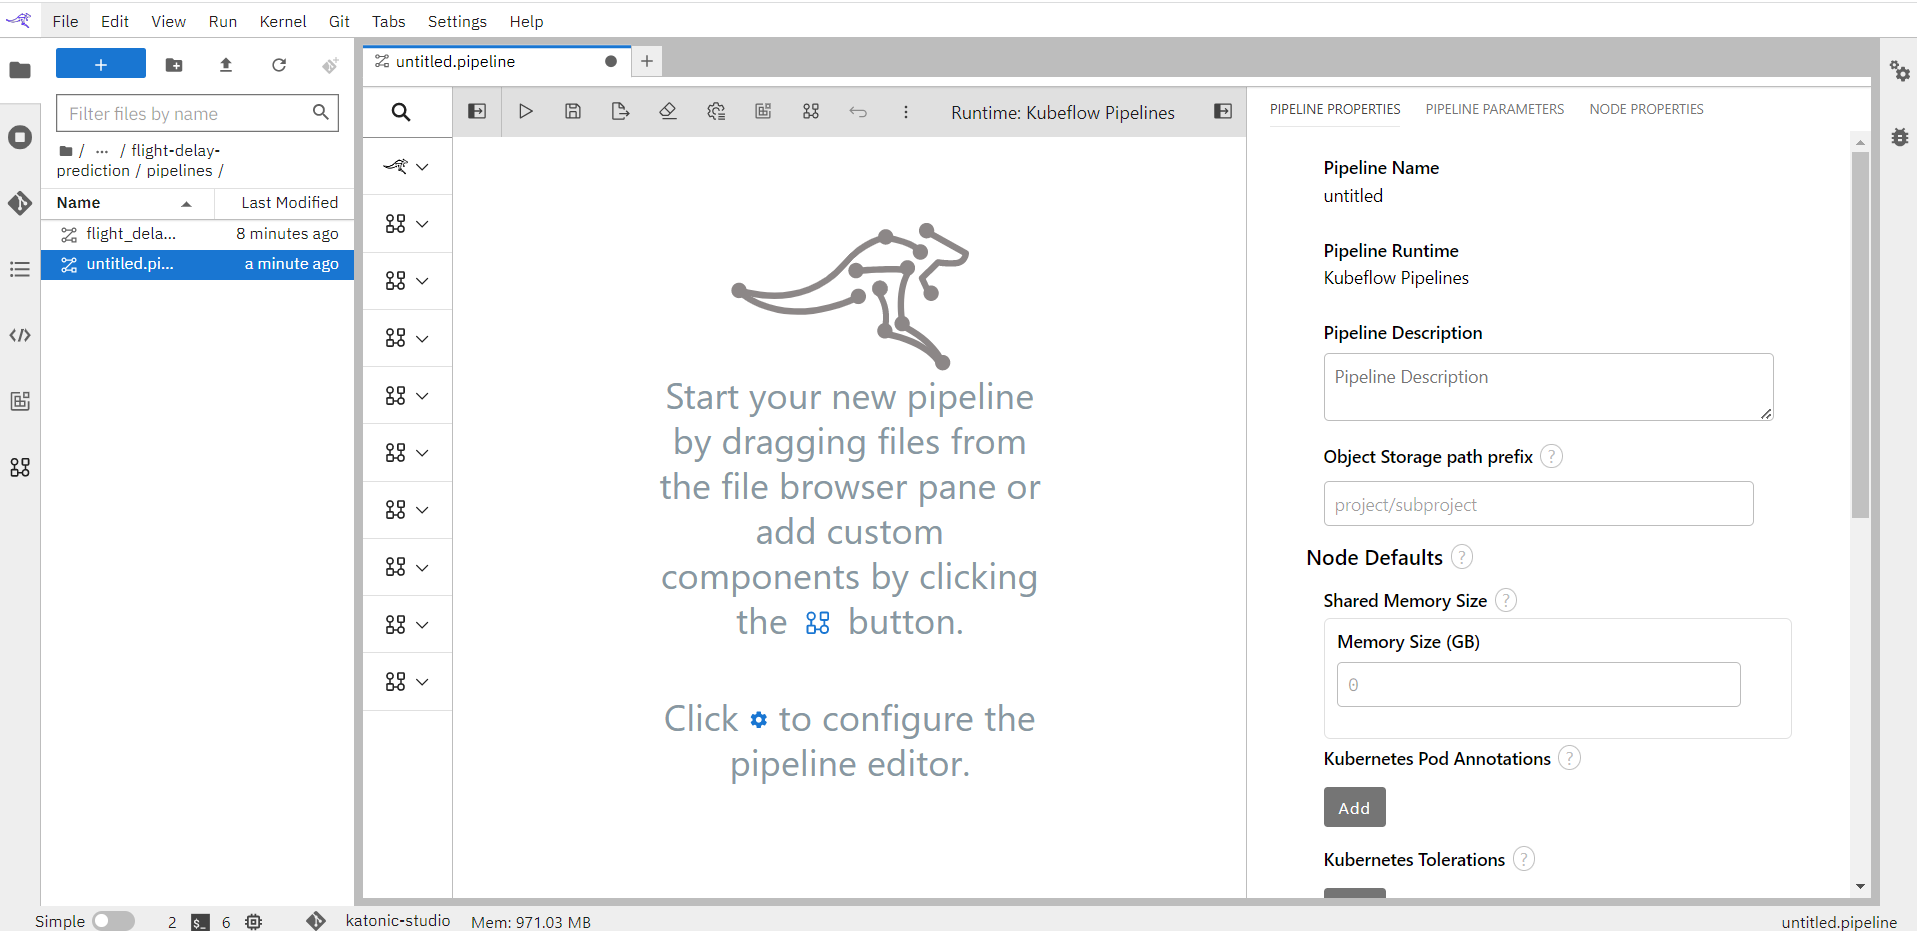
Building an AI pipeline for a model is hard, breaking down and modularizing a pipeline is harder. A typical machine/deep learning pipeline begins as a series of preprocessing steps followed by experimentation/optimization and finally deployment. Each of these steps represents a challenge in the model development lifecycle. Katonic Studio provides a Pipeline Visual Editor for building AI pipelines from notebooks, Python scripts and R scripts, simplifying the conversion of multiple notebooks or scripts files into batch jobs or workflows.
Runtime Image Configuration
A runtime image configuration identifies a container image that Katonic Studio can utilize to run pipeline nodes on container-based platforms.
A runtime image configuration is associated with a container image that must meet these prerequisites:
The image is stored in a container registry in a public or private network that the container platform in which the pipeline is executed can connect to. Examples of such registries are hub.docker.com or a self-managed registry in an intranet environment.
The image must have a current Python 3 version pre-installed and python3 in the search path.
The image must have curl pre-installed and in the search path.
You can manage runtime image configurations using the JupyterLab UI.
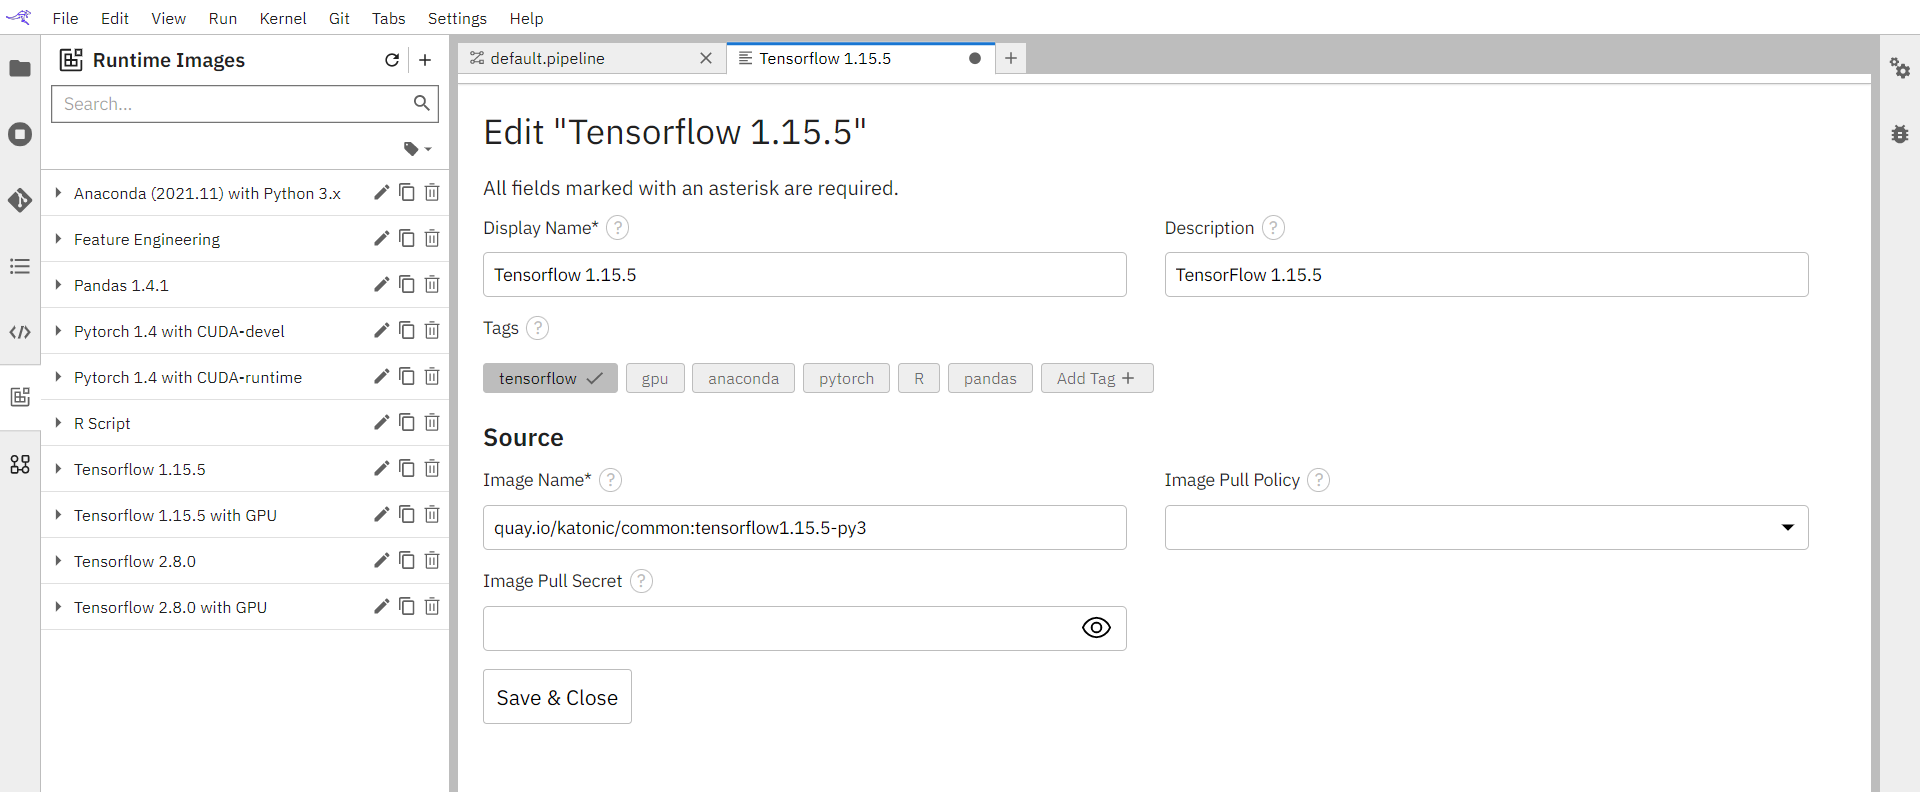
Managing runtime image configurations using the JupyterLab UI.
Runtime image configurations can be added, modified, duplicated, and removed in the Runtime Images panel.
Adding a runtime image configuration
To add a runtime image configuration:
Open the Runtime Images panel.
Click + to add a runtime image.
Add the runtime image properties as appropriate.
Modifying a runtime image configuration
To edit a runtime image configuration:
Open the Runtime Images panel.
Click the edit icon next to the runtime image name.
Modify the runtime image properties as desired.
Duplicating a runtime image configuration
To duplicate a runtime image configuration:
Open the Runtime Images panel.
Click the duplicate icon next to the runtime image configuration.
Follow the steps in ‘Modifying a runtime image configuration’ to customize the duplicated configuration.
To delete a runtime image configuration:
Open the Runtime Images panel.
Click the delete icon next to the runtime image name.
Confirm deletion.
Pipelines
Overview
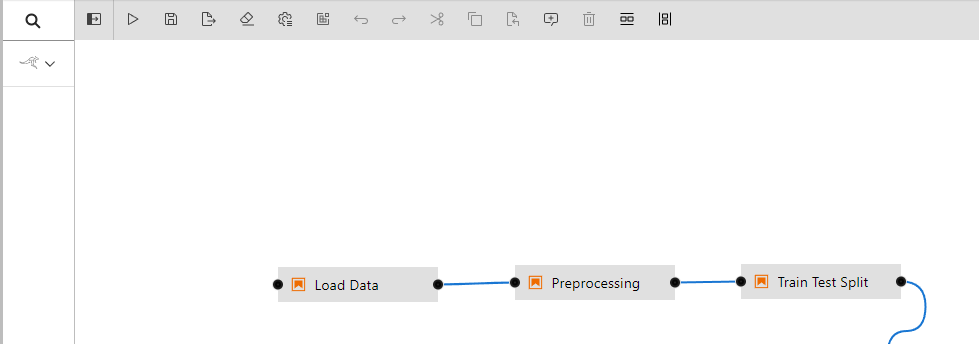
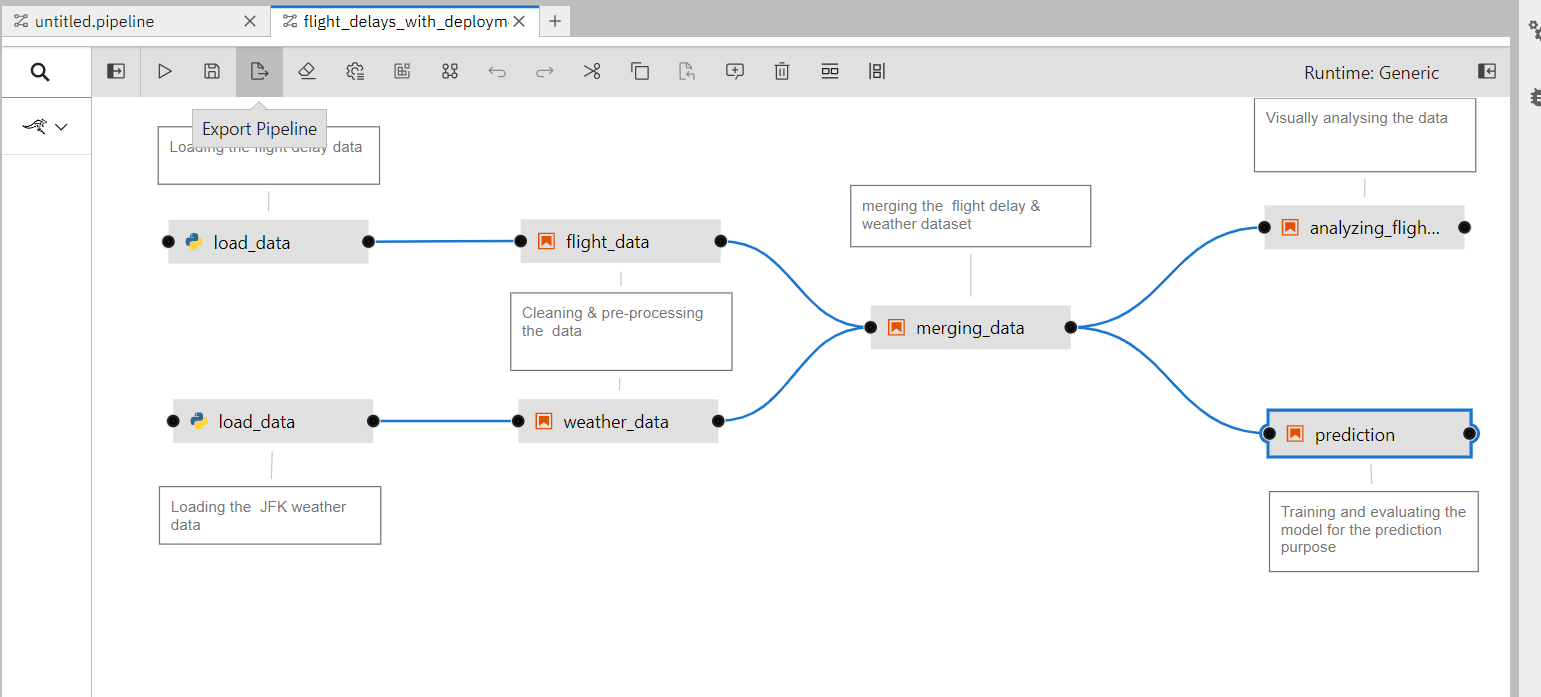
A pipeline comprises one or more nodes that are (in many cases) connected with each other to define execution dependencies. A node is an instance of a configurable component that commonly only implements a single unit of work to make it reusable. A unit of work can represent any task, such as loading data, pre-processing data, analyzing data, training a machine learning model, deploying a model for serving, querying a service, or sending an email.
Note though that multiple components might implement the “same” task. For example, one component might load data from a SQL database, whereas another component might download data from S3 storage. Conceptually both components load data, but how they load it is entirely different.
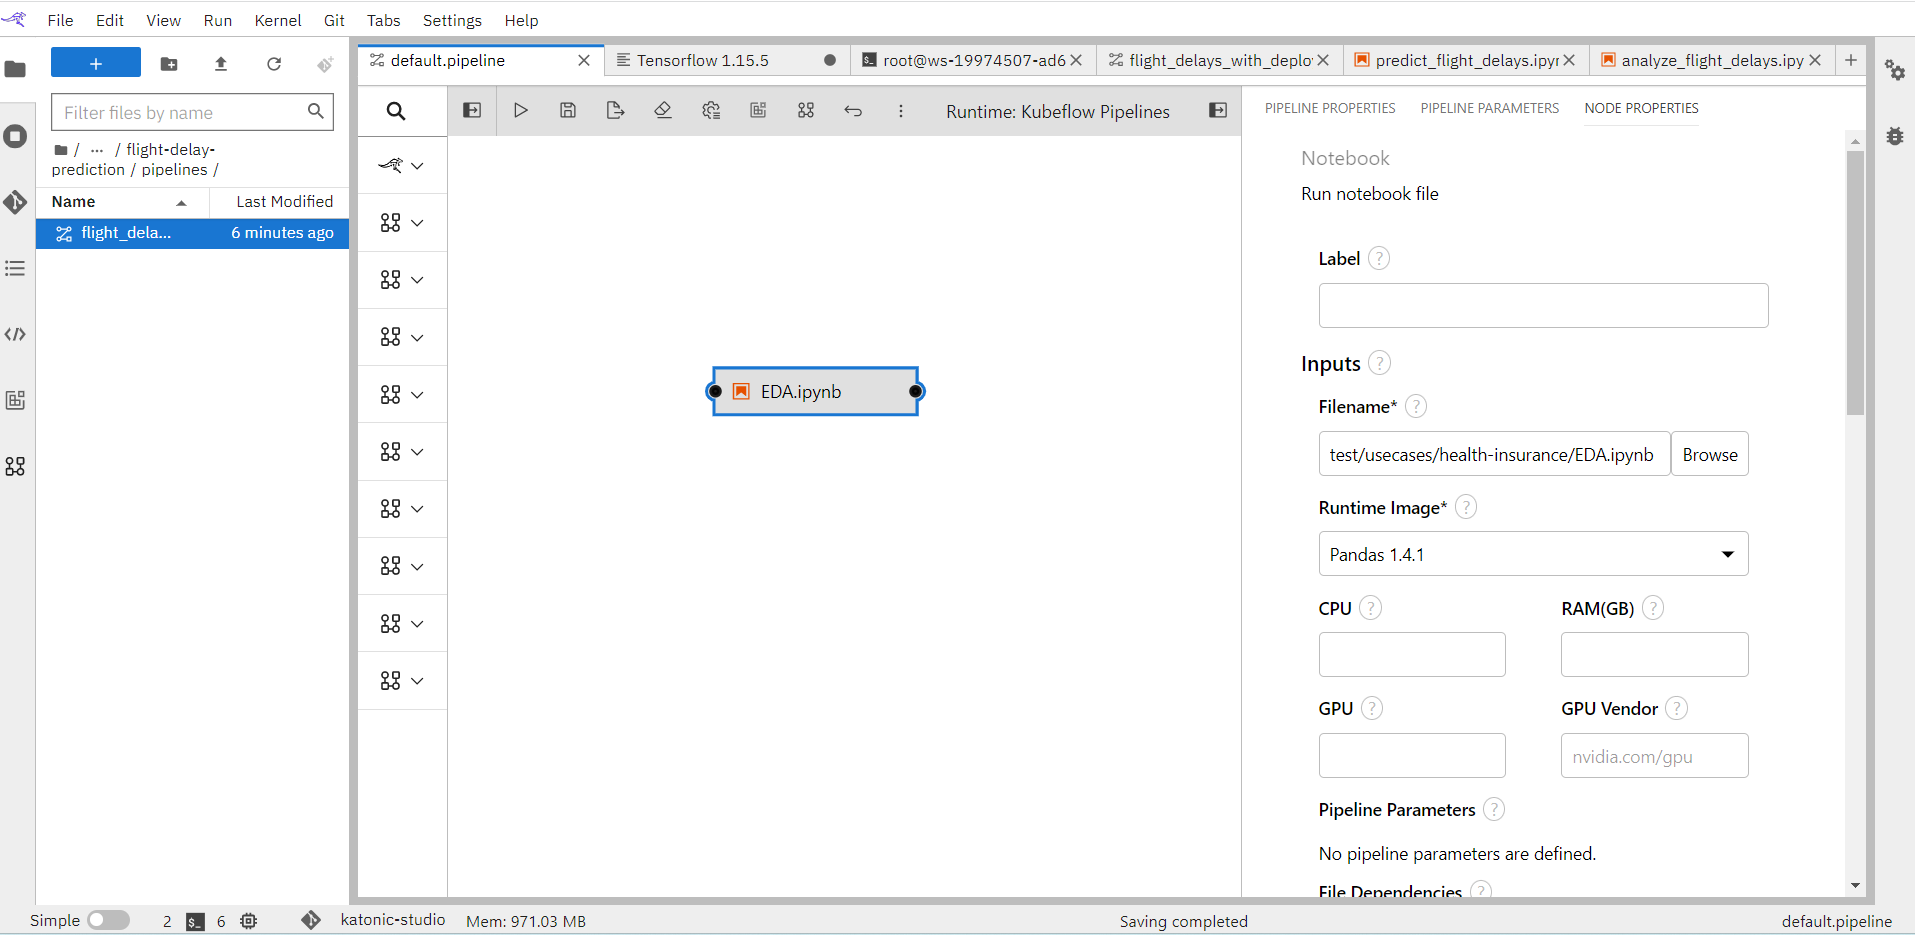
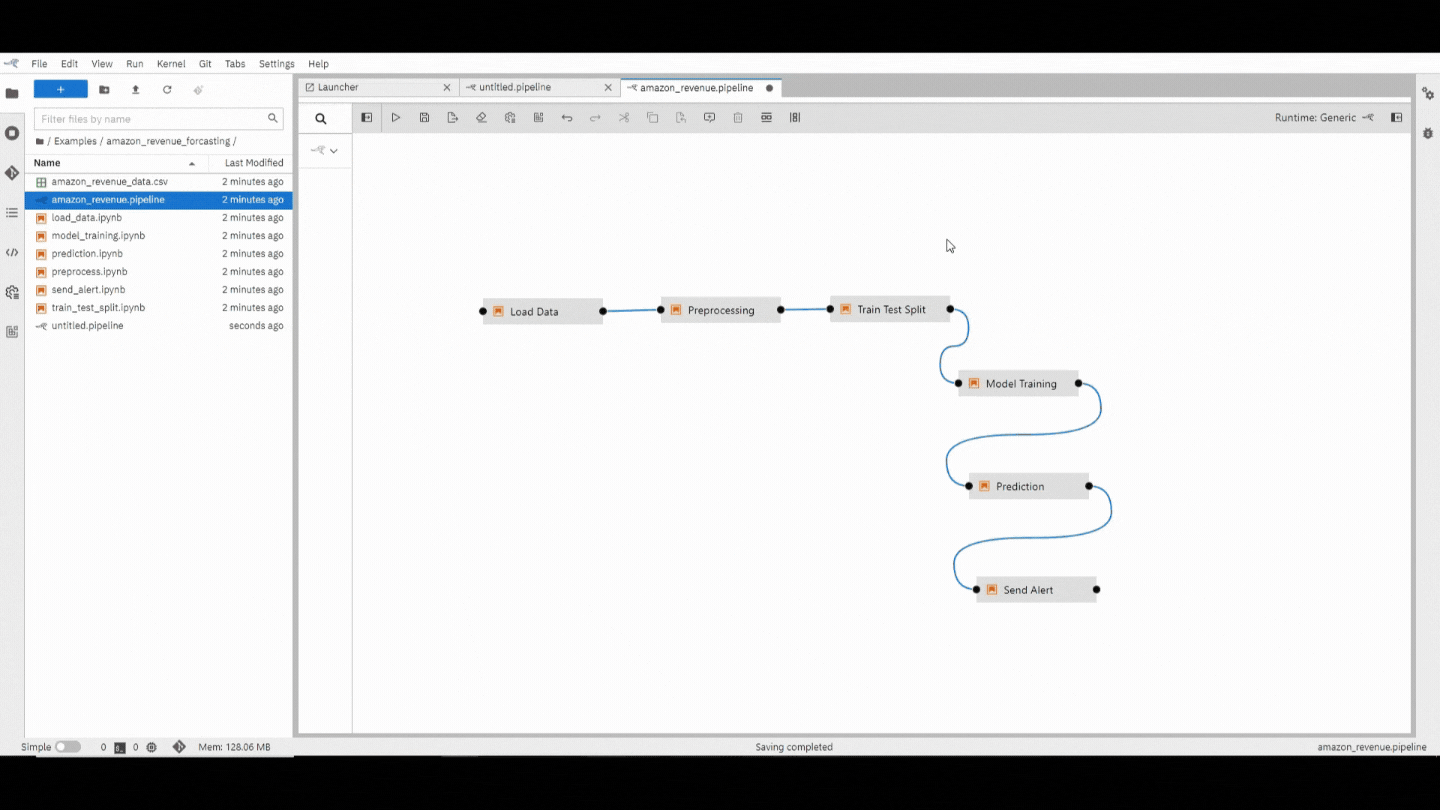
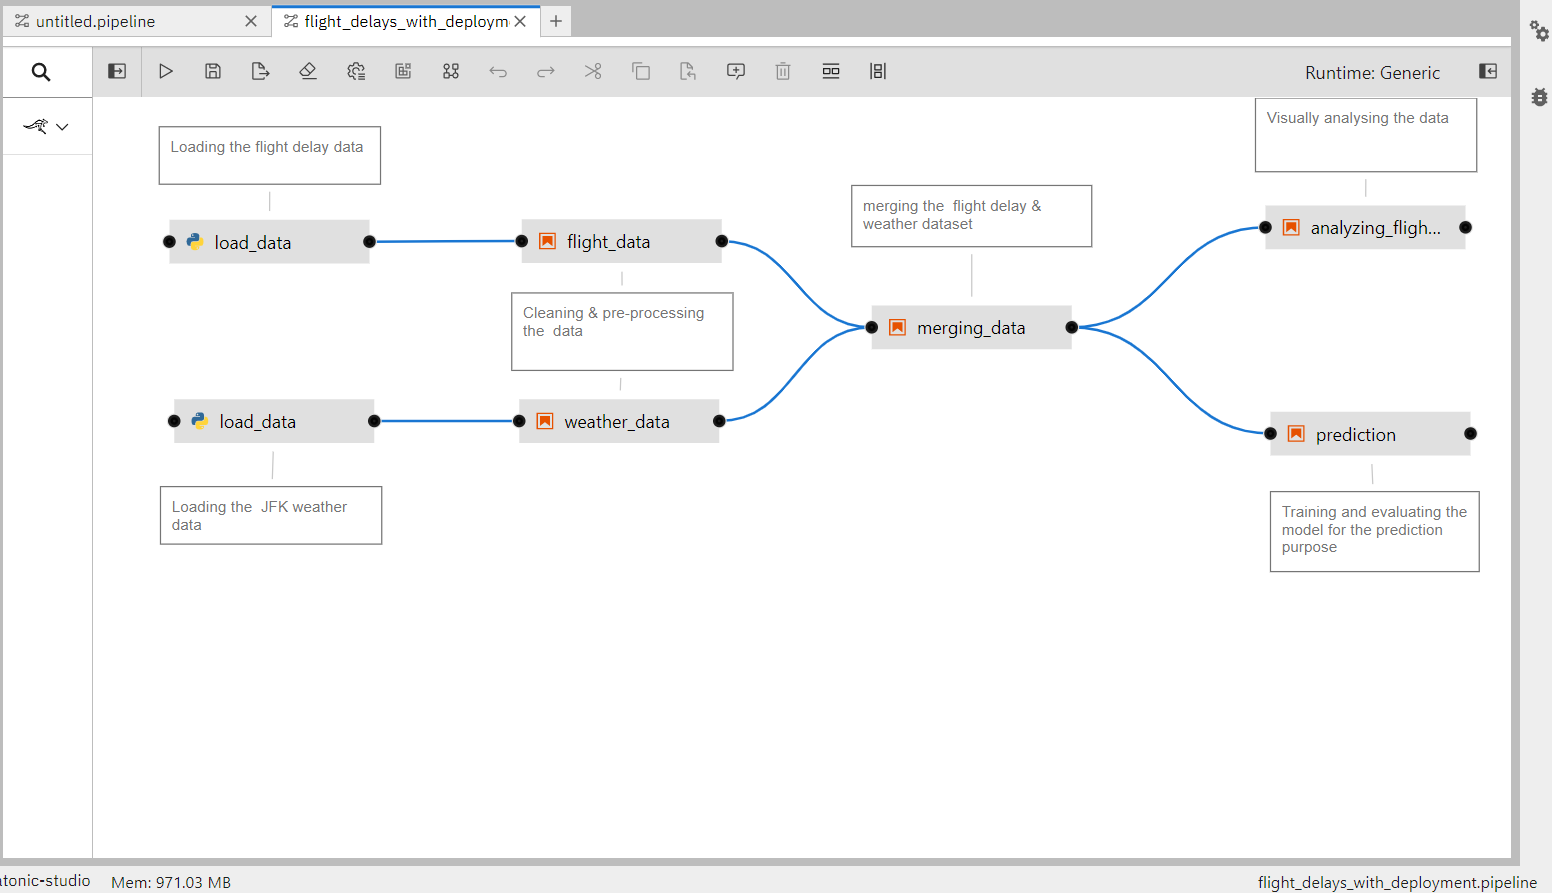
Pipelines are assembled using the Visual Pipeline Editor. The editor includes a palette, the canvas, and a properties panel, shown on the left, in the center, and the right, respectively.
Creating pipelines using the Katonic Studio
The tutorials provide comprehensive step-by-step instructions for creating and running pipelines. To create a pipeline using the editor:
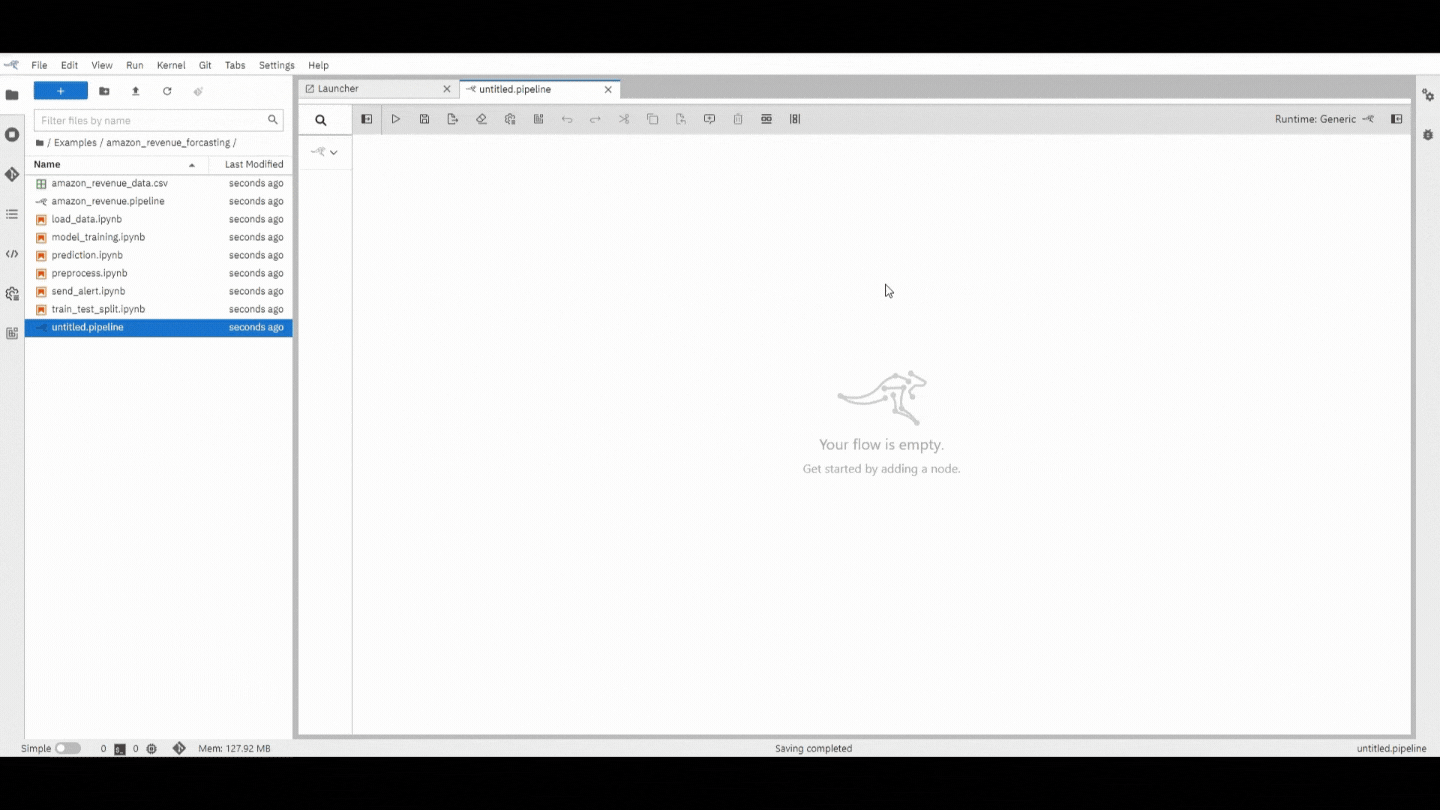
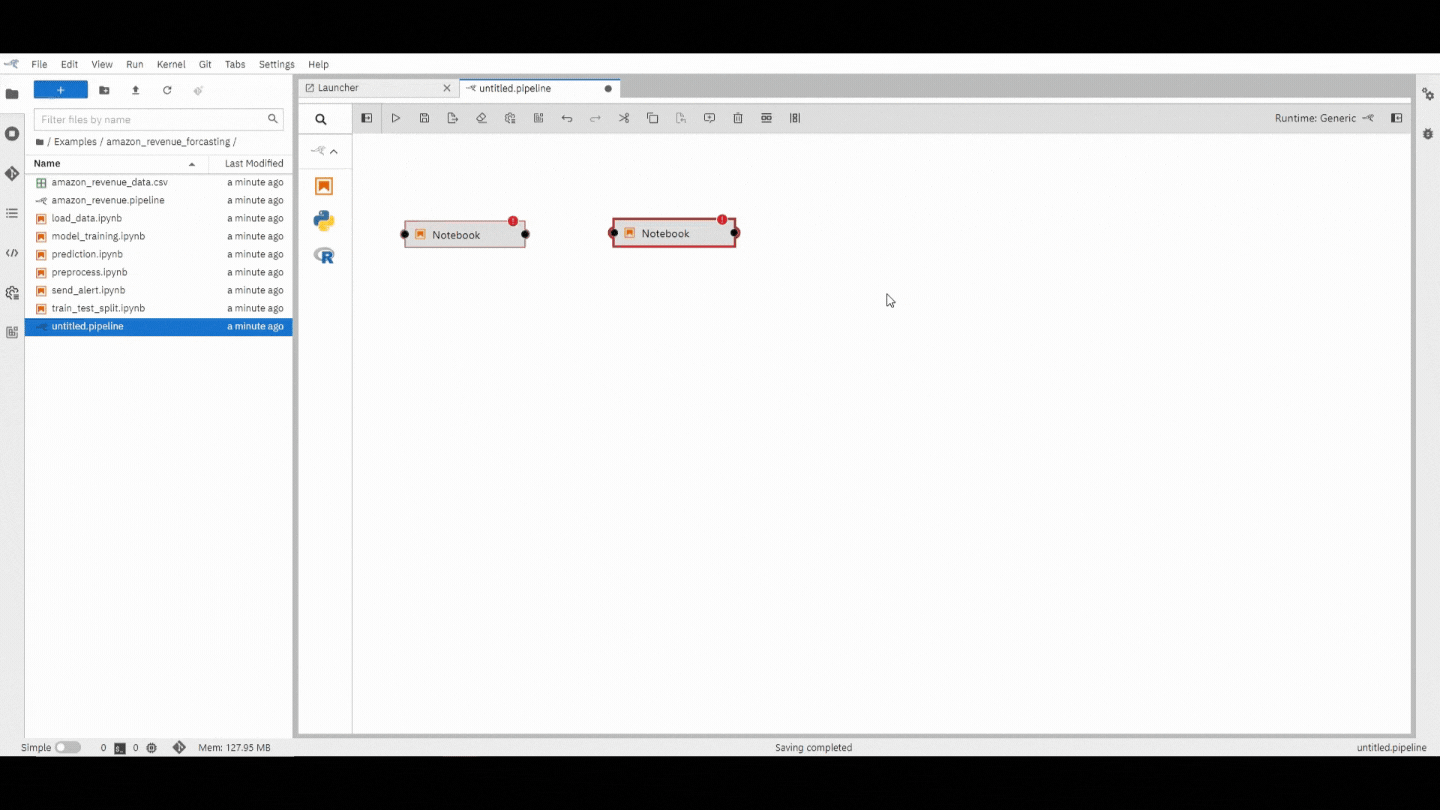
Open the JupyterLab Launcher and select katonic Studio
Expand the properties panel and define the pipeline properties. Pipeline properties include a description and default values for node properties. (Support for pipeline properties varies by release.)
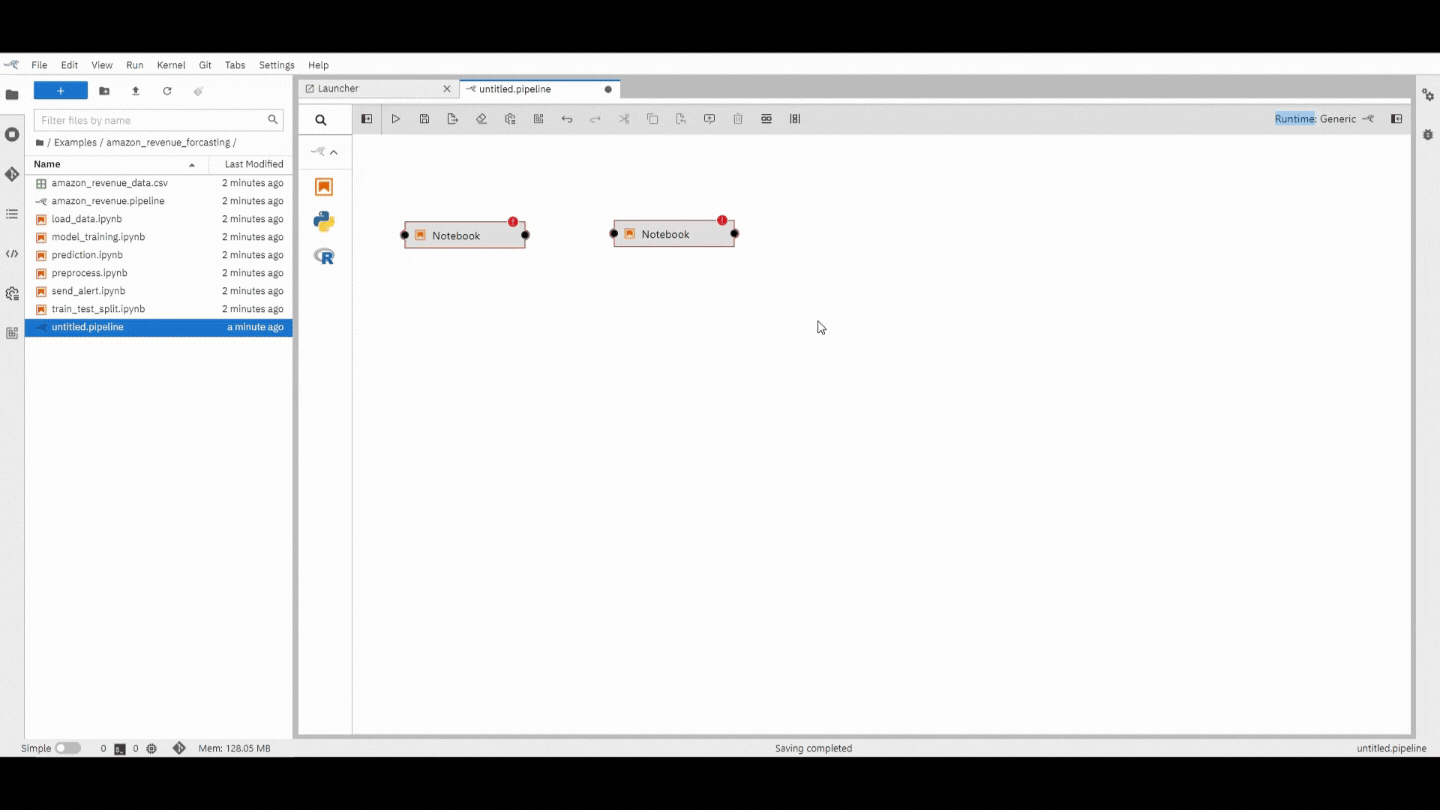
Drag and drop components from the palette onto the canvas or double click on a palette entry.
Note You can also drag and drop Jupyter notebooks, Python scripts, or R scripts from the JupyterLab File Browser onto the canvas.
Define the dependencies between nodes by connecting them, essentially creating an execution graph.
Define the runtime properties for each node. Highlight a node, right click, and select Open Properties. Runtime properties configure a component and govern its execution behavior.
Runtime properties are component specific. For generic components (Jupyter notebook, Python script, and R script) the properties are defined as follows:
Runtime Image
Required. The container image you want to use to run the notebook or script.
Example: TensorFlow 2.0
CPU, GPU, and RAM :Optional. Resources that the notebook or script requires.
File Dependencies
Optional. A list of files to be passed from the local working environment into each respective step of the pipeline. Files should be in the same directory (or subdirectory thereof) as the file it is associated with. Specify one file, directory, or expression per line. Supported patterns are * and ?.
Example: dependent-script.py
Environment Variables
Optional. A list of environment variables to be set inside in the container. Specify one variable/value pair per line, separated by =.
Example: TOKEN=value
Output Files
Optional. A list of files generated by the notebook inside the image to be passed as inputs to the next step of the pipeline. Specify one file, directory, or expression per line. Supported patterns are * and ?.
Example: data/*.csv
Associate each node with a comment to document its purpose.
Save the pipeline file.
Note: You can rename the pipeline file in the JupyterLab File Browser.
Running pipelines
Running a pipeline from the Visual Pipeline Editor
To run a pipeline from the Visual Pipeline Editor:
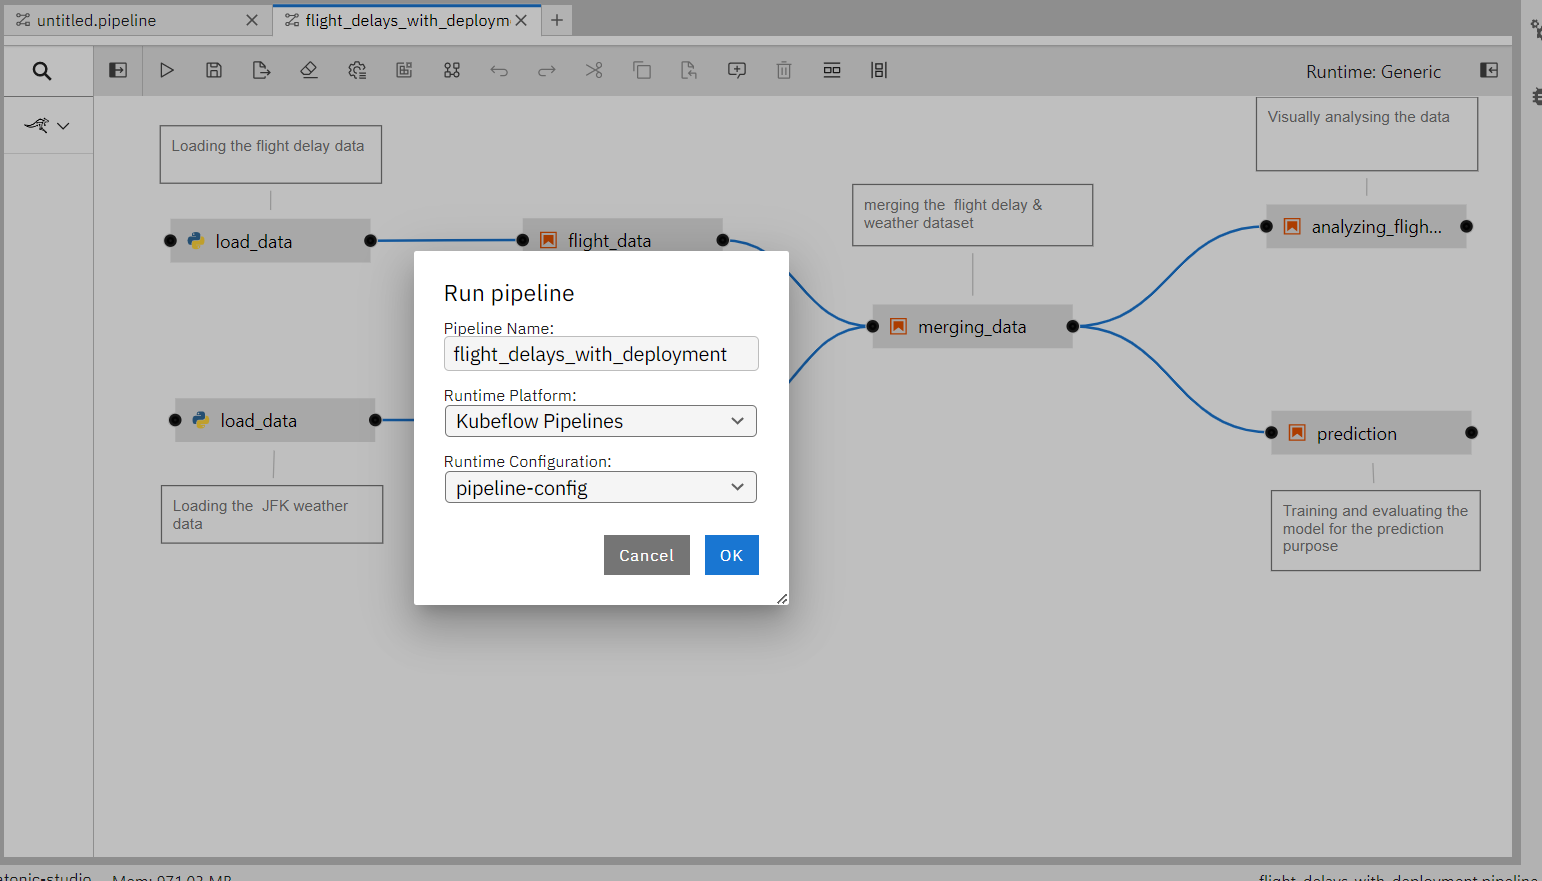
Click Run Pipeline in the editor’s tool bar.
For generic pipelines select a runtime platform (local, Kubeflow Pipelines,) and a runtime configuration for that platform. For runtime-specific pipelines select a runtime configuration.
Exporting pipelines
When you export a pipeline Katonic Studio only prepares it for later execution, but does not upload it to the Kubeflow Pipelines. Export performs two tasks. It packages dependencies for generic components and uploads them to cloud storage, and it generates pipeline code for the target runtime.
Exporting a pipeline from the Visual Pipeline Editor
To export a pipeline from the Visual Pipeline Editor:
Click Export Pipeline in the editor’s tool bar.
For generic pipelines select a runtime platform (local, Kubeflow Pipelines, or Apache Airflow) and a runtime configuration for that platform. For runtime-specific pipelines select a runtime configuration.
Select an export format.
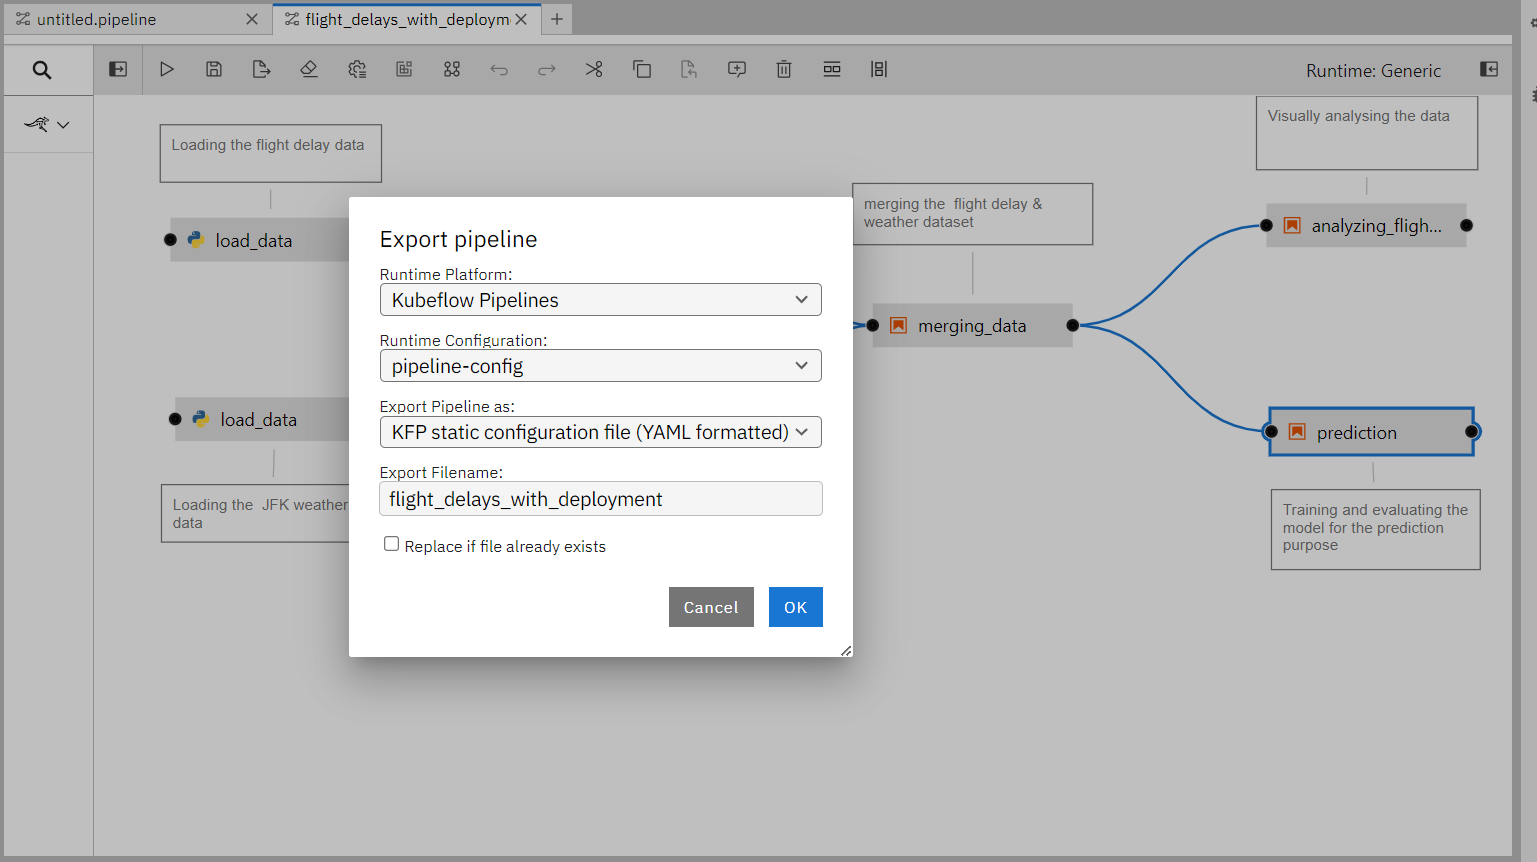
Import the exported pipeline file using the Kubeflow Central Dashboard or add it to the Git repository that Apache Airflow is monitoring.
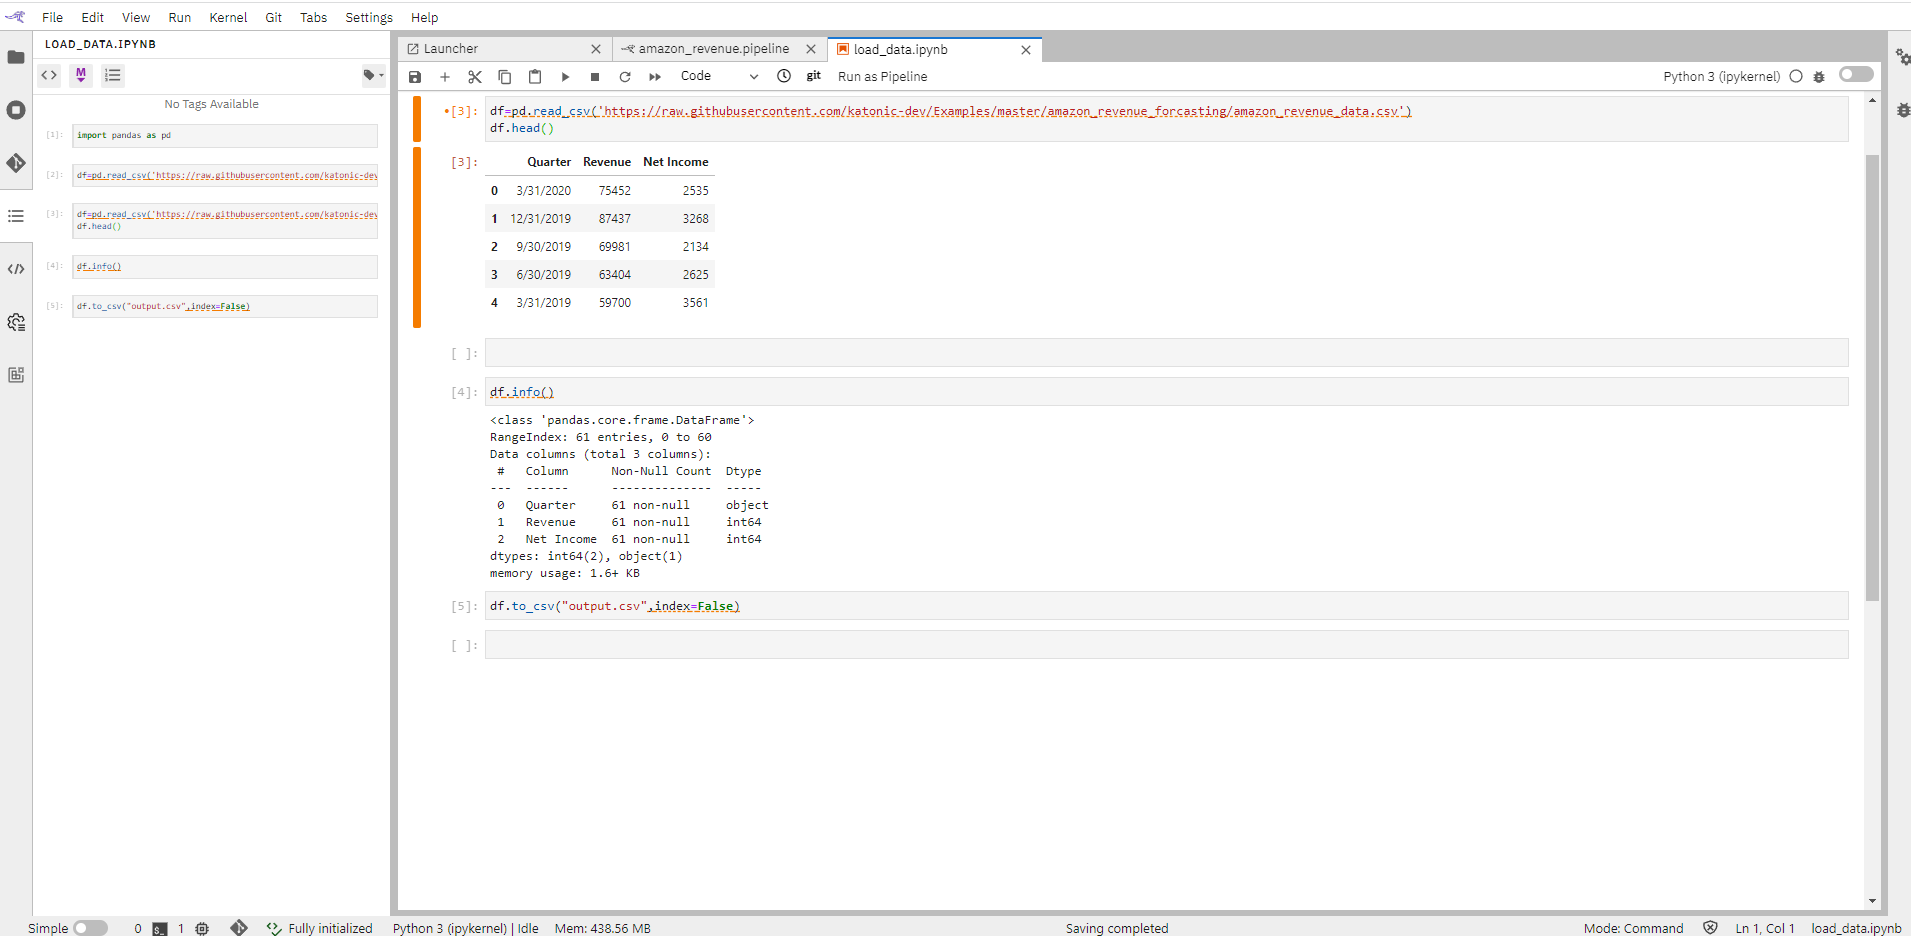
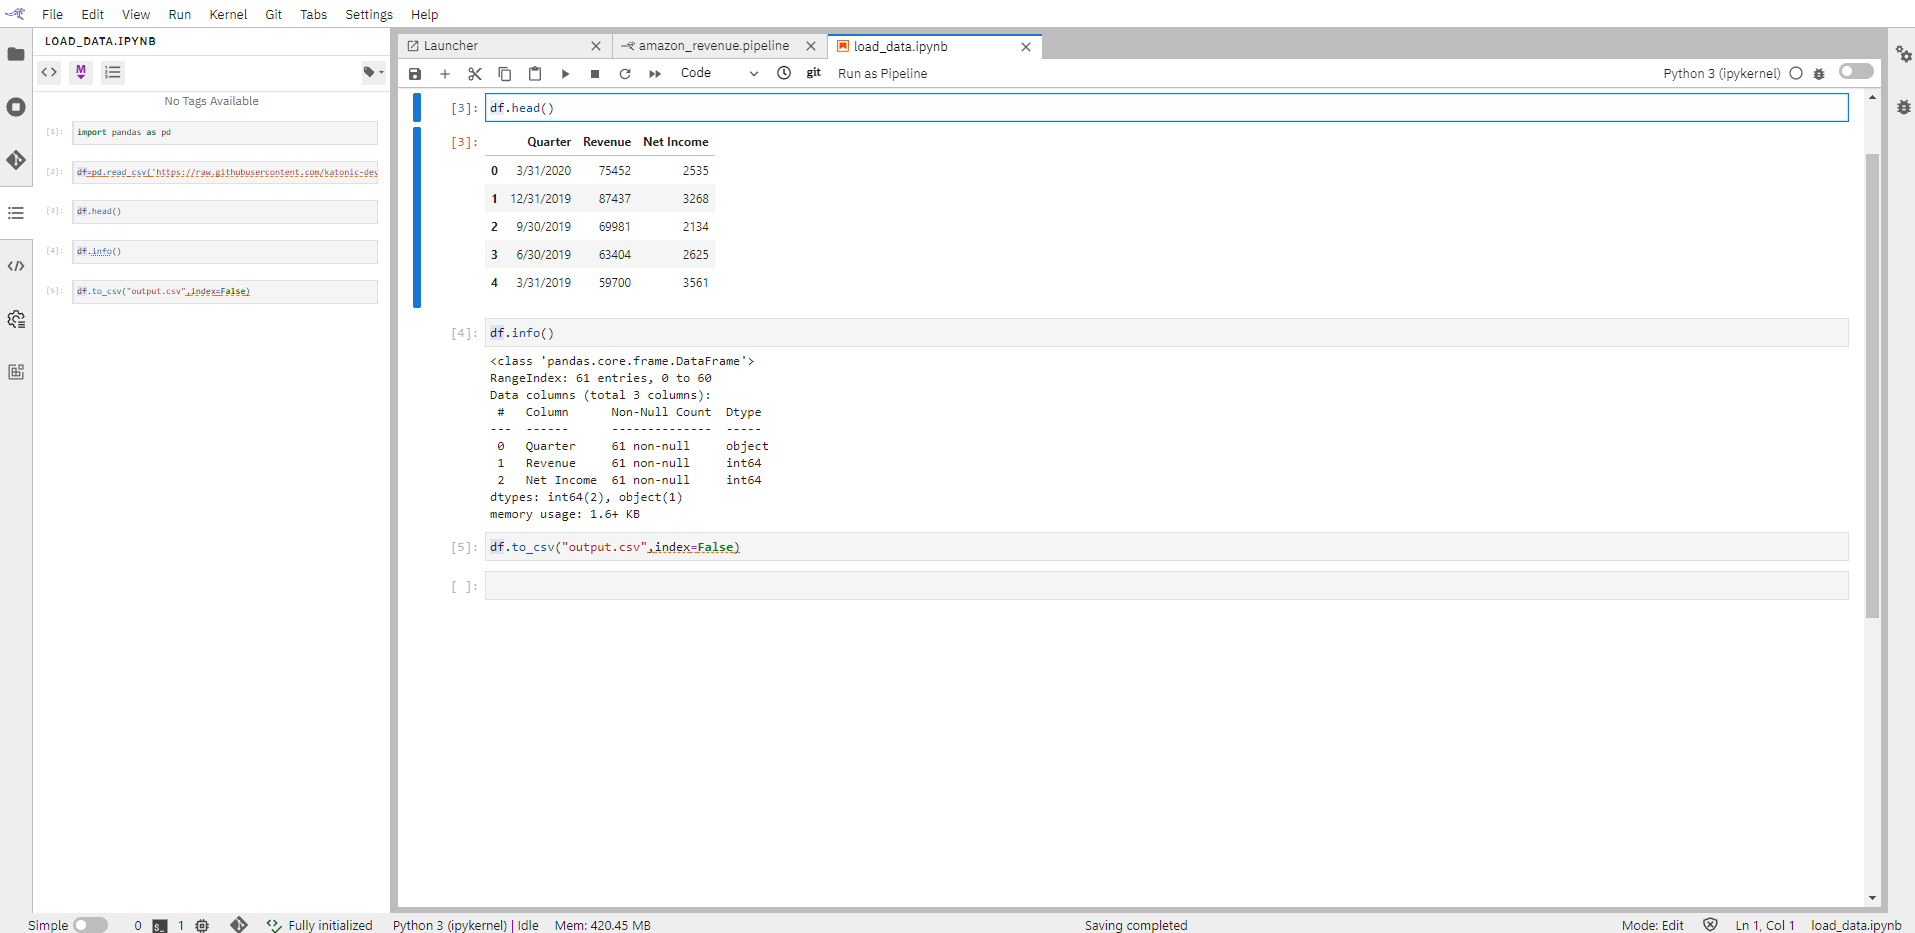
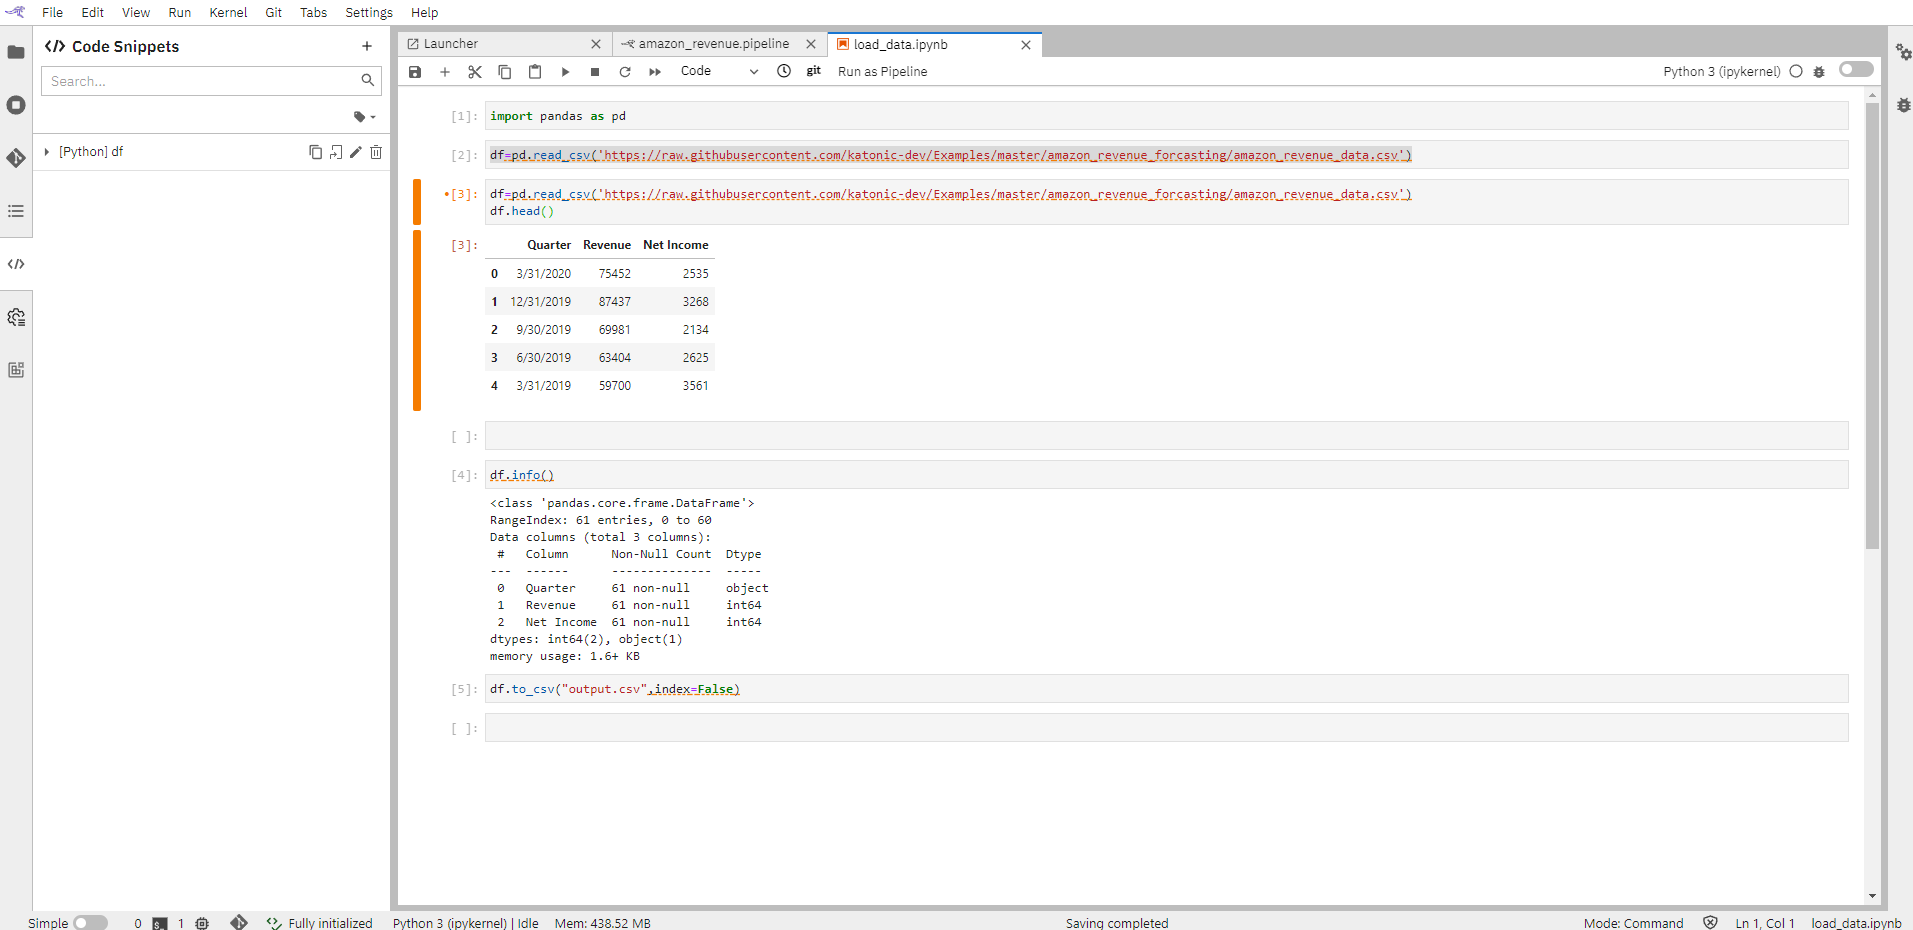
Ability to run a notebook, Python or R script as a batch job Katonic Studio extends the Jupyter Notebook UI to allow for execution of a notebook as a batch job in local or remote cloud environments. To run a notebook as a batch job open the notebook and select Run as Pipeline button from the menu bar.
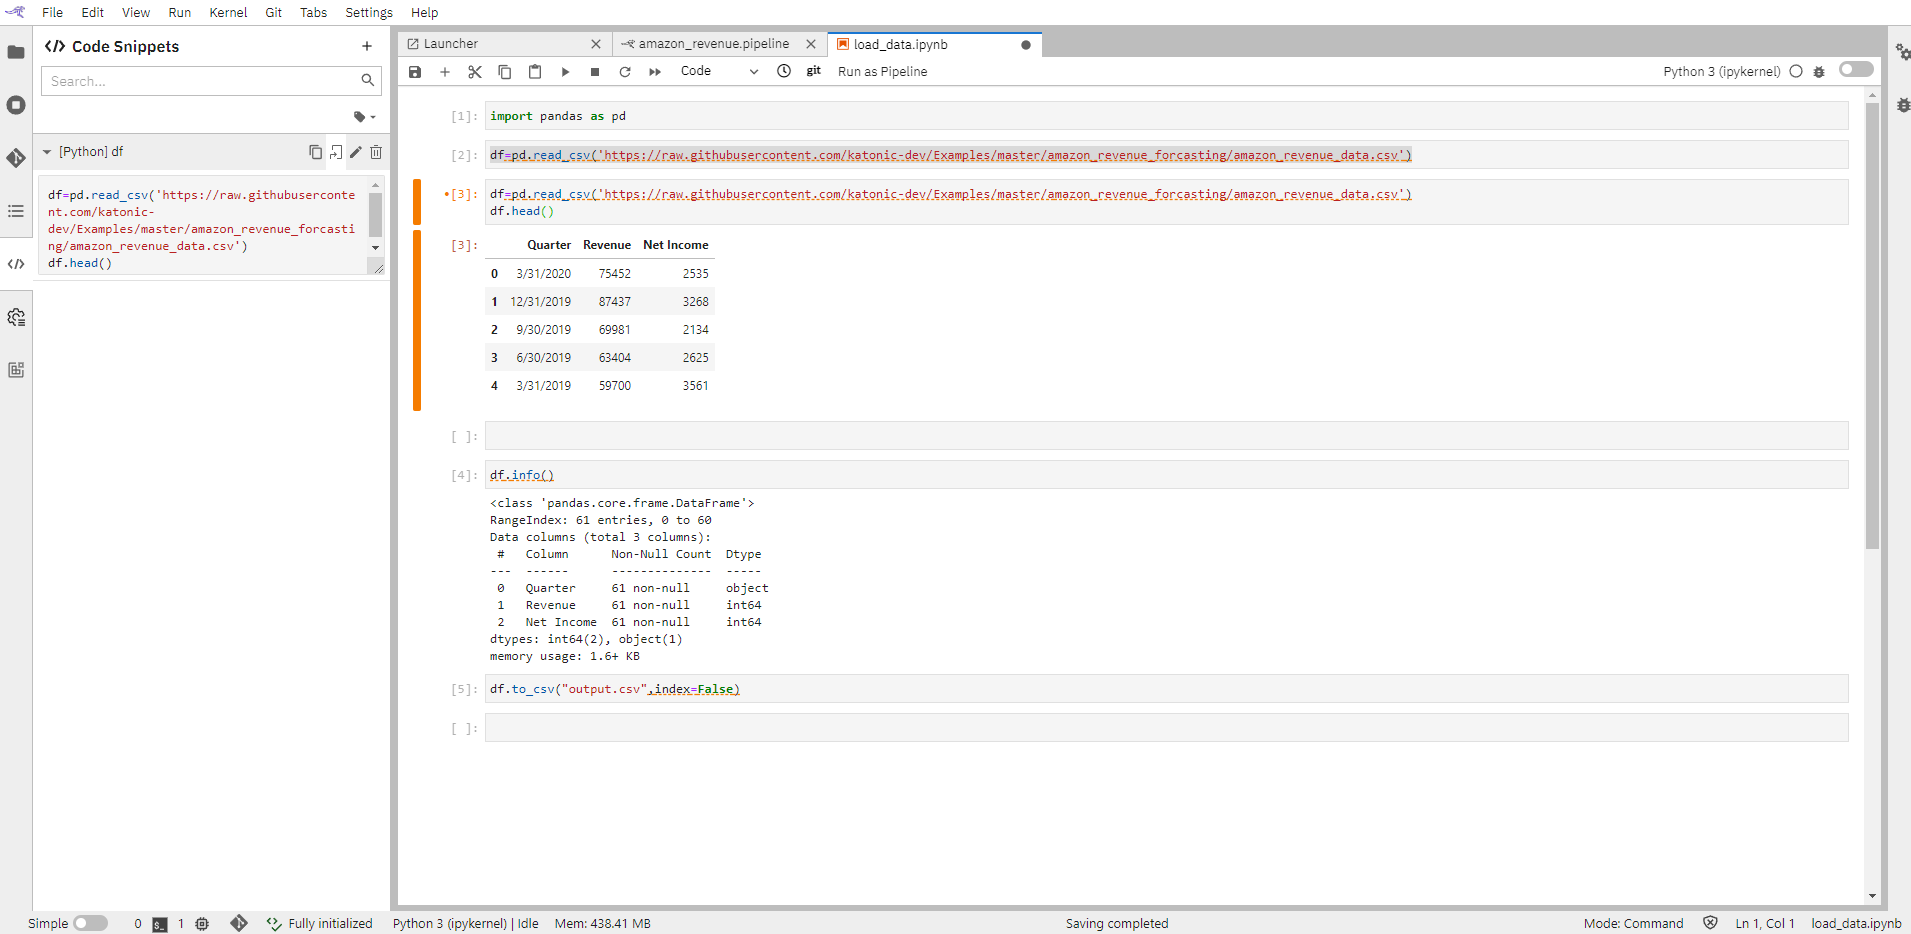
Similarly, to submit a Python or R script as a batch job, open a the script file and select Run as Pipeline button from the editor toolbar. Reusable Code Snippets The Code Snippet editor introduces support for reusable code fragments, making programming in JupyterLab more efficient by reducing repetitive work.
For information on how to manage and use code snippets refer to the Code Snippets topic in the User Guide. The code snippet feature can optionally be installed as a stand-alone extension. Python and R scripts execution support. Katonic Studio contributes a Script editor with support for Python and R files, which can take advantage of the Hybrid Runtime Support enabling users to locally edit scripts and execute them against local or cloud-based resources seamlessly.
For information on how to use the Script editor refer to the Enhanced Script Support topic in the User Guide. The Script editor feature can optionally be installed as a stand-alone extension. Notebook navigation using auto-generated Table of Contents The enhanced notebook navigation recognizes markdown headings and auto-generates a Table of Contents providing enhanced navigation capabilities. To access the Table of Contents, open a notebook and select the Table of Contents tab from the sidebar.